Your creative year: 32 inspiring projects to try over the next 12 months
The challenge? Take on a series of creative challenges over one year. The reward? Fun-filled weeks of self-exploration, empowered skill-building, and a creative new you

Have you ever found yourself scrambling for a “New Year’s Resolution” as the clock inches towards midnight, or perhaps you've recently carved out more time for yourself and feel the itch to grow and explore? If the answer is yes, then why not dedicate the coming year to discovering a series of thrilling new passion projects? You never know, one might become your next great hobby, or even evolve into a lucrative side hustle!
Not up for a full-year commitment? No worries, just pick and choose your favourites and shape your own creative journey. You’ll find there’s something for everyone, with projects ranging widely in their demands: some can be completed in just a few hours, while others may unfold over several days. You'll find a mix of skill levels too - some challenges are perfect for spontaneous, anytime exploration, while others might require a little planning, shopping, or even honing new skills. Alternatively, you could sign up for a dedicated workshop where everything is provided ready for you to dive on in.
Some of the projects may marry beautifully with your natural talents, while other hobby ideas will push you into exciting, new territory. There will be moments of serene, solo bliss where you can indulge in an episode of pure mindfulness, while others may put you in the mood for a spot of camaraderie, where you can call upon friends to join in, turning your creative project into a lively social gathering. And for the more adventurous - why not embark on a creative retreat, ticking off not only a new skill but gaining potential lifelong friendships along the way?
Thrilling new passion projects to try today
Plant up a terrarium
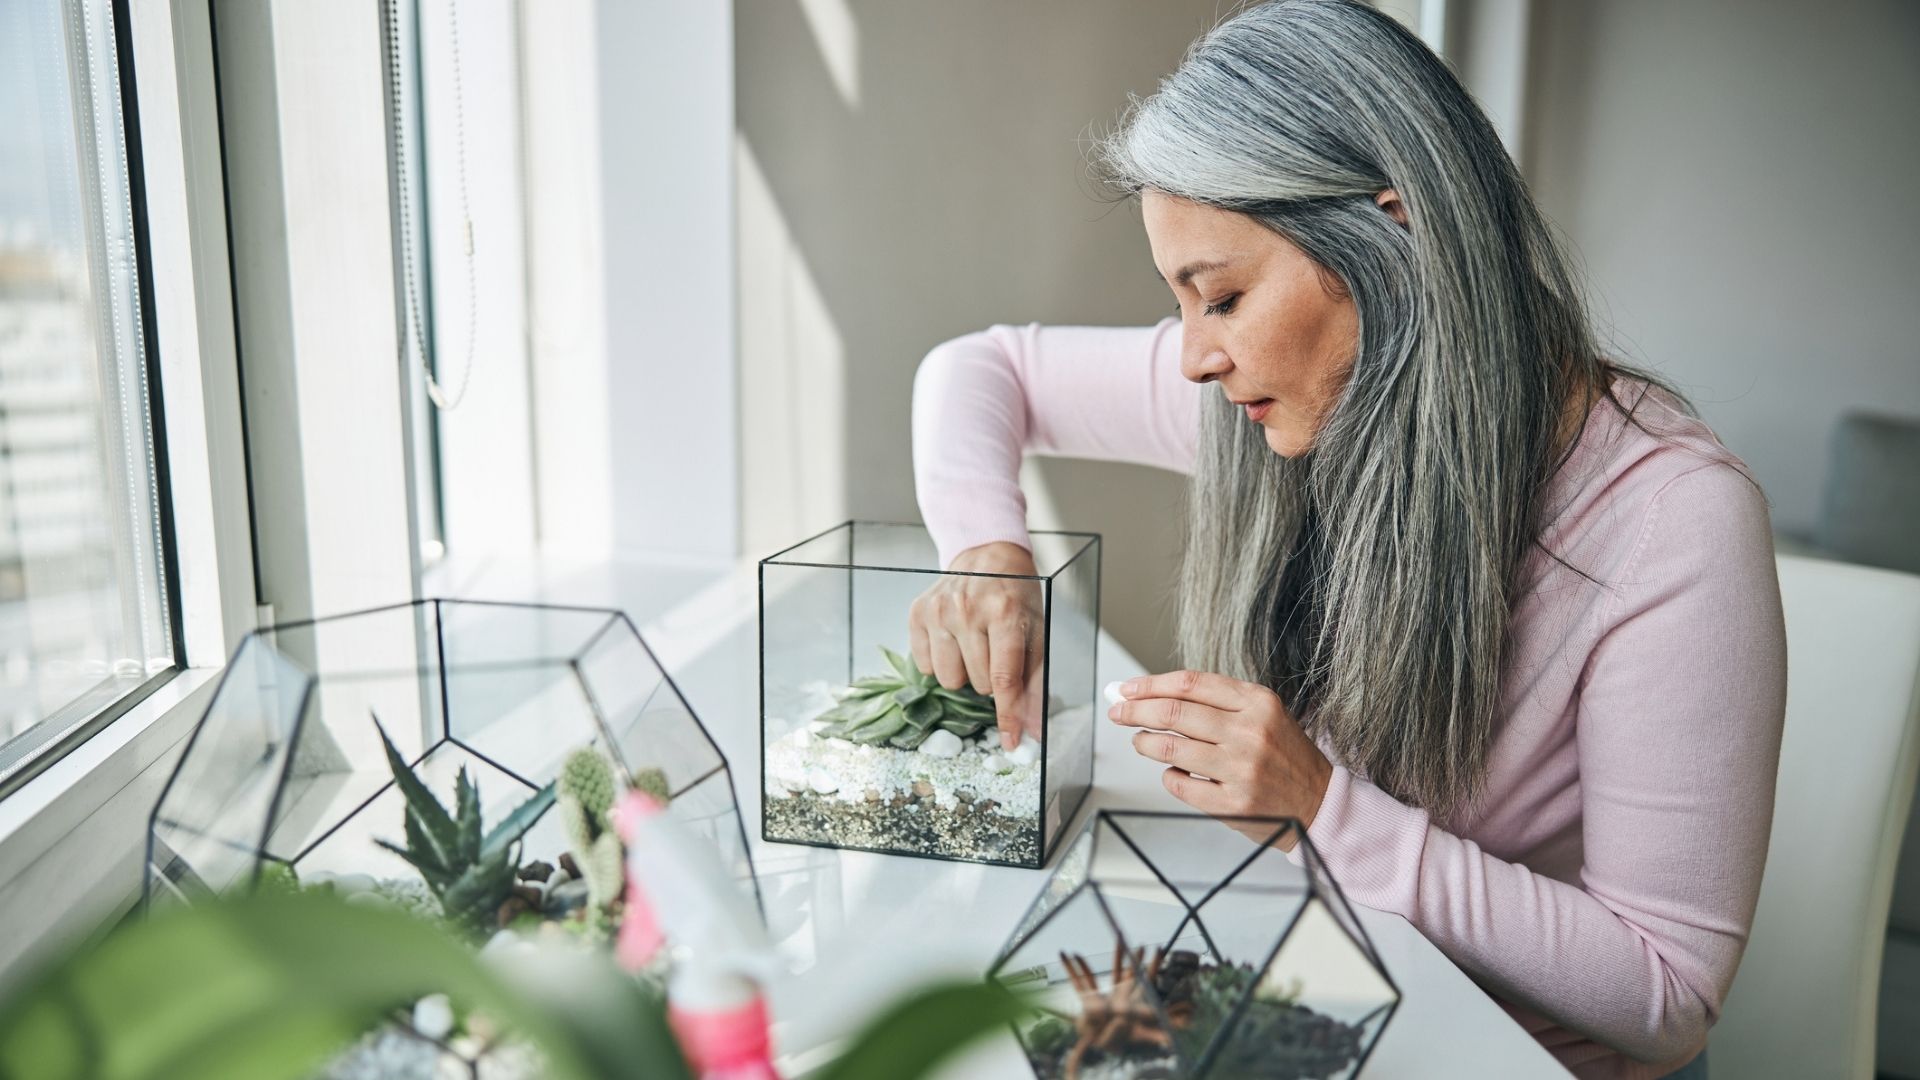
Terrariums are as cute as they are stylish, bringing a tiny world to your home with minimal fuss and maximum positive vibes! Start by layering pebbles for drainage in a clean glass container, add a sprinkle of activated charcoal to keep things fresh, then top with enough soil for roots to spread. Nestle in your chosen plants - ferns, succulents, or cacti work great. Once prepared, remember to lightly mist with water and place in indirect light - keeping an eye out for mould or yellow leaves, as this could be a sign it’s getting too much water, so adjust as needed.
Once you’ve done one, you may be excited to try more. Why not mix heights, textures, and colours? You could even decorate it with stones, shells, or even tiny figurines to make it your own.
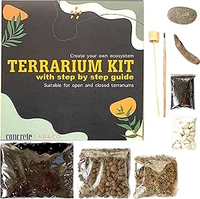
Terrarium DIY Kit for Succulents and Cacti Plants with Step-by-Step Guide | £13.62 at Amazon
Need a bit of help getting started? Then this easy-to-assemble kit from Amazon comes with all the basics, plus a step-by-step guide. Feel free to customise it with your own decorations
Create a resin art seascape
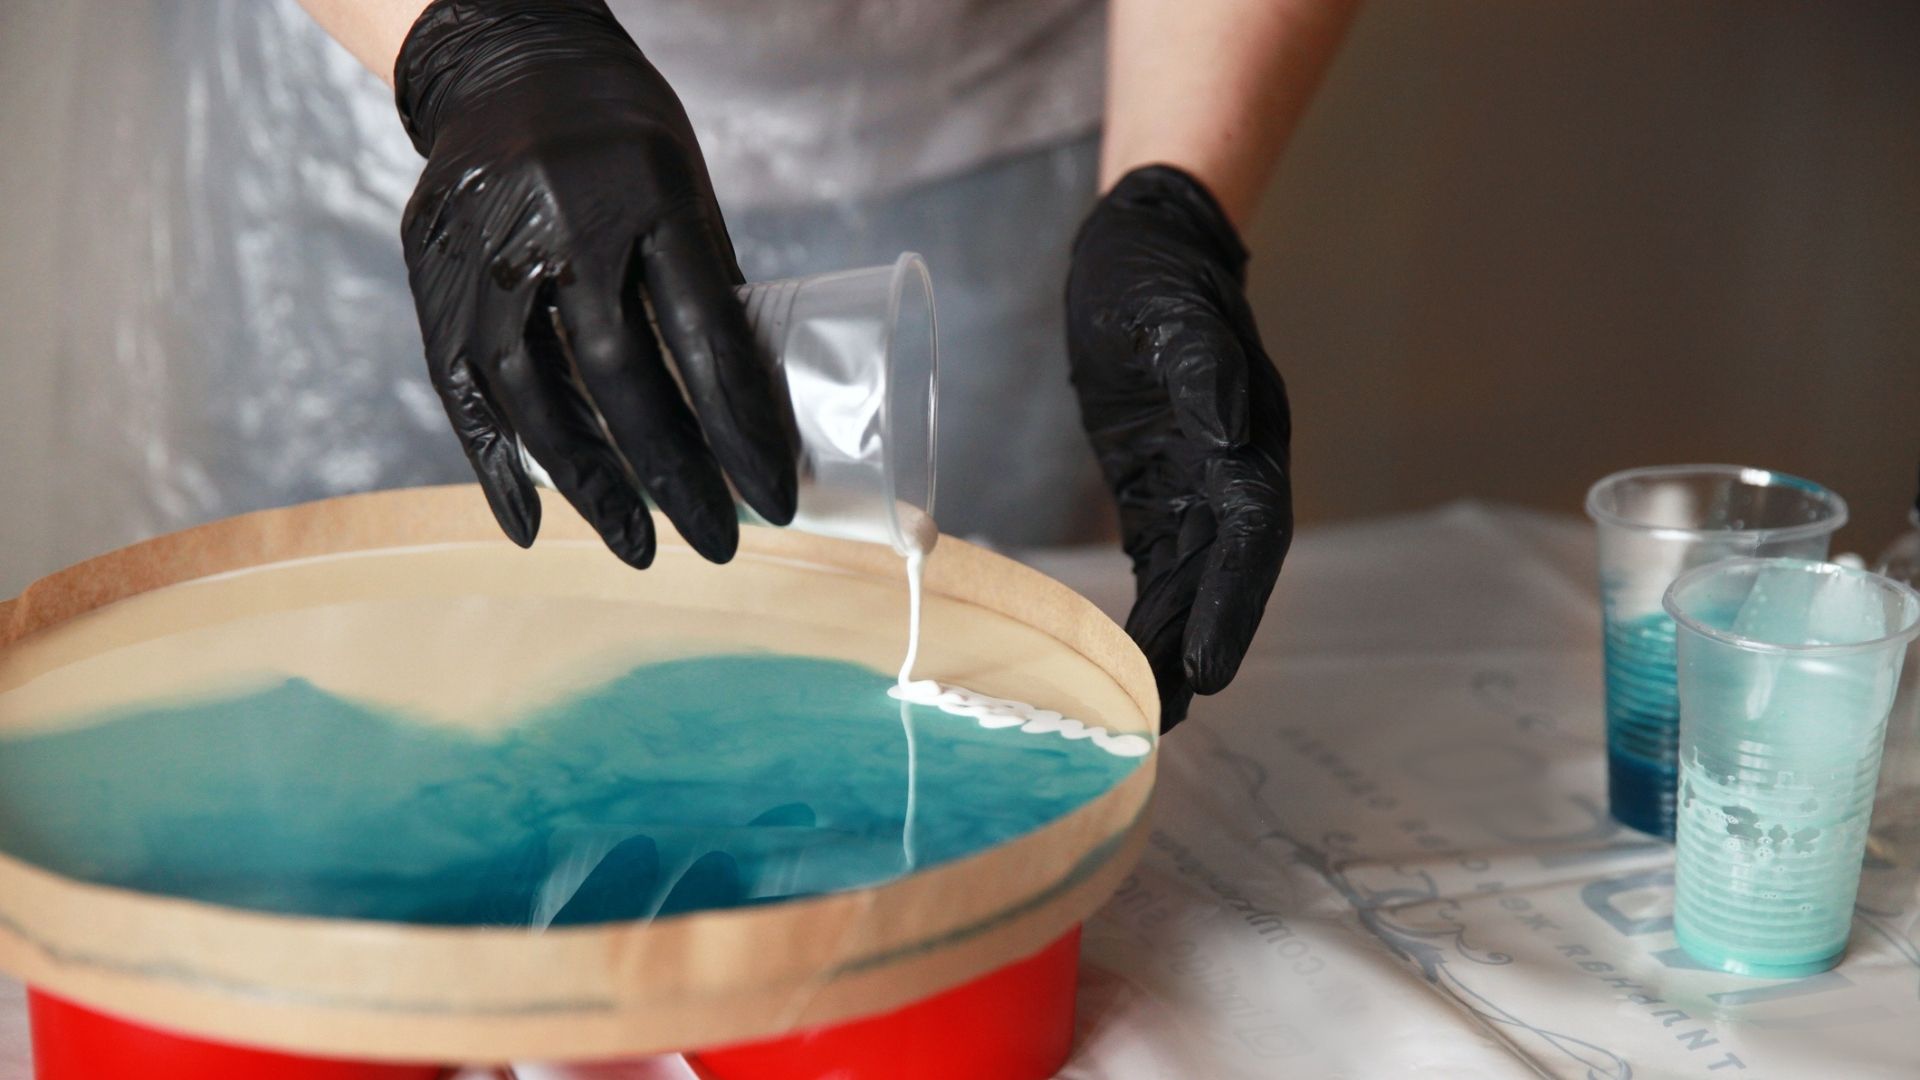
Dive into resin art by creating your own stunning seascape! First, you'll need to prep a wooden board, ensuring it’s level, then mix the resin and hardener per the kit's instructions. Separate into cups and add squirts of ocean-blue, turquoise green and white pigments to each. Once mixed, pour the blue resin in waves first, blending darker to lighter shades for depth, ending with the turquoise towards the bottom. Use the white resin to add foamy crests to lend a realistic wave vibe, and blend using a heat gun or torch.
Finally, sprinkle in a layer of sand or shells for added texture. Once cured, your glossy seascape is ready to bring coastal vibes home!
Sign up for the woman&home newsletter
Sign up to our free daily email for the latest royal and entertainment news, interesting opinion, expert advice on styling and beauty trends, and no-nonsense guides to the health and wellness questions you want answered.
Concoct a signature scent
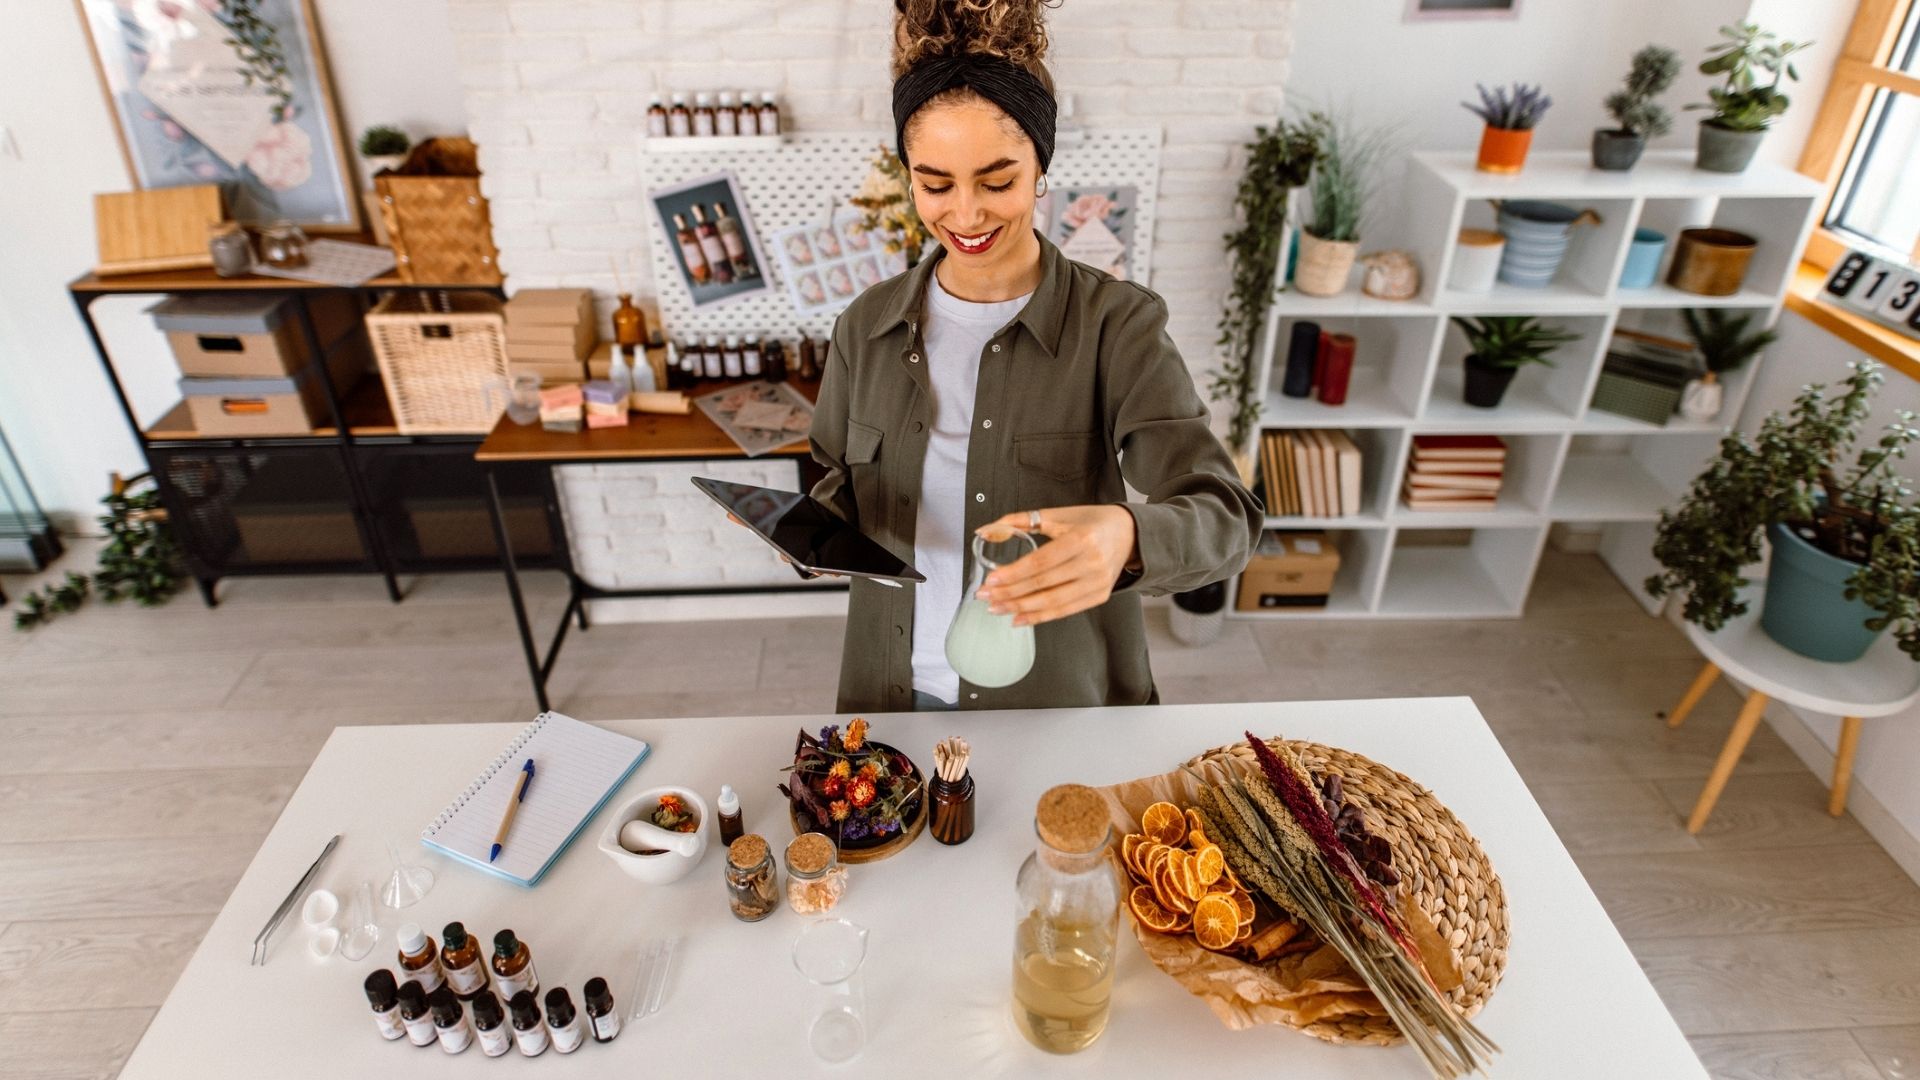
Invent a perfume that’s unique to you! For this project, purchase essential oils (which provide natural scents) or fragrance oils (which offer more variety) that speak to you and what you like. You’ll find these in stores and online, and you’ll also need a carrier oil or alcohol for your base.
Begin concocting by choosing a grounding base note, such as warm vanilla, earthy sandalwood, or sensual amber. Layer in middle notes such as romantic rose, spicy cinnamon, or soothing lavender, top it off with uplifting notes like citrus zest, fresh pine or crisp apple, and for that added personal touch, finish it off with a sprinkling of dried flower petals, perhaps from your own garden.
You’ll need to blend your oils in the carrier base or alcohol, and let your perfume mature for 4-6 weeks in a cool, dark place to allow the scents to fully develop and harmonise. Then spritz, test, and tweak until it encapsulates your essence. Once you’ve made one for yourself, why not concoct bespoke blends for all the important people in your life?
Film a stop motion video
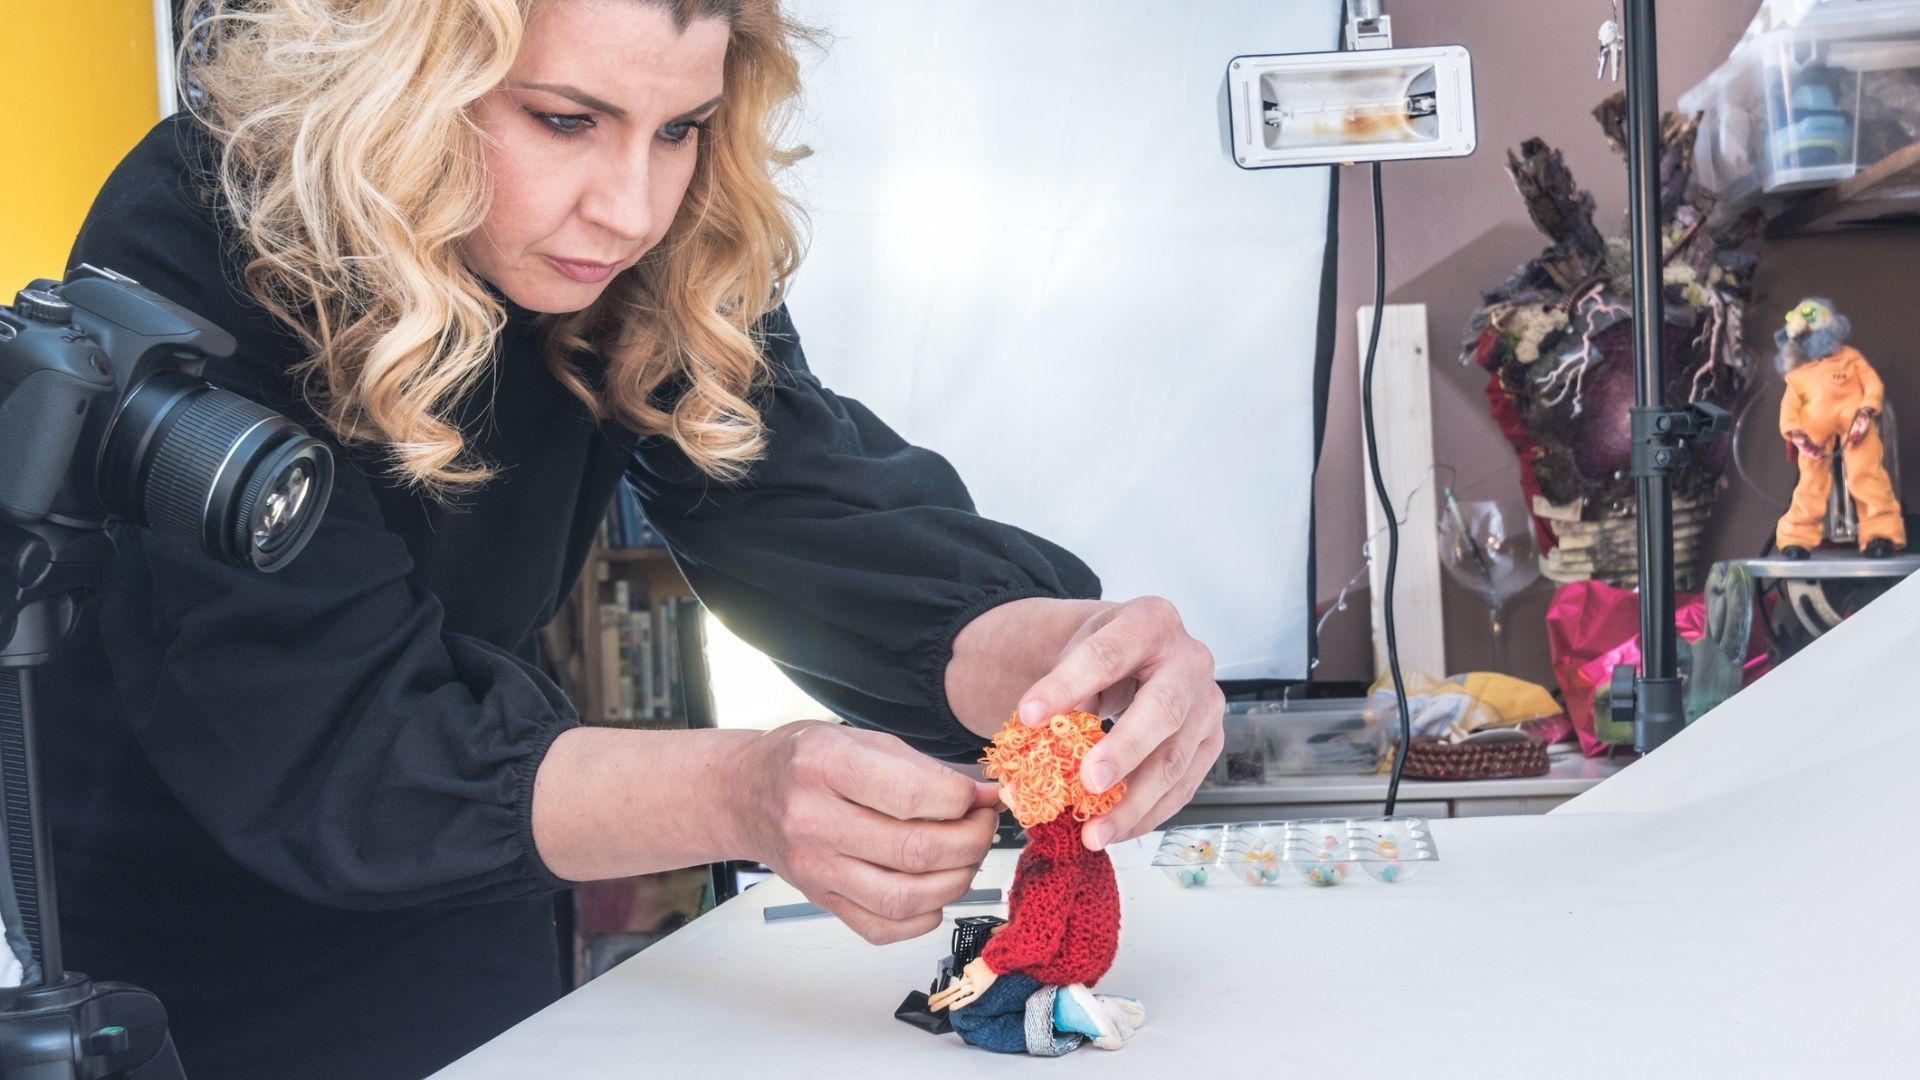
Love Stop Motion classics like The Nightmare Before Christmas and Wallace & Gromit? Then why not try your hand at creating your own mini-movie? Stop-motion is incredibly easy to do - you simply capture a series of individual photos, each with a new slight movement, and put them all together in a sequence to create the illusion of motion - much like an old-school flicker book.
The great news is you don’t even need a pricy camera; a smartphone works perfectly, and beginners can dive in with free apps like Stop Motion Studio or Stop Motion Factory, or one of the many others available on the different App Stores. For subjects - start with toys or clay models. The key is consistency so position your phone somewhere it won't move, or even better - use a mini tripod. Finally, you want to adjust the objects in tiny increments and be sure to keep the lighting steady.
Mould a candle
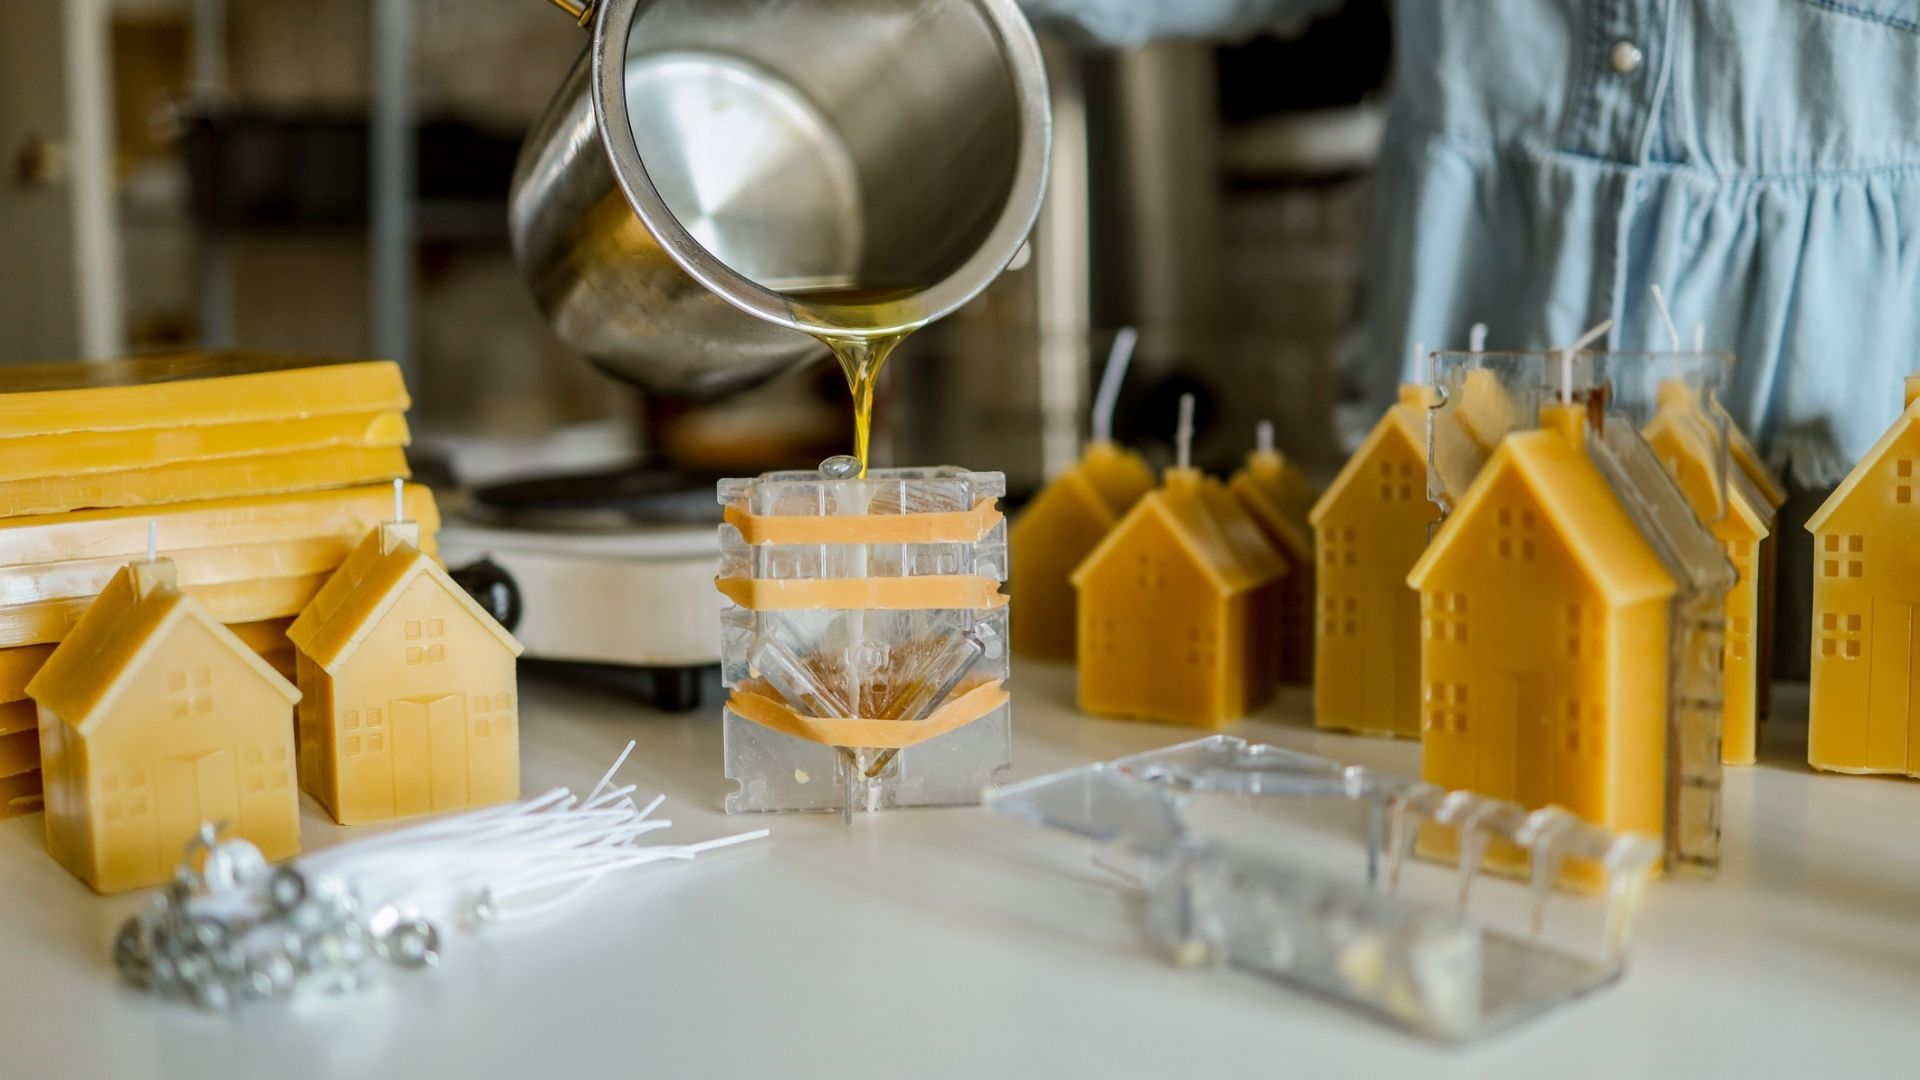
Candle making could not be more relaxing - it’s practically like a spa day for your senses. Start by gently melting the wax over low heat, then swirl in your desired candle dyes for its bespoke colour, and a combination of essential oils to create a special scent that speaks to you. Then just pour the liquid into your chosen moulds or containers, which you should have prepared ready with a wick, and leave them to cool. Remember to pop a window for ventilation and be careful of the hot liquid wax!
Punch needle an initial
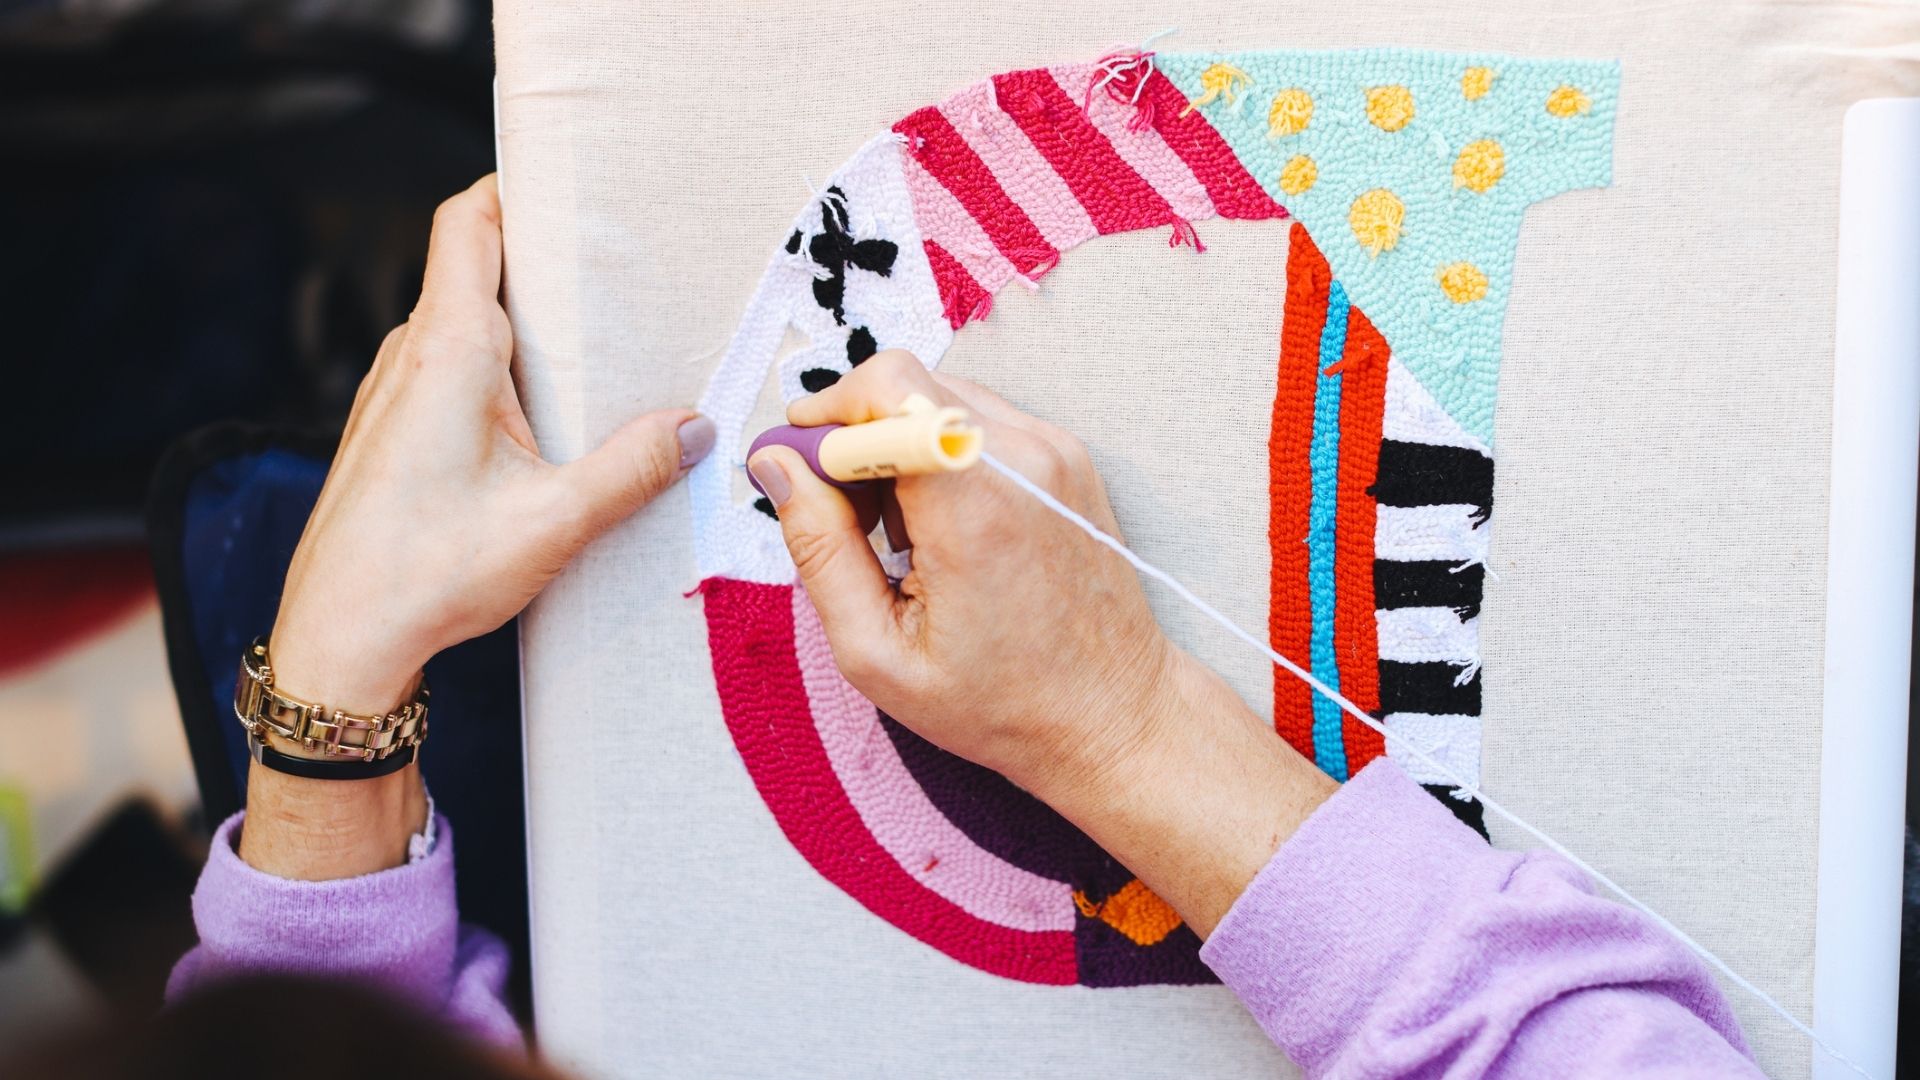
Punch needle embroidery is easy, fun and ideal for creating plush, personalised decorations for your home or gifts for friends. Punch needling involves using a special tool to create textured, looped designs on fabric. Begin by sketching an initial letter onto a taut canvas board, then use a punch needle to fill in the outline with your choice of yarn or thread in whatever colour you desire.
Next, move inside the outline and begin filling the inside of the letter ensuring the loops are consistent by pressing them down gently for even texture. If the back shows loose loops, secure them with fabric glue or adhesive backing. Trim excess yarn, and for a clean finish, add a protective felt backing. You can complete the whole thing in a single colour or why not create patterns and shading for a unique touch? Finally, attach a hanger, picture hook or frame for display.
Compose music online

Whether you’re mad about music, or feel like you don’t have a musical bone in your body - anyone can take on this challenge and make a melody worth marvelling at. There are plenty of free software and online programs out there, such as GarageBand (Mac), Audacity (cross-platform), BandLab, Soundtrap, or even Google's Chrome Music Lab.
To help you get started, most platforms have user-friendly interfaces and tutorials, and once you’ve grasped the basics, maybe experiment with loops, samples, and instruments, or you could even record your own sounds! Tap on household objects for bespoke beats or if you’re feeling brave, why not add your own vocals?
Press flowers into photo frames
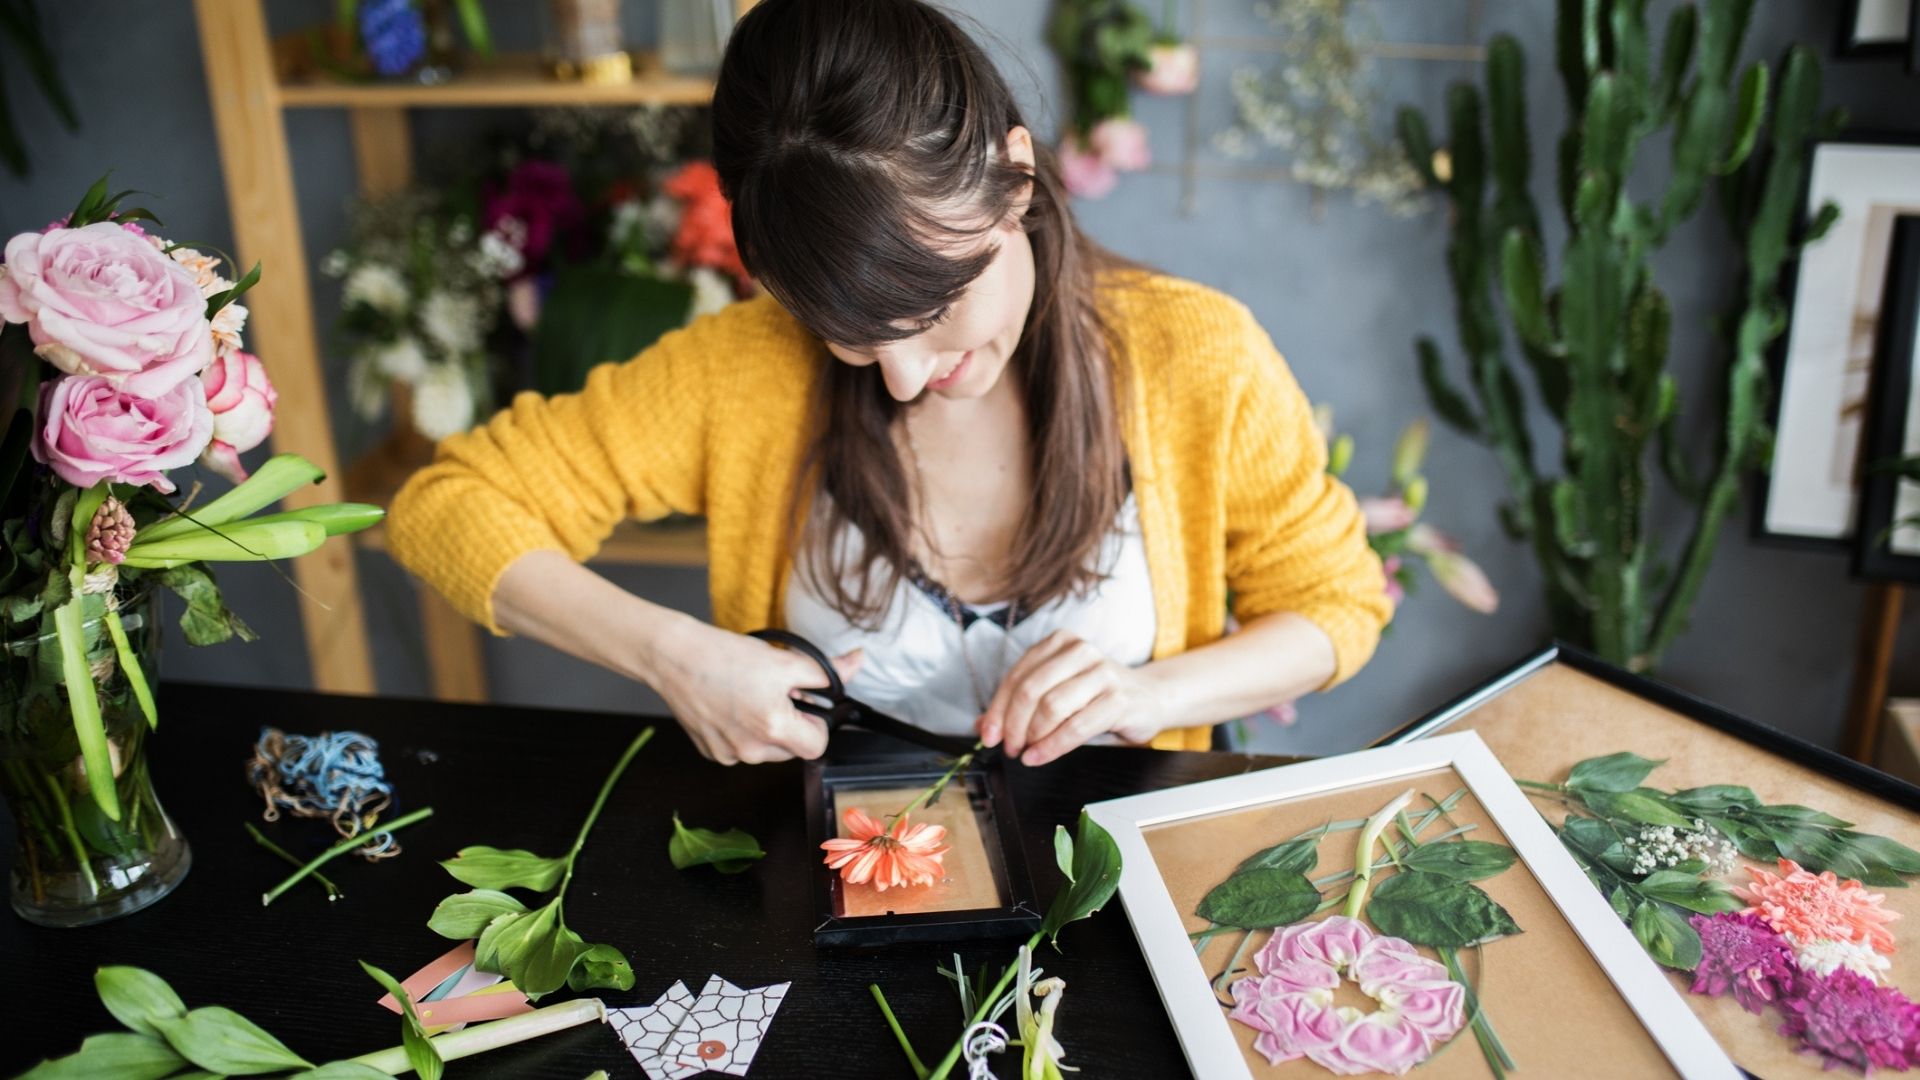
Love flowers but hate it when they die? Then this is the perfect craft for you! Pressing cut flowers into glass frames not only creates bespoke botanical art but it allows you to preserve special memories or home-grown floral favourites that allow you to bring the best of the great outdoors, indoors. To start, place your chosen flowers between parchment paper and press them under a few heavy books for a couple of weeks - essential for removing moisture, and preventing decomposition. Once dry, arrange the flowers in a glass frame, making sure the inside of the glass is spotless.
For an added visual pop, use a coloured card backing from the opposite side of the colour wheel, so for example, a teal blue card behind the muted red-orange petals of a poppy, or soft sage green paper behind a mauve-pink hyacinth. The effect will create a silhouette of striking contrast.
Make pasta from scratch
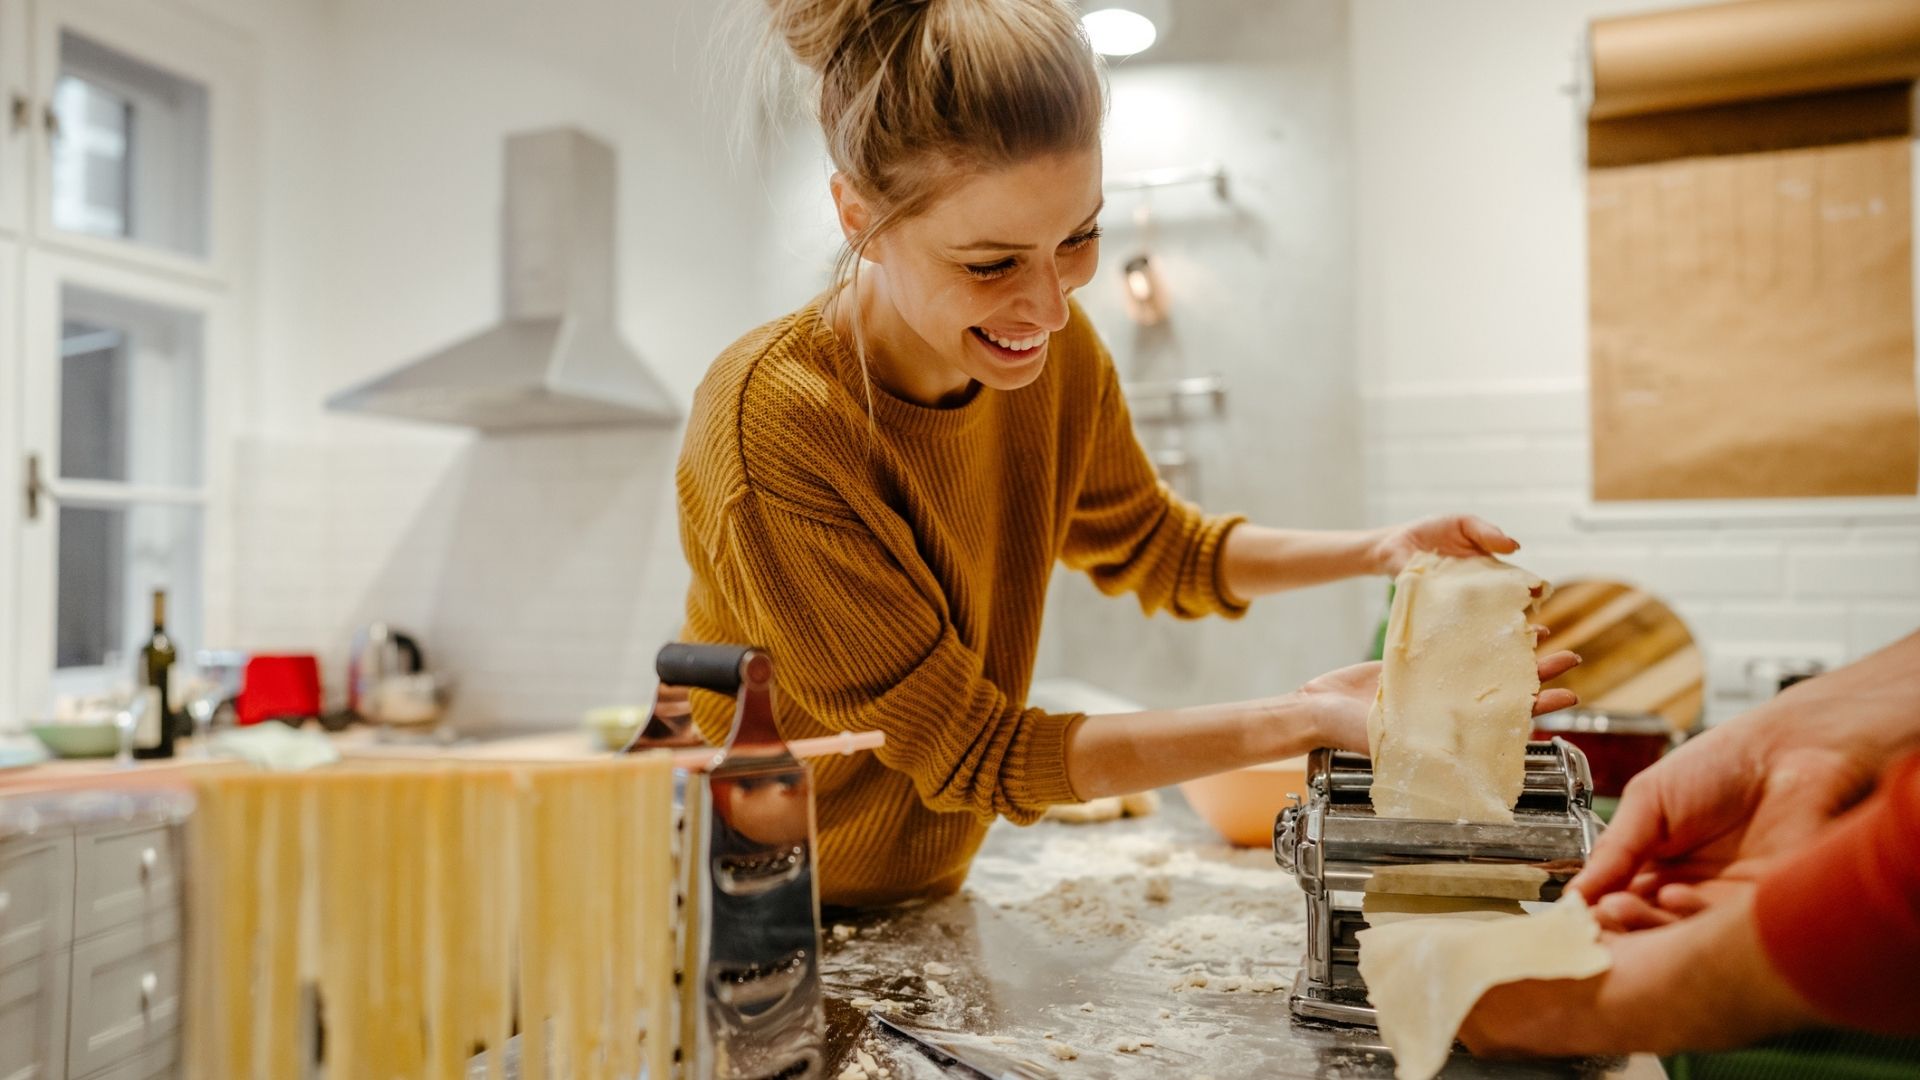
Making pasta from scratch is a rewarding (not to mention delicious) way to enjoy a timeless culinary craft. All you need is flour, eggs, a rolling pin, and a healthy dollop of patience. Combine flour and eggs to form a dough, knead until smooth, then let it rest before rolling it thinly on a floor-dusted countertop and shaping it into your desired pasta style, be it tagliatelle, raviolo, or lasagna sheets. You can even experiment with natural food colours to add a splash of vibrancy and subtle flavour to your meal. Blend cooked spinach for green pasta, tomato puree for red, squid ink for black, and beetroot for a purple hue. Buon appetito!
Build bespoke bath bombs
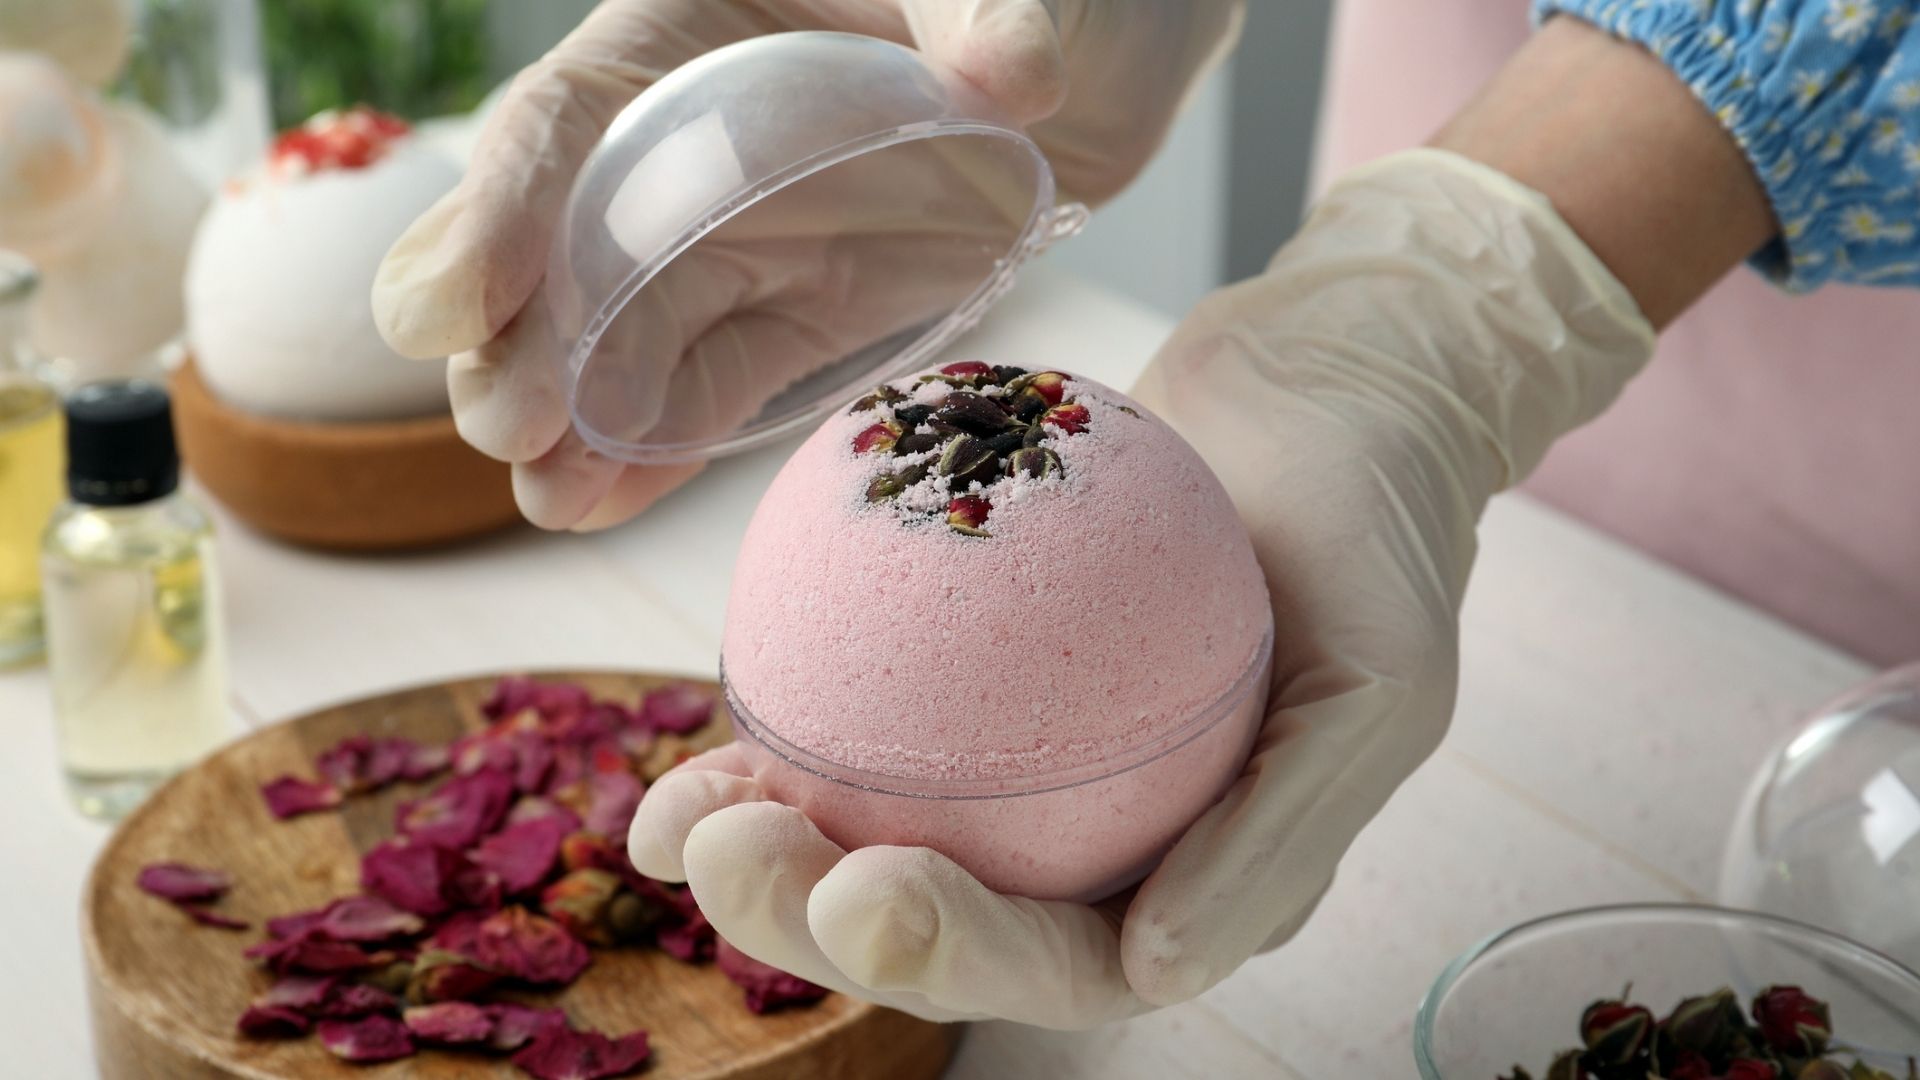
Add a touch of “plop, plink, and fizz” to your bath time routine, with a homemade bath bomb! They are so easy to make and smell amazing! You simply mix baking soda, citric acid, and cornstarch, with a little water to avoid premature fizzing. Wear gloves and use a special mould to shape your creations, but there’s nothing wrong with the classic orb. Personalise your bath bombs with colourful dyes and an array of your favourite essential oils.
If you're feeling adventurous, why not whip up a batch of bath bombs, each with a unique blend that'll suit your different moods? You could try citrus scents for an energising bathtime boost or dreamy vanilla and sandalwood for a soothingly serene soak. What’s more, many oils offer extra benefits too, like lavender, which can soothe sensitive skin, or eucalyptus, which is antibacterial. You could even add some petals from homegrown flowers for a professional and elegant touch.
Make a marble painting
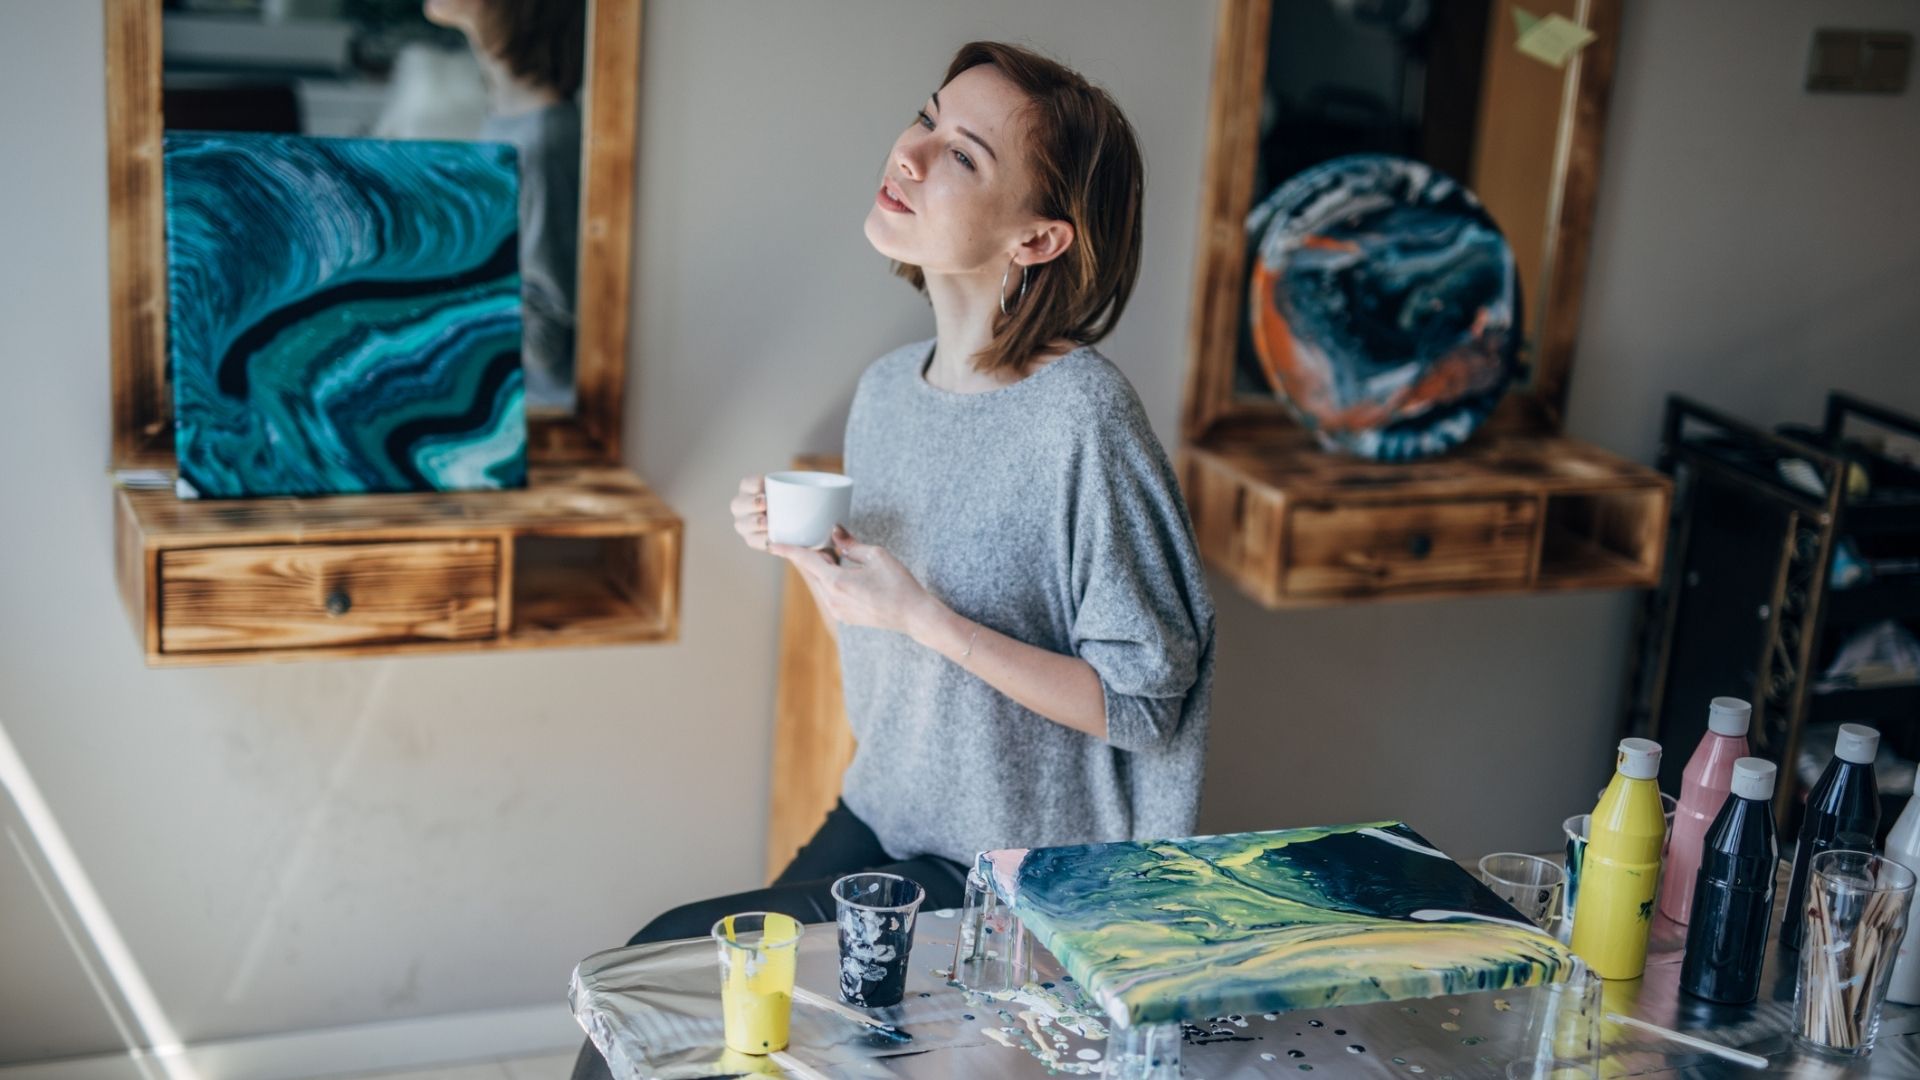
Acrylic marble painting can be messy (you’ll want gloves) but it’s a whole lot of fun. You use runny acrylic paint mixed with PVA glue (which ensures smooth blending and vibrant marbling) to create stunning, swirling patterns. If you’re new to the art it’s probably best to start with something like a pebble or coaster. Prepare your paints by mixing equal parts acrylic paint and PVA glue into separate cups (one for every colour you wish to use), then add water until it's of a pourable consistency.
The colour choice is completely yours but if you’re looking to save money, just opt for one colour - like dark blue, and white. That way you can dilute the colour paint with the white paint at different concentrations to create various shades. With your pourable paints at the ready, tip the colours one at a time into a puddle onto your surface, then lift it and gently swirl it by tilting it this way and that. You could use a stick or even blow through a straw to spread the paint. Once dry, seal with a resin or varnish for a glossy finish, Mod Podge is a strong favourite with crafters.
Embroider positive affirmations
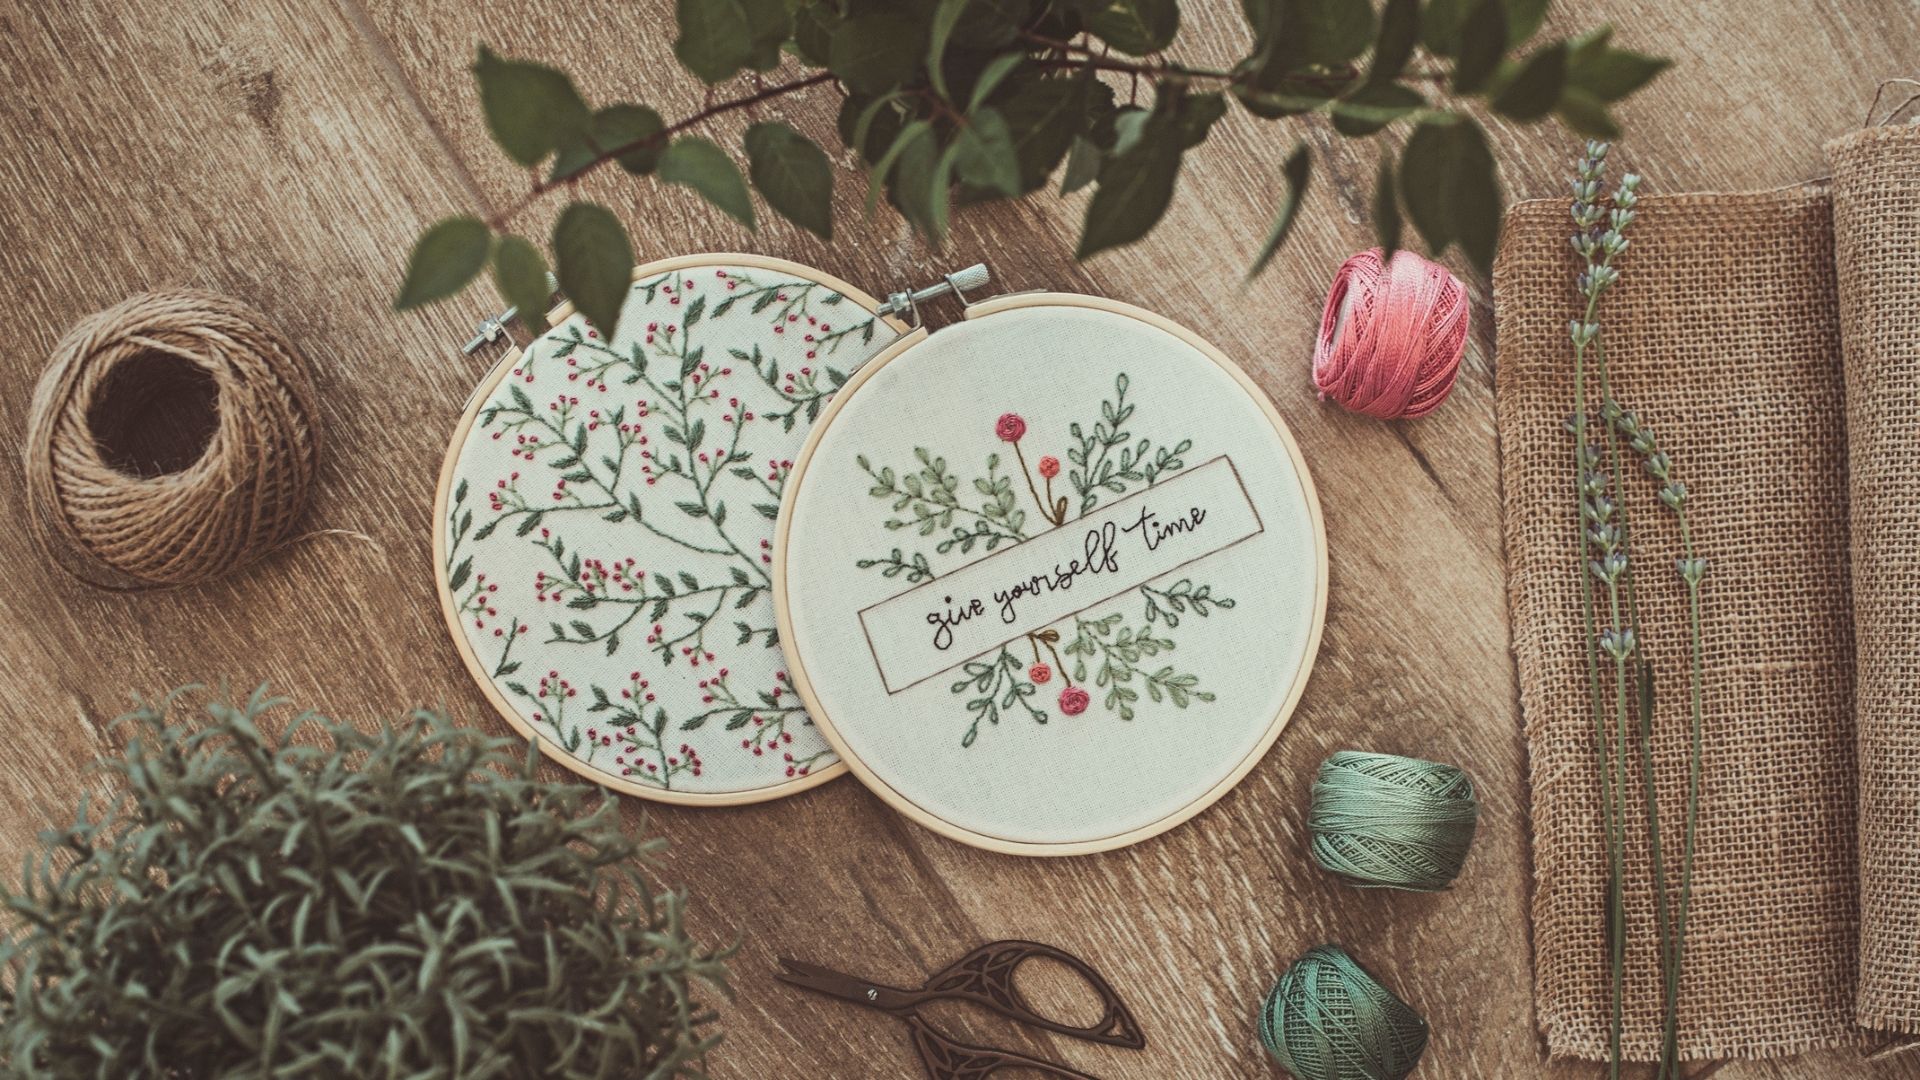
Embroidery is a beautifully mindful craft where you stitch intricate designs onto fabric, often using embroidery hoops to keep the fabric taut, and your work nice and neat. The inner ring holds the fabric, while the outer ring clamps it down securely. If you’re a complete beginner, you might want to just start with a simple pattern or one, all-encompassing positive word like “Love” or “Joy”, while practising the more basic stitches like the backstitch or satin stitch.
If you’re a bit of an embroidery pro, then flex your skills with raised stem stitches to create a 3D effect, weaving longer mantras such as “I am enough” or “Breathe. Believe. Achieve.” Or anything that's more personal to you!
Assemble a low-poly papercraft animal

Low-poly papercraft is a fairly new crafting trend that uses geometric paper shapes to create 3D sculptures with a cool, faceted look. Beginners should perhaps start with a pre-designed kit, which should include all the templates, instructions, and (sometimes) pre-cut paper you’ll need. Then just score and fold along lines, and carefully assemble the shapes by matching numbered tabs for a striking low-poly masterpiece. If you prefer a DIY approach, you’ll need cardstock, a craft knife, ruler, glue, and a good measure of patience!
Fashion new garments from old ones
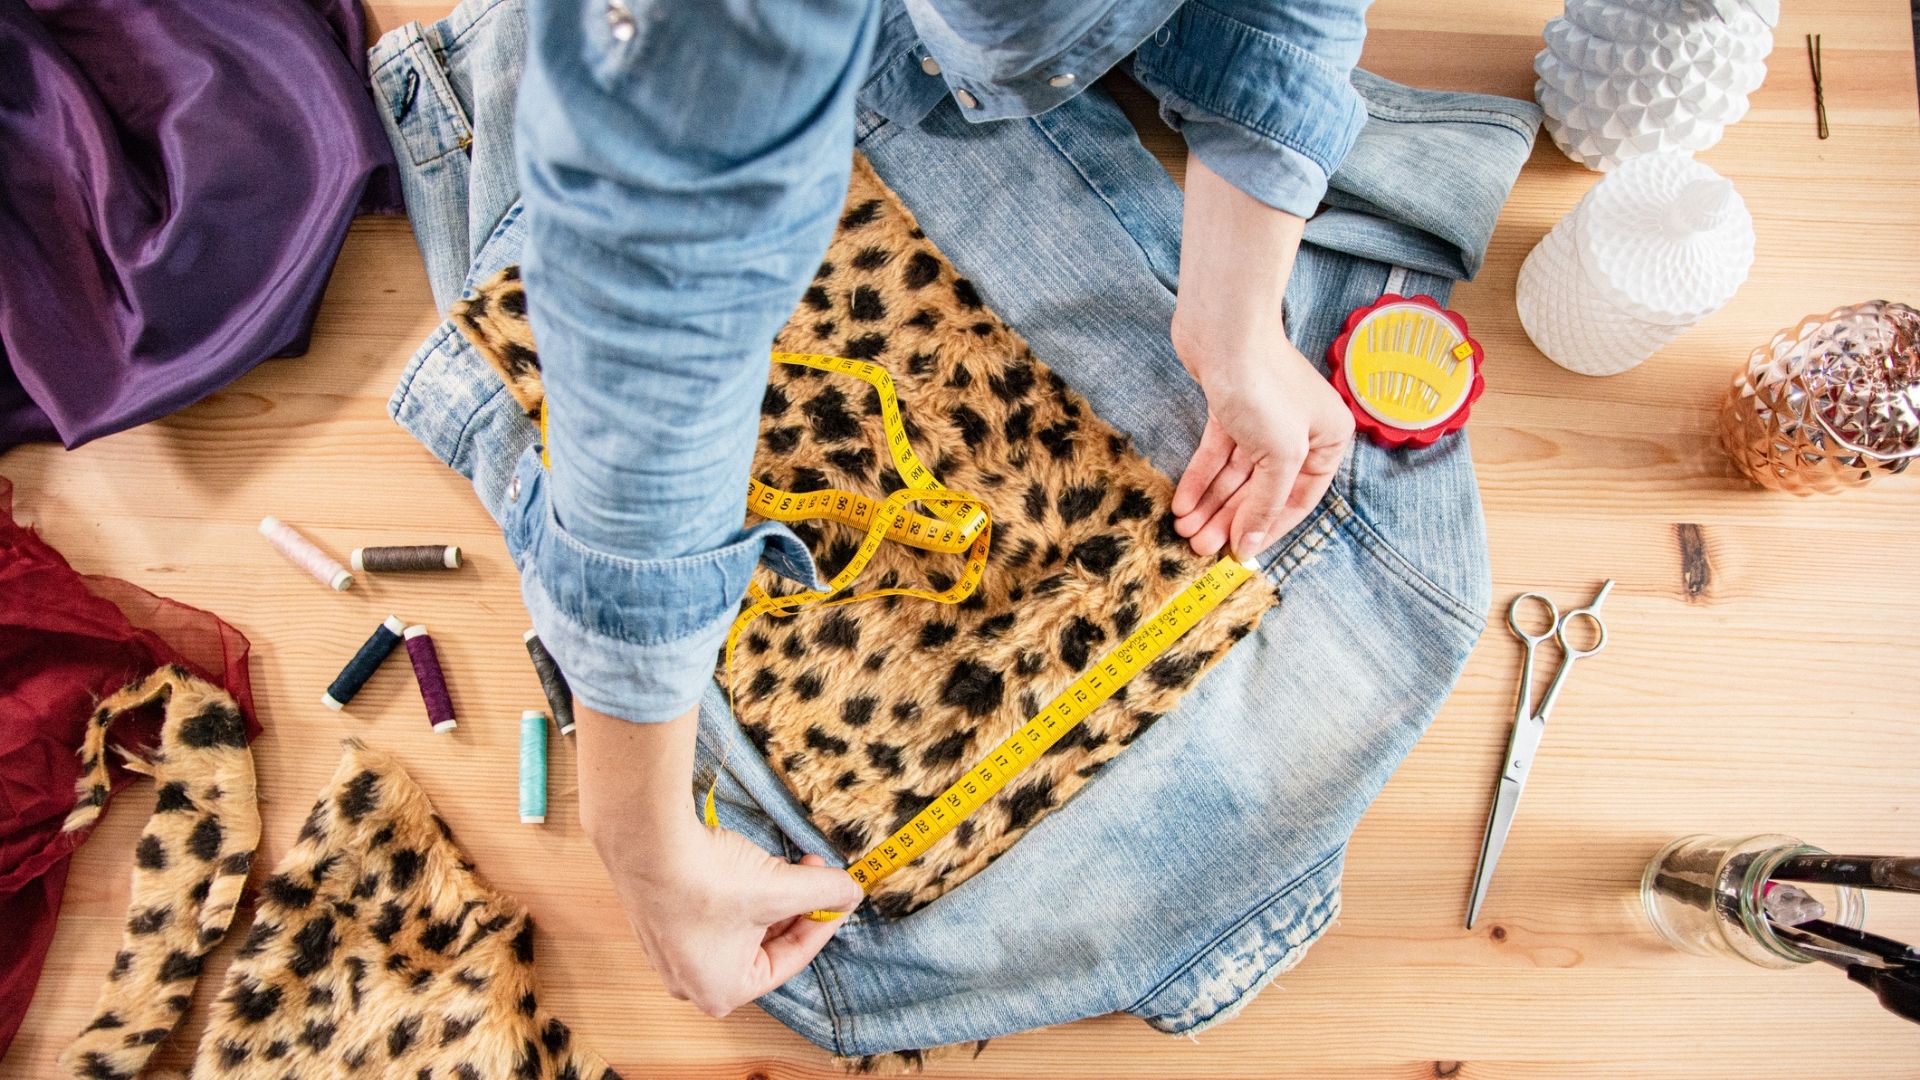
Whoever said “In with the new, and out with the old!” obviously hadn’t tried upcycling their clothes! Not only is it a super fun, and eco-friendly way to revamp your wardrobe, but you get to breathe new life into worn-out or fashion-forgotten garments on your own terms - particularly ideal if you’re holding on to items for sentimental reasons. For example, you could take that cute, but far too small jumper you wore on your first date and transform it into a chic tote bag or transform a once loved, now holey oversized shirt into a stylish crop top. You’ll need scissors, needles, thread, fabric glue, and maybe a few fun embellishments. No old clothes to spare? Just pop to your local charity shop for a treasure trove of unique finds, or explore online platforms like Vinted.
Pot up a plant lasagna

Potting up a “plant lasagna” is a beautiful, layered approach to creating a dense, stunning display of blooms that appear in turn over the season. If you want lots and a wider variety of blooms you should opt for a large container, while smaller pots accommodate fewer flowers and/or a smaller selection. The key is to give the bulbs plenty of space, so don’t overload the tub, instead plant up more pots!
Whatever size you go for, just make sure it has good drainage, then scoop in a base layer of compost to begin. The rule of thumb of where to place your bulbs is to bury the biggest and latest flowering bulbs at the bottom (as their emerging shoots will cascade around the obstacles overhead), and the smallest and earliest appearing blooms on the top layer, each covered with a several inch deep layer of compost. As a suggestion, try tulips at the bottom, narcissus (daffodils) in the middle, and crocus at the top. You might also like to incorporate; hyacinths, snowdrops and muscari, but whatever you choose, be sure to pot up the lasagna in the autumn and give it a good watering once it’s made.
Build a bug hotel
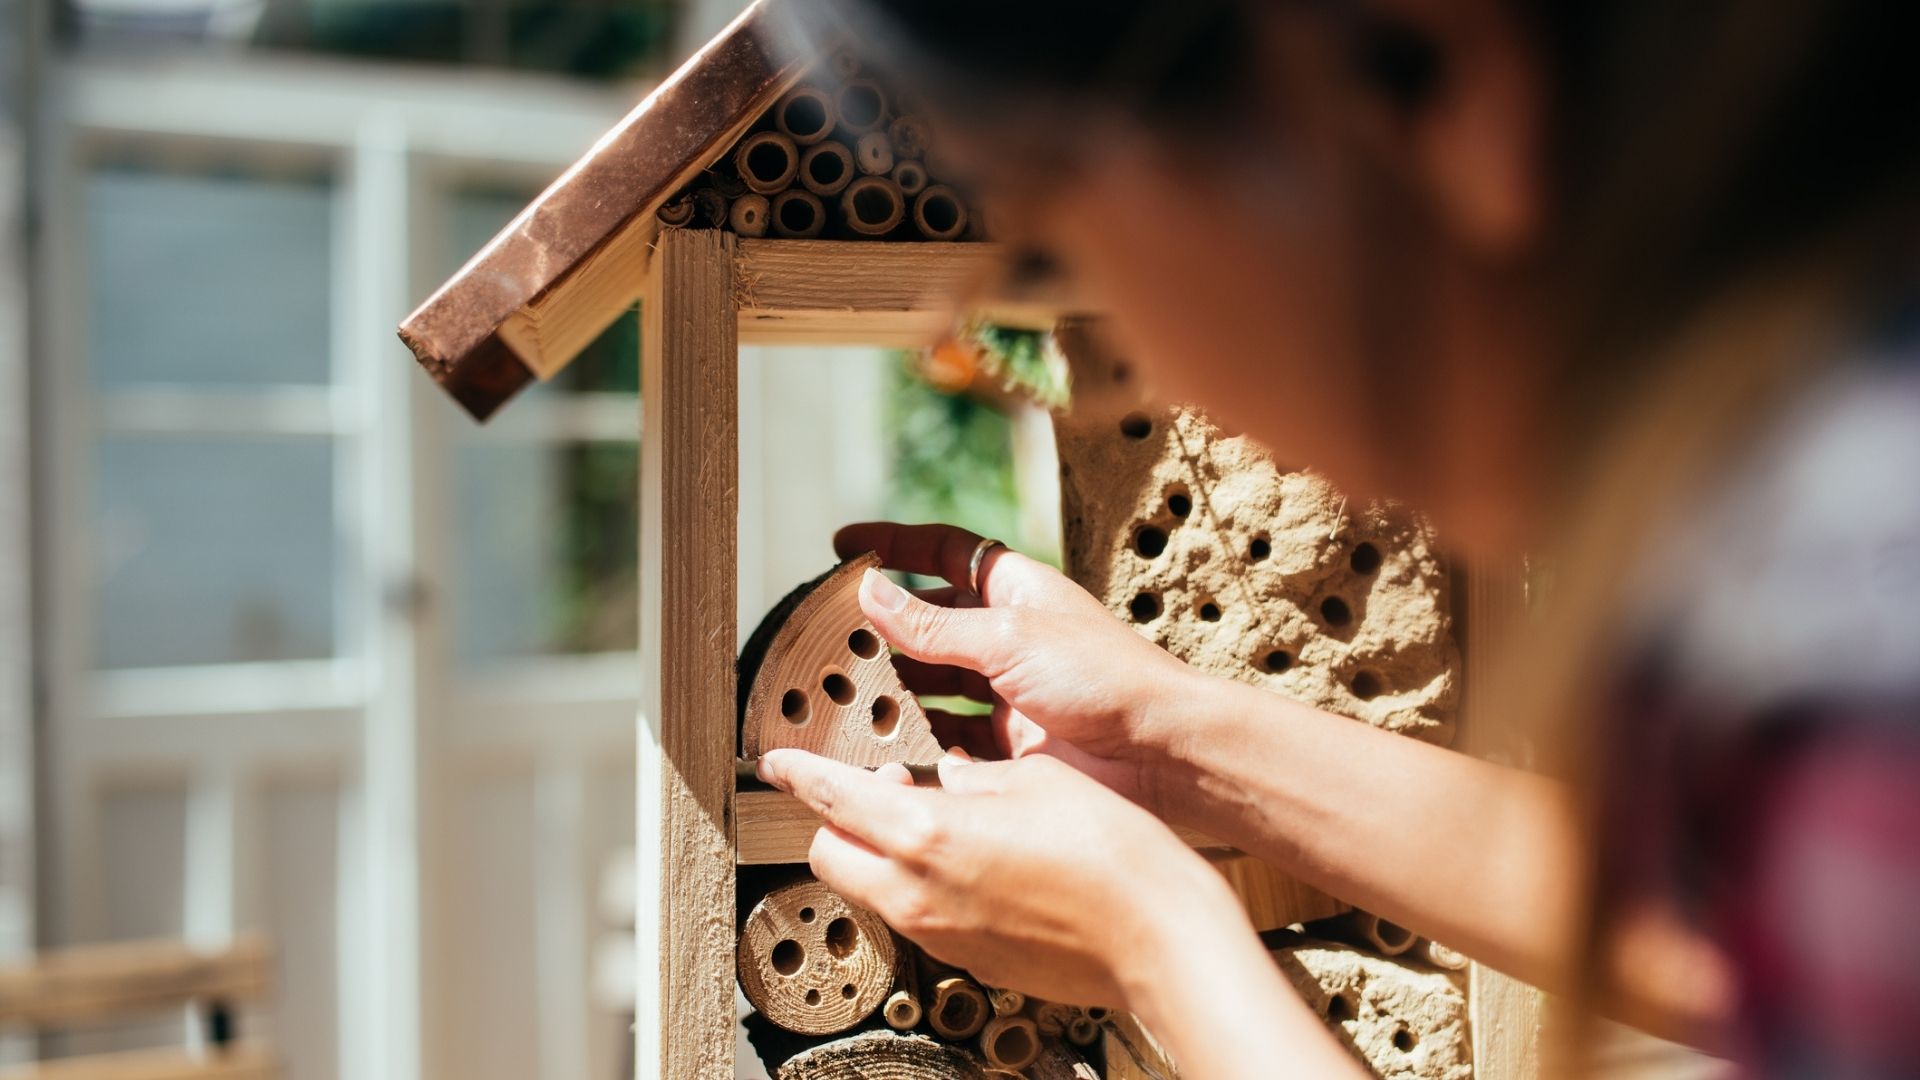
Lady creating a bug hotel
Building a bug hotel is a fantastic way to attract beneficial insects to your garden while sheltering them, and it's also a fun activity to do with children! Start with a sturdy wooden box or frame, something like a wooden wine crate is perfect, then divide it into sections known as “rooms” using wooden slats if you have them. Make each room unique by piling in materials insects love, like twigs, bamboo canes, pinecones, bark, straw, large stones, or if you can, drill some holes into an old brick. The key is to stack and arrange everything tightly, but ensuring there are still plenty of small crevices, then pop it in a partially sunny, sheltered spot near plants, and watch as the biodiversity of your garden soars!
Invent a new recipe

Whip up a storm in the kitchen, creating a culinary treat that'll dazzle your tastebuds! If you're unsure where to begin, try blender-based concoctions like soups and smoothies, but if you’re feeling daring - impress with a three-course dinner party entirely of your own making, and why not throw in a signature cocktail or two too? There are no rules here - just some advice: experiment with flavours, cater to your dietary needs, add a fresh twist to classics, or explore fusion cooking by combining staples from different cultures. Prioritise seasonal, local ingredients and remember, “what grows together, goes together” for the most harmonious blends. Taste as you go, balance sweet, salty, and acidic elements, and don’t fear spices! If it all starts to feel a bit overwhelming, simplify - just centre the meal around one standout ingredient.
Prepare your own lavender bags
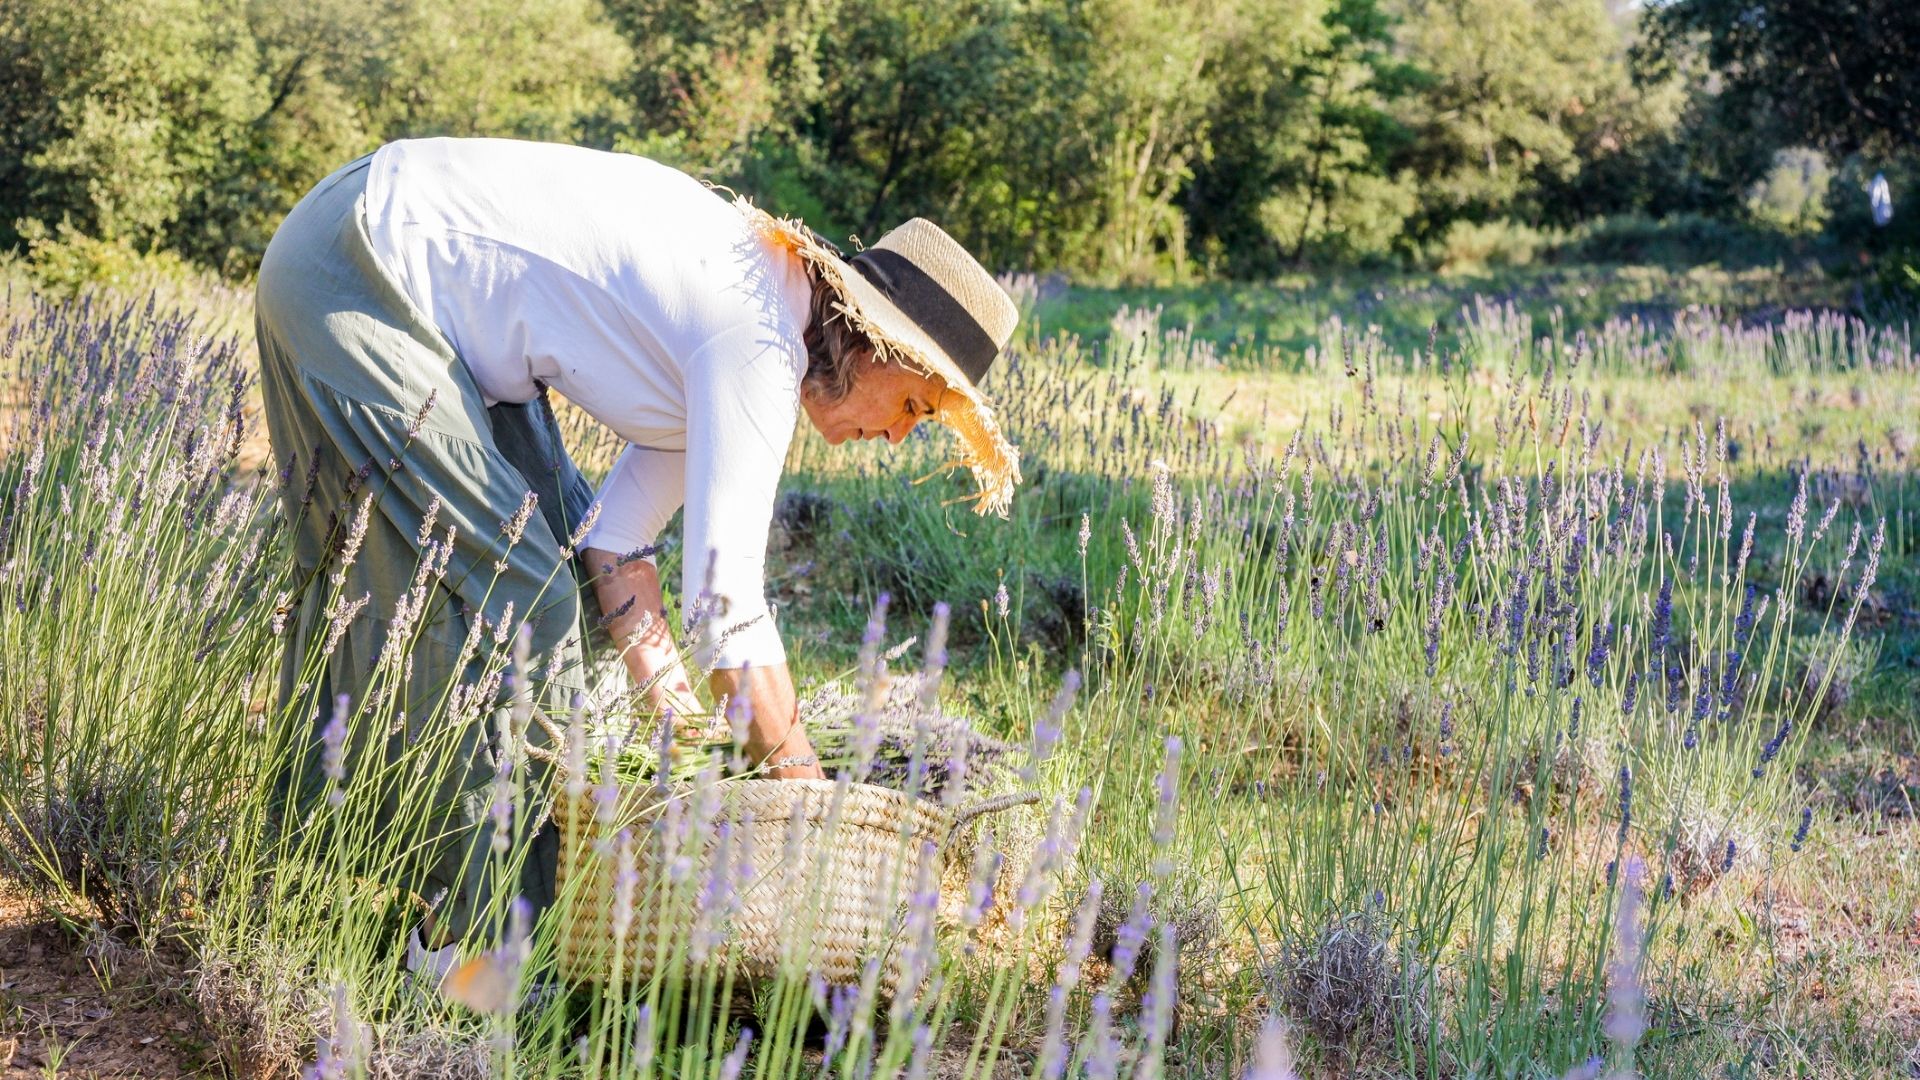
Keep moths at bay and drawers smelling florally fresh with homemade lavender bags! It's best to use homegrown lavender, but shop-bought works too. Start by harvesting the plant when the flowers are in full bloom on a dry morning sometime between June and August (but this may vary based on your location). Tie in small bundles and hang these upside down in a dark, airy spot for 1 to 2 weeks to get rid of any remaining moisture, as this could encourage mould. Meanwhile, make your bag by upcycling cotton fabric from an old T-shirt. Simply cut the garment into squares, then sew the edges with an easy running stitch and fill with dried lavender petals, finishing off with a pretty length of ribbon to keep it closed. These fragrant sachets can last up to a year and are perfect for popping in clothes drawers, wardrobes, or under pillows for a calming night’s sleep.
Not a fan of lavender? Other dried flowers like rose petals or chamomile add lovely aromas too!
Paint an outdoor landscape

Be it mountainscapes, forests and woodlands, a coastal scene, or even your local parkland, painting outdoors is a holistic way to boost your mental wellbeing while connecting with nature. You’ll want to pack a portable easel, a selection of brushes, your chosen paints (oils, acrylics, or watercolours), a palette, canvas or paper, and a water container or solvent. A “good” composition often balances foreground, middle ground, and background, so aim for an interesting landscape that features manmade or natural landmarks and other elements, such as contrasting light and shadows, leading lines like paths or rivers, and focal points such as trees or buildings. If you’re uneasy about getting started, scope out a local day class, weekend workshop, or painting holiday to ensure you have all the right tools and advice, not to mention inspiring settings and creative camaraderie.
Learn an instrument

The key to this is choosing an instrument you’ve always wanted to try or love to listen to. Beginner-friendly options like the ukulele, keyboard, recorder and harmonica are said to be some of the easiest to master and therefore are great for building confidence. When it comes to practice, consistency is key, so try to carve out time every day to improve this skill. You’re sure to find local classes and secondhand instruments online and check out video-sharing sites like YouTube for online tutorials.
Create a calendar with your own photos

Whether it’s a memento for yourself or a thoughtful gift for a loved one, creating a calendar with your own photos is a wonderful way to showcase your memories and creativity! If you decide to take new images especially for this project, natural light is almost always the most flattering. Compose using the rule of thirds, and experiment with different angles to keep compositions interesting. When it comes to curating your pics, consider including seasonal landscapes, family moments, pets, or nature close-ups to make each month relevant. Websites like Photobox, Snapfish, or Funky Pigeon offer user-friendly tools to create and print your custom calendar.
Weave a wicker basket
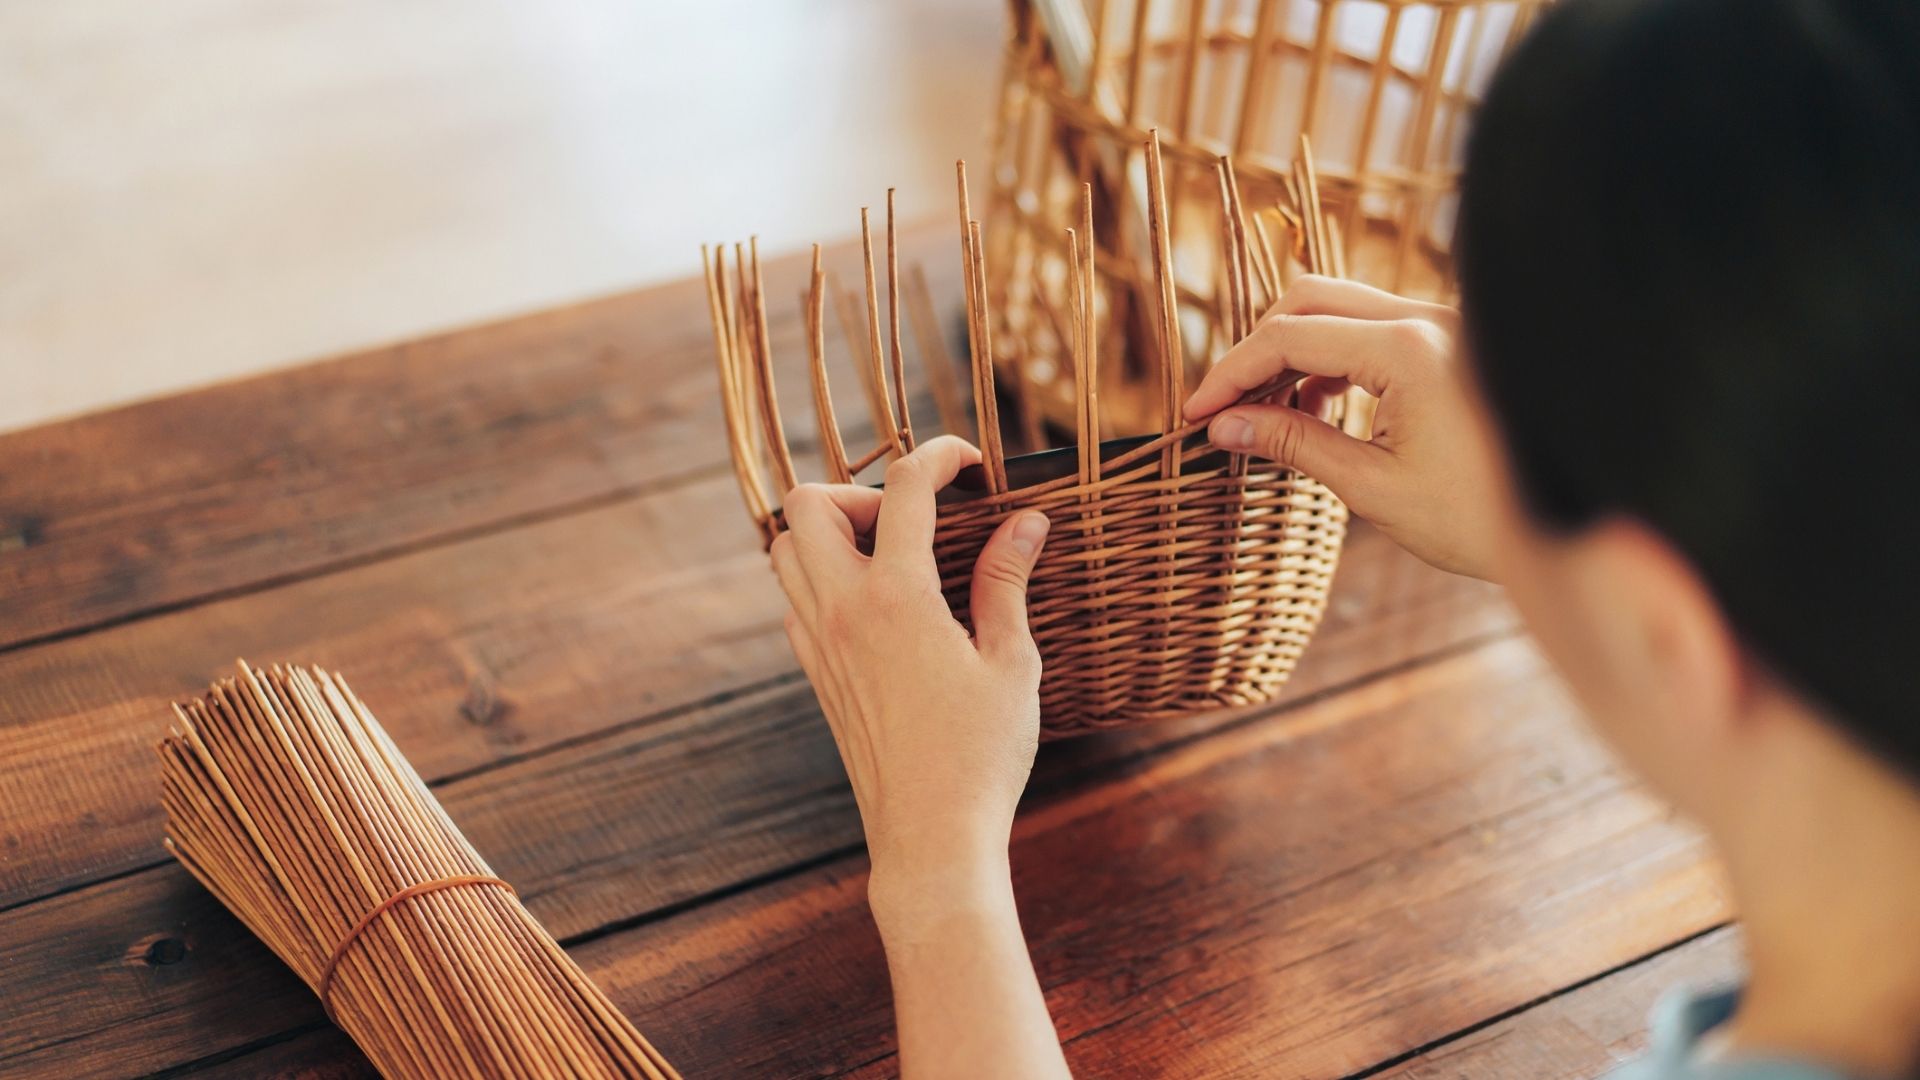
Wicker baskets are a timeless classic, that are both functional and decorative! For this project you’ll need willow or rattan reeds, a soaking container, pruning shears, and a weaving base (wood or cane). Start by soaking the reeds in water to make them flexible, then secure your base with spokes (the upright sticks that form your basket’s structure). Then it’s time to get the weaving started! Do this by interlacing the reeds around the spokes, alternating over and under for even tension. Keep the weave tight but avoid snapping the material, and gently shape the basket as you go. Once you’ve trimmed the excess and tucked away the loose ends, your basket will be complete.
Assemble a bird house
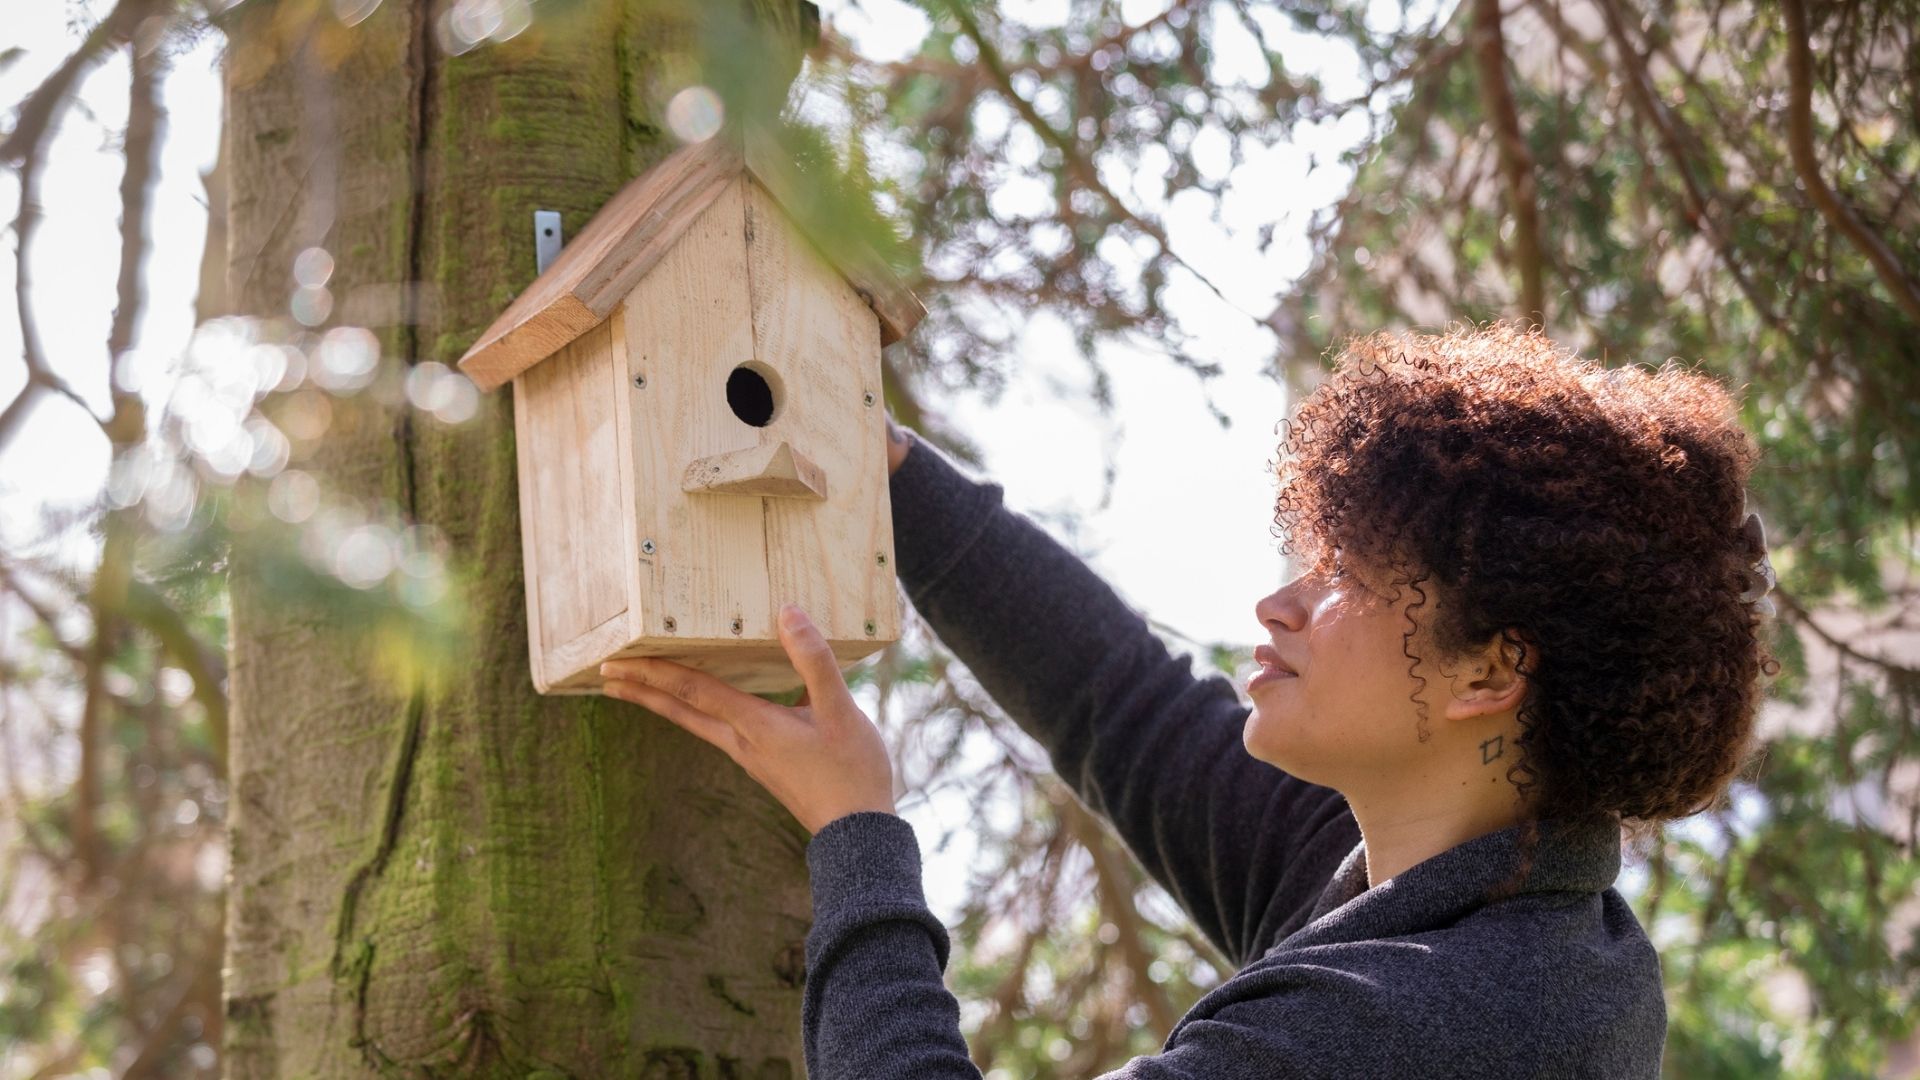
A birdhouse rolls out the welcome mat for a host of feathered friends, and what’s not to love about that? They naturally control the many pests that plague gardeners and offer soothing birdsong throughout the day. The easiest way to build a birdhouse is to buy a pre-cut kit (which you assemble at home) or join a local workshop, but if you’re feeling brave go the DIY route! It’s best to opt for untreated wood like cedar or pine for a safe, durable birdhouse. Cut panels for the base, sides, roof, and front with a hole sized for the birds you wish to attract. Sand the edges smooth, assemble with nails or screws, and add ventilation holes. Just be sure to mount the box high enough to keep them safe from predators.
Upcycle old furniture
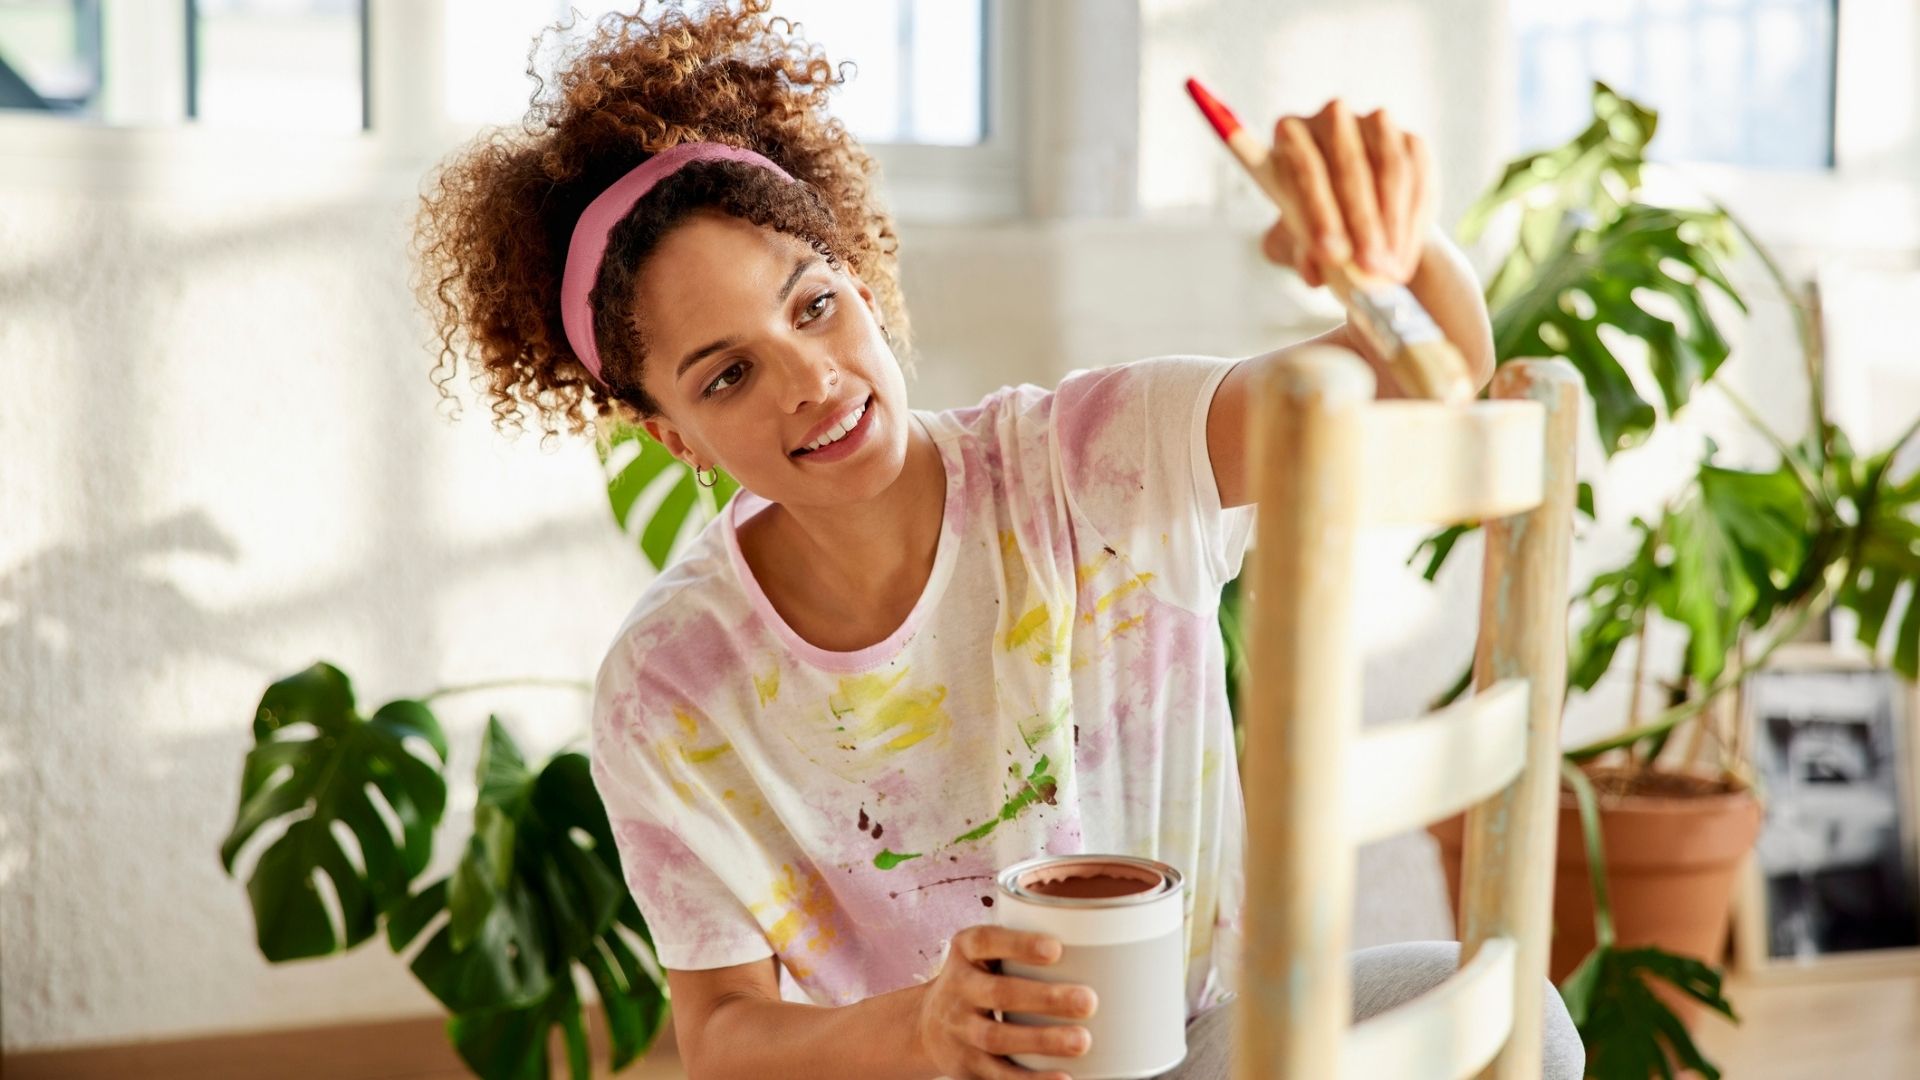
Transform dull, old furniture into unique, eye-catching décor while reducing waste and saving money through upcycling. This eco-friendly project allows you to express your creativity through painting, reupholstering, or repurposing. Painting is an easy entry point, but careful preparation is key for a lasting finish. Start by cleaning thoroughly and sanding surfaces to remove old, flaky paint and improve adhesion. Apply primer evenly, sweeping with the grain for a professional touch, then use quality furniture paint in your chosen shade, finishing with a varnish for durability. Get creative with decorative paper, fabric, stencils, or new handles for added flair!
Scapbook special memories
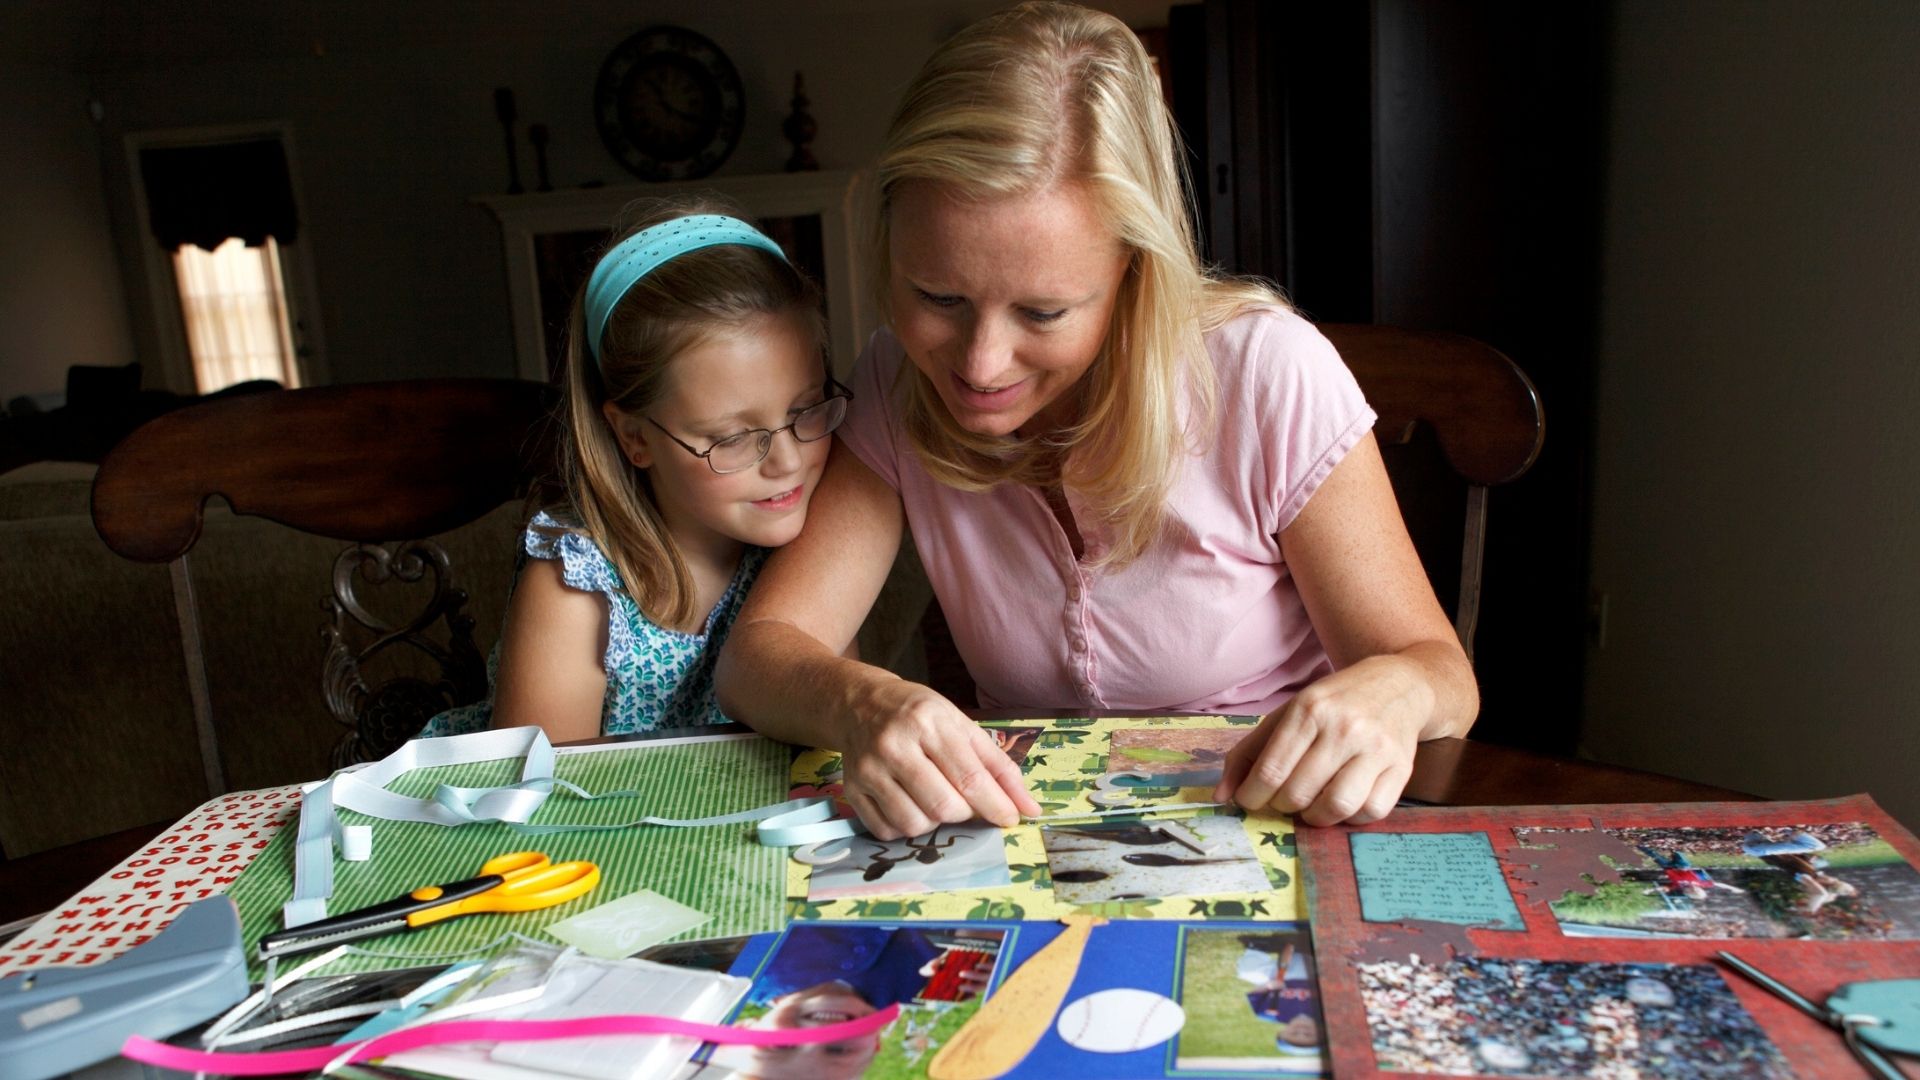
Transform your cherished memories into beautiful keepsakes with the art of scrapbooking! Before you start you’ll need to gather up all your items and plan how to group them, perhaps consider creating themes for different pages to add a personal touch. Choose a sturdy photo album or large scrapbook as your canvas, and go wild with decorative paper, stickers, and embellishments to enhance each layout. Don’t forget to add meaningful stories, dates, and locations alongside your photos to bring each memory to life, making every page a true treasure.
Macramé a plant hanger
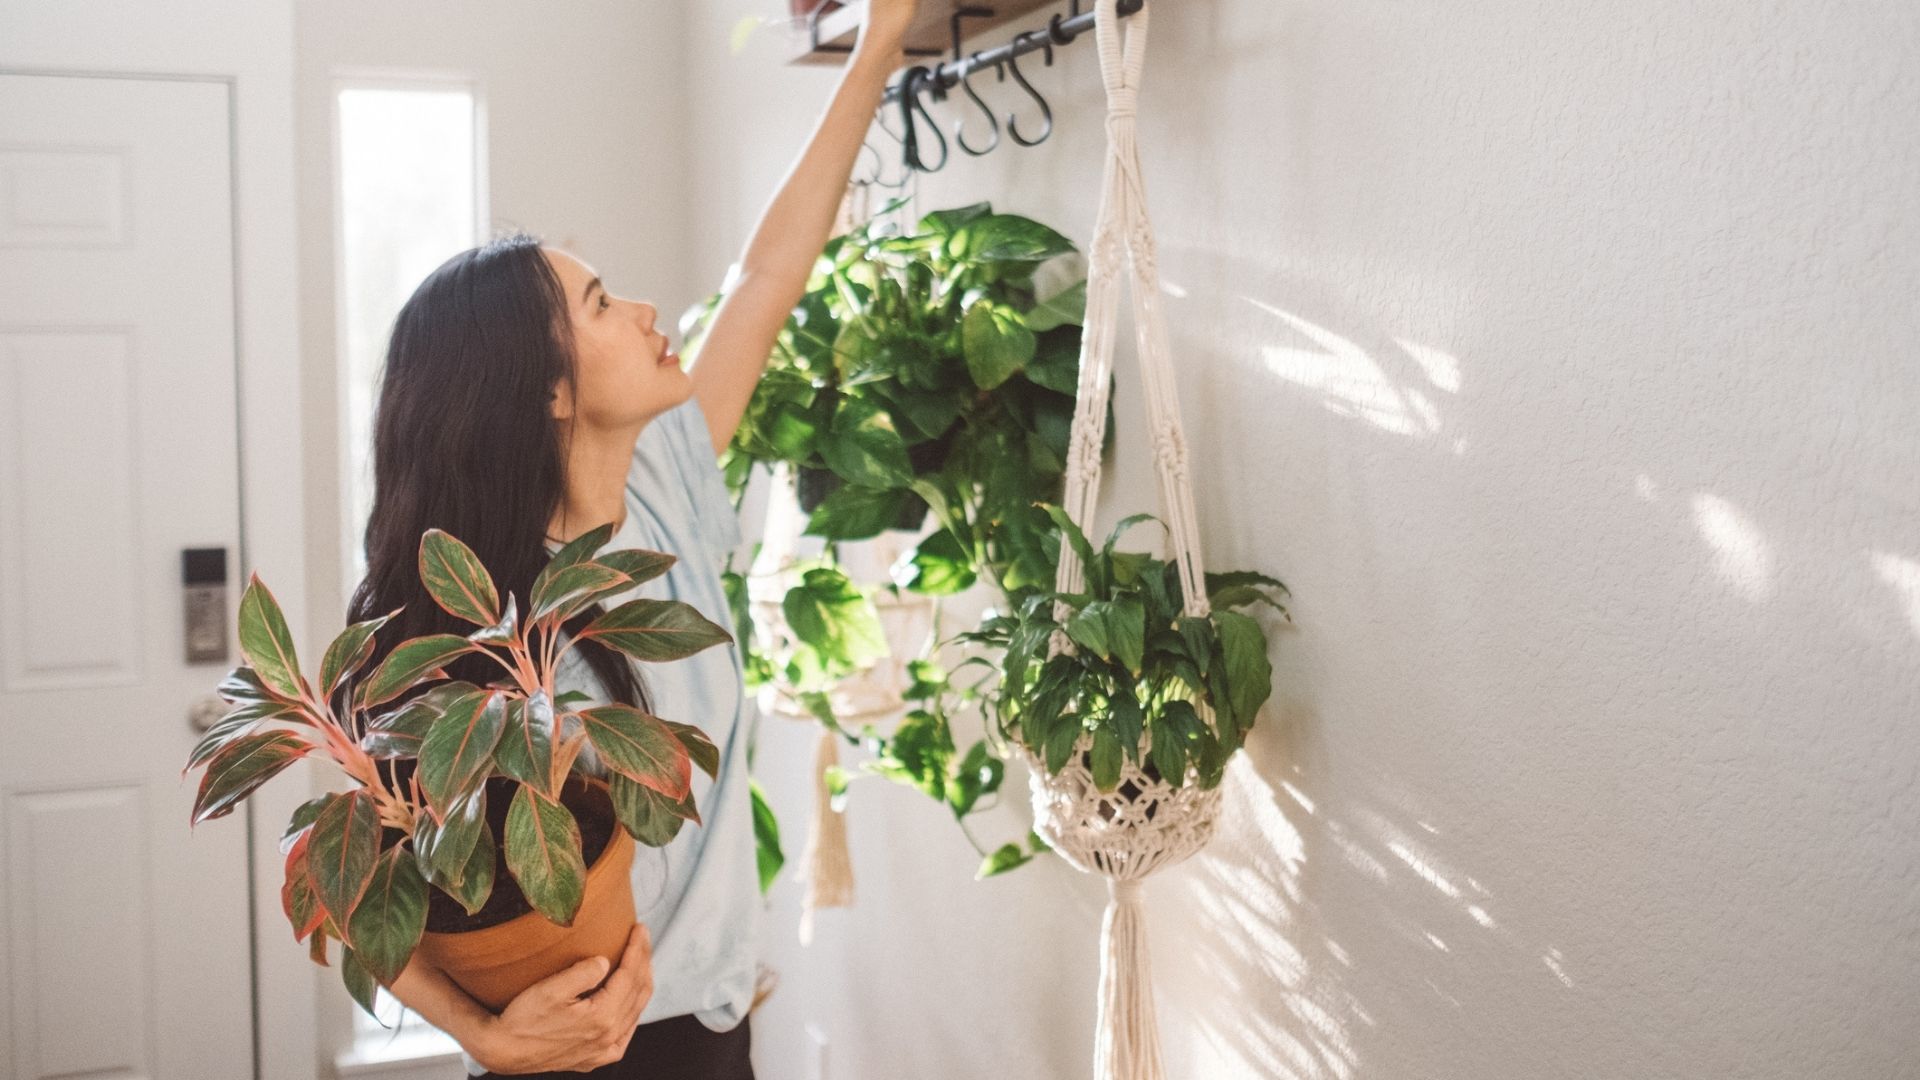
Macramé, the beautifully addictive art of knotting cords to create decorative items, is making a comeback! To create your own macramé plant hanger, you'll need approximately 5mm of thick cotton cord (white and cream shades work well), a metal or wooden ring, fabric scissors, an S hook (optional), a clothing rack for hanging, and of course a potted plant to pop inside.
The technique may sound a little tricky but is actually quite simple (and therapeutic) once you get the hang of it, but it might help to watch a few online video tutorials to fully grasp the process. In essence, however, you start by cutting four equal lengths of cord, folding them in half, and looping them through the ring to create eight strands. Knot the strands in pairs to form a base, then continue with square knots to create a basket shape. Adjust the length as needed and finish with a knot underneath the pot. For a boho touch, why not add wooden beads or glue on some seashells?
Print wrapping paper with homemade stamps
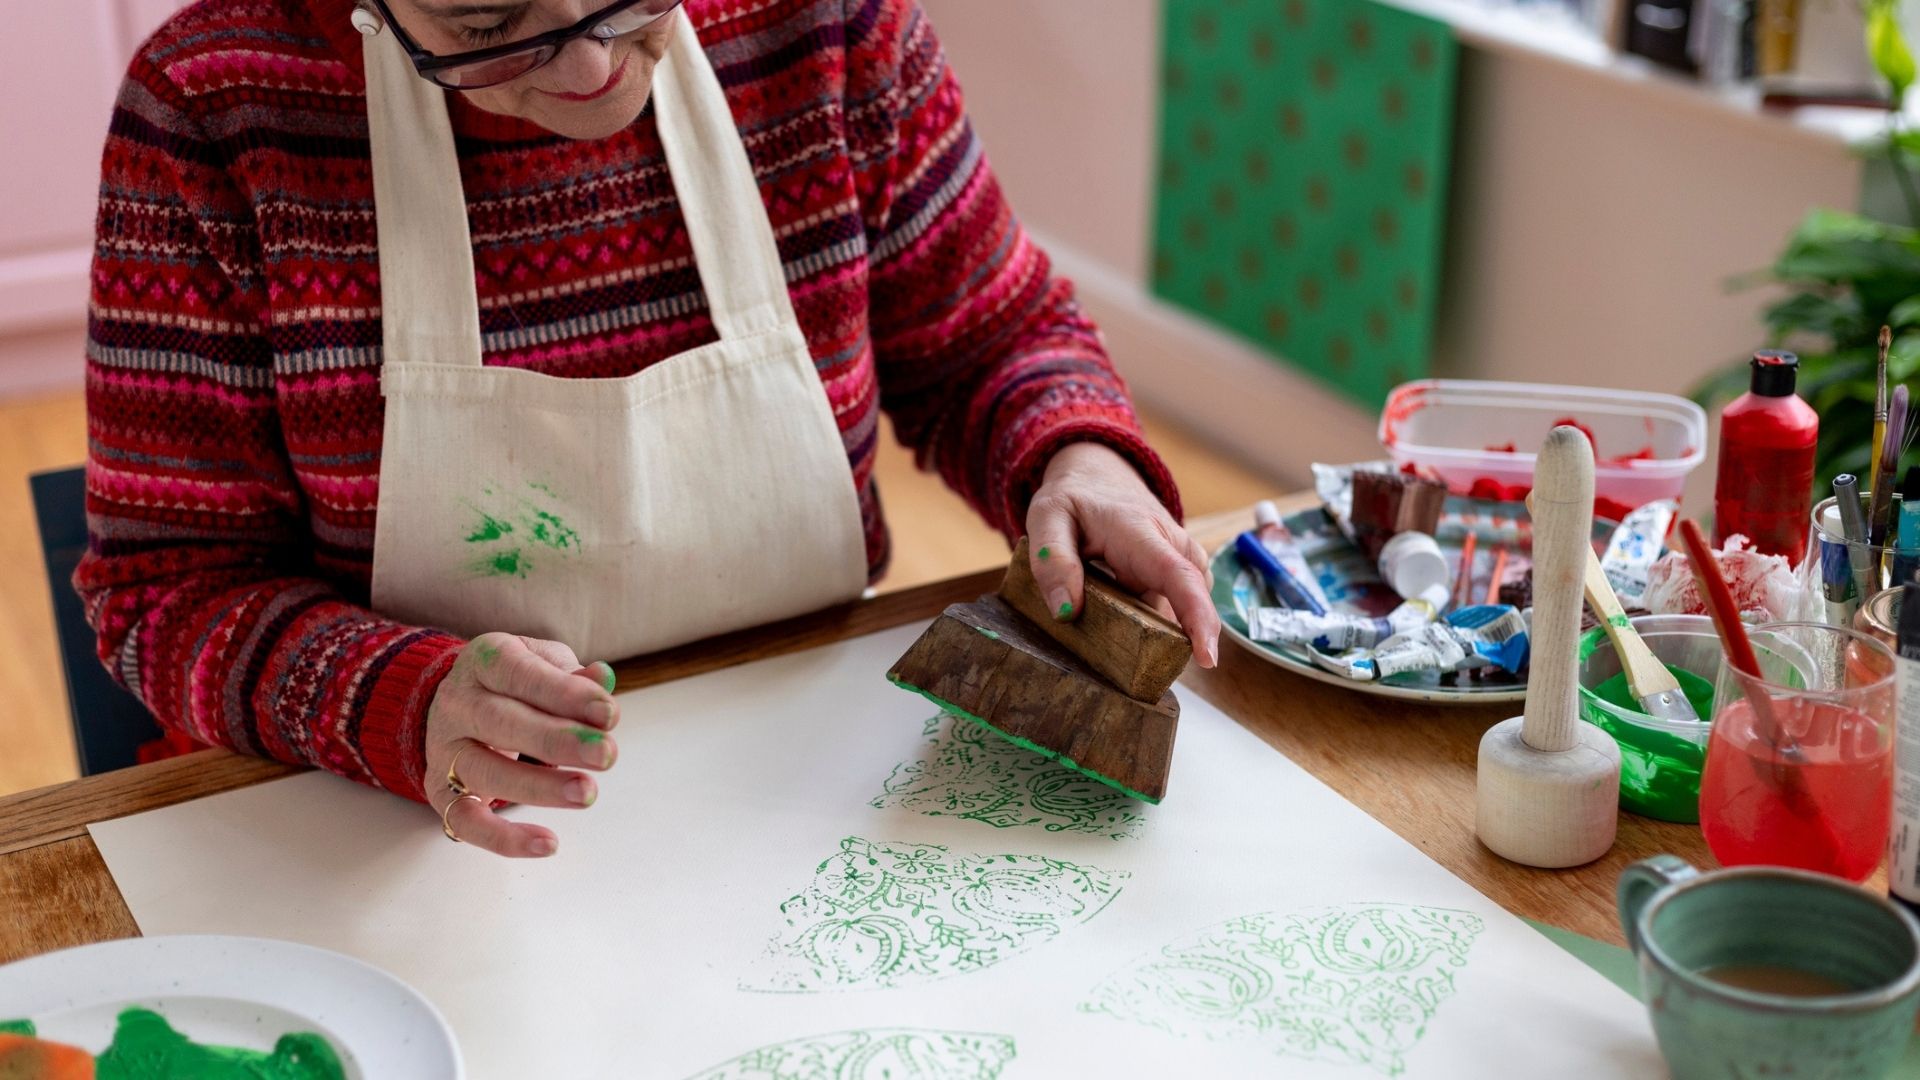
Creating custom wrapping paper using homemade stamps is super easy, lots of fun and can result in something really special that can be used to wrap a gift for someone important. You'll need craft paper, a carving block (or potatoes for a cheaper, easier-to-carve alternative), carving tools, paint, and a paintbrush or roller. Sketch a design on the block (or potato), then carefully carve around it, ensuring that your design is raised. Coat the design in paint using a brush or roller, being careful to only get the design part, then press it firmly onto the paper. Repeat in patterns or dab away randomly for a unique touch. Peg the pages on a line or spread them out across the table (or floor) to allow them to dry completely.
You could use different coloured paper or paints, or sprinkle on glitter for a layered effect, as well as experimenting with various designs, such as iconic holiday shapes, a person's initials, or geometric patterns.
Quilt a lap blanket
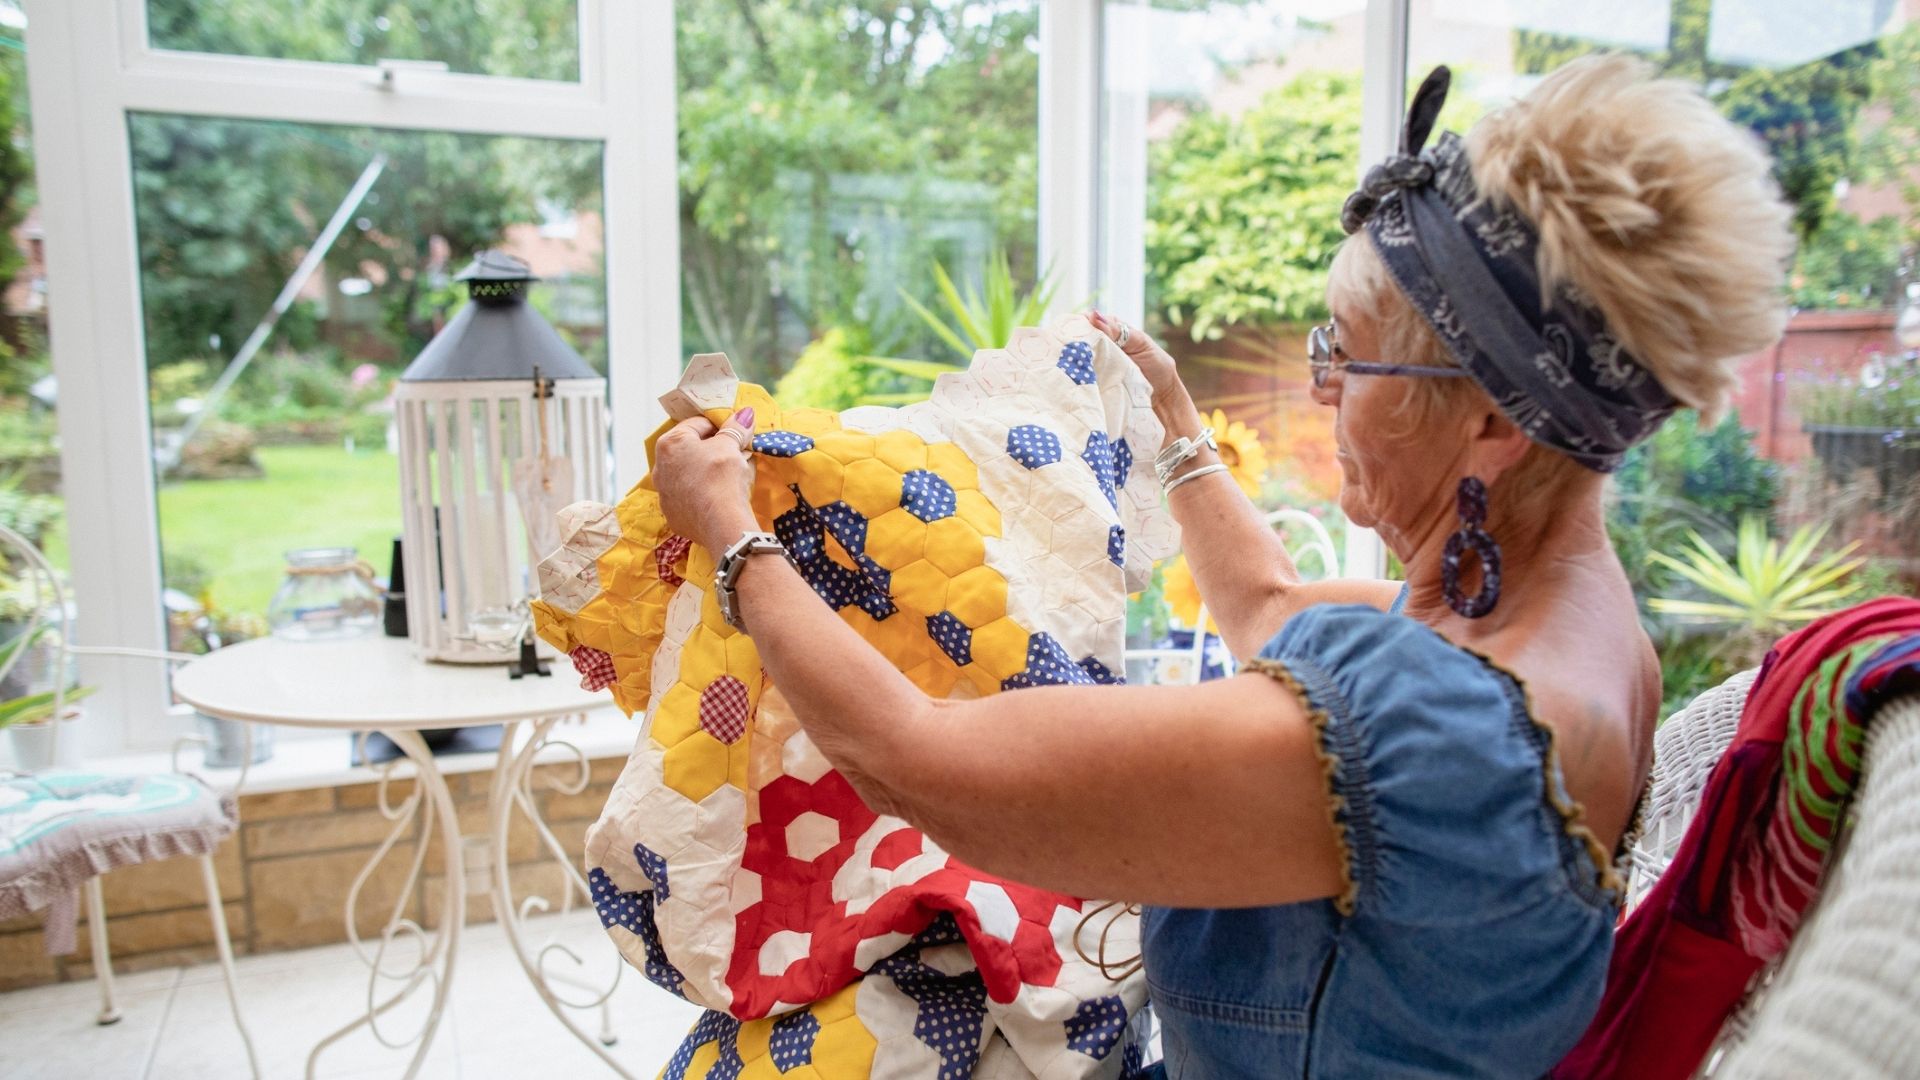
Whether it's a cosy gift for an elderly loved one, or perhaps something to keep yourself warm as the colder months draw in, a quilted blanket can be fully customised to your liking in terms of the design and the material you use. You'll need fabric for the top, batting for the middle, backing fabric for underneath, thread, a sewing machine, and quilting pins. Cut your top fabric into squares, hexagons, or whatever shape you desire, and sew the edges together in your desired pattern. Once this is complete, layer this on top of the batting and the backing, then pin it all in place.
Quilt the layers by sewing through all three materials, either following a specific design that you like or stitching straight lines - again this is your call. Trim the excess fabric and bind the edges with a folded fabric strip for a beautifully neat finish.
Make a seashell photo frame
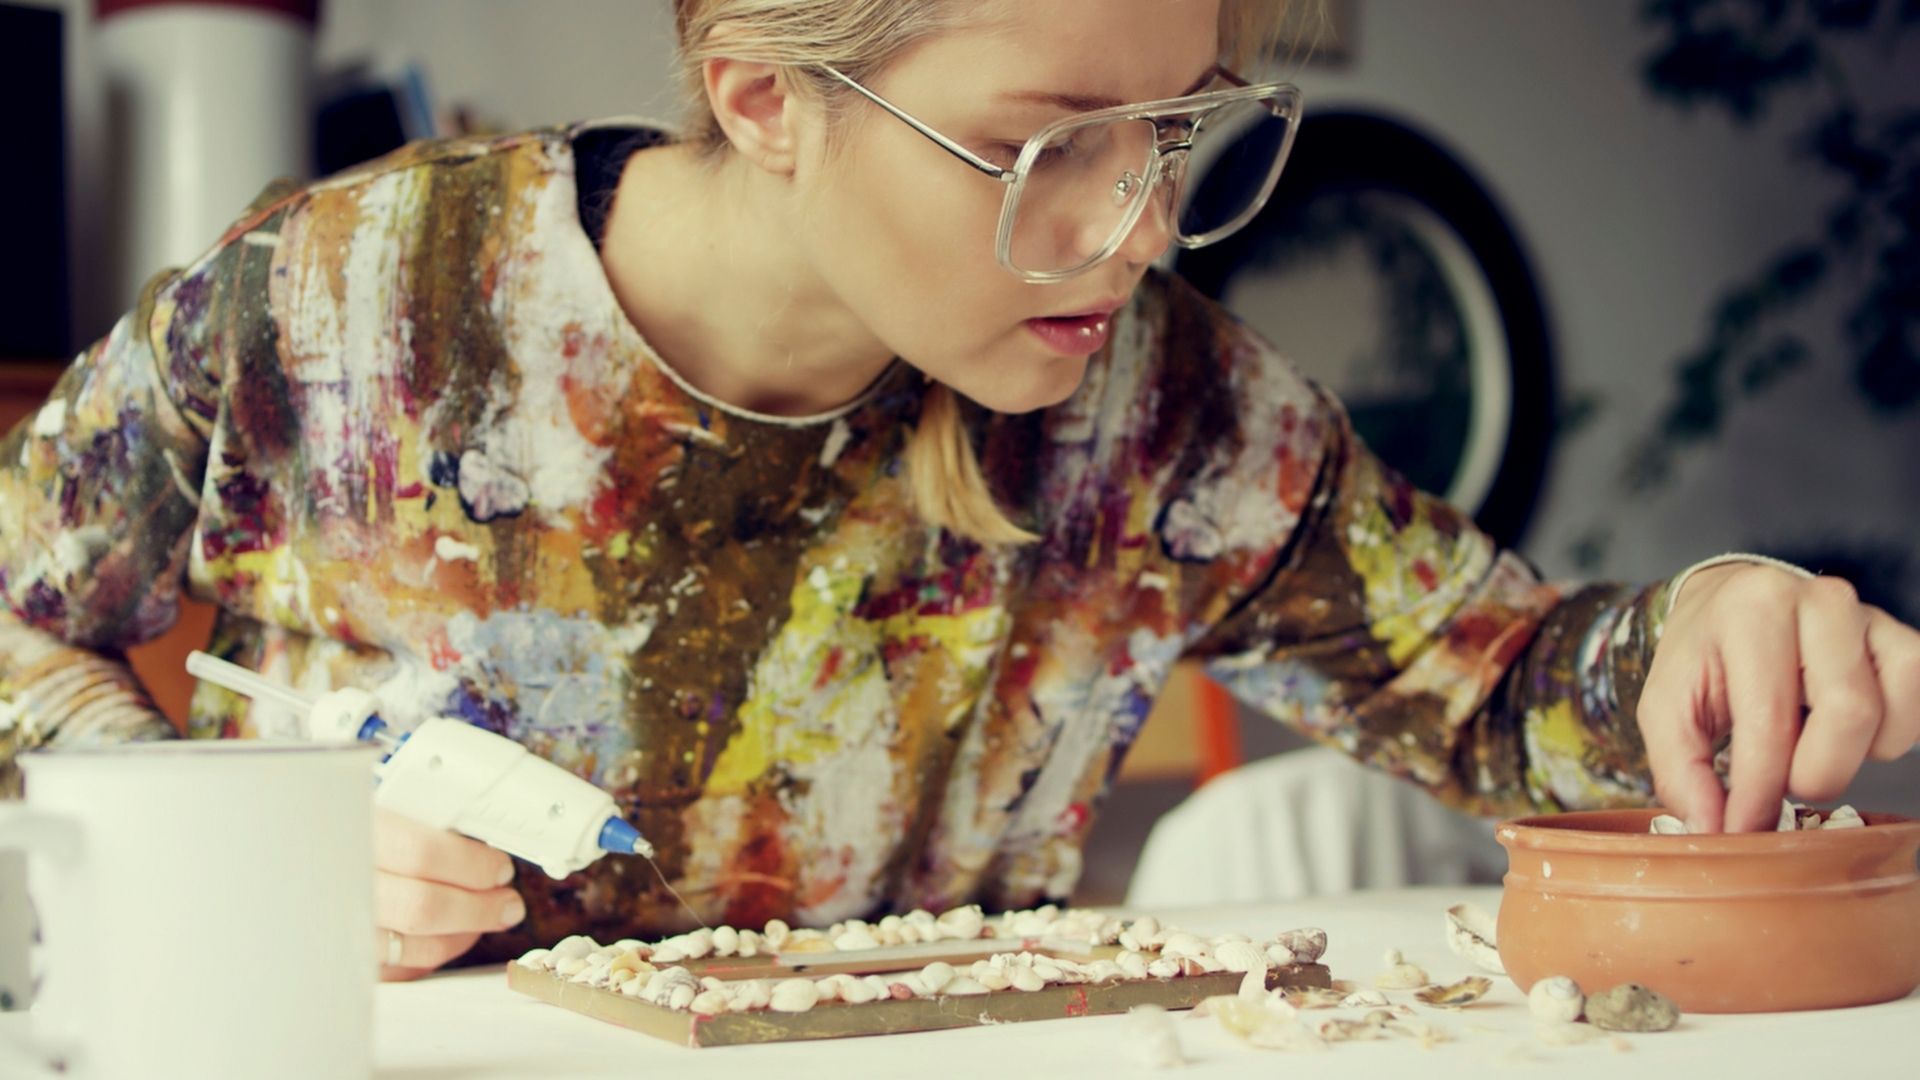
She sells seashells down by the seashore, which is handy because you aren't supposed to pocket the ones you find on the beach anymore. However you come by your seashells, to make a stunningly-decorated beach-themed photo frame, you'll also need a wooden or plain frame, strong glue, and any other optional embellishments that you might like to use such as sand, small stones, beads, etc.
If your shells aren’t pre-treated, you’ll need to clean them first to prevent mould, so soak them in equal parts water and bleach, rinse, and dry. For added shine, a touch of vinegar works wonders, and you can seal it with a clear varnish or spray for lasting protection. With your washed shells at the ready, arrange them on the frame to find a design you love, then glue everything in place, leaving it to dry completely. If you’re feeling particularly handy, you could even fashion your own frame out of driftwood.
Crochet a stuffed toy
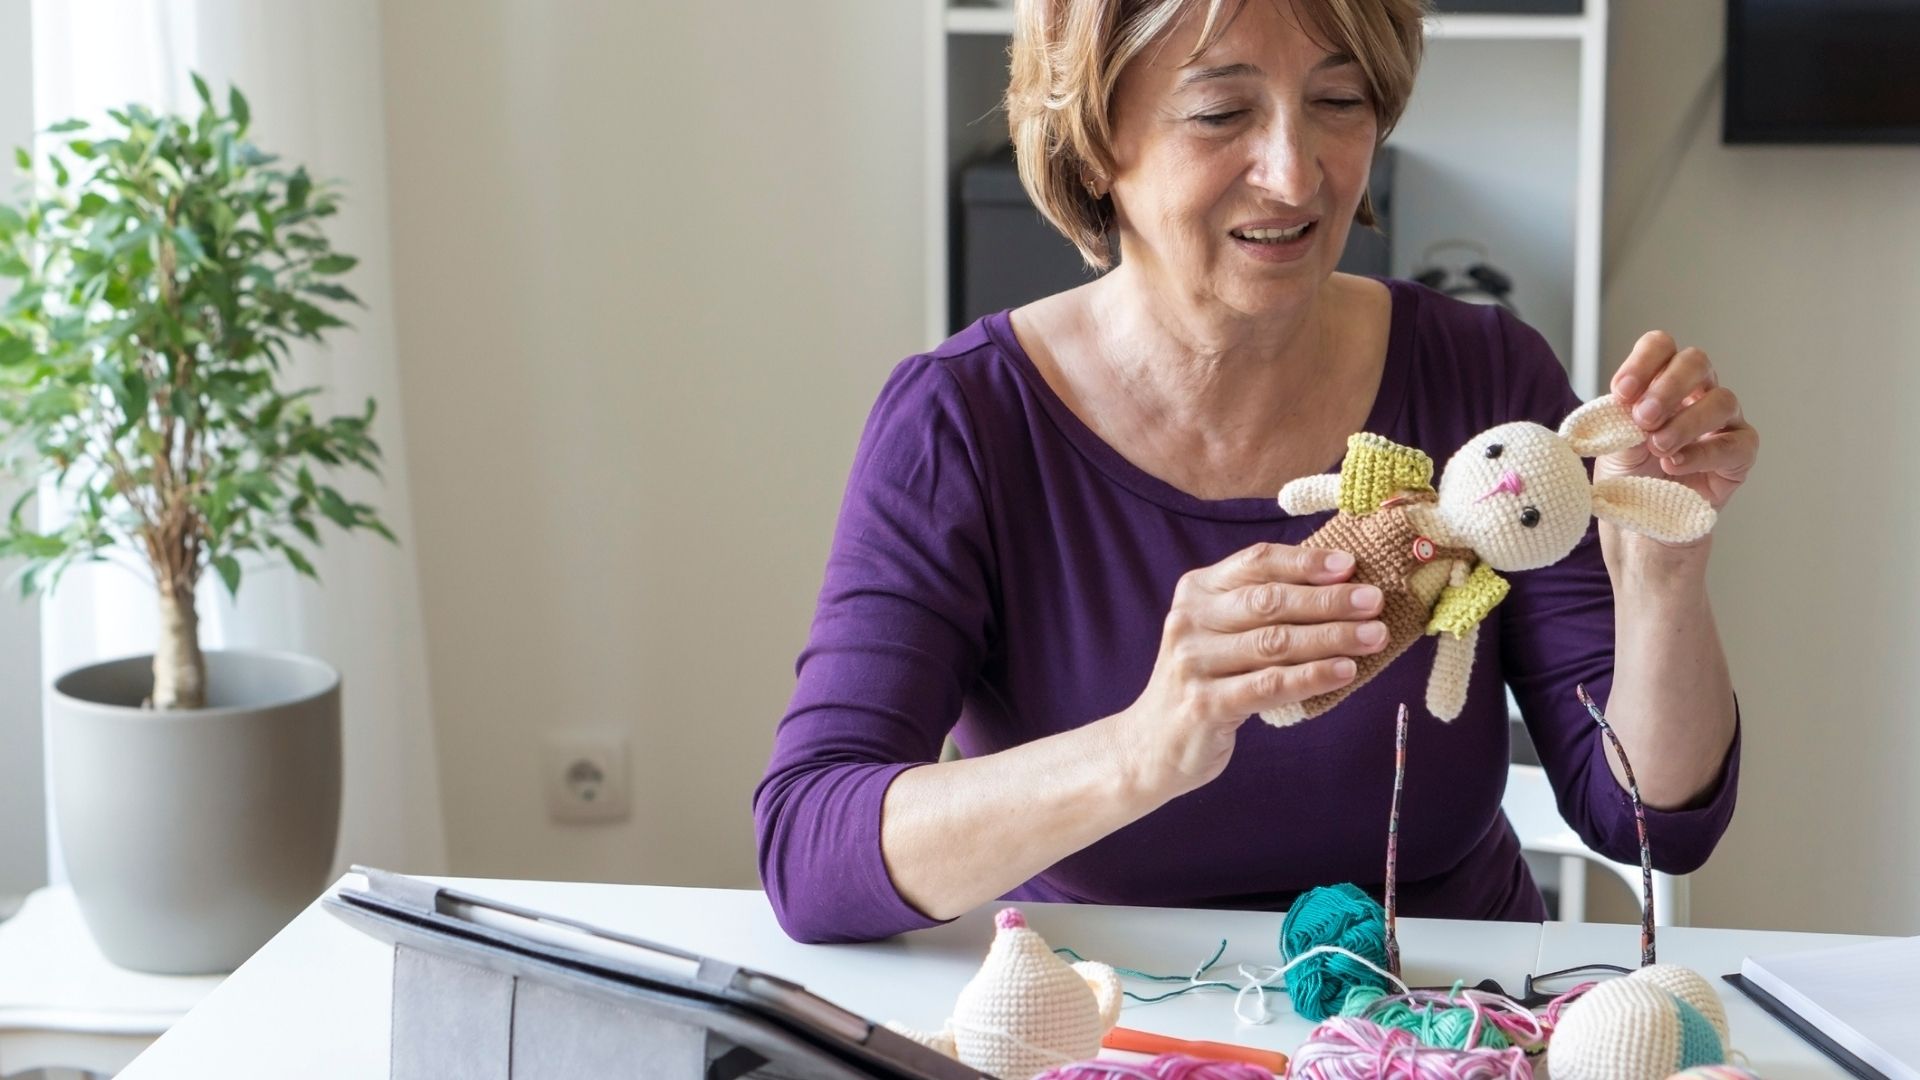
Once you get the hang of it, crocheting can be really fun (and addictive), making it a great way to create a thoughtful gift for any child. If you’re a beginner, it’s best to start with a store-bought or online crochet kit that includes everything you need, such as yarn, stuffing, hooks, and instructions. Watching step-by-step YouTube videos can also help you grasp the basics. Typically, when making a teddy bear, you’ll start by crocheting in the round, using simple stitches like single crochet, increases, and decreases to shape the head, body, limbs, and ears. Once finished, stuff each piece with fibre filling and sew them together, adding embroidered eyes and a nose for extra charm. If it turns out really well, you might just want to keep it for yourself!
Make a seasonal wreath

Christmas shouldn’t be the only holiday season that deserves a festive wreath: whether it’s prettily painted eggshells for spring, bright, homegrown (or artificial) flowers for summer, or dried leaves and pine cones for autumn. Whatever time of year you’re decorating for, start with a base, like a wire frame, a moss (if using fresh items) or a foam ring, and gather together any materials that you think are fitting for the season, be it leaves, berries, flowers, holiday ornaments or coloured ribbons, etc. You can attach items using floral wire, glue, or by tucking them into the base. As a rule of thumb, layer from largest to smallest elements for depth and balance.
Finish off with glitter spray, bows, or lights for extra flair. If you’re not sure where to start, look on inspiration sites for ideas, and check out online videos for step-by-step guidance. If you're a complete beginner, consider a ready-to-decorating kit or find a local workshop.
Build a fairy house pot
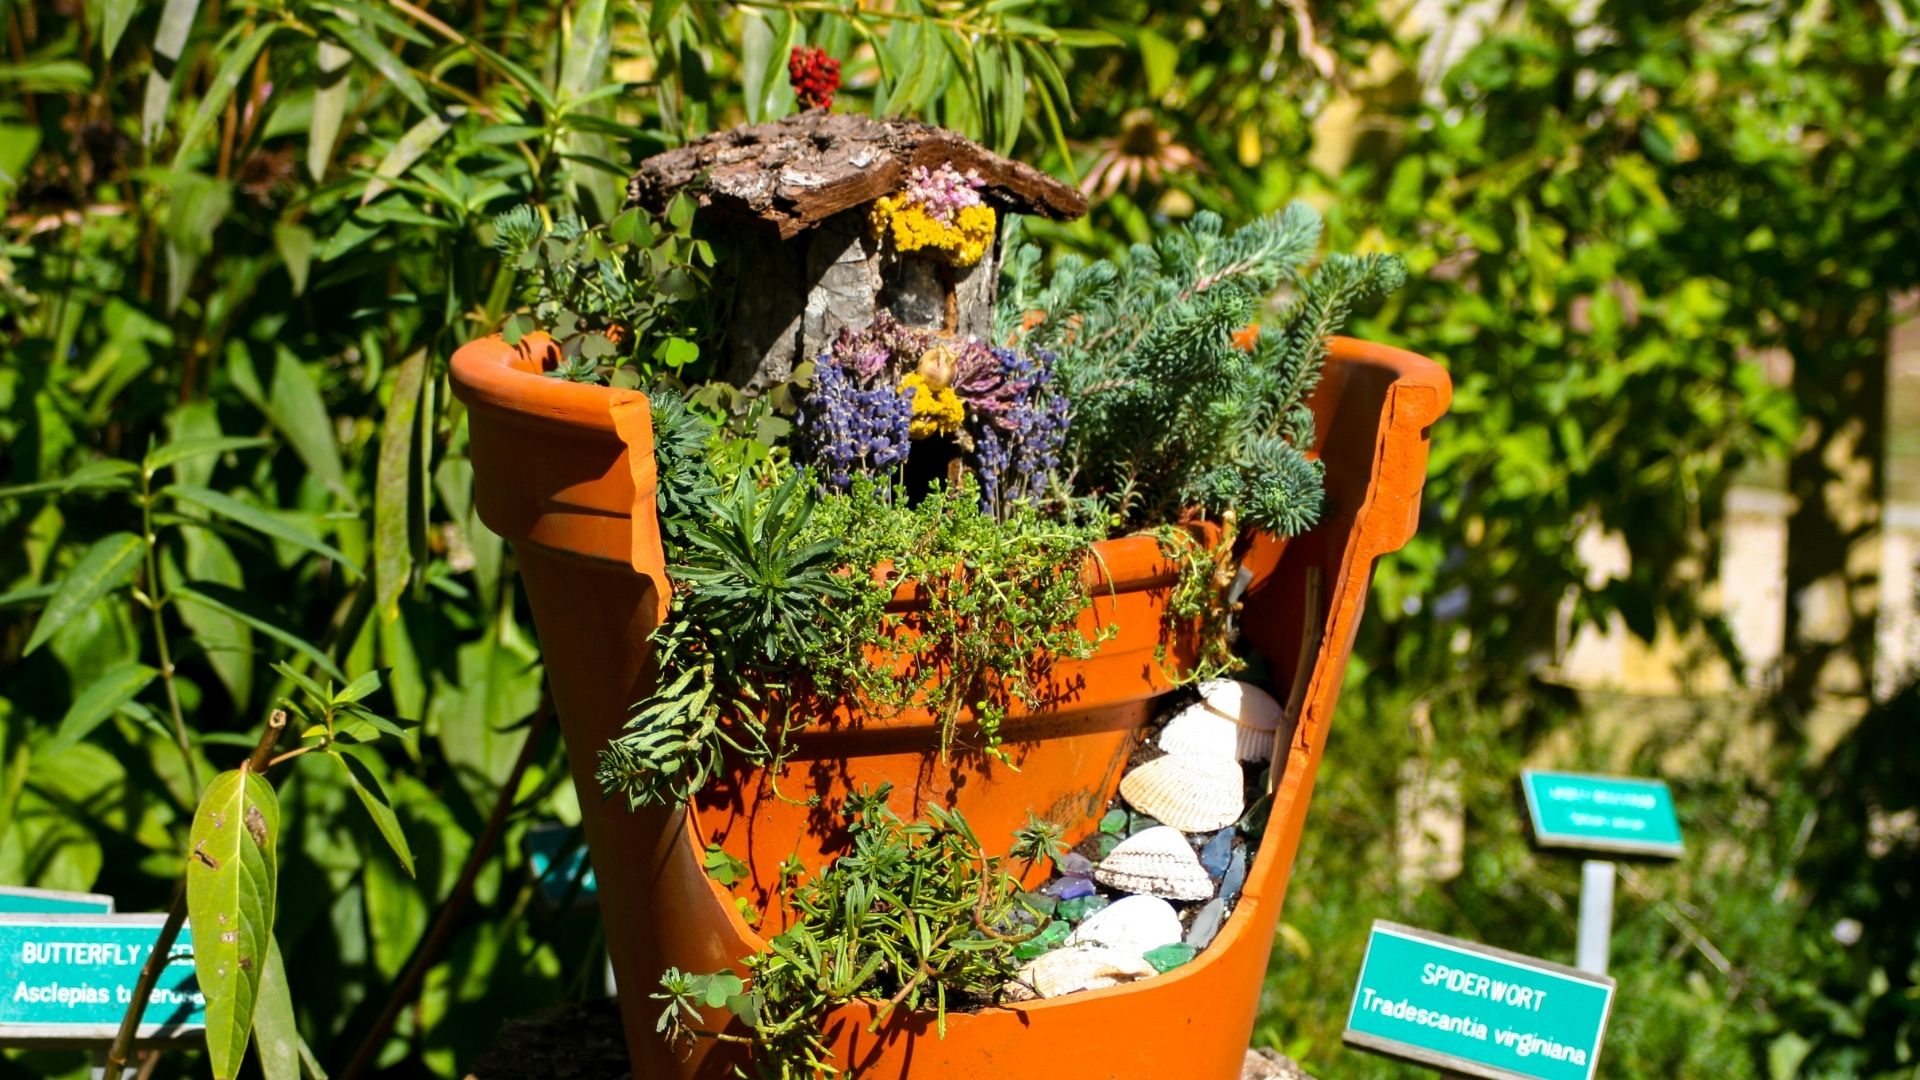
If you've got some old broken pots lying around, don't throw them away! Instead, create a charming “fairy flower pot” for your garden. Start by filling the bottom of the pot with a mix of compost and horticultural gravel up to the level where the pot is broken. On top of this place a (non-broken) smaller pot containing whatever plant you like, but "tree-like" specimens such as rosemary, thyme and other herbs work particularly well. In amongst the plants place a small “fairy” style house - which can be found online, in stores or you could even build yourself. Backfill around the intact plant pot and tuck in alpine or succulent-like flowers for interest, keeping an inch or so wide clear next to one side of the inner pot. For this strip, add a row of shells, stones or small wooden slats to create the illusion of steps leading to the top of the inner pot.
Feel free to add bells, miniature doors, lights, ribbons, figurines or any other embellishments of your choosing.
Natalie Denton is a freelance writer and editor with nearly 20 years of experience in both print and digital media. She’s written about everything from photography and travel, to health and lifestyle, with bylines in Psychologies, Women’s Health, and Cosmopolitan Hair & Beauty. She’s also contributed to countless best-selling bookazines, including Healthy Eating, The Complete Guide to Slow Living, and The Anti-Anxiety Handbook.
-
 Smeg's retro hand mixer puts the 'king' in baking - I'm convinced it's the best
The Smeg 50s Style Hand Mixer is every keen baker's dream: it whips up cream, mixes cookie dough, and kneads bread like the best hand mixers on the market
By Laura Honey Published
-
 From highlights to glosses, here's everything you should know before colouring Afro-textured hair
Keep your curls and coils healthy during colour processes with this beauty editor's guide
By Keeks Reid Published
