How to use a food processor: a step-by-step guide
If you’re wondering how to use a food processor, look no further than our failproof 9-step guide
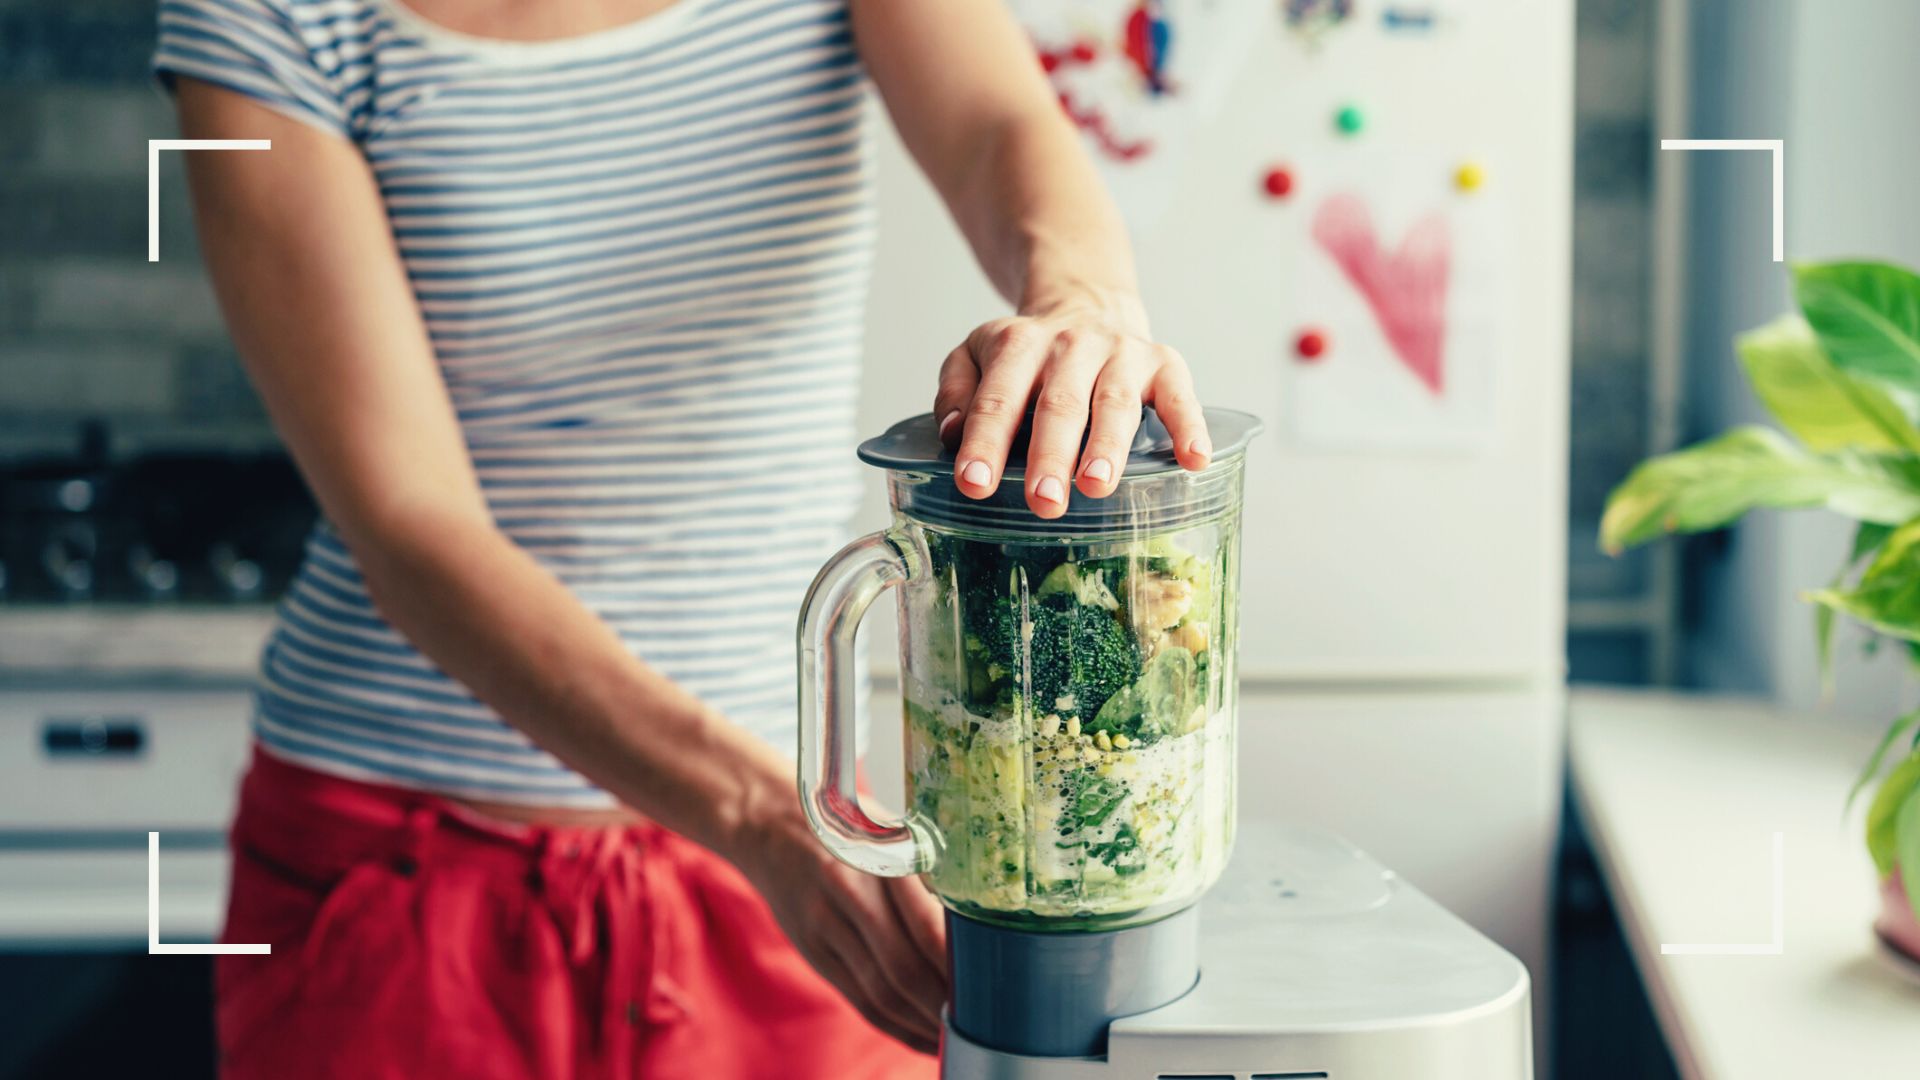
Knowing how to use a food processor comes in useful when it comes to food prep, especially when working your way through fiddly jobs, such as grating, pureeing, or slicing.
We should know; having used, trialed, and tested a number of these machines in our kitchen over the years, we’re pretty confident that we’ve nailed how to make good use of this particular piece of kitchenware. Much like the tech itself, the best food processor advice is simple and straightforward - but a visual guide is always useful.
You don’t need fancy tricks or twists to get great results, but whatever mode you’re looking to use, and whether you're working with a regular processor or one of the best mini food processors, we’ve listed the processes that we put into practice most frequently. We hope the following advice means you can get started straight away with cooking up some of the best food processor recipes.
How to use a food processor in 9 easy steps
Follow our easy 9-step guide on how to use a food processor to get the most out of this handy kitchen appliance. If you're still on the fence about whether or not you should buy a food processor, you'll quickly see that one of the device's merits is its sheer ease of use.
Note: Food processor models do vary, so while we’ve taken every care to make the below comprehensive for the most common models, there could be some variations in your machine. Please always check with your manufacturer’s instructions if you’re unsure of anything.
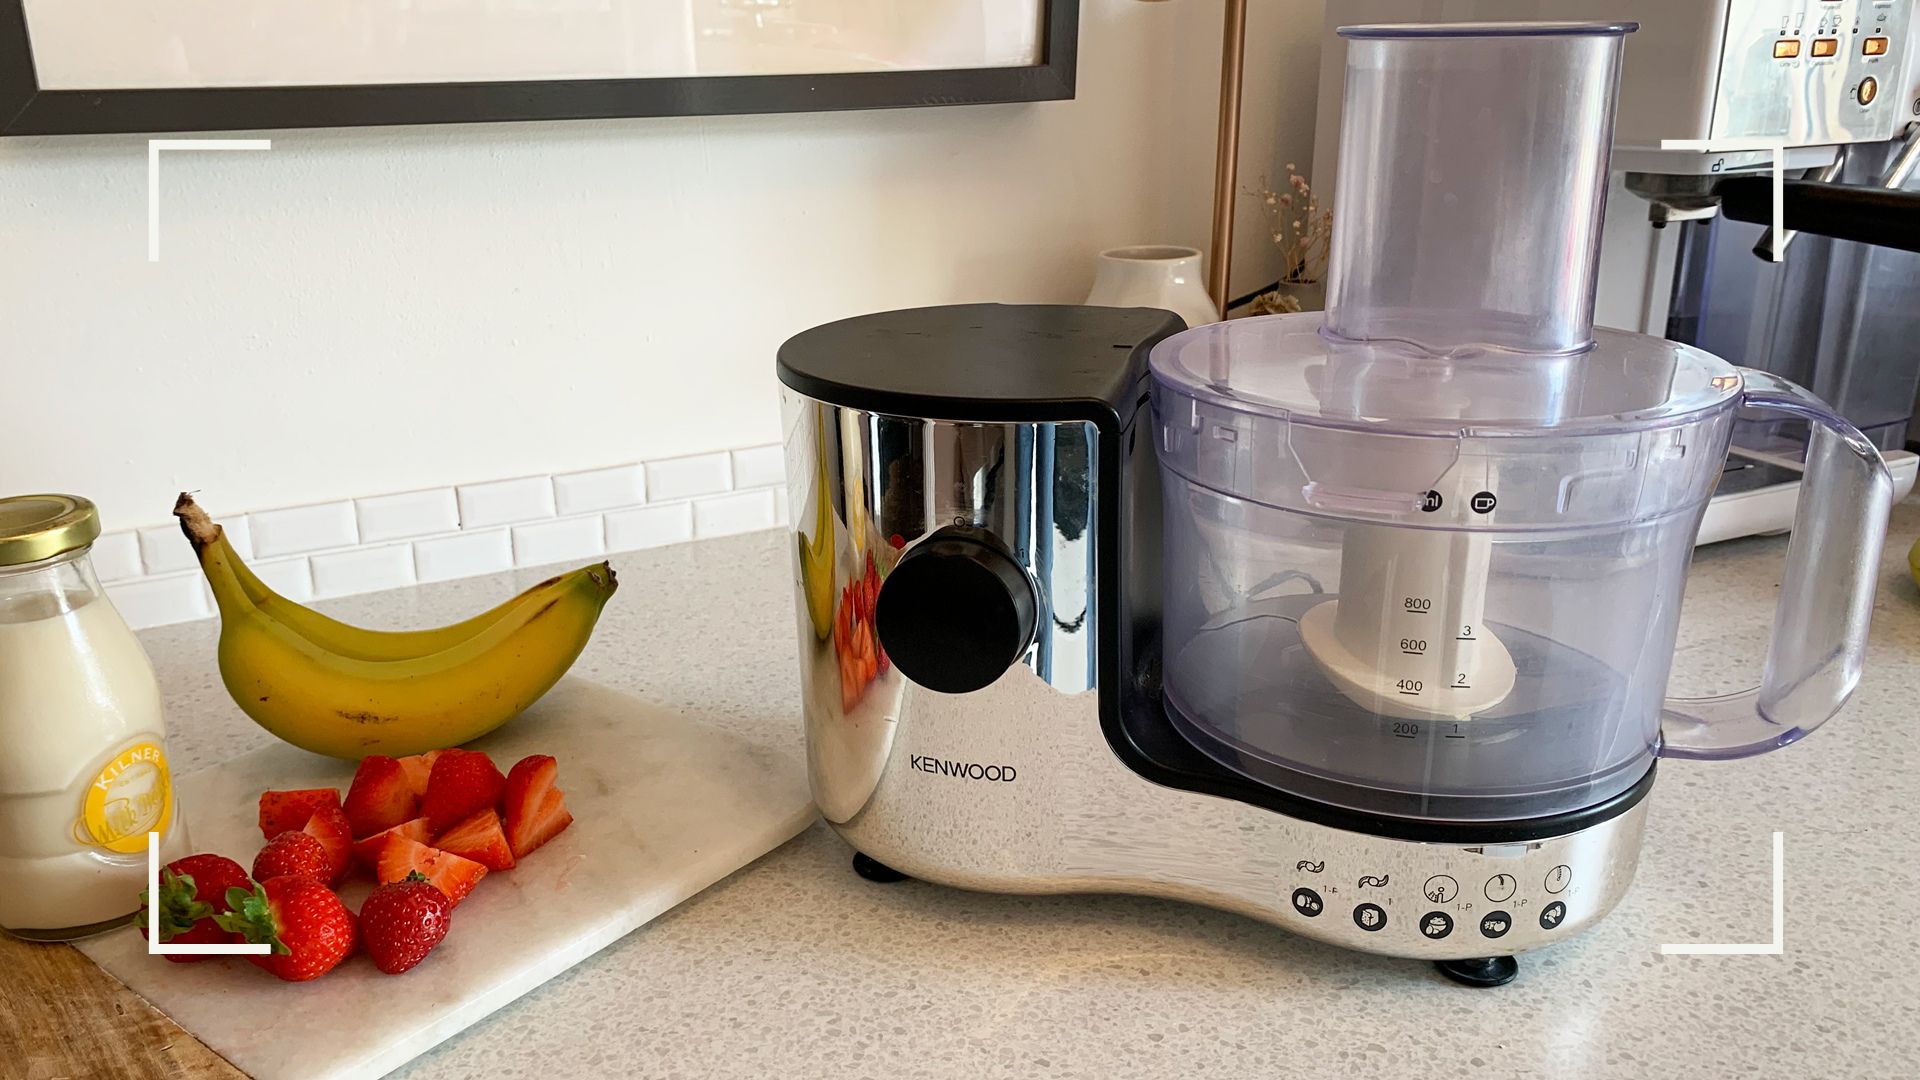
Step 1: Plug it in
Perhaps obvious, but legitimately the first step to getting your food processor going – plug it into the mains. Fully unwind the cable, whatever model you have, and plug it in, making sure first that both the plug and socket are clean and dry.
We don't advise plugging it in on the most congested section of your organized kitchen countertop – look for a clear space that doesn't restrict use, as you'll also want to have your ingredients close by.
Sign up for the woman&home newsletter
Sign up to our free daily email for the latest royal and entertainment news, interesting opinion, expert advice on styling and beauty trends, and no-nonsense guides to the health and wellness questions you want answered.
Step 2: Attach the jug to the base
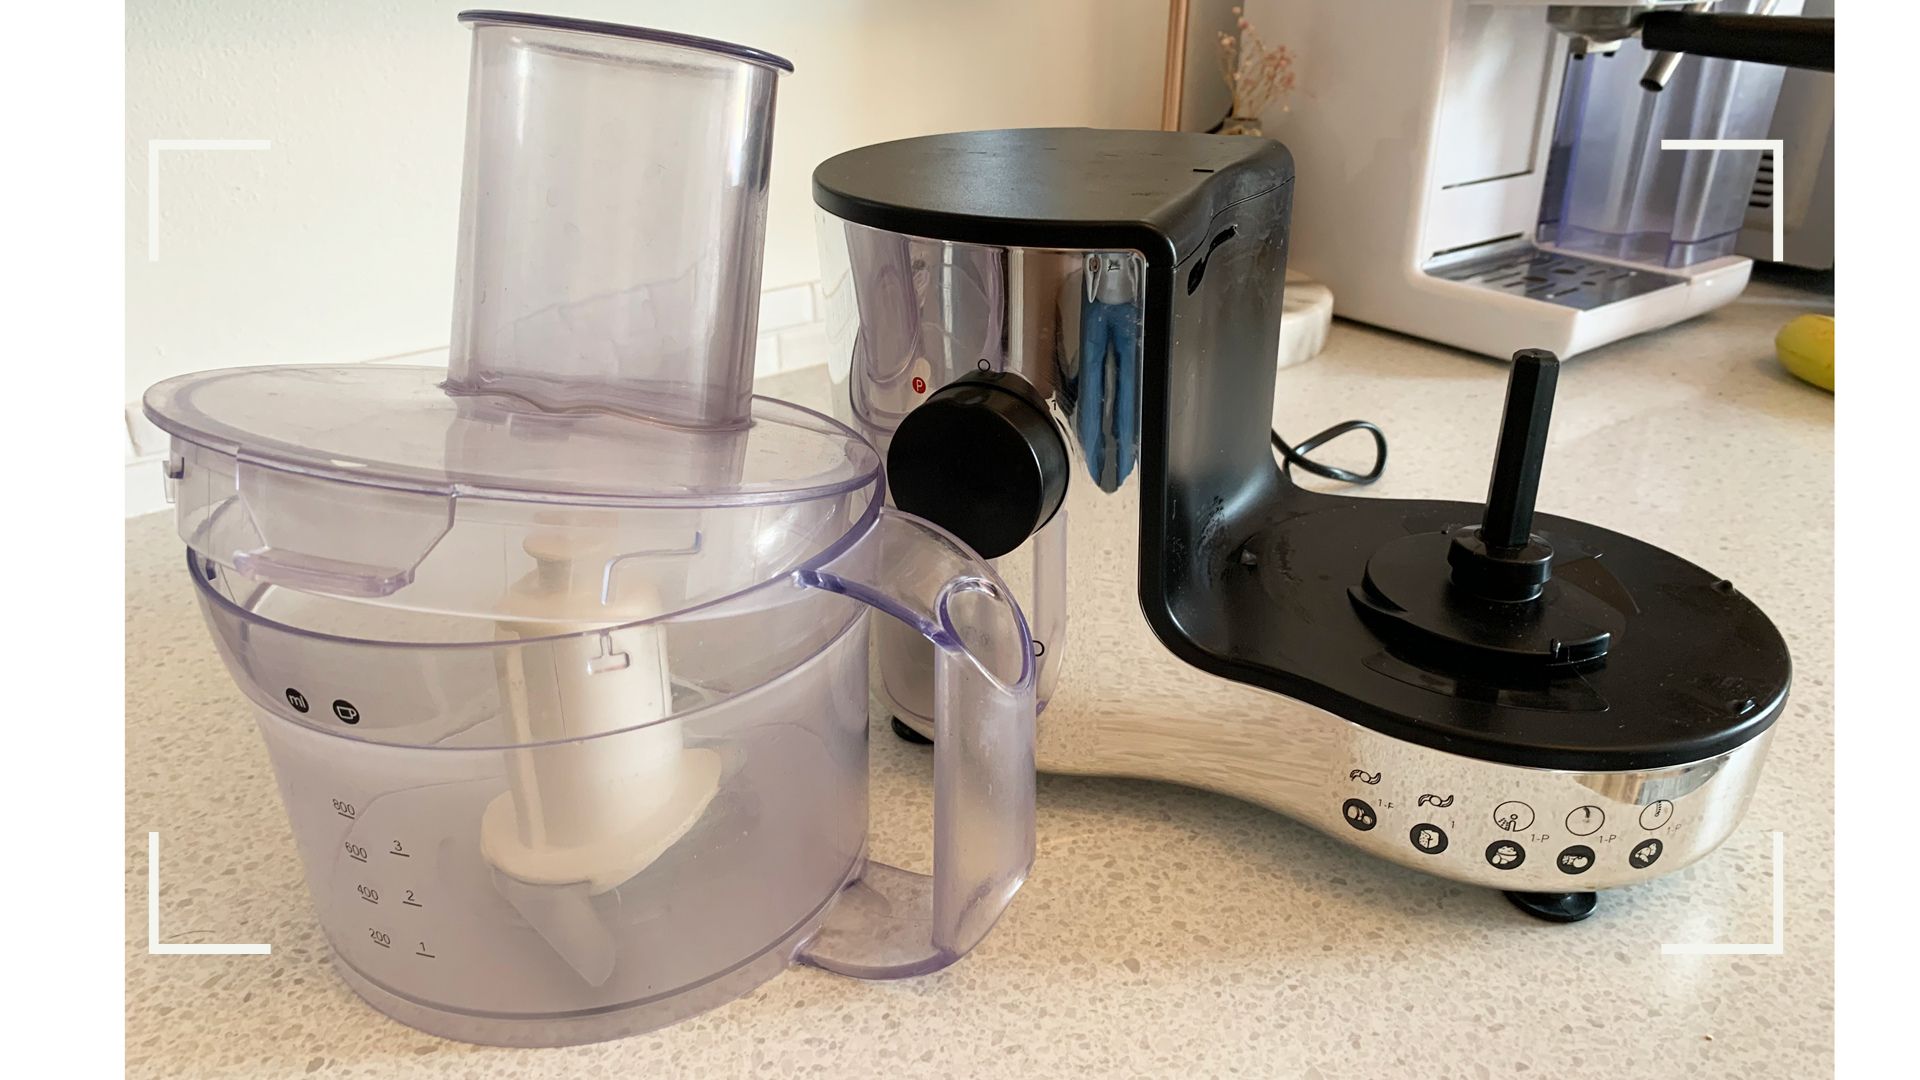
Next up, attach your jug to the base. With most models, this typically fits over the central mechanism and locks into place with a twist anti-clockwise, starting with the handle to the left of the center.
If you’re using the large main base that’s all there is to it. If you’re using a smaller subsidiary bowl, this is the point when you can slot that in on top of the main stand.
Step 3: Choose your blade or attachment
The attachment you choose to use depends on the results you want to achieve. If you’re looking to mix, mince, mash, puree, or chop, you’ll probably opt for the main blade – also known as the knife blade. This is attached by clicking it in over the central mechanism, but it can take a little wiggling, either way, to get it locked in, and a small anti-clockwise twist. Check out our full guide to the types of food processor attachments if you're still unsure which one to use.
Other frequently used options include the slicing and grating discs, which need to be attached to the disc support. Fix the tubular support fitting onto the main motor shaft, then slot your metal disc of choice on top, twisting anti-clockwise to secure it in place. There are lots of other variations you might want to try – dough hook or whisk, for instance. For anything we haven’t covered, refer to your manufacturer’s instructions.
Step 4: Fix the lid in place
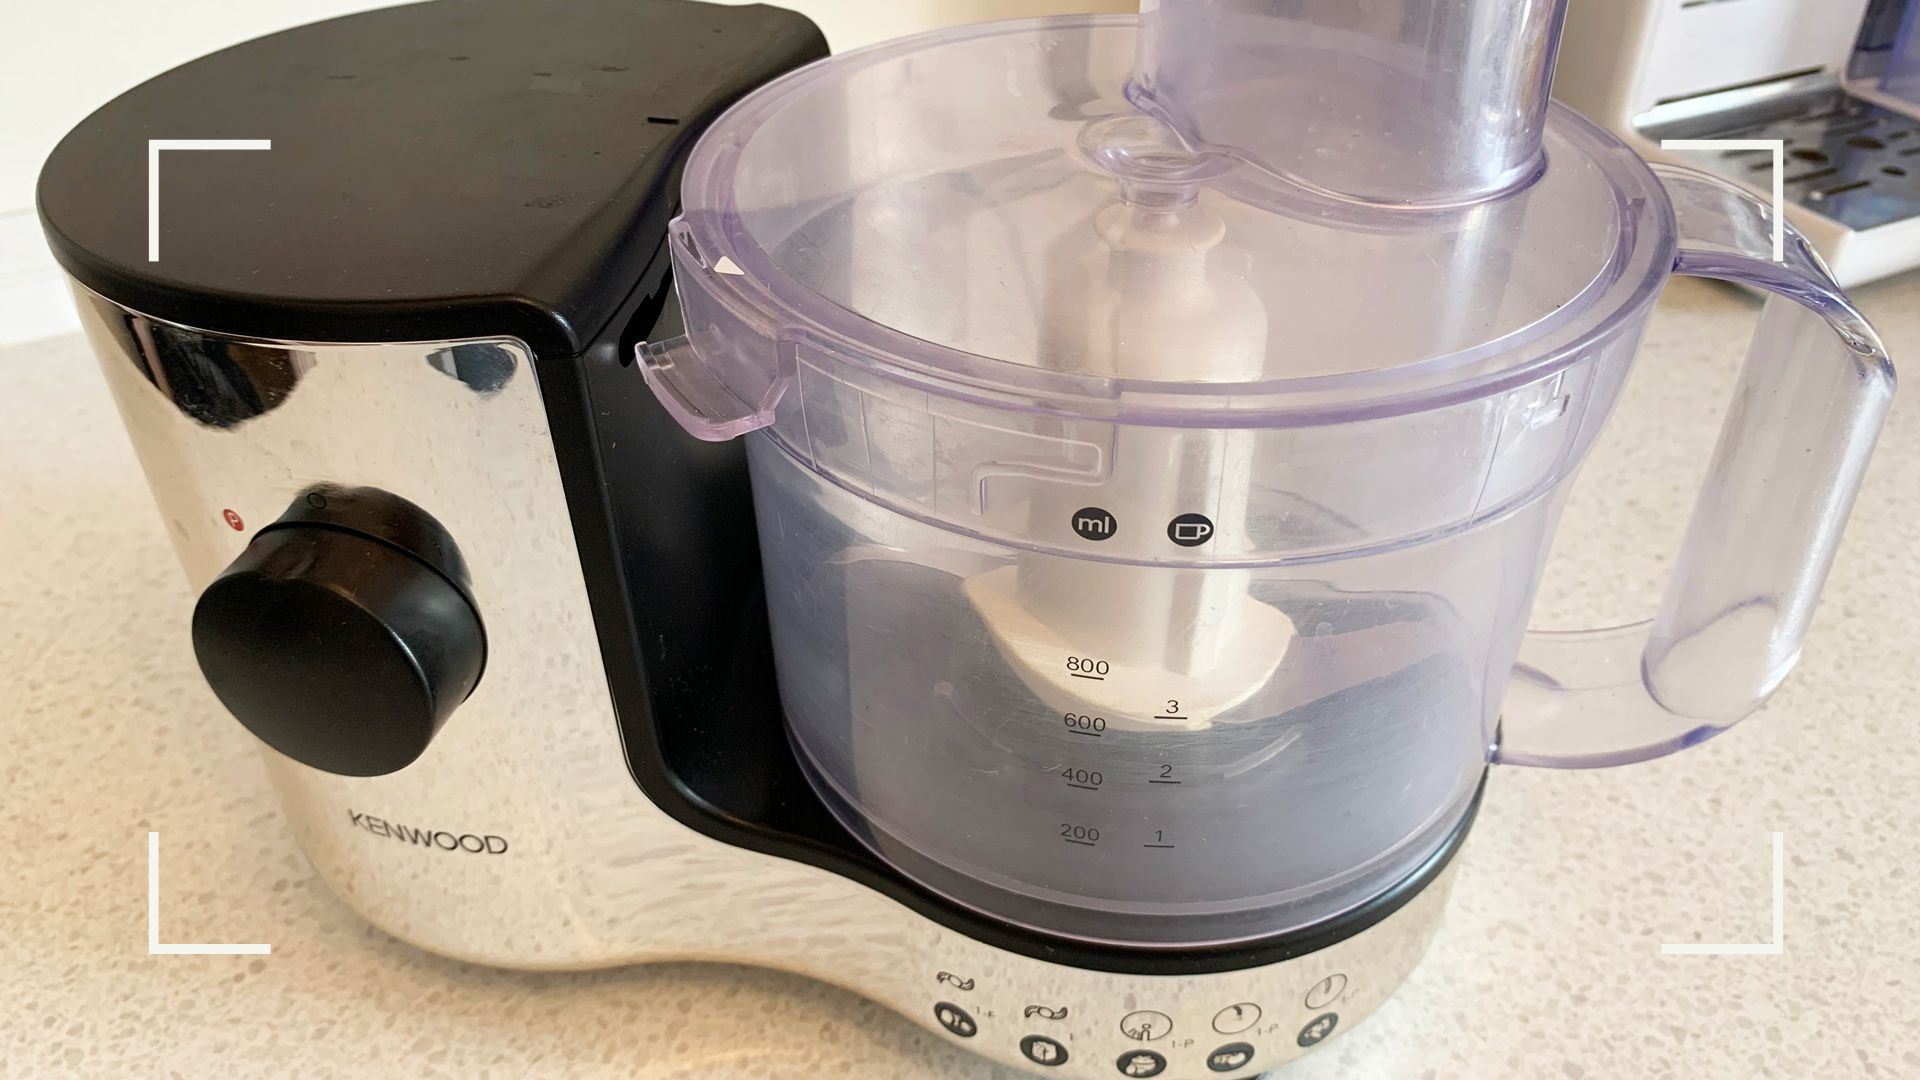
Once you’ve fixed your attachment in place, it’s time to place the lid. If you’re planning to use the main blade, you’ll need to add your ingredients before clipping the lid onto the top of the mixer’s bowl. With the funnel to the left of the handle, slide the lid round anti-clockwise to click into place.
NOTE: If you’re using one of the discs for slicing, grating, etc, don’t place ingredients in the bowl and fix the lid – you’ll never achieve the desired result!
Step 5: Switch it on
Start the motor, and with it the movement of the blades or discs, by pressing the power button on your model. If you need to use a pulse function, rather than have the motor running continuously, use the pulse button if your model has one. If not, you can try pressing the on-and-off button repeatedly until you achieve the desired texture for what you’re making.
Step 6: Add your ingredients
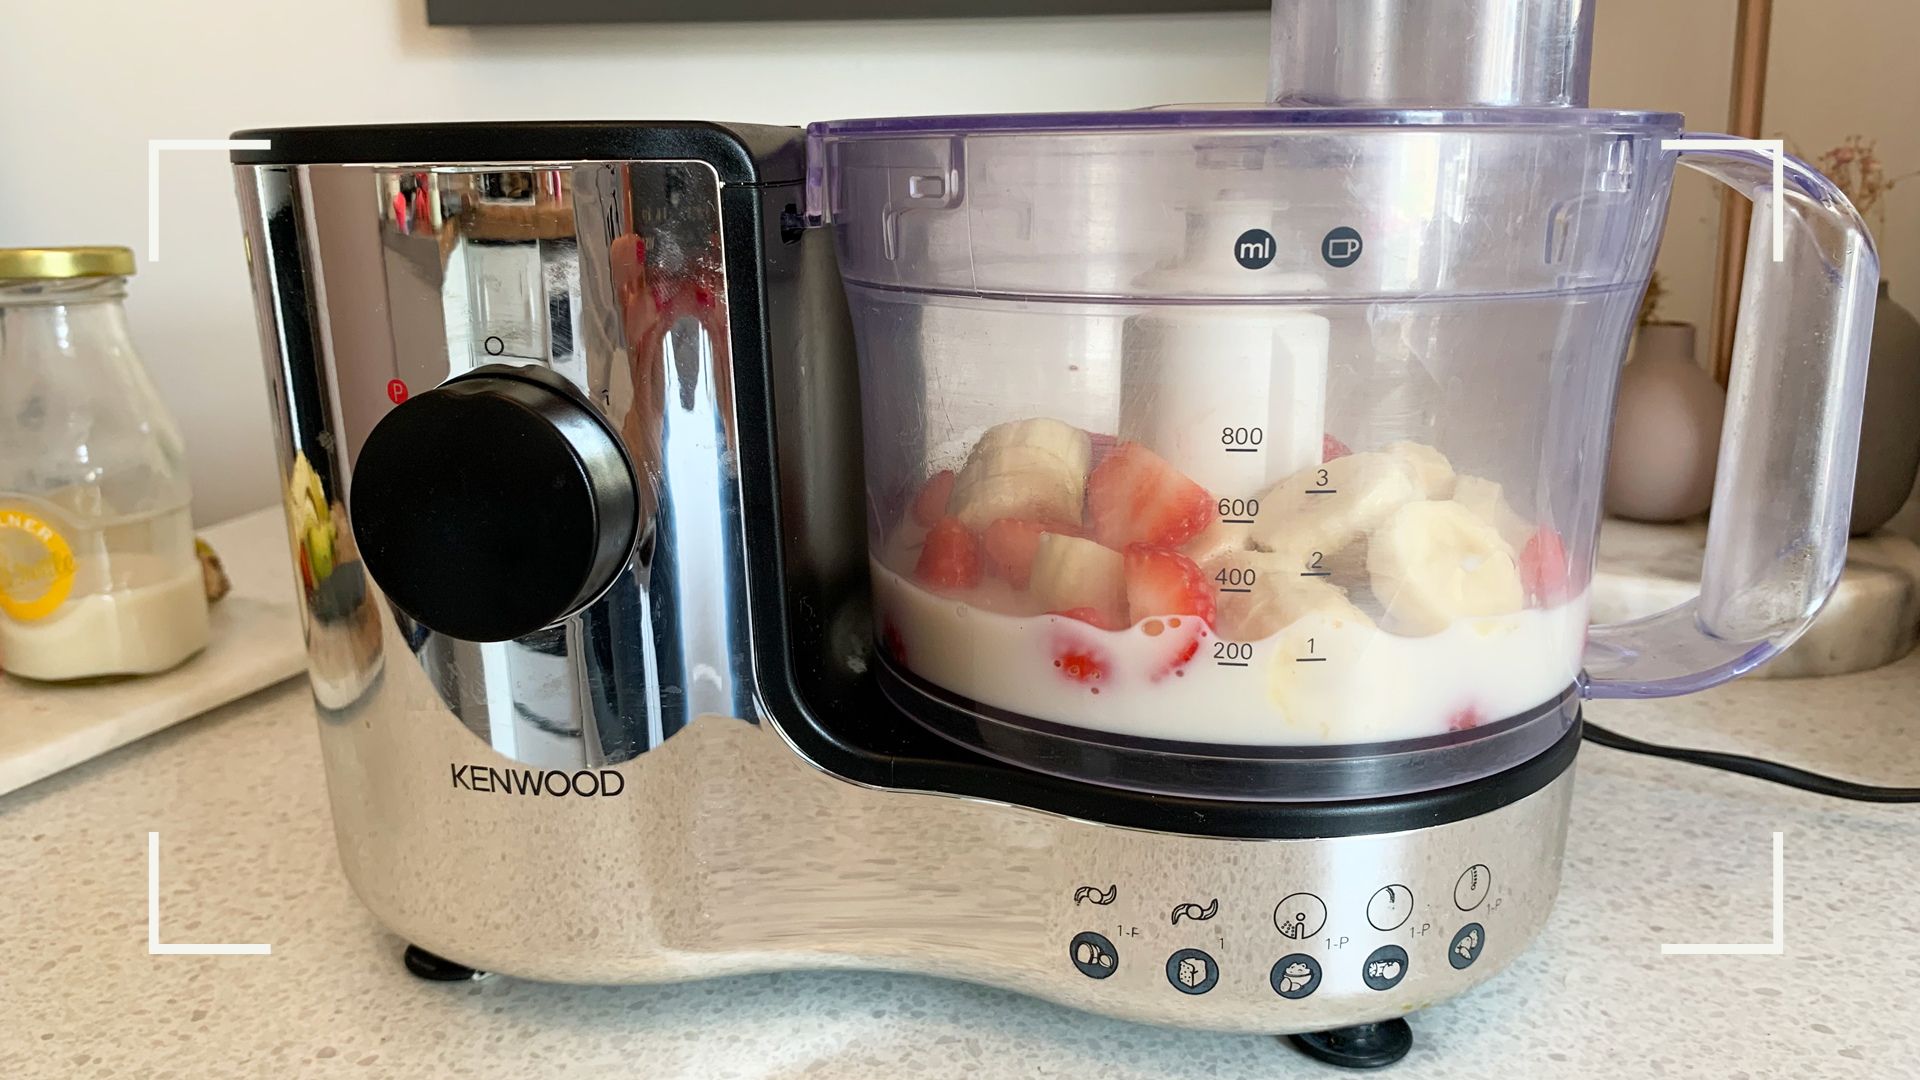
If you’re using a slicing disc, now is the time to process your ingredients. Keep in mind that some larger items may need to be cut down to size to fit through the funnel (which leads to the disc).
Once the motor is running, use the funnel cover to push through your chosen ingredients to the grating or slicing disc – as well as adding pressure to move the ingredients through the funnel and disc, and on into the bowl, this also helps to protect your hand from potential accidents.
Step 7: Watch the magic happen
If you’re blitzing things into a puree, for example, you can simply watch for a few seconds while your machine does its work. If you’re using a disc attachment, then you can watch the bowl fill up with neatly processed ingredients as you work everything through the funnel.
Food processors work if you're making a smoothie or soup with chunky vegetables or fruits, but if you make them regularly, you might also want to consider investing in one of the best hand blenders as they are particularly good for these functions.
Step 8: Clean the elements
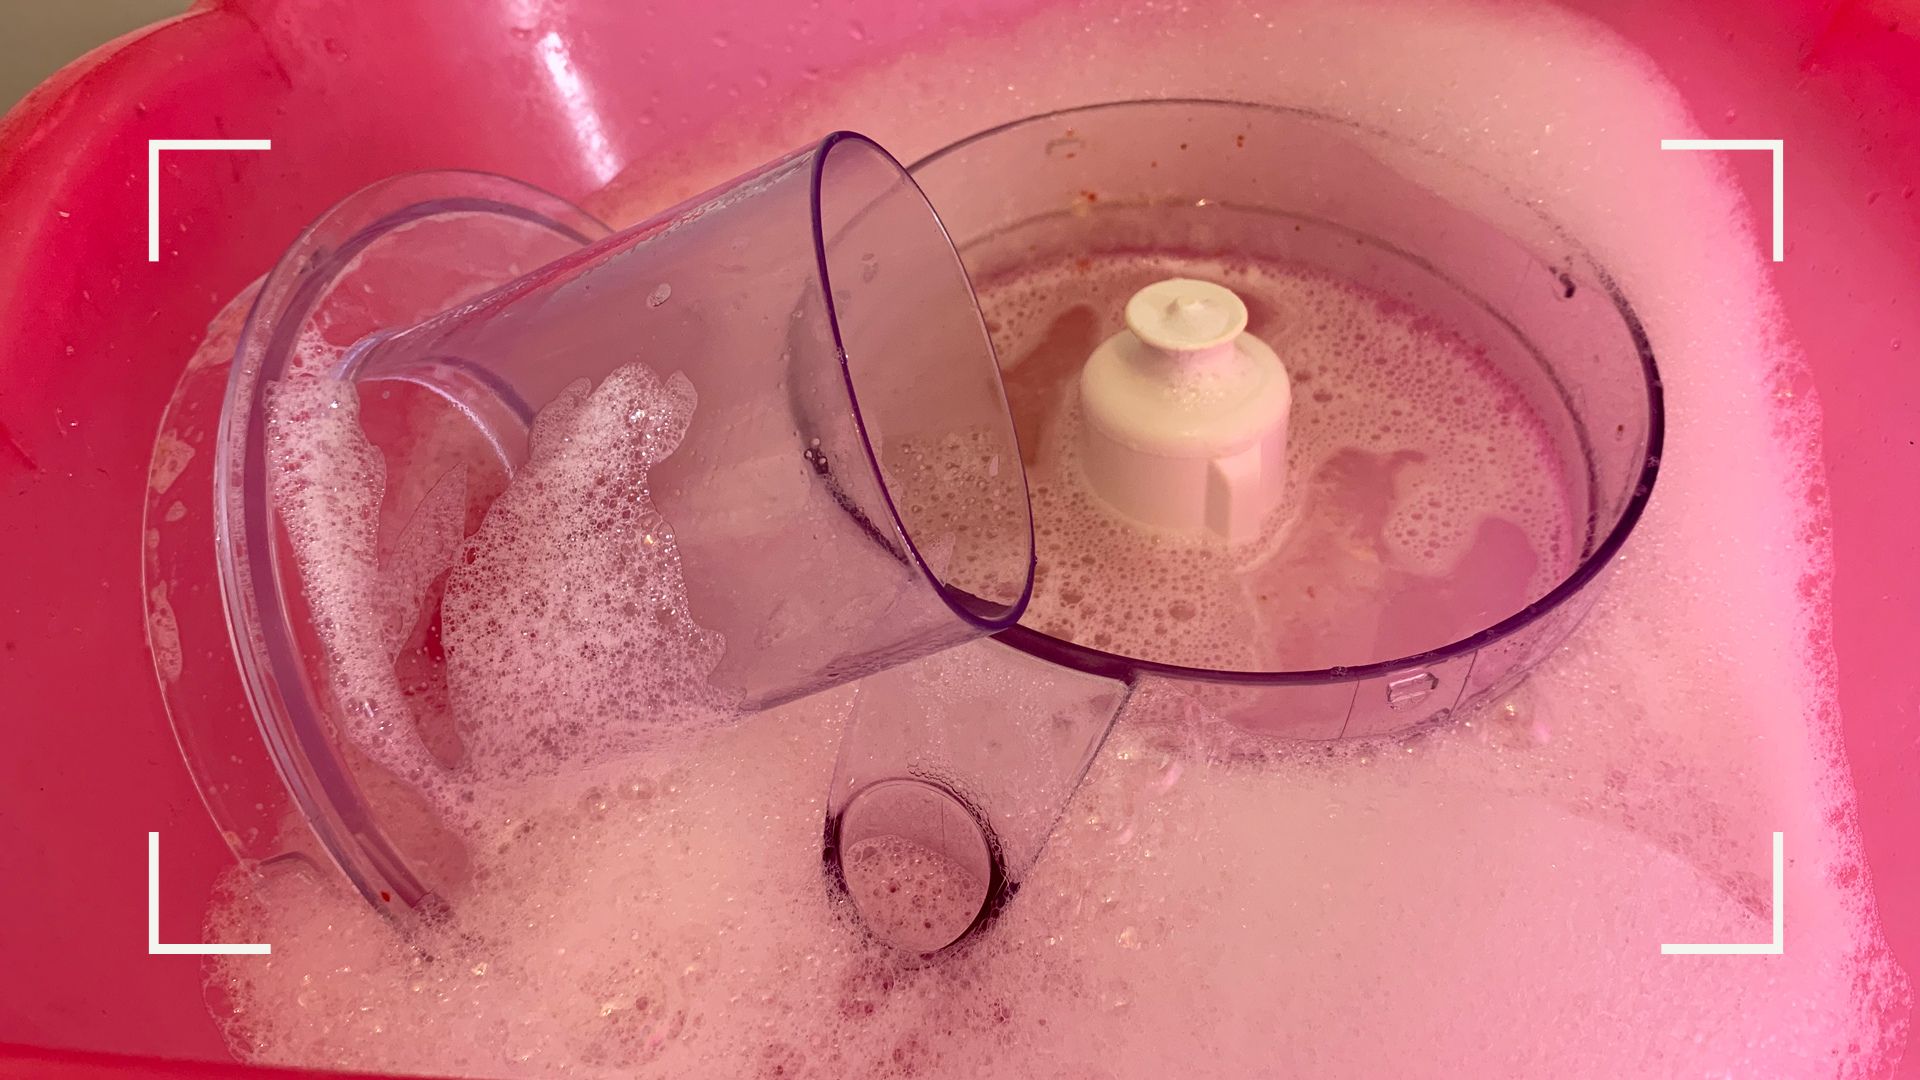
The key to keeping your food processor in good condition is to make sure you wash everything straight away. Carefully dismantle by removing any blades or attachments and wash with warm soapy water.
Scrape any leftover ingredients out of the bowl and off the lid and funnel cover, then repeat the process; wash with warm soapy water, using a soft clean microfibre cloth. Leave all components to air dry or use a tea towel if you prefer to pack everything away to keep the kitchen decluttered and organized.
Step 9: Stack it together, tidy away
Before storing it away in a cupboard or on your kitchen worktop, reassemble your food processor so it’s ready to go the next time you want to use it.
Rosie Conroy is a food and drinks journalist with over a decade of experience working for big-name titles in both print and online. Formerly the Digital Food Editor of woman&home, Rosie went on to head up the team at SquareMeal, reviewing the best London restaurants and hunting out emerging culinary trends. With previous experience in food styling and recipe development, Rosie knows what to look for in a good piece of kitchenware and has extensive experience testing consumer goods—from kitchen electricalz and cooking accouterments through to new foodie treats.
-
 We're in awe of Sienna Miller's easy-going and 'piece-y' hairstyle and how perfect it is for spring
This laid-back hairstyle is - quite literally - making waves this season
By Naomi Jamieson
-
 We never thought we'd see this 'dated' manicure make a chic comeback, but here it is - and we're on board
Clean and angular, short square French tips are a go-to this season for a practical but stylish manicure...
By Naomi Jamieson