How to take cuttings from an aloe vera plant: 4 easy steps for success
Want to get more out of this healing plant? We asked horticulture experts how to take successful cuttings and here's what they said
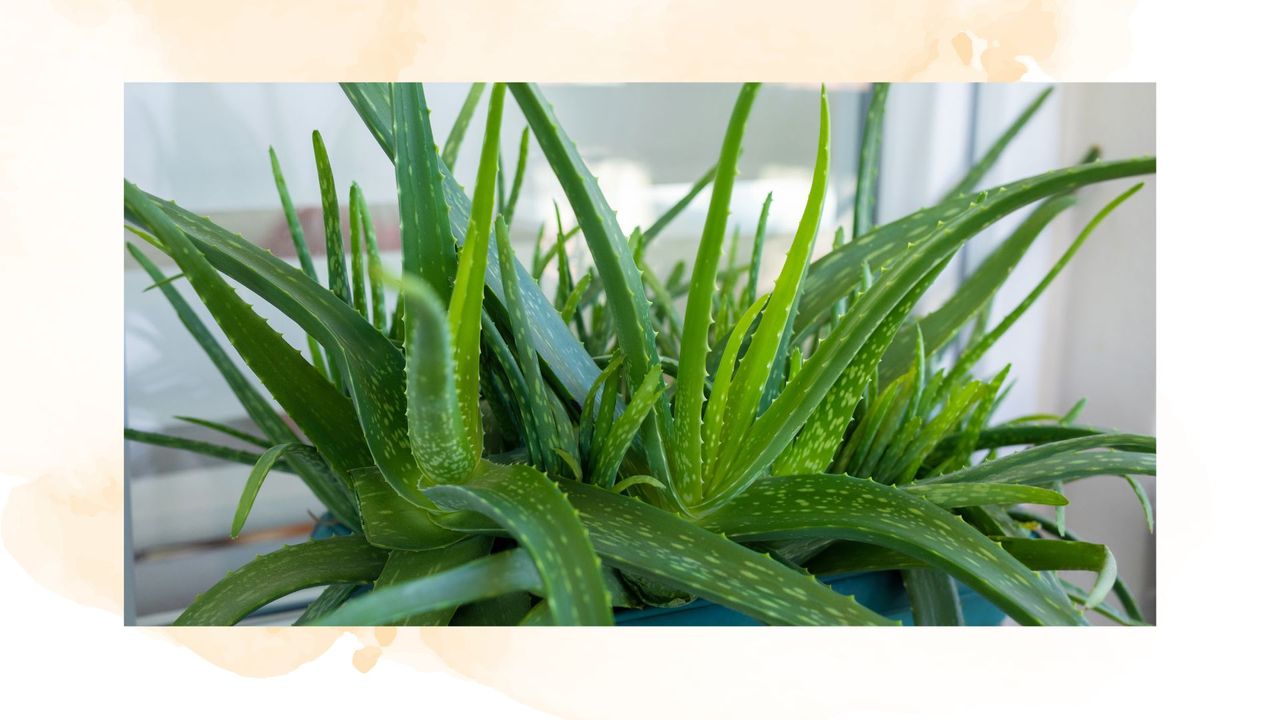

Cuttings are a brilliant way of getting more out of your plants, especially regarding the multi-beneficial aloe vera species. It's important to know how to take a cutting properly so we put it to the experts for a little guidance.
Whilst you may already know how to care for an aloe vera plant, taking cuttings that will successfully grow into their plants is a little trickier. Learning how to take a plant cutting is a great houseplant hack as it can allow you to multiply your leafy collection without spending another penny.
And what better plant to start your plant propagation journey than by taking cuttings from than the healing aloe vera?
How to take cuttings from an aloe vera plant
Cuttings are an easy gardening tip that every gardener should know, whether used to double your indoor or outdoor plants. Whilst they take a little effort and there is always a risk the cutting won't root the possible reward is certainly worth it.
1. Choose the right time and plant
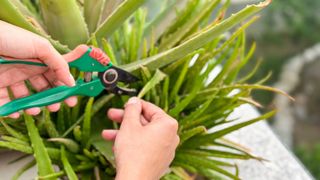
A person taking a well-calculated cutting from an Aloe Vera plant
Before you can even think about taking a cutting, you need to make sure you choose the right plant and gauge the optimal timing to take it. Whilst this isn't one of the most common houseplant mistakes, it is of great importance to meet the correct conditions.
"It’s crucial to start the process by selecting a mature, healthy aloe vera plant," explains Josh Novell, plant expert and director of Polhill garden centres. "I recommend you look for one with multiple offsets, also known as ‘pups,’ which are smaller plants that grow at the base of the main plant,"

Josh has over six years' worth of experience in the horticulture industry. He began his career as a strategy manager before working his way up to become a director and is now a key part of the day-to-day running of Polhill Garden Centre.
2. Seperate the plant and take the cuttings
Once you've picked an appropriate plant, it's time to get your sharp clean secateurs ready for taking the cutting. Similar to how you deadhead plants properly outside, it's important to use clean secateurs so there's no risk of contamination or disease spreading.
Sign up for the woman&home newsletter
Sign up to our free daily email for the latest royal and entertainment news, interesting opinion, expert advice on styling and beauty trends, and no-nonsense guides to the health and wellness questions you want answered.
Graham Smith MCIhort, gardening expert from LBS Horticulture, says, "Cut a leaf from the base of the plant using a sharp, clean knife, taking care to not damage the main stem."
"Cut the leaf-cutting into smaller pieces that are around 5 to 8cm each. Each small piece should have at least one leaf node, or the little bumps visible along the stem, as this is where the roots will grow from," he adds.
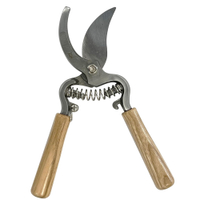
Spear & Jackson Kew Gardens Woodland Collection Bypass Secateurs: RRP: £22.99 Now £17.90 at Amazon
These secateurs are made with drop-forged carbon steel for strength and feature FSC-certified ash wood handles to make deadheading with precision easy.
3. Plant your cuttings
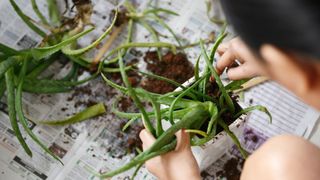
Before planting, you'll need to allow the cuttings to dry out first. Josh says it's important to allow the cutting or 'pup' to dry out and callous over a day or two. This will help prevent any rotting once it's planted.
"Then it's time for the penultimate step of this process. This involves filling a small pot with well-draining compost, ideally a cactus or succulent mix. Place the pup in the soil, covering the roots and lightly firming the soil around it," explains Josh.
Similar to how you repot a plant, make sure that you're using the proper compost type and that the pot you've chosen is plenty big enough for the cutting without overwhelming it.
4. Maintain the cuttings
Now the cutting has been planted, it's imperative to closely monitor it and provide it with the correct conditions to keep it growing.
Graham recommends watering the cuttings lightly, allowing the soil to dry out partially between waterings to stop root rot. Then he says, "Place the potted cuttings somewhere with bright, indirect sunlight. Monitor the cuttings as they grow, and keep their soil lightly moist but not waterlogged. You should not fertilise them for a few months to allow them to establish a good root system."
FAQs
How long does it take for a propagated aloe plant to grow?
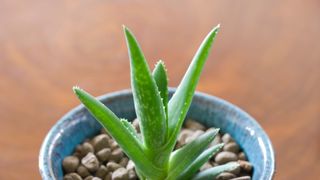
Whilst you might be keen for your aloe vera cutting to grow quickly, you'll need to be patient as new growth can take a while to show.
Petar Ivanov, plant and garden expert at Fantastic Gardeners explains, "After you’ve divided the aloe plant pups and planted them in new pots, it should usually take around 1 month to see new growth. This will mean that your aloe plant propagation has been successful."
He does suggest that you can give it a small amount of water mixed with a propagation additive to encourage it to grow but the plant won't reach full maturity before four or five years of care.
Can you root aloe vera cuttings in water?
Unlike some of the other easiest houseplants to keep alive, aloe vera won't successfully propagate in water.
"People can try this propagation method, but I would not recommend it because the chances of success are very low. It’s highly unlikely that the propagated aloe cutting will take root in water. It’s more likely for the cutting's roots to rot," says Petar.
The best way to root your aloe vera cutting is using the method above with potting soil.
If you want to give your cutting an even better chance then Petar recommends using a terracotta pot – master how to clean terracotta pots to give it the best chance of survival.
Petar says, "It’s the best type of pot that will allow excess water to drain out well between waterings. If you don’t have a terracotta pot, get one that has a drainage hole and is the same size as the root ball. A container that’s about as wide as it’s deep will work quite well."

Emily joined woman&home as a staff writer after finishing her MA in Magazine Journalism from City University in 2023. After writing various health and news content, she now specialises in lifestyle, covering unique cleaning hacks, gardening how-tos, and everything to help your houseplants thrive.
-
 The White Company's Hypoallergenic Mattress Topper is surprisingly affordable and a dream to sleep on
The The White Company Hypoallergenic Comfort Topper offers a gentle, supportive layer to your sleep set-up for a surprisingly affordable price.
By Laura Honey Published
-
 Gwyneth Paltrow’s classic pinstripe pyjamas will keep you cool and comfortable on warm nights
Chic and comfortable? Her stylish pyjama set is our new go-to
By Charlie Elizabeth Culverhouse Published
