How to repot an orchid: expert tips on timing and technique
Knowing how to repot an orchid will help these exotic plants flourish and flower for many years in your home


Learning how to repot an orchid may sound a bit daunting, but with a bit of know-how, it's easier than you might expect. It's well worth the effort, too, if you want to keep these fabulous plants flourishing for years to come.
Orchid potting soil is chunkier than a regular potting mix and tends to break down over time, which is detrimental to the plants' health. So, giving it a refresh now and again is an important part of caring for orchids correctly, to help support strong growth and flowering.
Below, plant experts share their top tips for this essential task, including when to tick it off and common mistakes to avoid. You'll find tips on tools and how to tackle aerial roots, too.
Expert advice on how to repot an orchid to keep it happy and healthy
Neglecting to repot your orchid is a houseplant mistake you don't want to make, as when done correctly, it has multiple benefits.
Repotting provides the opportunity to remove any old, decomposed potting material that might retain too much moisture, points out Jo Lambell, founder of Beards & Daisies. This reduces the risk of root rot. A fresh potting medium will provide better airflow and drainage for the plant.
Not only this, but knowing how to repot an orchid properly can provide it with better stability, "especially if the old pot was too small or the medium had broken down," she adds.
Gardening expert Petar Ivanov of Fantastic Gardeners also highlights how repotting allows you to trim any unhealthy roots. This improves the general health of the plant and stimulates the growth of new roots and leaves, he says.
Sign up for the woman&home newsletter
Sign up to our free daily email for the latest royal and entertainment news, interesting opinion, expert advice on styling and beauty trends, and no-nonsense guides to the health and wellness questions you want answered.
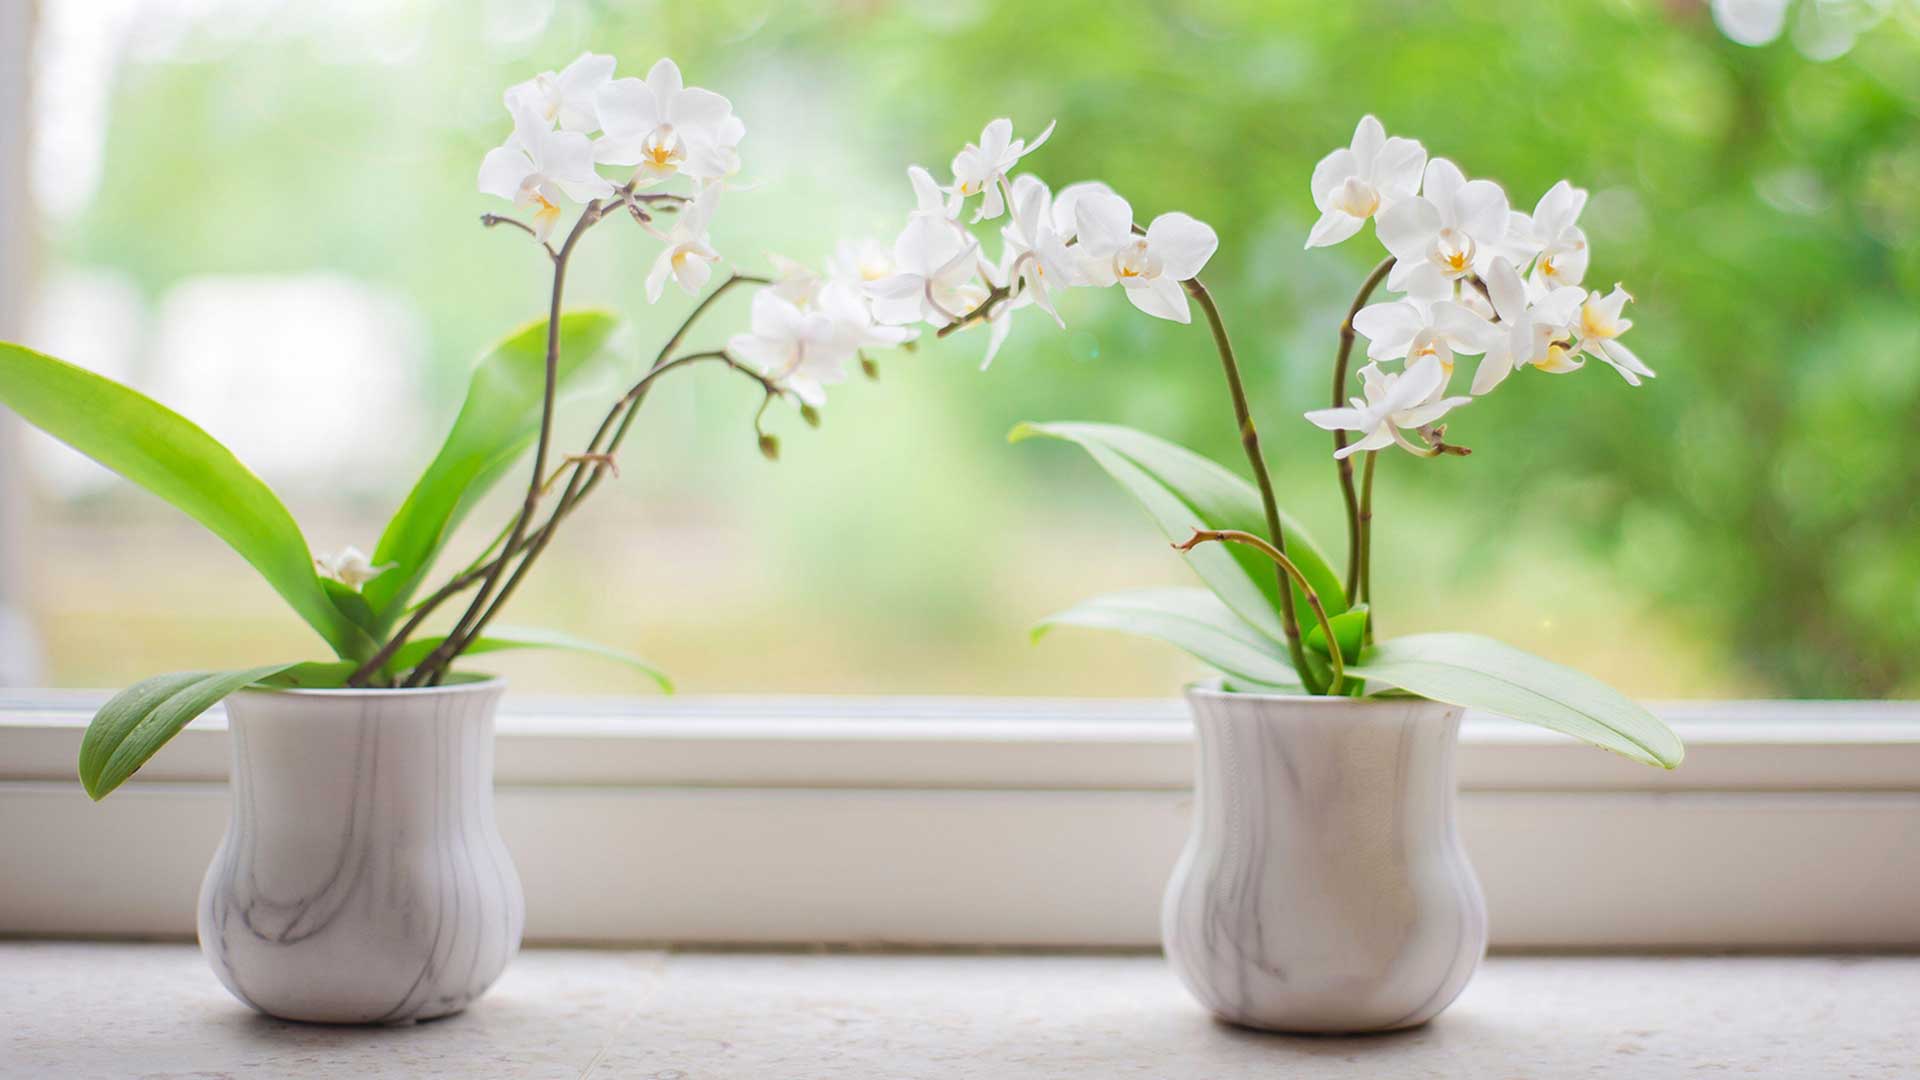
Orchids need their potting medium refreshed occasionally to keep their root system healthy

Jo Lambell, the founder of Beards & Daisies and author of The Unkillables, discovered her passion for houseplants in 2001 after transporting a 6ft monstera home on public transport ("I realised there had to be a better way to get plants delivered"). This sparked the idea for a business that makes plant delivery more accessible. As Beards & Daisies approaches its 10th anniversary, it offers a carefully curated selection of indoor plants, from prayer plants to palm trees.

Petar Ivanov is a gardening and plant expert who has been working at Fantastic Gardeners for eight years. As one of the company's top-performing experts, he now manages over six teams of gardeners, delivering stunning landscape results and fostering a deep connection with nature through his work. With his green thumb, leadership skills, commitment to sustainability and determination to learn, Petar's wish is to leave a lasting mark in the world of gardening.
What you will need to repot an orchid
A key part of repotting a houseplant properly is using the right tools. For orchids, Jo recommends using a pot that's one to two inches larger than the current one, an orchid potting mix, and sterilised scissors.
Top tip: Using a transparent orchid pot, such as these ones from Amazon, will help you monitor moisture levels in the potting medium.
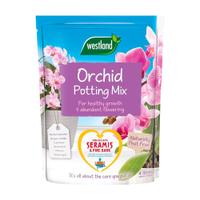
Westland Orchid Potting Mix | RRP: £6.99 Now £5.34 at Amazon
This peat-free mix includes pine bark for improved drainage and airflow which encourages healthy root growth.
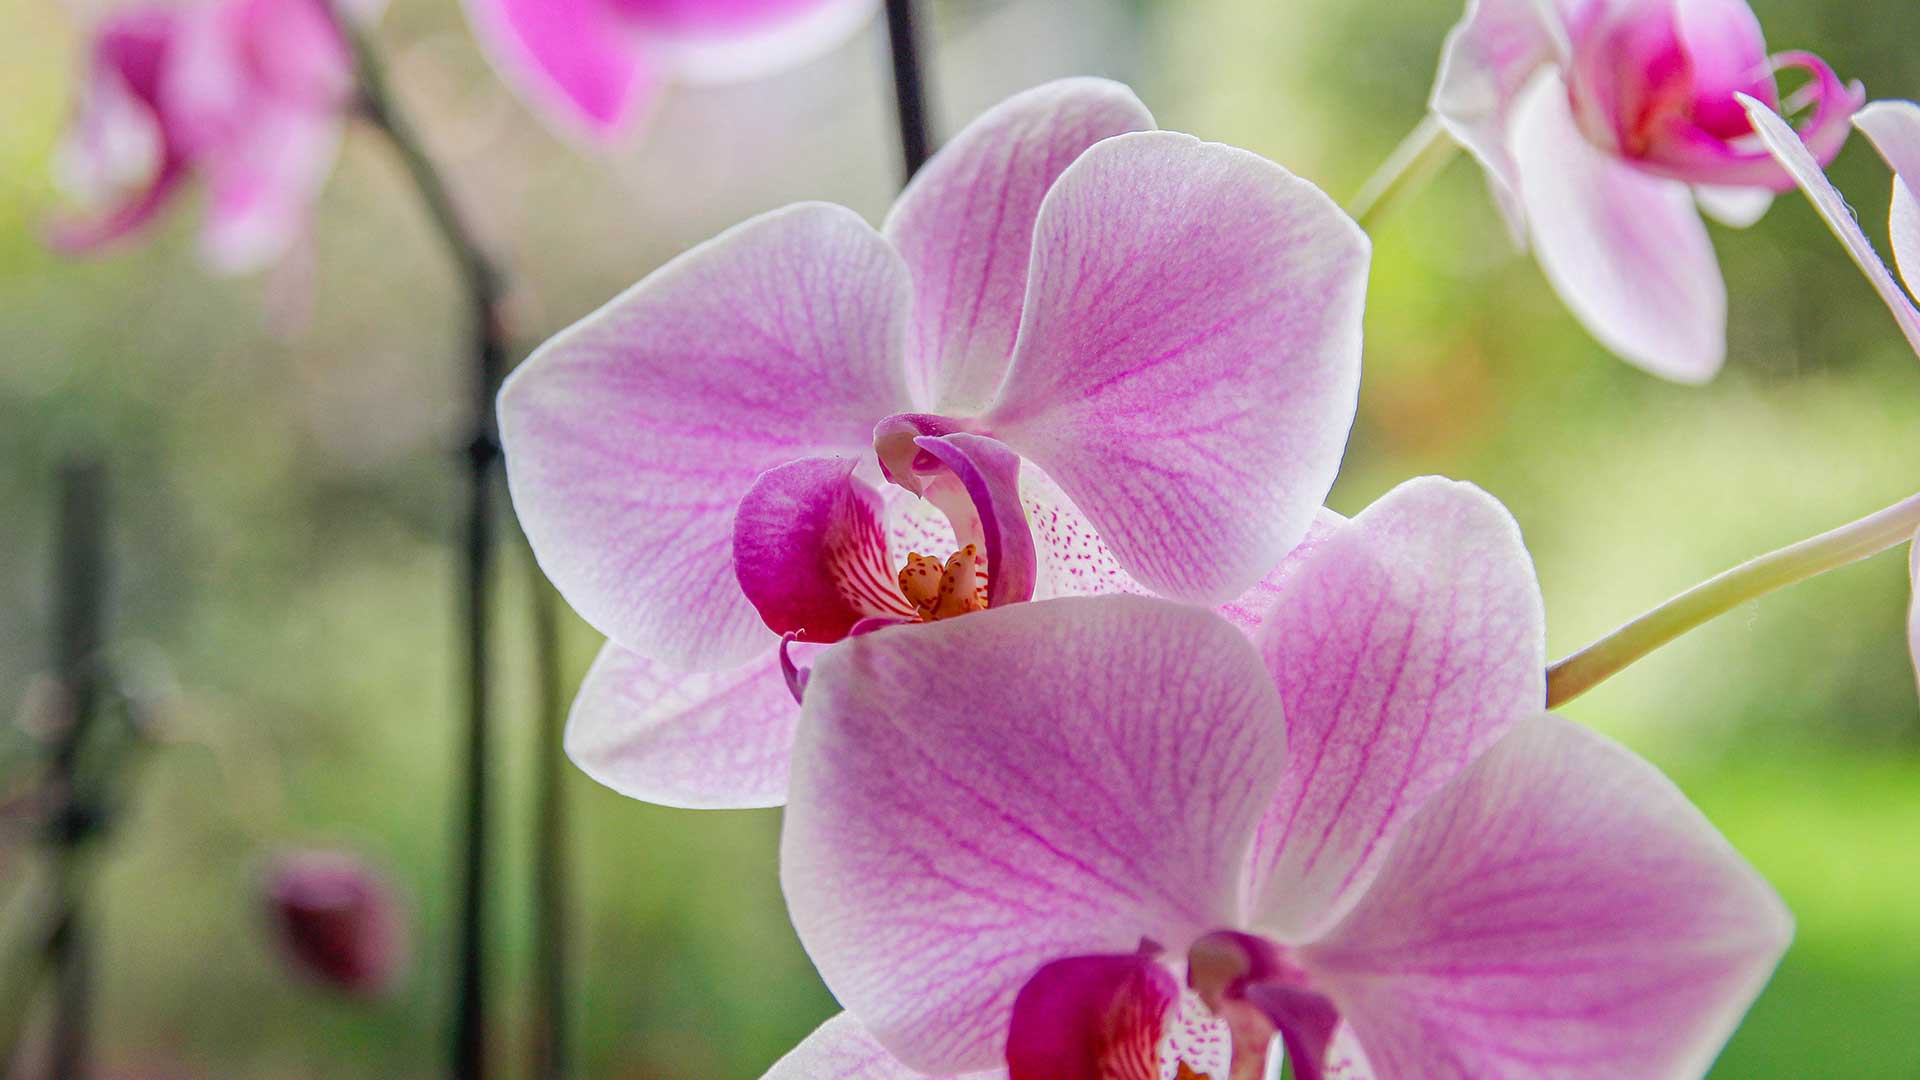
Orchids prefer a chunky potting mix
How to repot an orchid – a step-by-step guide
Repotting an orchid only takes five simple steps, which Jo shares below:
- Remove the orchid from its current pot: Gently take the orchid out, being careful not to damage the roots. If the plant is stuck, you can squeeze the sides of the pot or cut it away if it's plastic.
- Trim dead roots: Inspect the roots and trim away any that are brown, mushy, or dead using sterilised scissors.
- Soak the roots: If the roots are very dry, you can soak them in water for 10-15 minutes to make them more flexible.
- Place the orchid in the new pot: Position the orchid in the centre of the new pot and carefully add the potting mix around the roots. Make sure the plant is stable but not buried too deeply – its crown should be at the surface of the medium.
- Water lightly: After repotting, water the orchid lightly to help settle the new potting soil around the roots.
Jo warns against overwatering your orchid after repotting, and advises returning to a regular watering schedule gradually. Our guide on how often to water an orchid is a must-read if you're unsure.

Check the root system before repotting your plant
When to repot an orchid
Knowing when to repot a houseplant is important to avoid stressing your plants.
According to Jo, repotting an orchid should typically be carried out every one or two years, depending on the type of orchid and the condition of the potting medium. Watch for the roots outgrowing the pot, too: "If the roots are spilling over the pot or becoming tightly packed, the orchid needs more space."
For most orchids, wait until just after the plants have finished flowering to carry out the task. This is usually during spring or early summer, Jo adds. Petar agrees. "Don't repot your orchid while it is in full bloom," he says. "In this way, you’ll avoid stressing the plant and making it lose its blossoms."
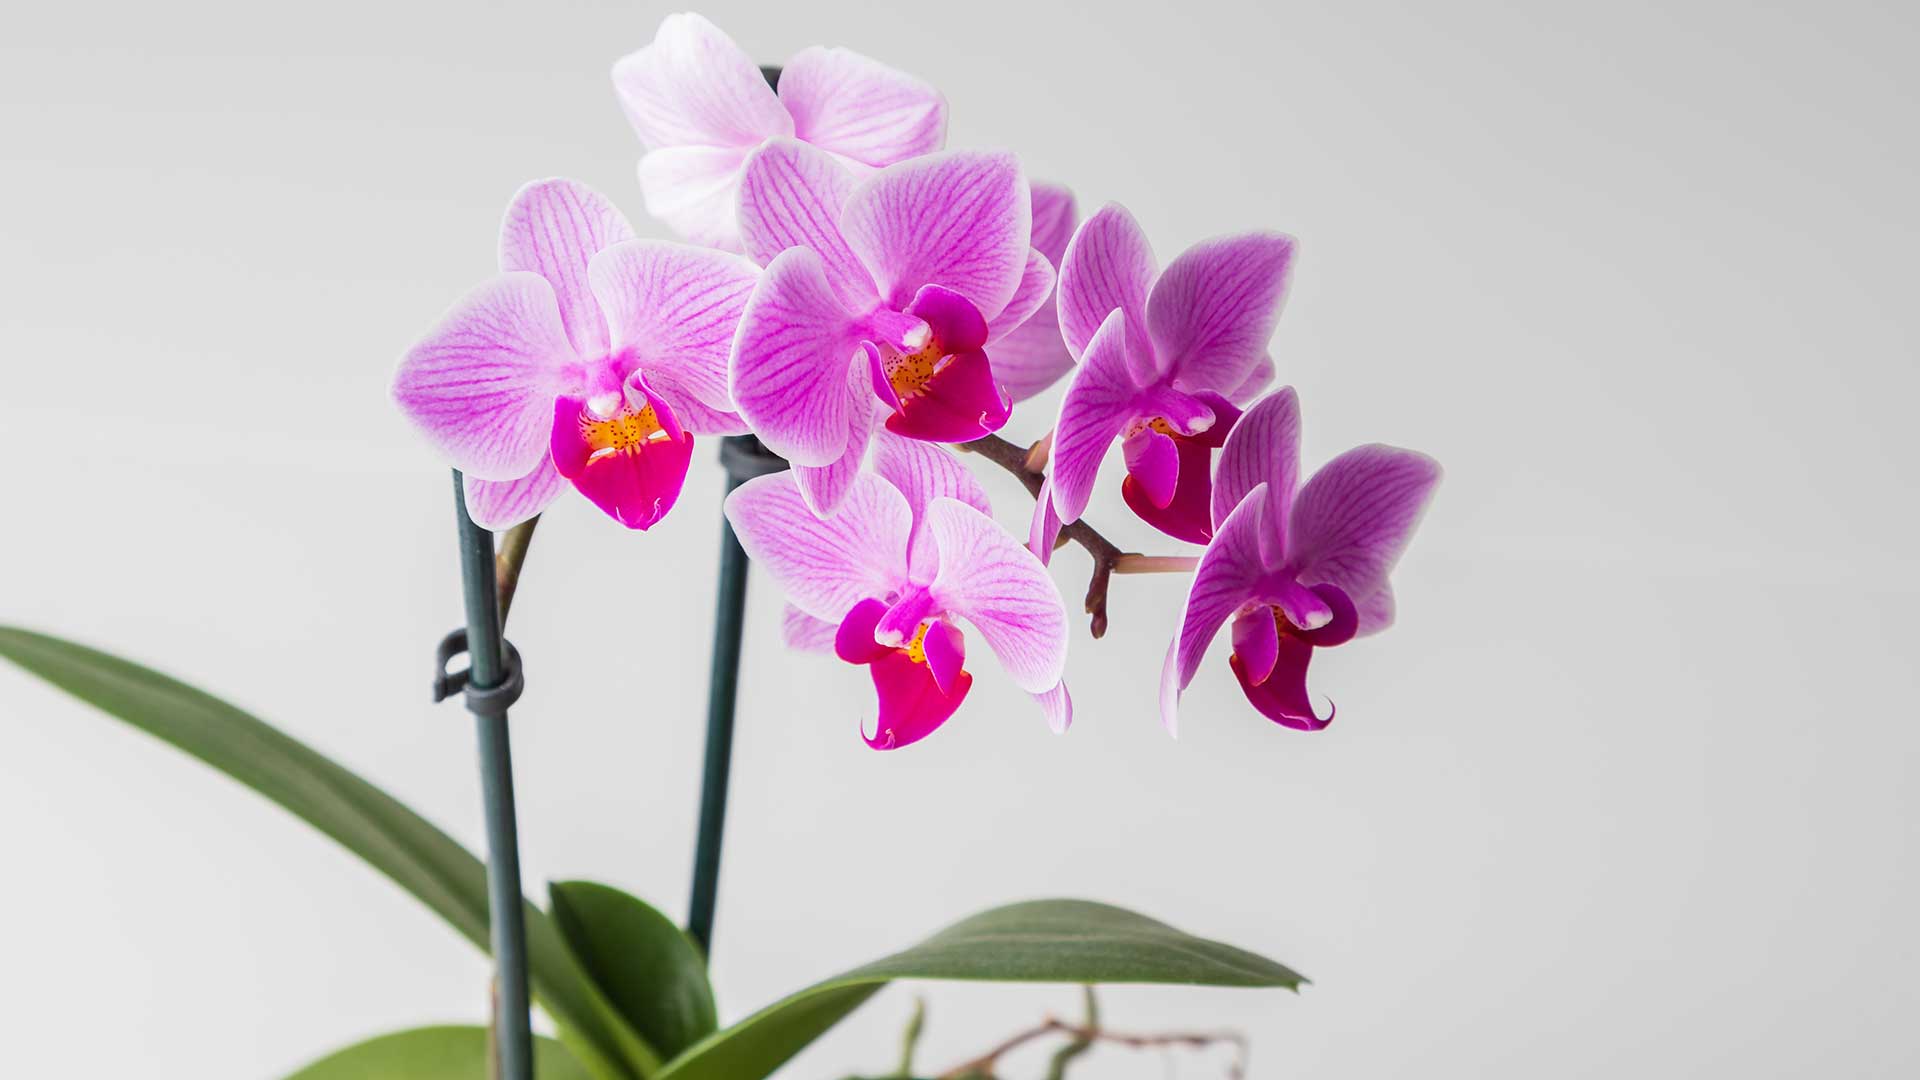
Repot your orchid once it's finished flowering, if needed
FAQs
Can you use a normal potting soil to repot an orchid?
While a regular potting mix may be fine for many easy houseplants, it's best to avoid using this when repotting your orchid. As Jo points out, it can suffocate the roots. Instead, stick to a dedicated orchid potting mix which will be loose and airy.
What are some common mistakes to avoid when repotting an orchid?
Petar notes how the new potting medium shouldn't be packed too tightly around your orchid, as the roots require adequate airflow. Jo also warns against burying the plant's crown (the area where the leaves meet the roots) – make sure it is above the potting soil to prevent rot.
Another common mistake is using a pot that's too big. Although it might seem like a good idea at the time, it can lead to problems with overwatering, which can rot the roots. This tip generally applies when caring for indoor plants, so it's a good one to remember!
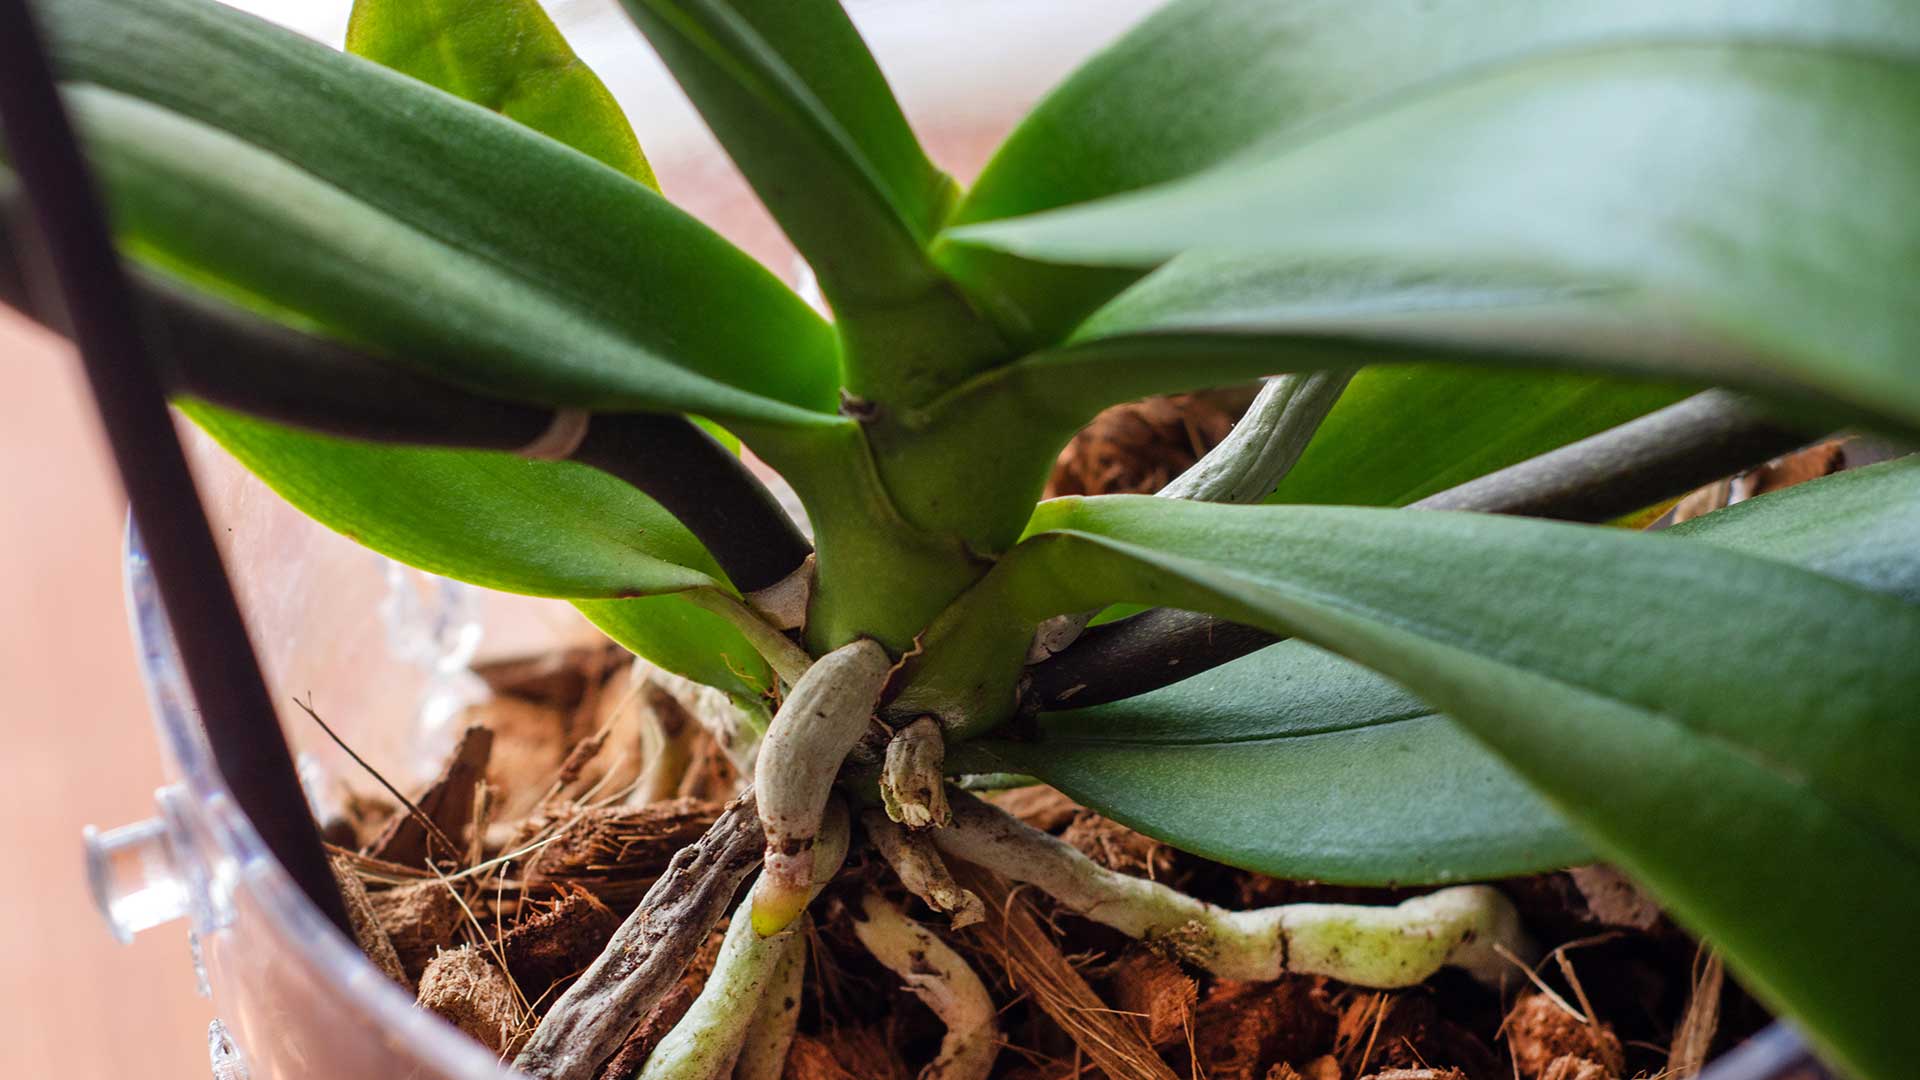
Avoid covering the crown of your orchid
What should you do with the aerial roots when repotting an orchid?
Most orchids are epiphytes, meaning they grow on other plants, such as trees, in their natural habitat. Because of this, they can develop aerial roots, which absorb moisture and nutrients from the air. If they look healthy, leave them as they are, being careful not to bury them when you repot your plant.
Knowing how to repot an orchid properly is essential for keeping these houseplants at their best. However, there are other important maintenance factors to remember to avoid problems, such as orchid leaves turning yellow.

The garden was always a big part of Holly's life growing up, as was the surrounding New Forest where she lived. Her appreciation for the great outdoors has only grown since then; she's been an allotment keeper, a professional gardener, and a botanical illustrator. Over three years ago, Holly started writing about plants and outdoor living full-time, first for Gardeningetc.com and now for popular lifestyle titles such as Homes & Gardens.
-
 My family runs a pizza business - this is the pizza oven we use when we're not on the clock
The Gozney Arc is a sleek, elegant pizza oven offering dual-fuel cooking, modern design features, and a robust, durable build. Here's everything you need to know.
By Laura Honey Published
-
 Clodagh McKenna's lemon-yellow apron makes this overlooked essential a key part of her outfit - and it matches her kitchen
We’ve all heard of matching your shoes to your handbag, but Clodagh McKenna has taken colour-coordination to another level.
By Emma Shacklock Published
