Jewelry repairs you can do yourself at home—without the help of a professional
No need to call in the experts—these jewelry repairs for rings, bracelets and necklaces are easy to carry out at home.

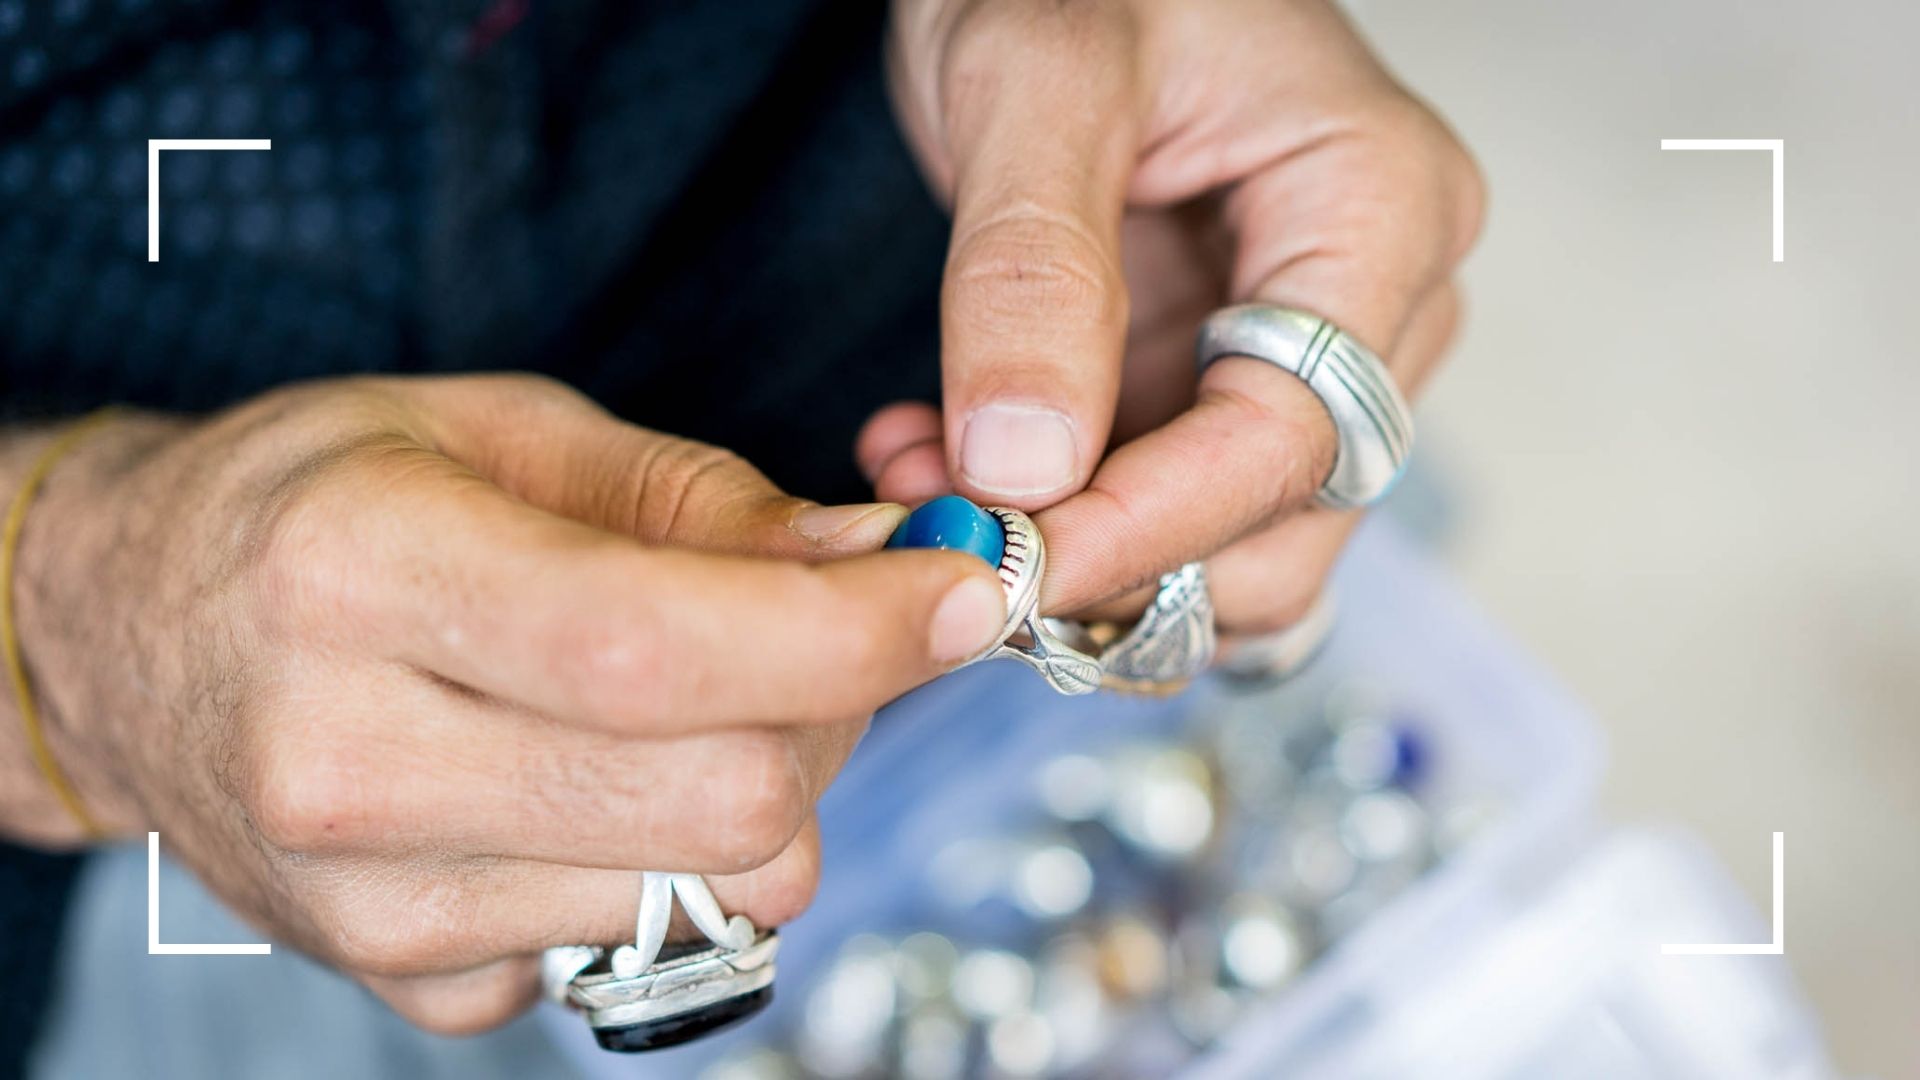
Knowing how to make simple jewelry repairs is a useful skill to have, especially if you have a large collection of bracelets, rings, and necklaces. Because often, our favorite pieces can experience little breaks, or require small tweaks to help them look their best. So instead of tossing those earrings with a bent wire, or getting rid of your chicest statement necklace with a missing clasp, it's handy to know that you can save these pieces and repair them yourself.
You might assume that all jewelry repairs need to be done by a professional, given how delicate many of our items can be. But actually, many repairs are easy to make at home without needing to call an expert—be it cleaning a discolored chain or replacing a dislodged stone. Whether you need to fix an item you've made from one of the best jewelry making kits (one of the most fun hobbies for women) or a much-loved piece from a popular high-street store, there's an easy-to-follow method for almost every issue that means you can do a DIY fix yourself, before paying someone to help you.
Take note, however—while you can fix many common problems with fashion jewelry, you shouldn't attempt to repair fine jewelry yourself. It's often too expensive and/or delicate to risk damaging even further. So if you have a precious engagement ring or a family heirloom necklace, we'd advise that you do seek the assistance of a professional to fix it properly.
Jewelry repairs you can do yourself
1. Replace a broken clasp or jump ring
Whether you love learning how to make jewelry or you prefer to buy yours, clasps can be the most fragile part of a piece of bracelet or necklace, and that's because it often gets the most use. A few things may have happened if your clasp is broken:
- The clasp itself might have broken and no longer close properly.
- A jump ring may have opened, and the clasp may have fallen off.
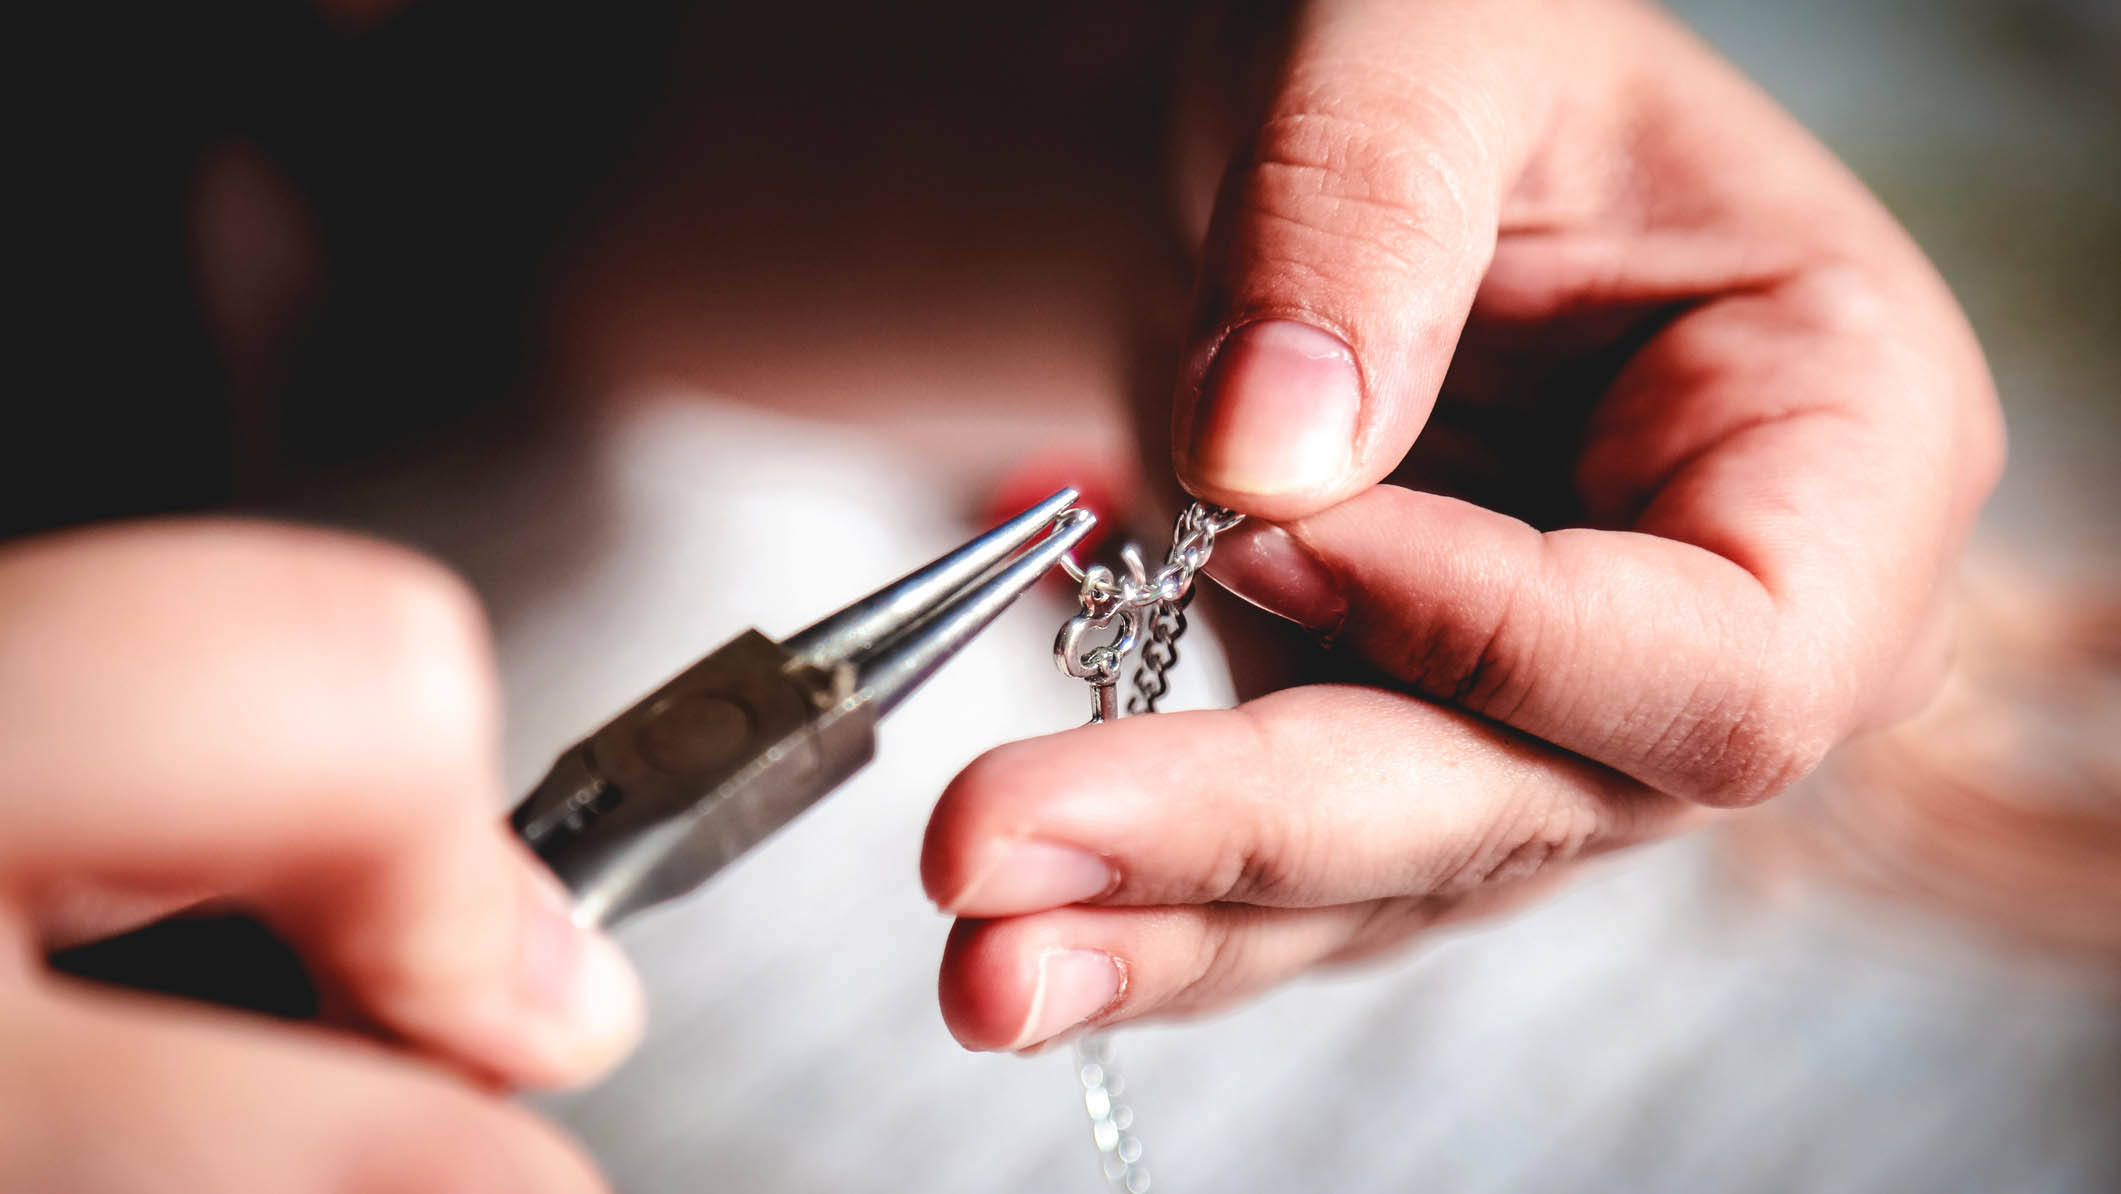
In either case, replacing the clasp and jump ring will solve the problem. While it sounds complicated, this repair is simple and straightforward. It requires just a few supplies:
- Two pliers (chain and/or flat nose)
- An open jump ring
- A clasp
To do the repairs, use your two pliers to open the jump ring. Slide the end of your chain or beadwork into the open ring. Next, slide the clasp onto the open ring, and then use your pliers to close the jump ring. Your jewellery should now be ready for use.
2. Reglue missing stones

It's not uncommon for stones to come loose from their settings, even if they've been bought at a popular store, or made in the best online jewelry making classes! A hard impact can dislodge the stone, or a prong in the setting may get caught in your clothes and push the stone loose. Improper care or storage can also lead to missing stones, so make sure you're taking care of your jewelry when you're not wearing it.
Sign up for the woman&home newsletter
Sign up to our free daily email for the latest royal and entertainment news, interesting opinion, expert advice on styling and beauty trends, and no-nonsense guides to the health and wellness questions you want answered.
Depending on the type of jewelry and stone, you may be able to reglue your missing stones. To do this, follow these steps:
- Gently remove the stone from the piece of jewelry
- Squeeze a thin layer of glue onto the base, where the stone was
- Place the stone back on top of the glue and hold it in place for a few minutes
- After removing your finger, leave the jewelry item alone overnight to set
Make sure that you use jewelry glue—not superglue—for this repair, to ensure the stones stay in place.
3. Resizing a ring
Over time, ring bands may become too small or lose their shape. Here's the good news—you can fix either of these problems with some patience and a few simple tools.
To resize or reshape a ring, you will need a leather mallet and a ring mandrel. Both of these items can easily be found at any craft store or, perhaps, in a jewellery kit.
- Place the ring on the mandrel.
- Using the mallet, gently tap the side of the ring.
- Repeat on the other side of the ring.
- For reshaping, apply just enough pressure to restore the ring's round shape.
- For resizing, continue tapping and then rotating until it reaches your desired size on the mandrel.
This process is simple but, for fine jewelry, it's best to leave this type of repair to a professional.
And if you really can't fix your rings, why not see our guide to the best jewelry advent calendars this year, to treat yourself to some new pieces?
4. Removing tangles and knots from chains
Thin, delicate chains can easily become knotted and tangled, especially if they aren't stored properly. But these tangles and knots must be removed carefully to avoid breaking or damaging the chain.
A few simple sewing pins, a gentle touch and good lighting are all you need to untangle your chains. Simply thread the needle through one bit of the chain, and gentle wiggle it and work at it to try and loosen it. For difficult knots, apply a little baby oil to make it easier for the chain to untangle.
5. Repair or replace ear wires

You may want to change the ear wires on your earrings for a number of reasons. Maybe you're allergic to the metal, maybe you want a different look, or maybe the wire is broken or bent. No matter the reason, replacing or repairing ear wires is a useful skill to have.
The process is very similar to the clasp replacement mentioned. A jump ring will connect the ear wire to your earring. Open up the loop or jump ring using two pairs of pliers. Remove the old ear wire and slip the new wire into the open ring or loop. Now, use your pliers to close the ring. Your earrings should now be ready to wear.
6. Freshen up dirty stones and chains
Knowing how to clean jewelry properly is vital. Sweat, oil, makeup and other things can rob your stones and chains of their shine. A thorough cleaning can restore the natural beauty of your jewelry.
While you'll find many recipes for cleaners online, it may be safer to use professional jewelry cleaners. You can find cleaners for both fashion and fine jewellery. Some are stronger than others—make sure you choose the right type for your jewellery.
Careful handling and a gentle approach can help ensure that you clean each piece thoroughly and without causing any damage. We'd suggest using a cotton swab to clean stones and other delicate areas.
These simple jewelry repairs can be made by anyone with the right tools and materials. Some require a little more patience than others—but they can certainly save you from throwing out your favorite fashion jewelry pieces or spending unnecessary money on a professional repair.
Amy Hunt is an experienced digital journalist specialising in homes, interiors and hobbies. She began her career working as the features assistant at woman&home magazine, before moving over to the digital side of the brand where she eventually became the Lifestyle Editor up until January 2022. Amy won the Digital Journalist of the Year award at the AOP Awards in 2019 for her work on womanandhome.com.
-
 Considering a summer hair refresh? Demi Moore’s chic bob transformation is all the inspiration you need to book that salon appointment
Chop, chop, it's time to take a trip to the salon
By Sennen Prickett
-
 Helen Mirren just embraced Cartier's signature colour on her lips - and this easy trick will make it less intimidating to replicate
When in doubt, do as Helen Mirren does and steer clear of matte formulas...
By Naomi Jamieson
