How to print a photo on fabric to make special and thoughtful personalized gifts
Try something new with our guide on how to print a photo on fabric for stunning results

Learn how to print a photo on fabric and you can start to make stunning textile projects with a personal touch. It’s a lovely technique to bring digital memories to life, either through printing on canvas and displaying as traditional wall art, or with more adventurous sewing projects.
The photo to fabric transfer method is quick and simple, making these creations great gifts for friends and family. Or, if your photography skills are up to scratch, why not consider starting a business from your kitchen table with your own images and fabric products? This popular hobby to do at home could soon be making you a small fortune.
We’ll show you how to get started with the basics and a simple cushion idea that you could make with one of the best sewing machines—then the rest is up to your imagination. Turn cherished snaps that could easily be forgotten on your computer or in photo albums into treasured physical keepsakes.
To print a photo on fabric, you will need
- Iron-on heat transfer paper for light fabrics
- Cotton fabric
- A computer or laptop with photo editing software or access to an online version like Canva
- An inkjet color printer
- Iron and ironing board
- Paper scissors
How to print a photo onto fabric
Step 1: Crop your photo
Using the photo editing software or online alternative, select your image and crop it into your chosen shape. Resize as required, ensuring the image’s resolution is 300dpi (dots per inch), so it appears sharp. Flip the image so that it’s mirrored.
Step 2: Print and cut out the image
Print the image onto a sheet of image transfer paper. Cut out, leaving a 5mm border all the way around the edge.
Step 3: Iron your image
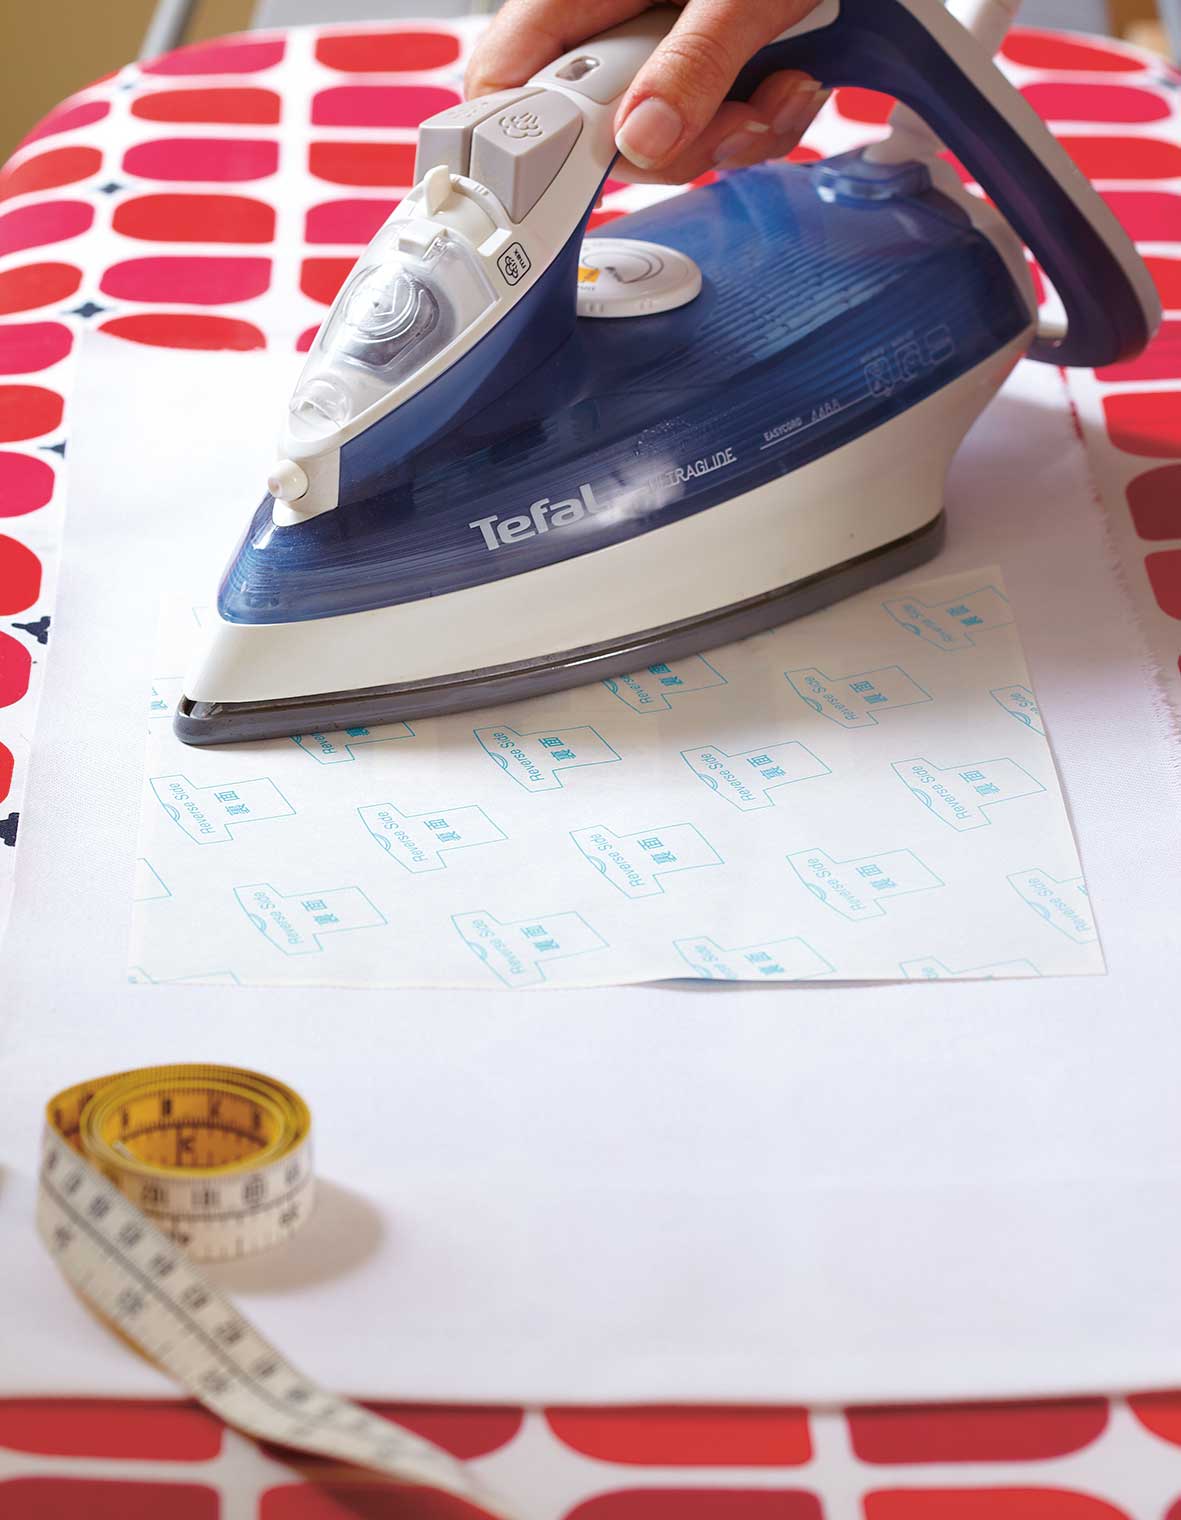
Lay your fabric on your ironing board, right side up, then place your printed image face down. Turn your iron to its hottest setting and run it over the paper for around 30-45 seconds, pressing down hard.
Step 4: Peel off the transfer paper
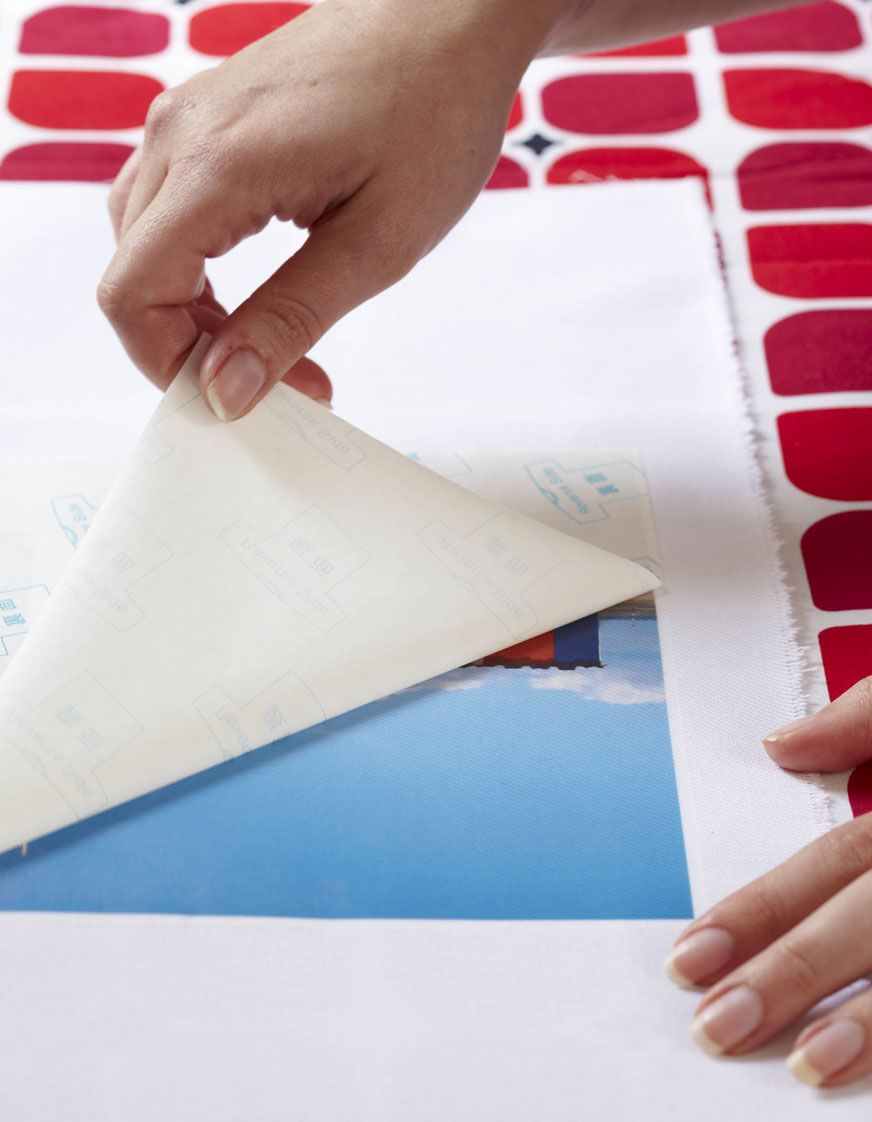
Leave the paper and fabric to cool for 5-10 minutes, then carefully peel back the paper to reveal the printed photo on the fabric.
Sign up for the woman&home newsletter
Sign up to our free daily email for the latest royal and entertainment news, interesting opinion, expert advice on styling and beauty trends, and no-nonsense guides to the health and wellness questions you want answered.
How to print a photo on a fabric pillow
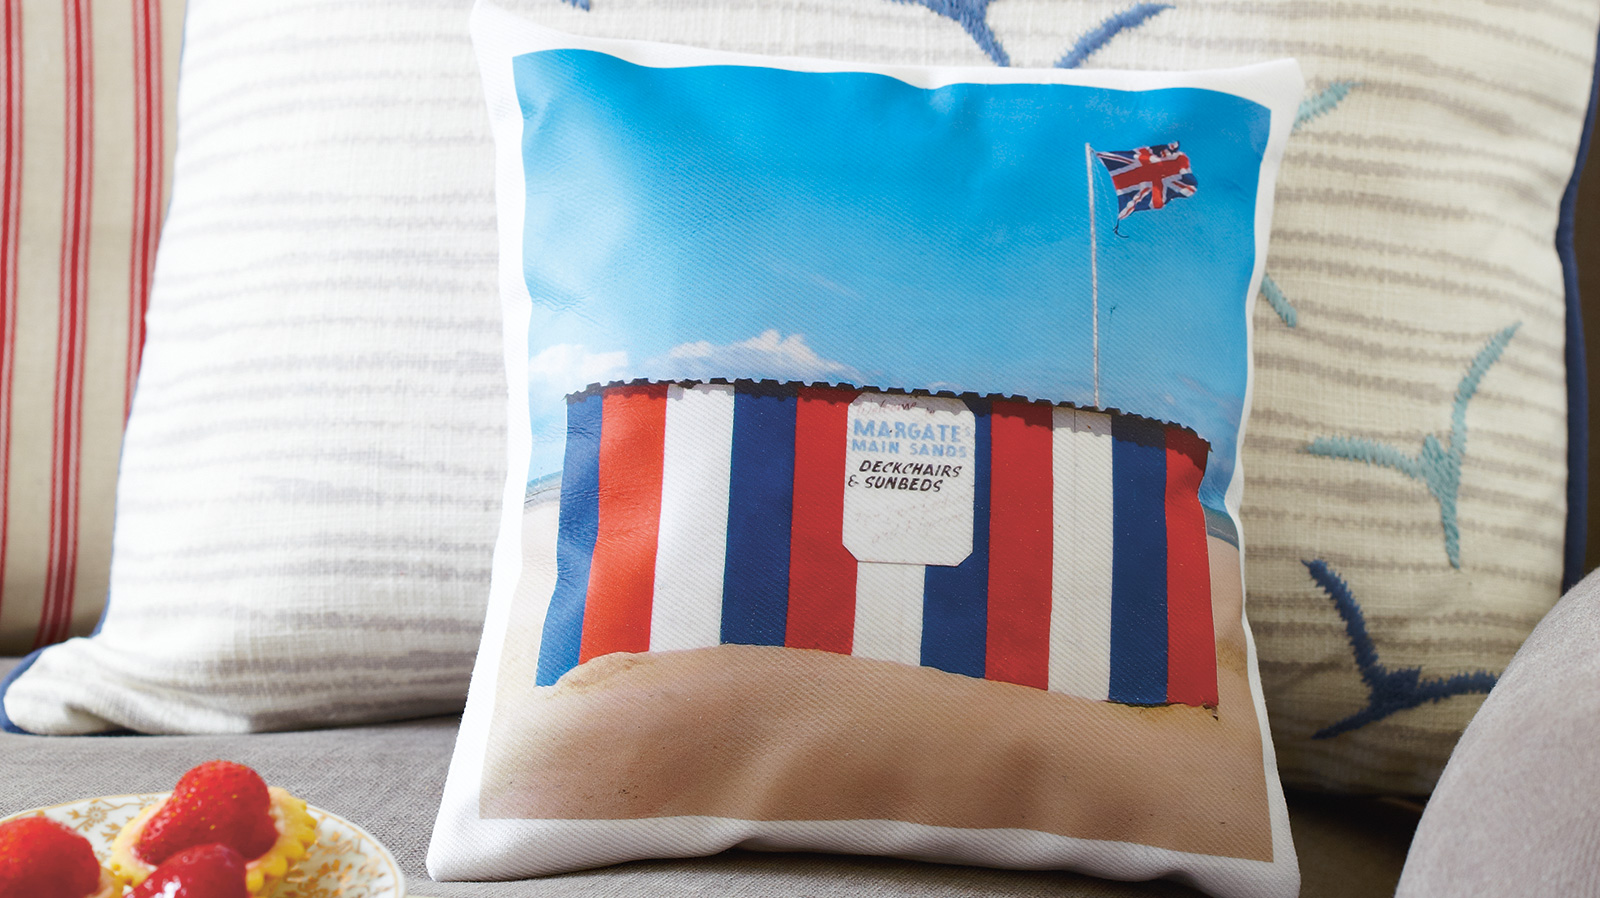
You will need
- One A4 sheet of iron on heat transfer paper for light fabrics
- White cotton or drill fabric
- 23cm square feather cushion pad
- A computer or laptop with photo editing software or access to an online version like Canva
- An inkjet colour printer
- Iron and ironing board
- Tape measure and pins
- White thread
- Paper scissors
- Fabric scissors
Step 1: Resize your image
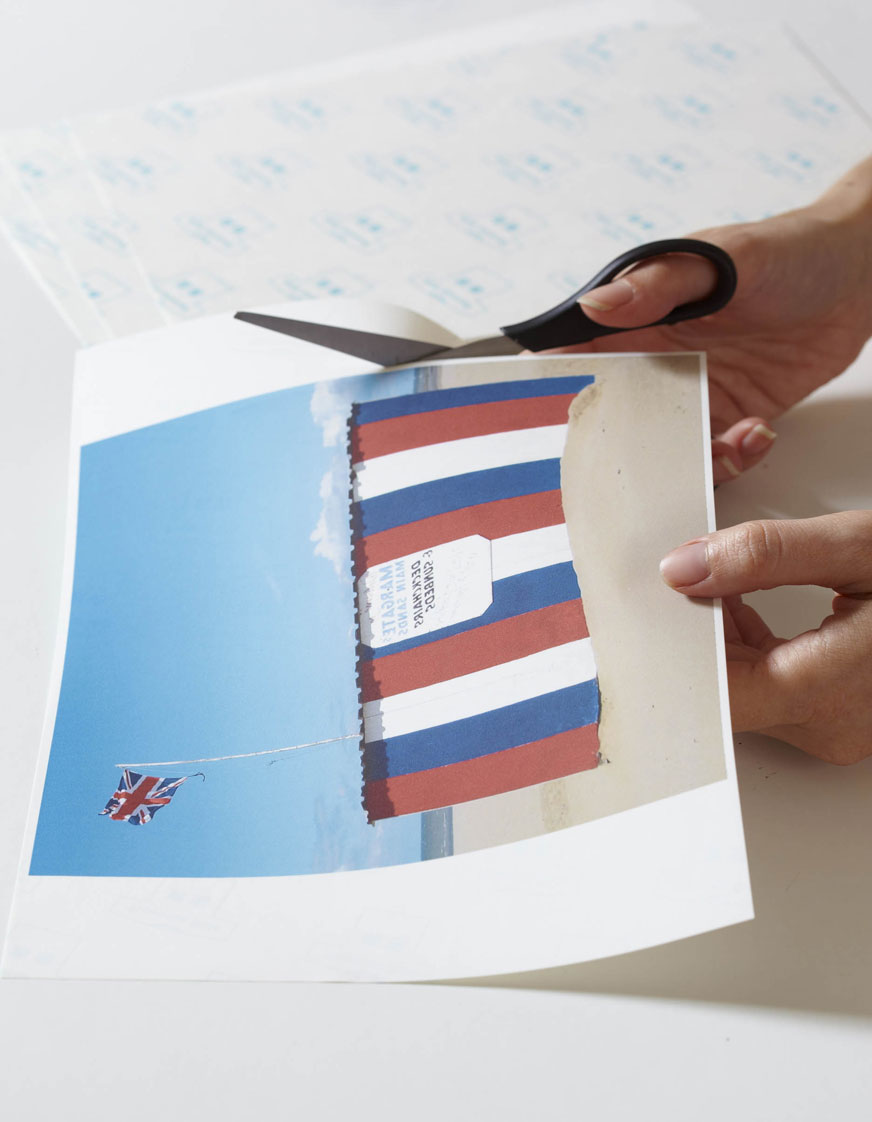
Select your image and crop it into a square on your computer. Resize it to 22cm, ensuring the image’s resolution is 300dpi (dots per inch), so it appears sharp. Flip the image so that it’s mirrored, using your photo editing program, then print on onto a sheet of image transfer paper. Cut out, leaving a 5mm border all around the edge.
Step 2: Cut and sew your fabric
Cut out your fabric to 27 x 55cm and sew a single hem along one of the short edges.
Step 3: Iron your image
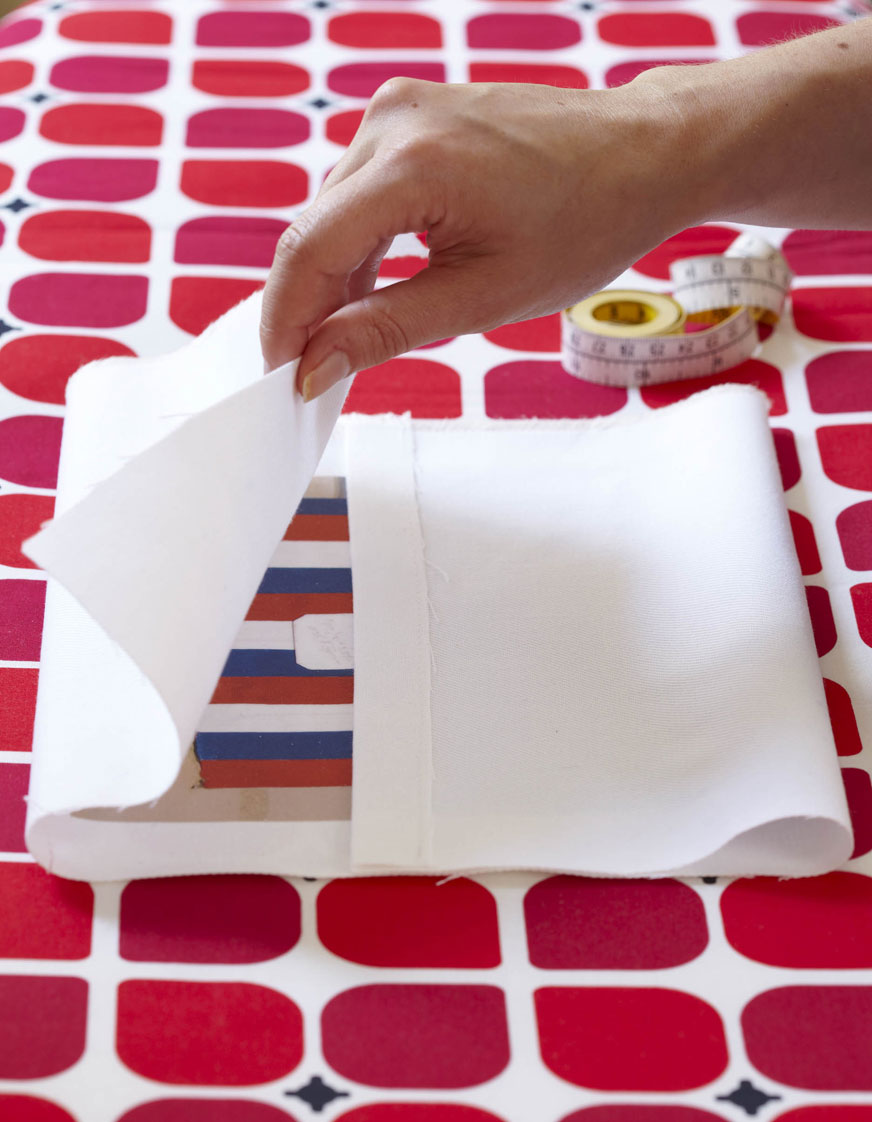
Lay your fabric on your ironing board, right side up, then place your printed image face down with the bottom of the image sitting 15cm up from the unhemmed short edge—ensure that it’s equally spaced from the sides. Turn your iron to its hottest setting and run it over the paper for around 30-45 seconds, pressing down hard.
Step 3: Peel off your image
Leave to cool for 5-10 minutes and then carefully peel off.
Step 4: Seal your fabric
Fold both ends of the fabric, sewn edge first, over the top of the image until it measures 23cm from top to bottom, with the pattern sitting equally spaced from either end. Once this is in place, press the edges flat with your iron.
Step 5: Sew down the edges
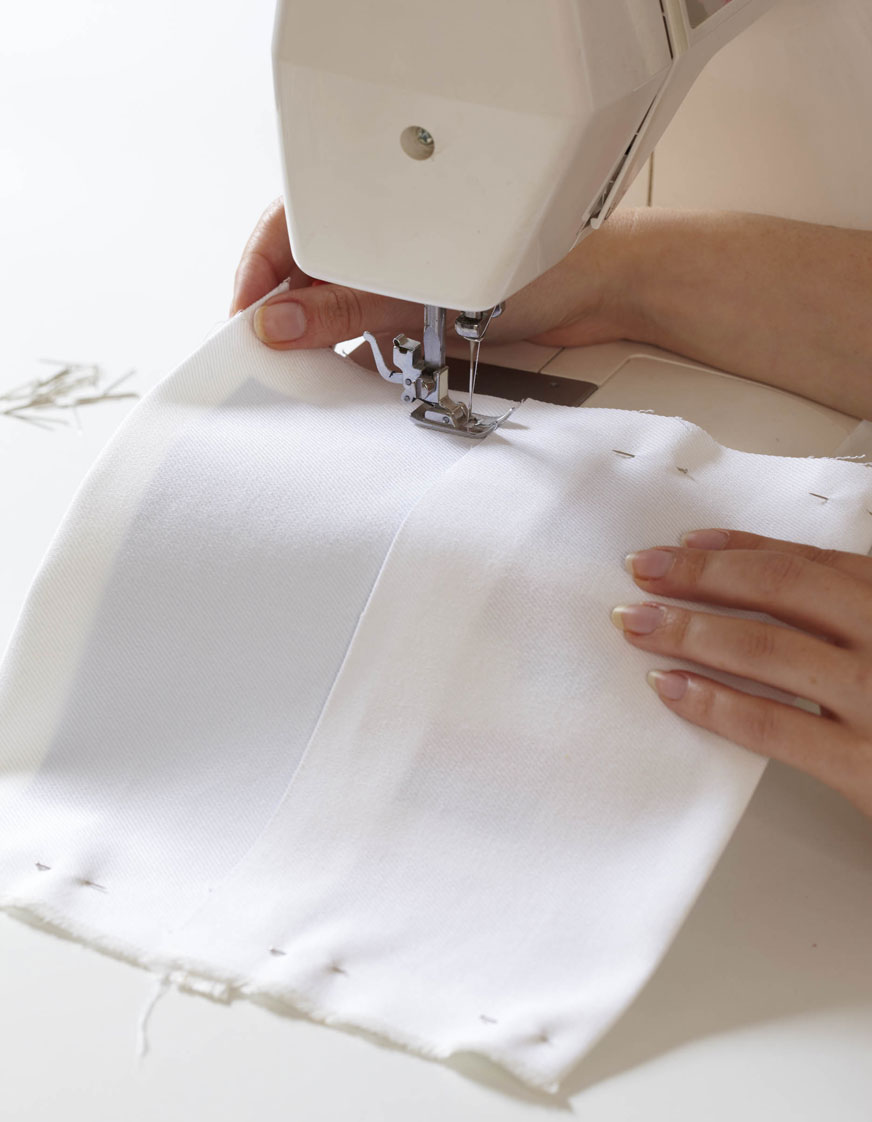
Mark a line of pins 2cm in from either of the raw edges and sew down both edges with your sewing machine. Clip the corners and turn the cushion right side out. Insert the cushion pad to complete. Read our guide on how to make a cushion cover for more details.
Printing a photo on fabric: What you need to know
Can I use more than one image?
Get creative when cutting out your images from the photo transfer paper. Instead of reproducing a square format, you could cut out different parts of several photos to make up an eye-catching collage. Follow the same instructions, transferring the images one at a time and layering the photos on the fabric.
What size photos can I print on fabric?
At home, you’re limited to the size of the iron-on heat transfer paper and your printer. It’s best to start small with these projects before looking to print larger than A4 images.
If you don’t want to approach a professional printer to print your images on paper, try a mosaic method instead. Divide your photo into a number of A4 panels. Print and layout your fabric in a window-pane pattern to create the full image.
What fabric can I print my photo onto?
Start with cotton or drill fabric as it’s the easiest, to begin with. Then, look out for iron-on heat transfer paper designed specifically for different fabric types. T-shirt transfer paper is readily available to use with jersey and stretch fabrics.
Take note of the color fabric the transfer paper is suitable for, too—some work with darker fabrics and some with lighter.
I want to sew more photo-printed fabric projects, where do I start?
First, get set up with a good set of equipment, including a high-quality inkjet printer and a sturdy sewing machine (check out our guide on the best sewing machines for beginners if you're new to sewing).
Once you’ve mastered a cushion, go on to making tote bags and t-shirts. Then try make-up bags with zippers using black and white images for a vintage look—you’ll need to add a scanner to your set of equipment to use old negatives and photos.

Group Homes Director and in-house craft expert, Esme Clemo has over 10 years’ experience working in the magazine industry as a homes journalist. Having completed an interior design course with the University of Arts London, she’s now embarking on her second home renovation, DIYing her way through building and decor projects - meaning she has a very hands-on approach when it comes to testing out products for our reviews.