How to make piping for a cushion
Wondering how to make piping for a cushion? We show you how to cover piping cord with a strip of bias-cut fabric
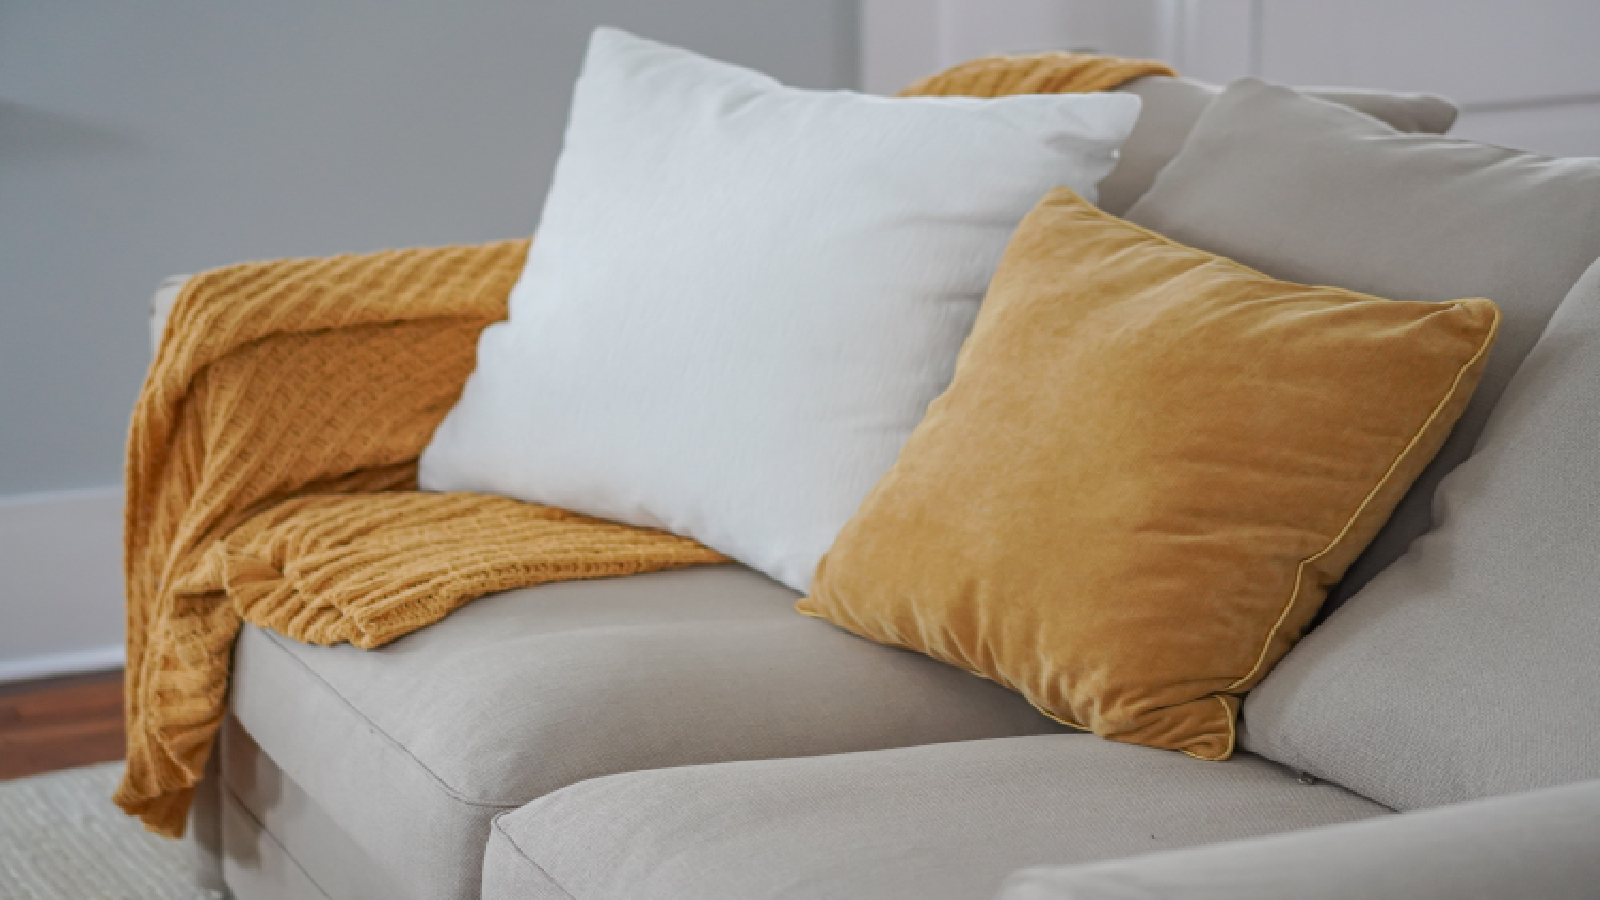

Wondering how to make piping for a cushion? It is easy enough to buy ready-covered cord, but with our simple guide, you can learn how to make piping in any color you want, to perfectly match your existing cushions.
Once you’ve made your piping, have a go making a cushion cover with piped edging, we've put together a handy guide that explains how to make a cushion cover in less than 30 minutes.
How to make piping for a cushion
What You'll Need
A sewing machine will make this a much quicker task. If you don't have one or need a new one, read our guide to the best sewing machines.
- Cushion pad measuring 45 x 45cm
- Fabric measuring 50 x 120cm
- Contrasting fabric for the piping measuring 150 x 150 cm
- Piping cord measuring 200cm in length
- Matching thread
- Contrasting thread
- Needle
- Tape measure
- Set square
- Ruler
- Dressmaker’s chalk
- Scissors
- Pins
- Sewing machine
- Zipper foot
Before you start...
Piping preparation
Cut the fabric on the bias by folding your square of fabric in half diagonally and cutting along the fold so you have two triangles.
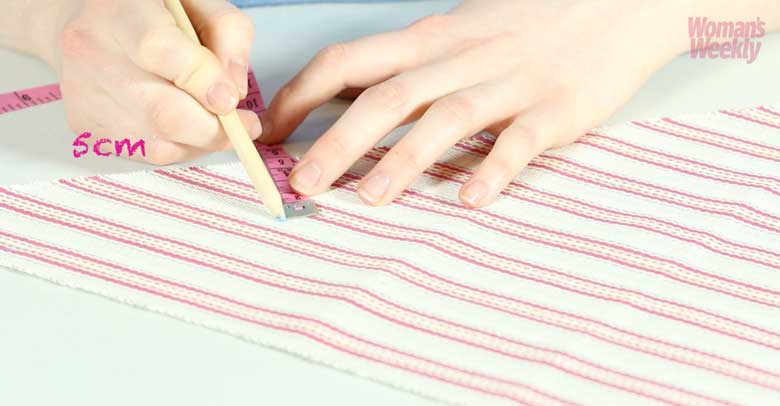
Using dressmaker’s chalk, mark 5cm in from the raw edge and then cut along this line. Continue to cut strips until you have enough to go all the way around your cushion.
Cushion cover preparation
Cut out a square measuring 48 x 48cm for the front panel and two rectangles measuring 27 x 48cm and 37 x 48 cm for the back panels.
If you’re using a different size cushion pad, measure the length and width of the cushion. For the width of the cushion add 3cm for a seam allowance and for the length, double this width and add 10cm to allow for the envelope overlap.
Sign up for the woman&home newsletter
Sign up to our free daily email for the latest royal and entertainment news, interesting opinion, expert advice on styling and beauty trends, and no-nonsense guides to the health and wellness questions you want answered.
Transfer these measurements to your fabric using a ruler, dressmaker’s chalk, and a set square to get an absolute right angle.
How to make piping
Step 1
To join the bias strips together, trim the short ends so they are all squared off. Take two strips and with right sides facing, pin where the short ends overlap at a right angle.
Step 2
Use some dressmaker’s chalk to mark a 45-degree angle across the overlapping fabric and machine straight stitch along this line. Trim the excess and press the seam open. Repeat with all the strips until you have one long piece.
Step 3
At one of the short ends, fold the fabric under by 3cm and pin in place.
Step 4
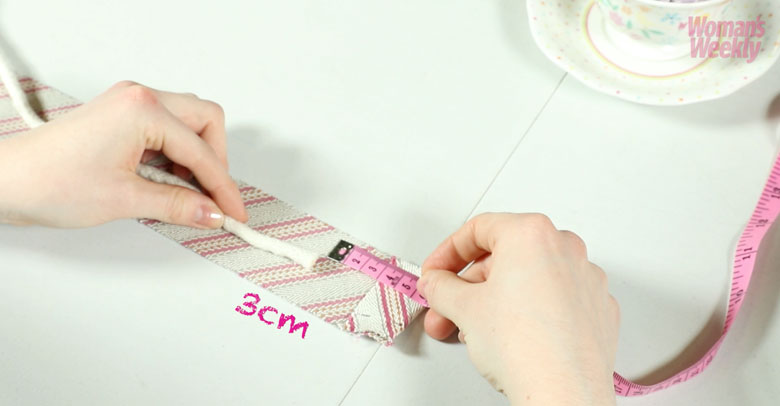
Insert the piping cord 3cm in from the strip’s folded end and begin folding and pinning the bias strip over the cord lengthways so that the raw edges meet and wrong sides are facing, sandwiching the cord.
Step 5
Using a zipper foot, sew along the raw edge of the strip, close to the cord to secure it in place.
How to make the cushion cover
Step 1
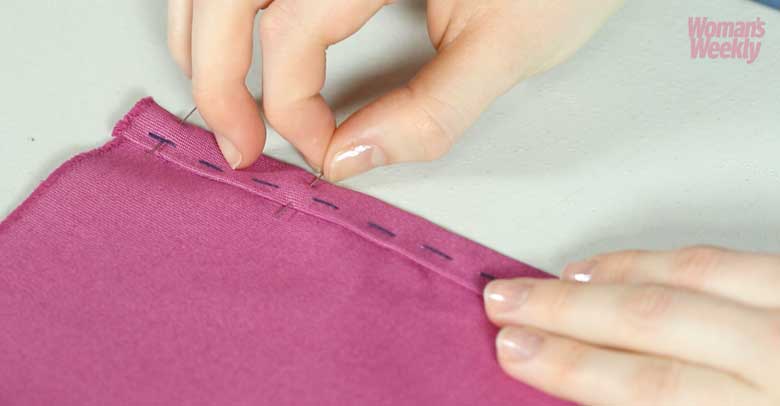
Take the two back panel pieces, sew a double hem along one of the long edges of each piece. Fold the fabric over by 1.5cm and press, then fold the fabric over the previous fold by another 1.5cm, press and pin in place.
If you’re worried about using your sewing machine with the pins in, tack the hem before machine straight stitching on the right side of the fabric.
Step 2
Pin the piping to the front cushion panel by matching up the raw edges with right sides together. Where the piping overlaps, trim the cord back so that the ends meet and wrap the trimmed cord with the folded end of the fabric. Pin in place.
Step 3
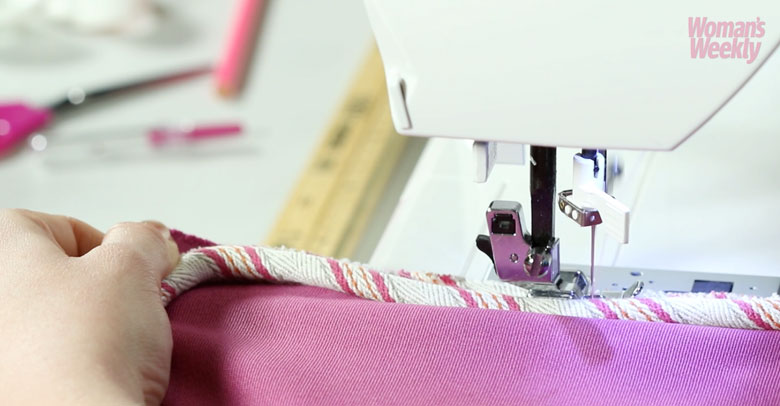
Use your zipper foot to straight stitch around the edge of the piping. When you get to the corners, lower the needle and lift the foot to turn the cushion panel making it easier to sew in a curve. Snip into the piping cord’s seam allowance to help the piping cord lie flat.
Step 4
With right sides facing, pin and tack the cushion panels together so that the two back panels overlap by 10cm to create an envelope opening.
Step 5
Use the zipper foot and a straight stitch on your sewing machine to sew all four sides of the cushion together with a 1.5cm seam allowance.
Step 6
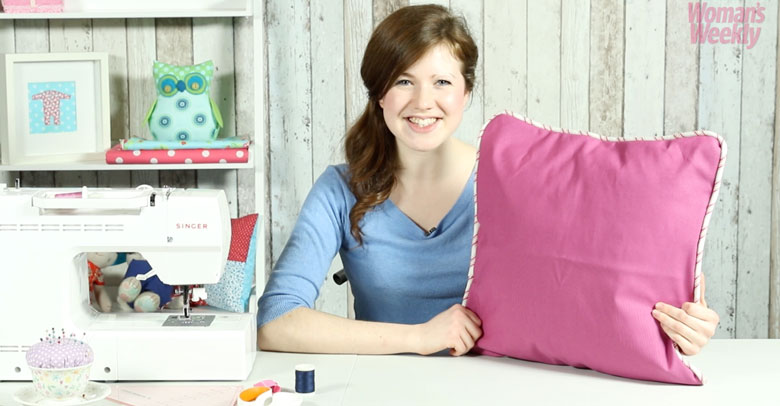
Clip the corners, turn right sides out and there you have it!
If you prefer cushions with a wider border, learn how to make an Oxford pillowcase cover.

Group Homes Director and in-house craft expert, Esme Clemo has over 10 years’ experience working in the magazine industry as a homes journalist. Having completed an interior design course with the University of Arts London, she’s now embarking on her second home renovation, DIYing her way through building and decor projects - meaning she has a very hands-on approach when it comes to testing out products for our reviews.