How to make Christmas stockings: A step-by-step guide
Learn how to make Christmas stockings with our easy-to-follow instructions


It's easy to learn how to make Christmas stockings with this quick-stitch project. All it takes is some straight stitching to complete the simple, festive decoration.
Homemade Christmas stockings make lovely Christmas decorating ideas whether you just hang them for show around your home or use them practically to fill with Christmas gifts for the whole family.
Once you've sewn together your first Christmas stocking, why not create a full set for everyone in your household? Experiment by pairing festive prints with plain fabrics, for the perfect contrast between the stockings and cuffs, ready to hang and fill with presents for Christmas morning.
Better yet, for a cute Christmas tree decorating idea, make matching mini versions and hang them on your tree, filled with chocolate coins or candy canes for a festive treat.
To make a Christmas stocking you will need:
- The Christmas stocking template below (printed at 300%)
- 60 x 100cm fabric for the stocking
- 20 x 40cm contrasting fabric for the cuff
- 20cm length of ribbon
- Matching thread
- Hand sewing needle
- Scissors
- Pins
- Sewing machine (don't have one? Read our guide to the best sewing machines)
- Iron and ironing board
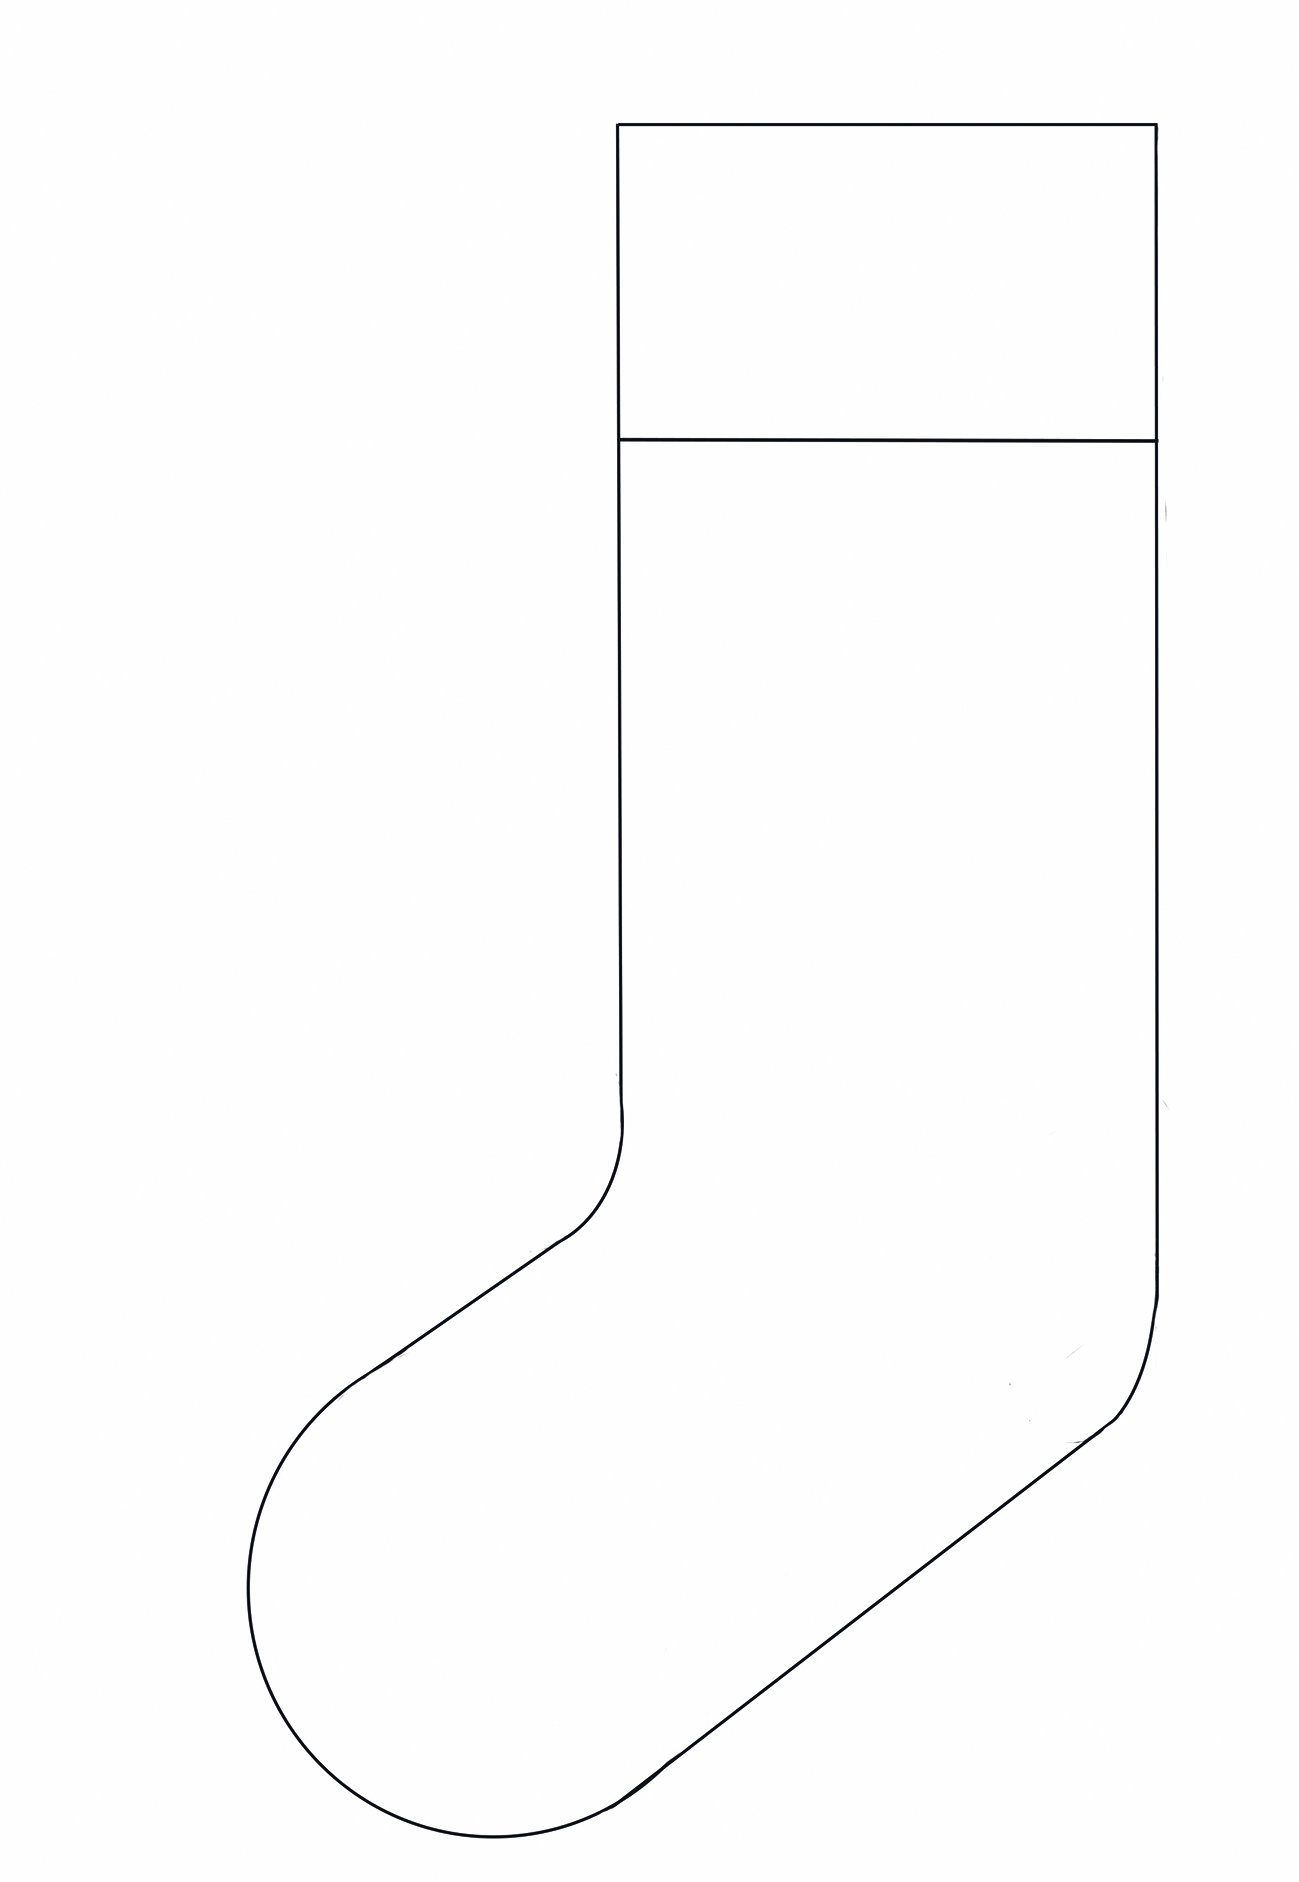
Christmas stocking template
How to make Christmas stockings in 7 easy steps
Step 1
Place the enlarged template on top of your folded stocking fabric and pin all the way around the edge.
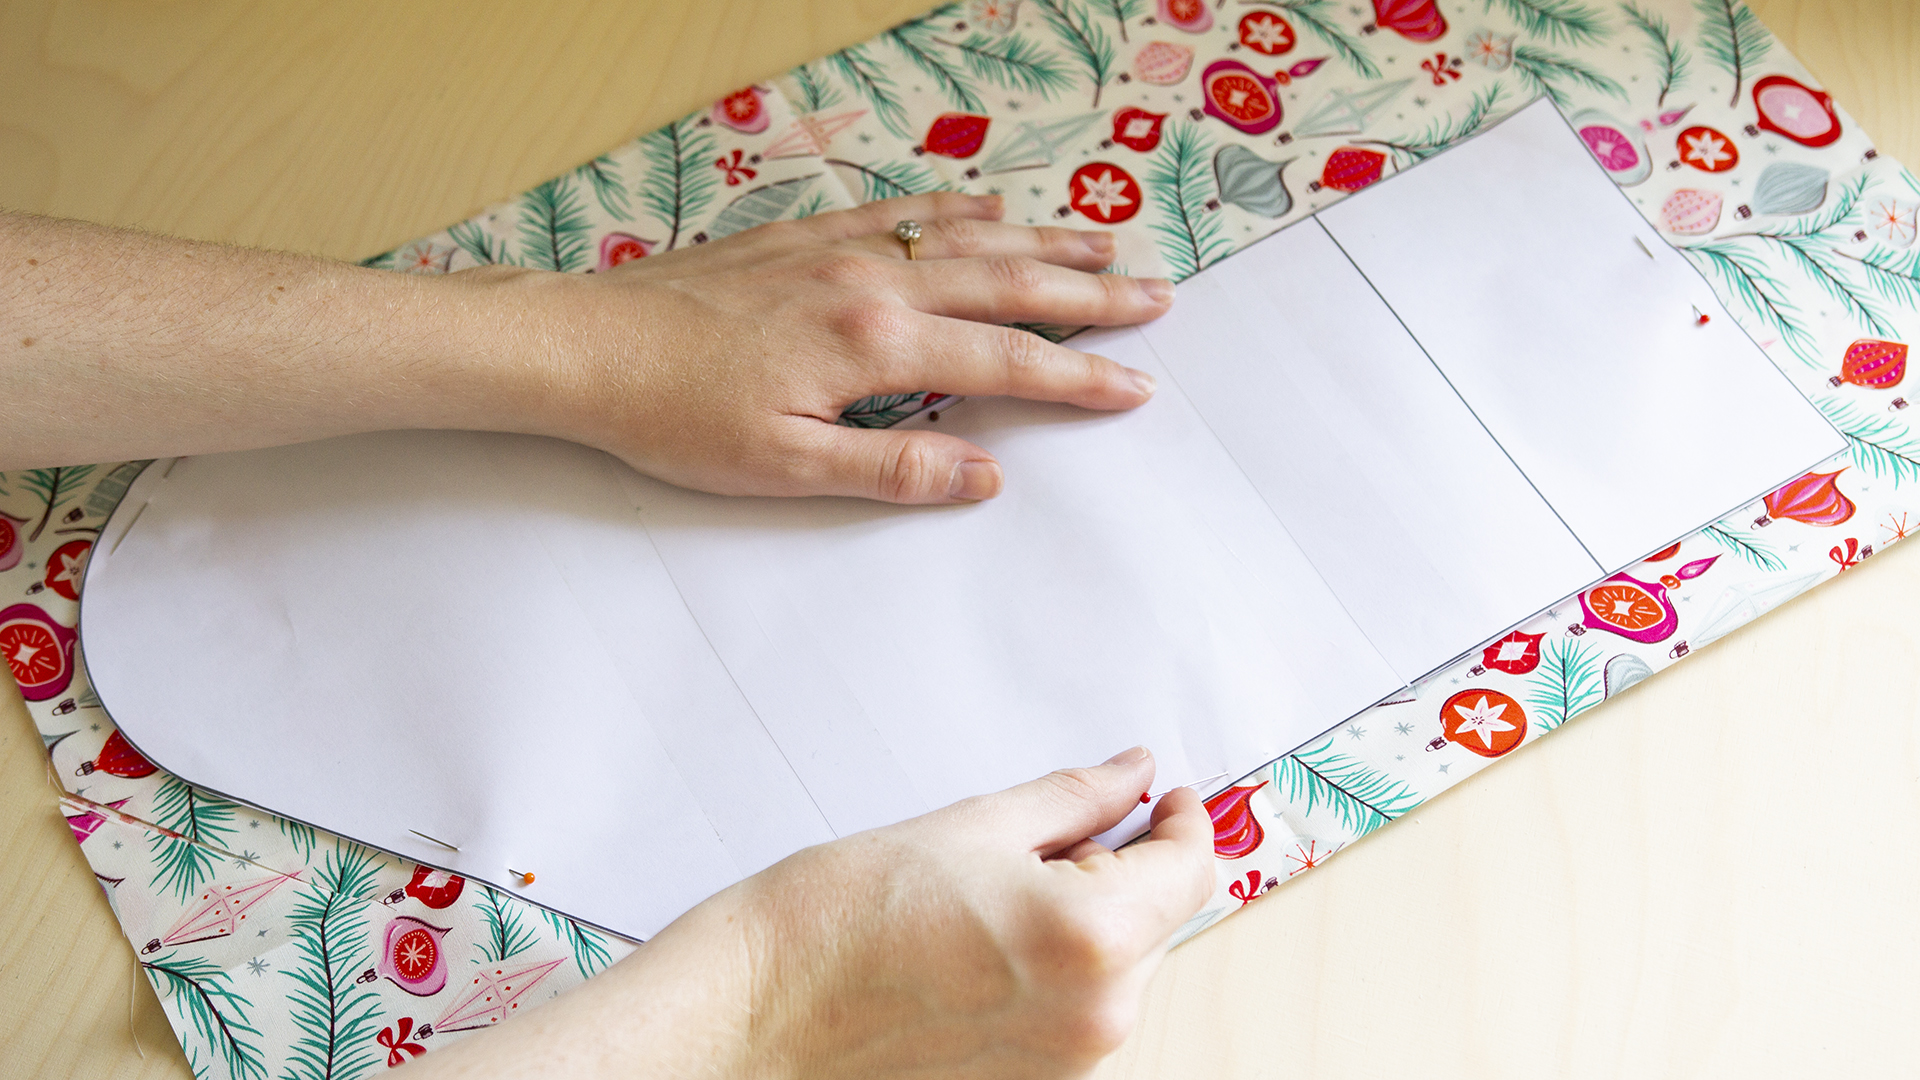
Pin the Christmas stocking template to the fabric
Cut out two pairs - one pair for the outer stocking and one pair for the lining - at approximately 1cm from the edge of the template to allow for the seam allowance.
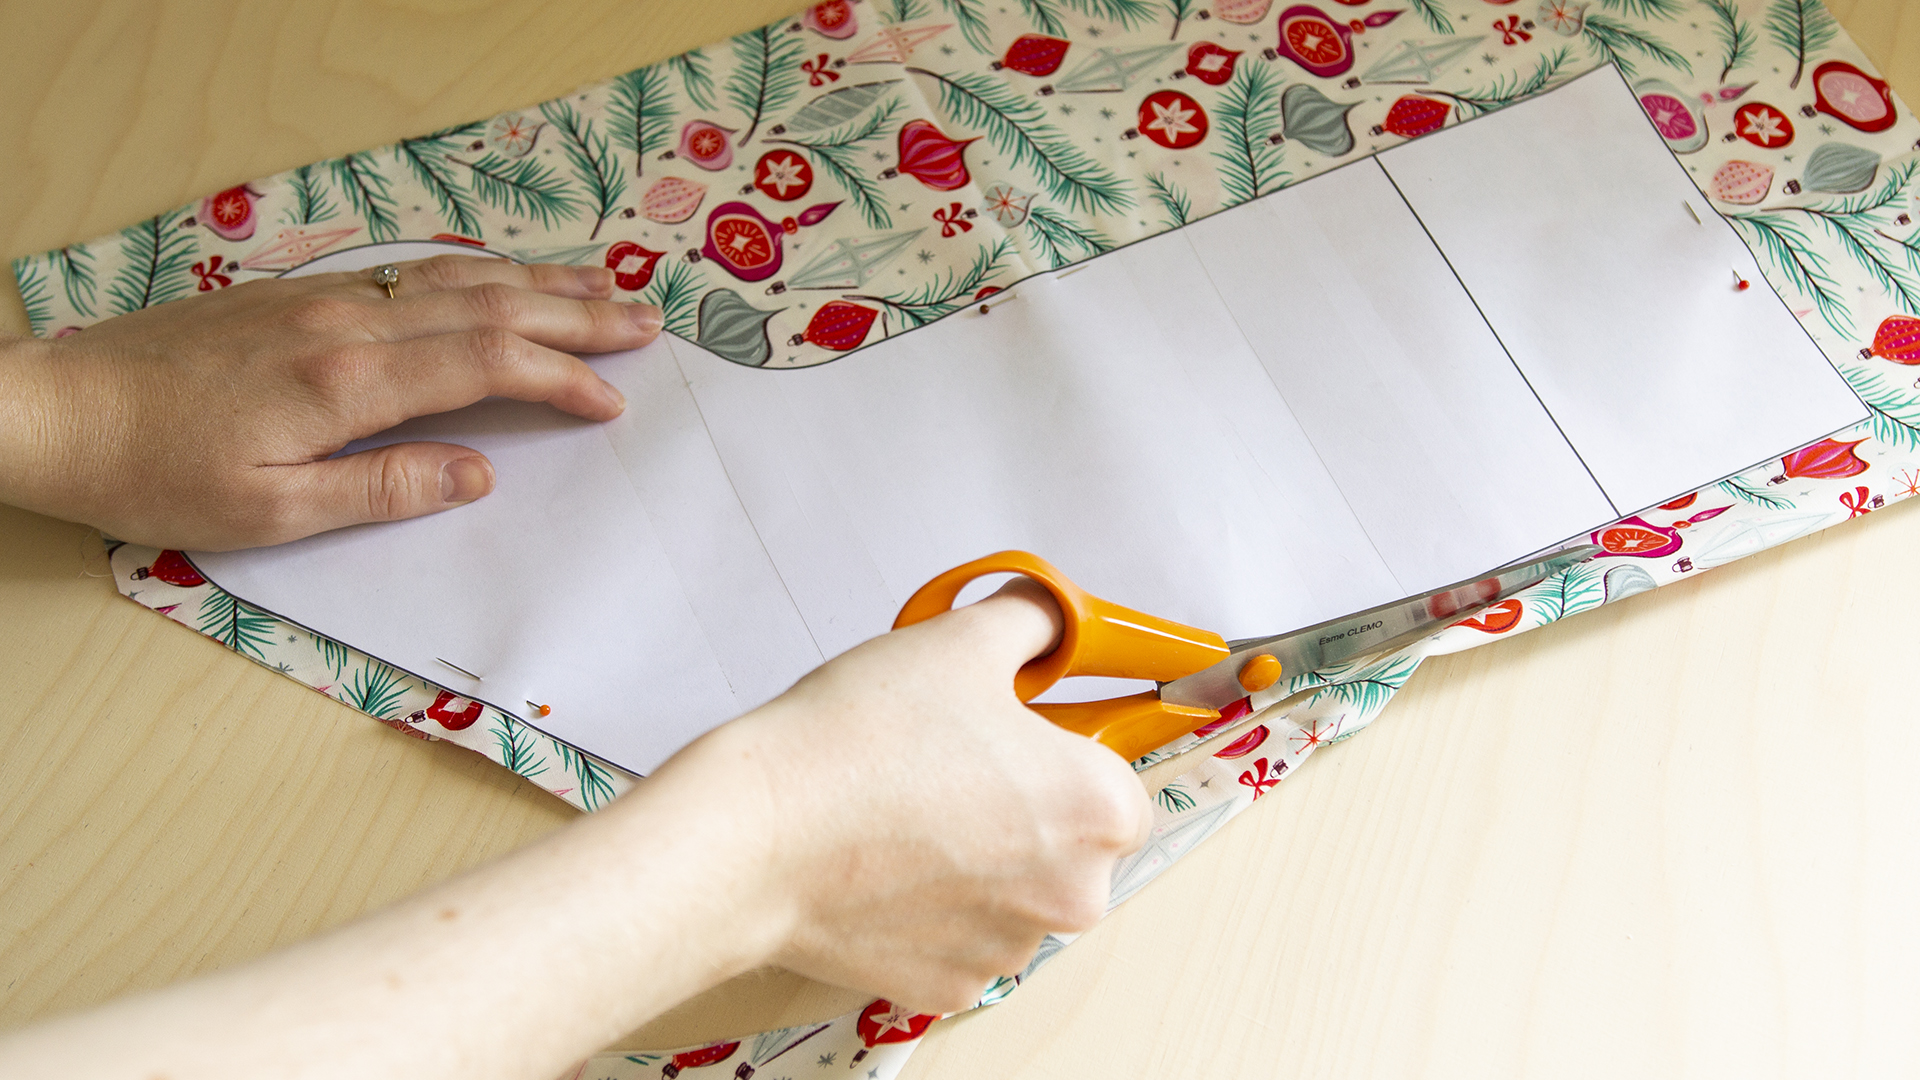
Cut out two pairs of Christmas stockings from the fabric
Step 2
Cut the cuff section from the Christmas stocking template and pin the template to your folded cuff fabric. Cut out two pairs of cuffs with an extra 1cm added around the edge. Pin each cuff to the top of each stocking with the right sides facing.
Sign up for the woman&home newsletter
Sign up to our free daily email for the latest royal and entertainment news, interesting opinion, expert advice on styling and beauty trends, and no-nonsense guides to the health and wellness questions you want answered.
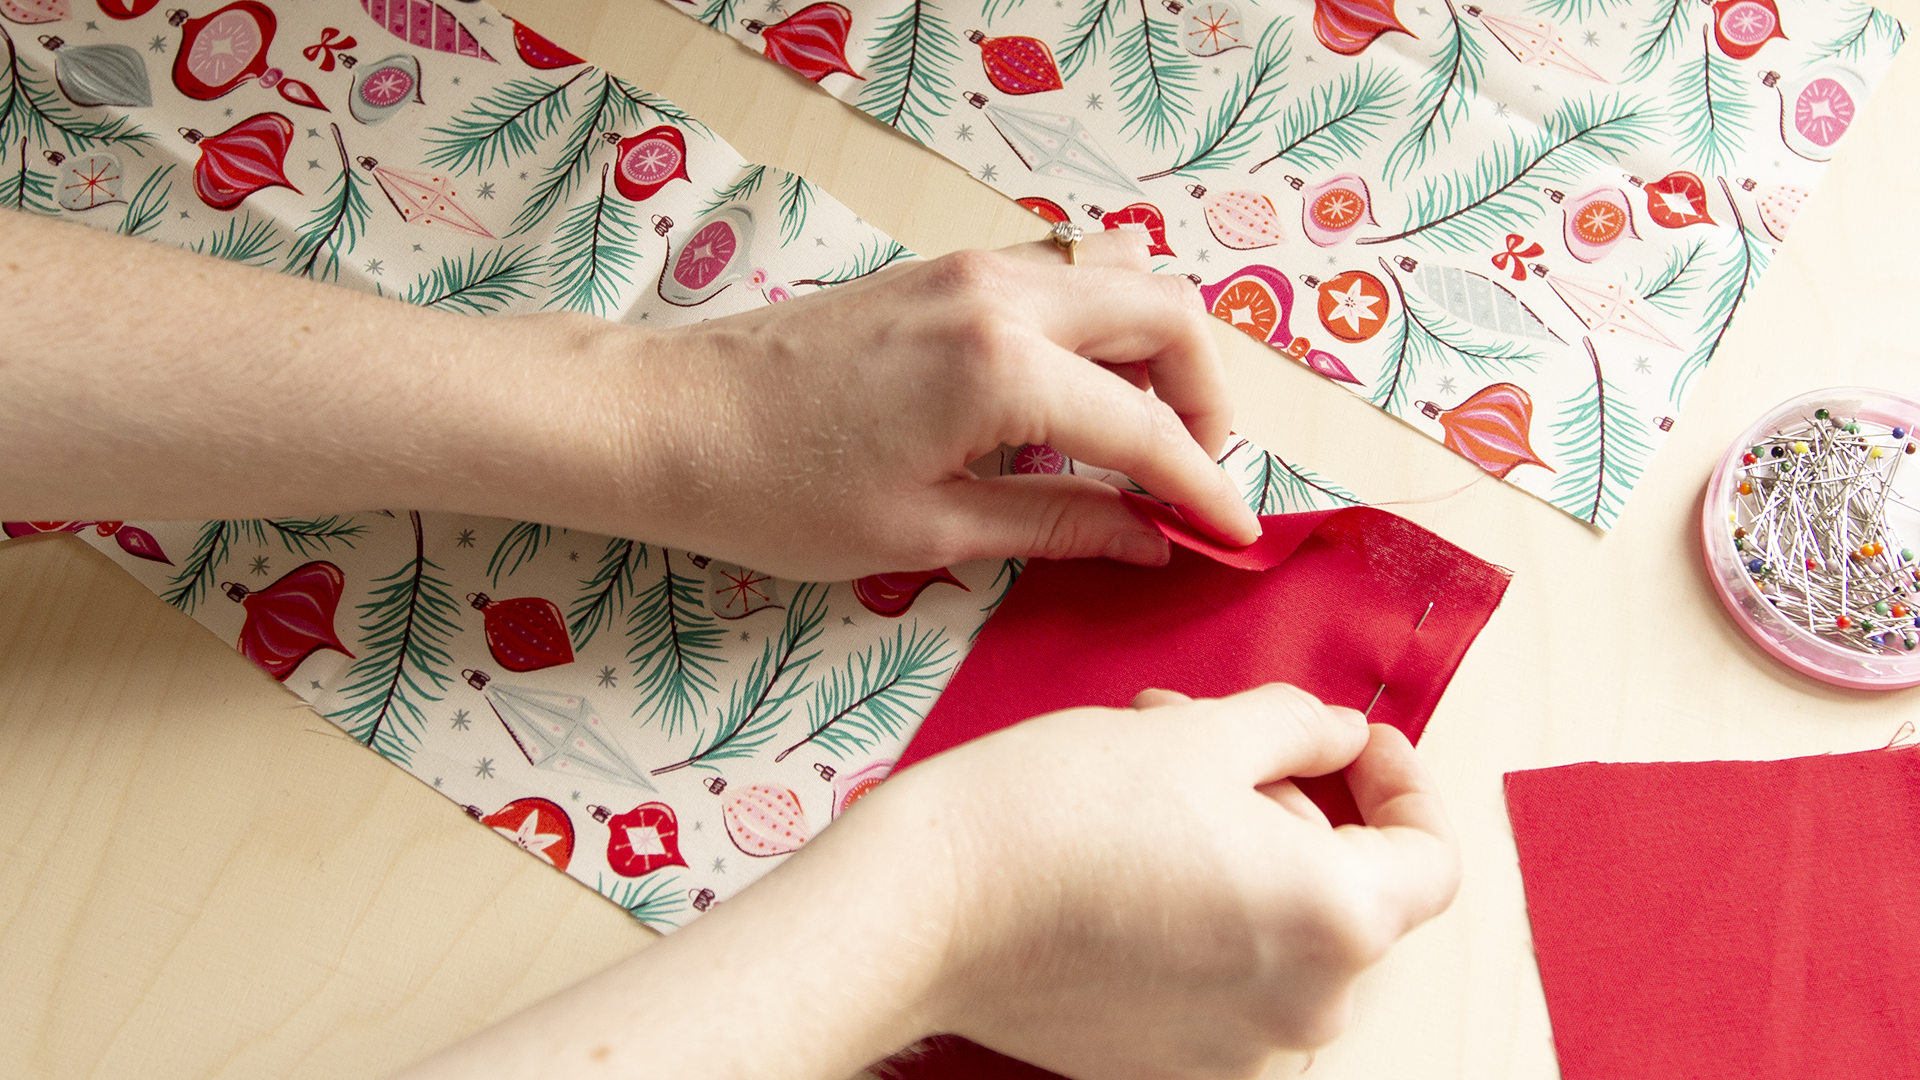
Pin the cuffs to the top of the Christmas stockings
Step 3
Sew each cuff piece to the top of each stocking with a 1cm seam allowance.
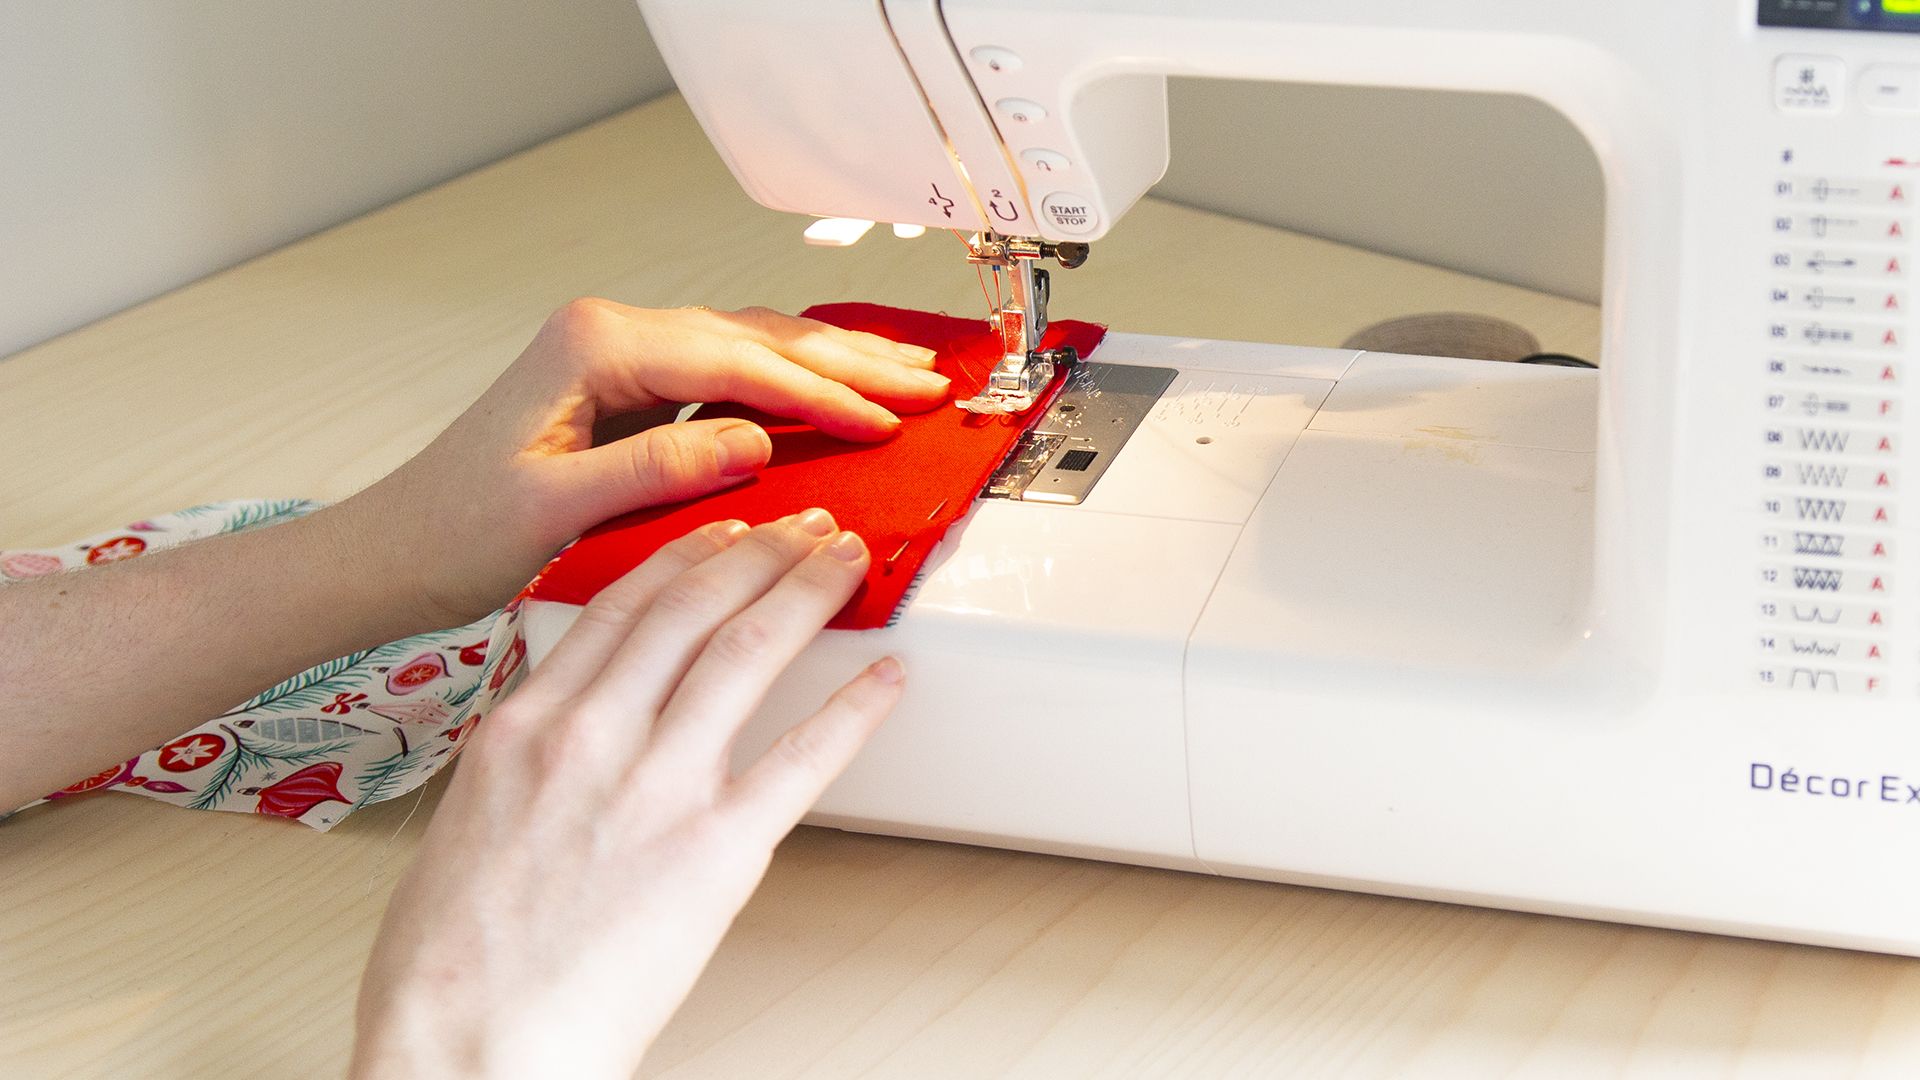
Sew the cuffs to the top of the Christmas stockings
Once sewn, press the seams open.
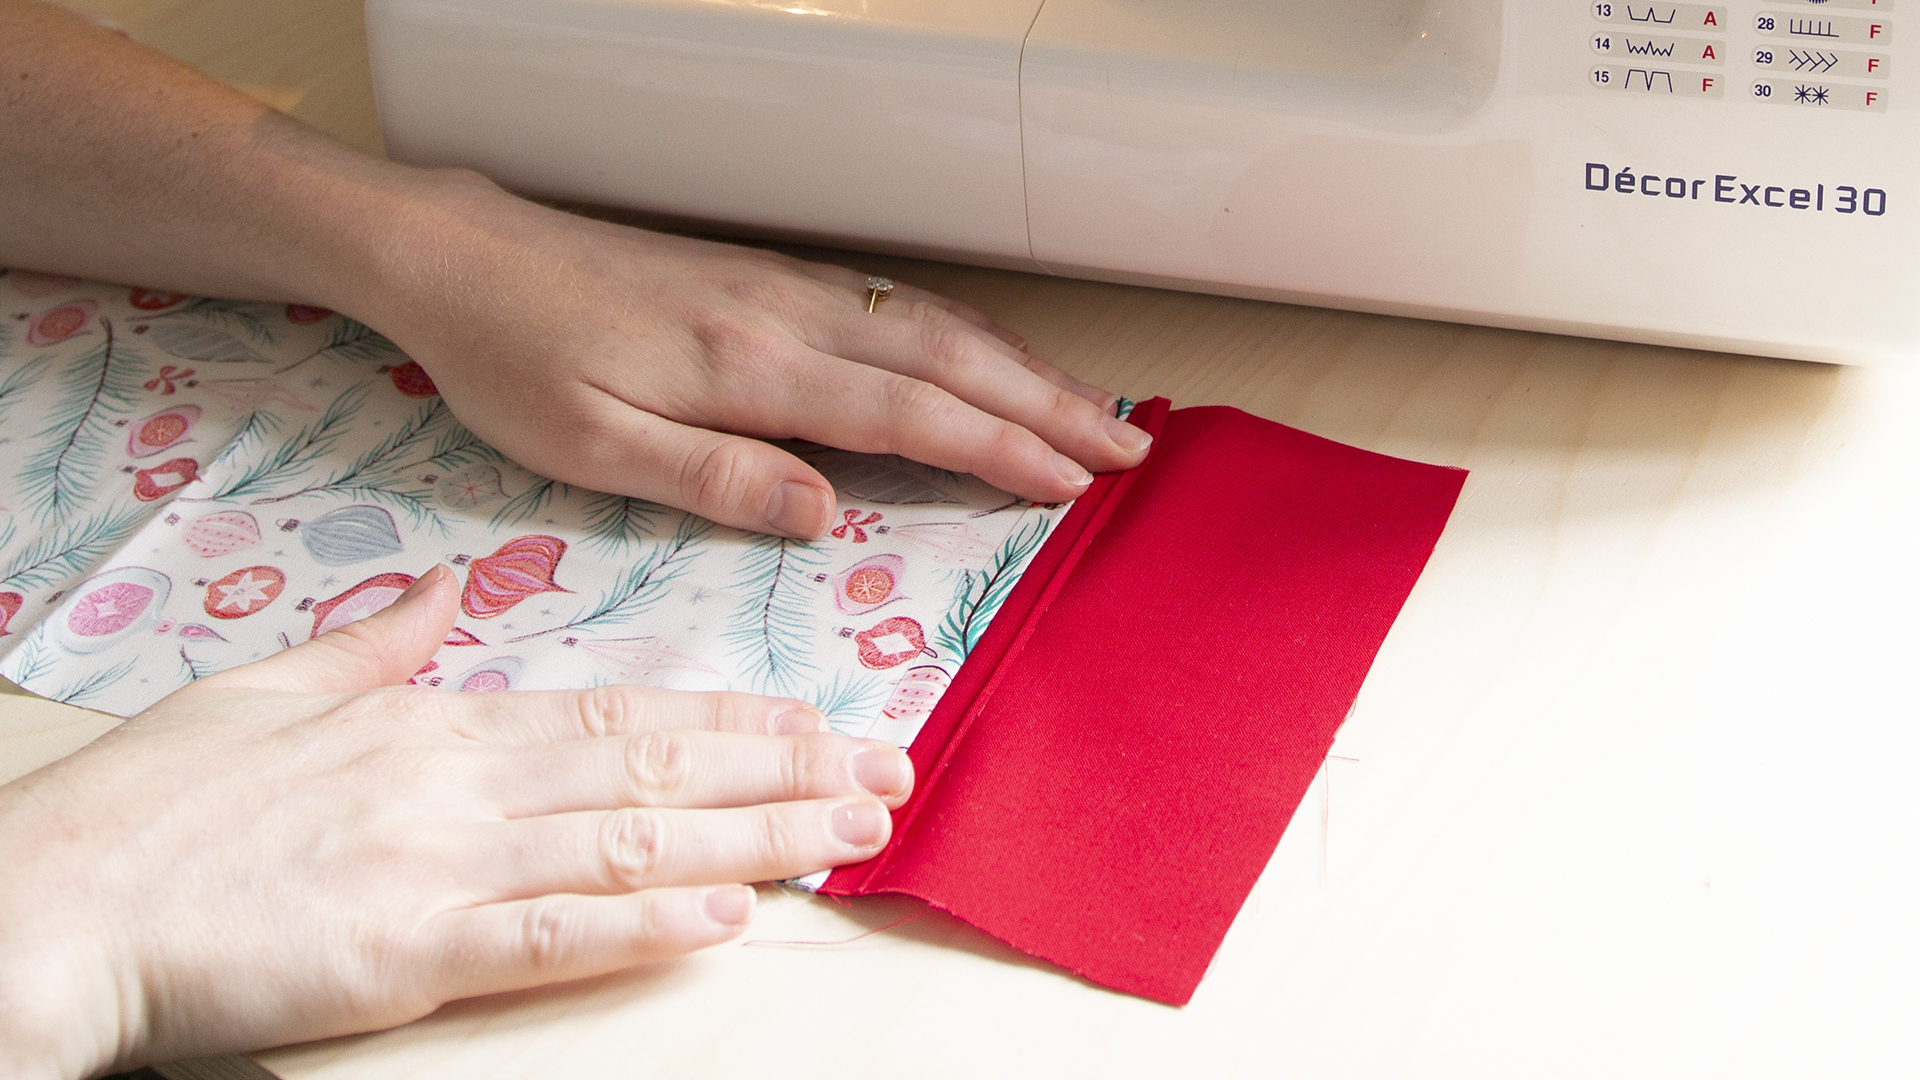
Press the seams open between the cuff and Christmas stocking
Step 4
Pair together the two outer stockings and two linings and pin around the edges with the right sides facing.
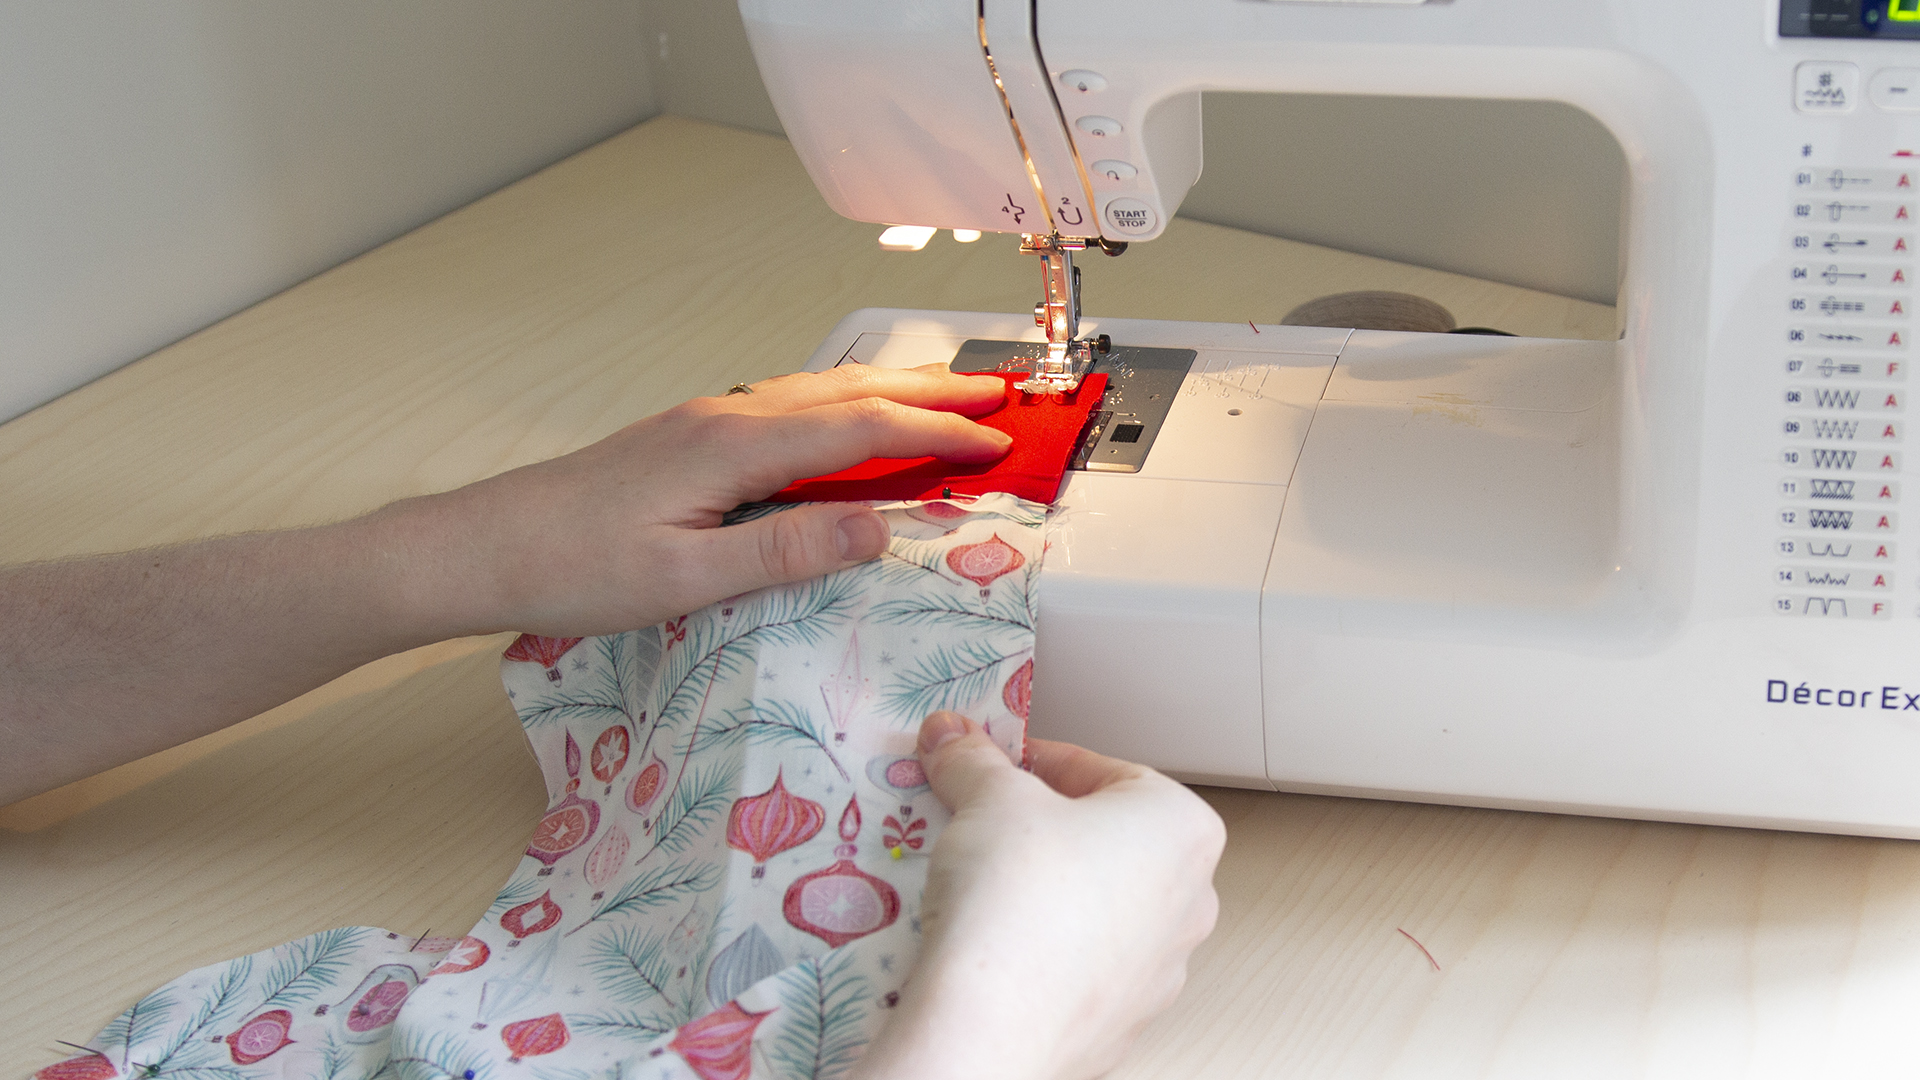
Sew the linings and outer stockings together
Sew together with a 1cm seam allowance, leaving the top edge of the cuffs unsewn and a 10cm gap for turning through in the lining. Snip into the seam allowance of the corners and curves with a pair of scissors
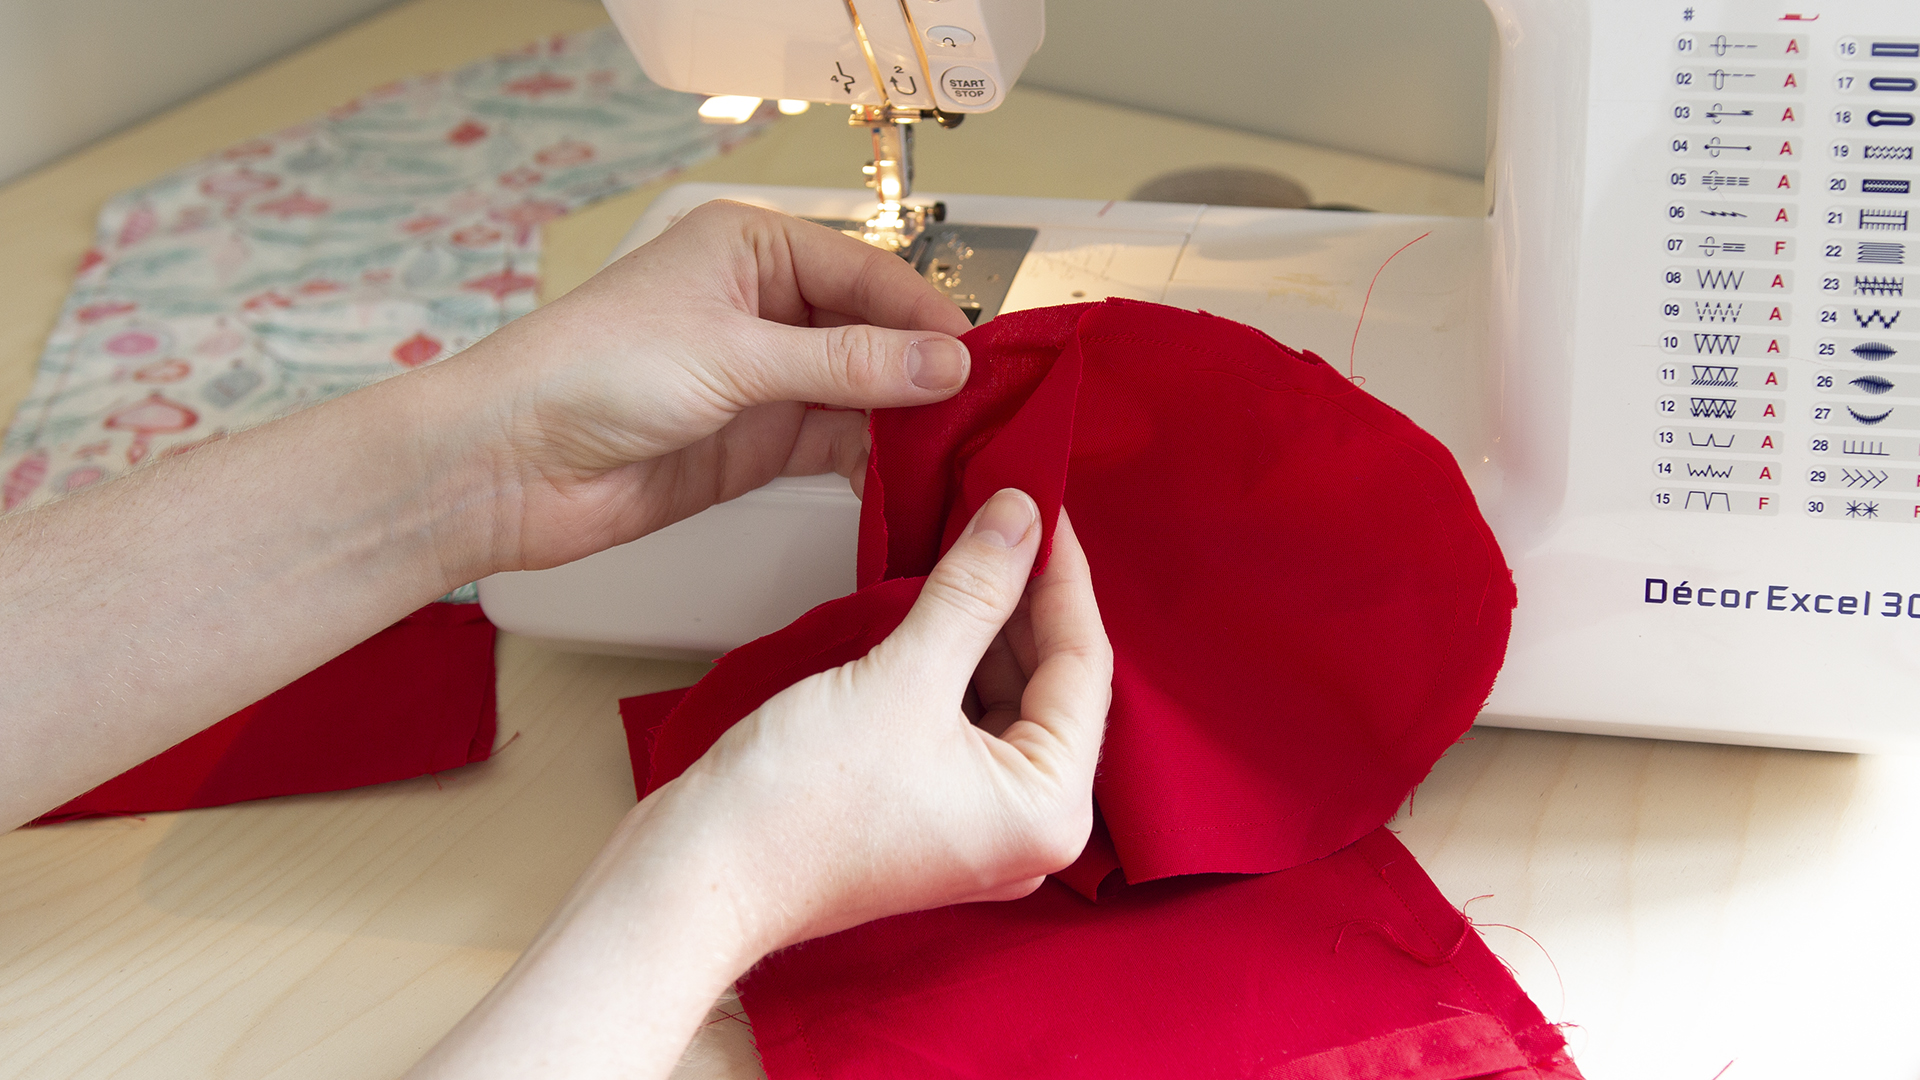
Leave the bottom edge open for turning through
Step 5
Turn the outer stocking right sides out and leave the lining with wrong sides out. Stuff the outer stocking inside the lining, lining up the seams.
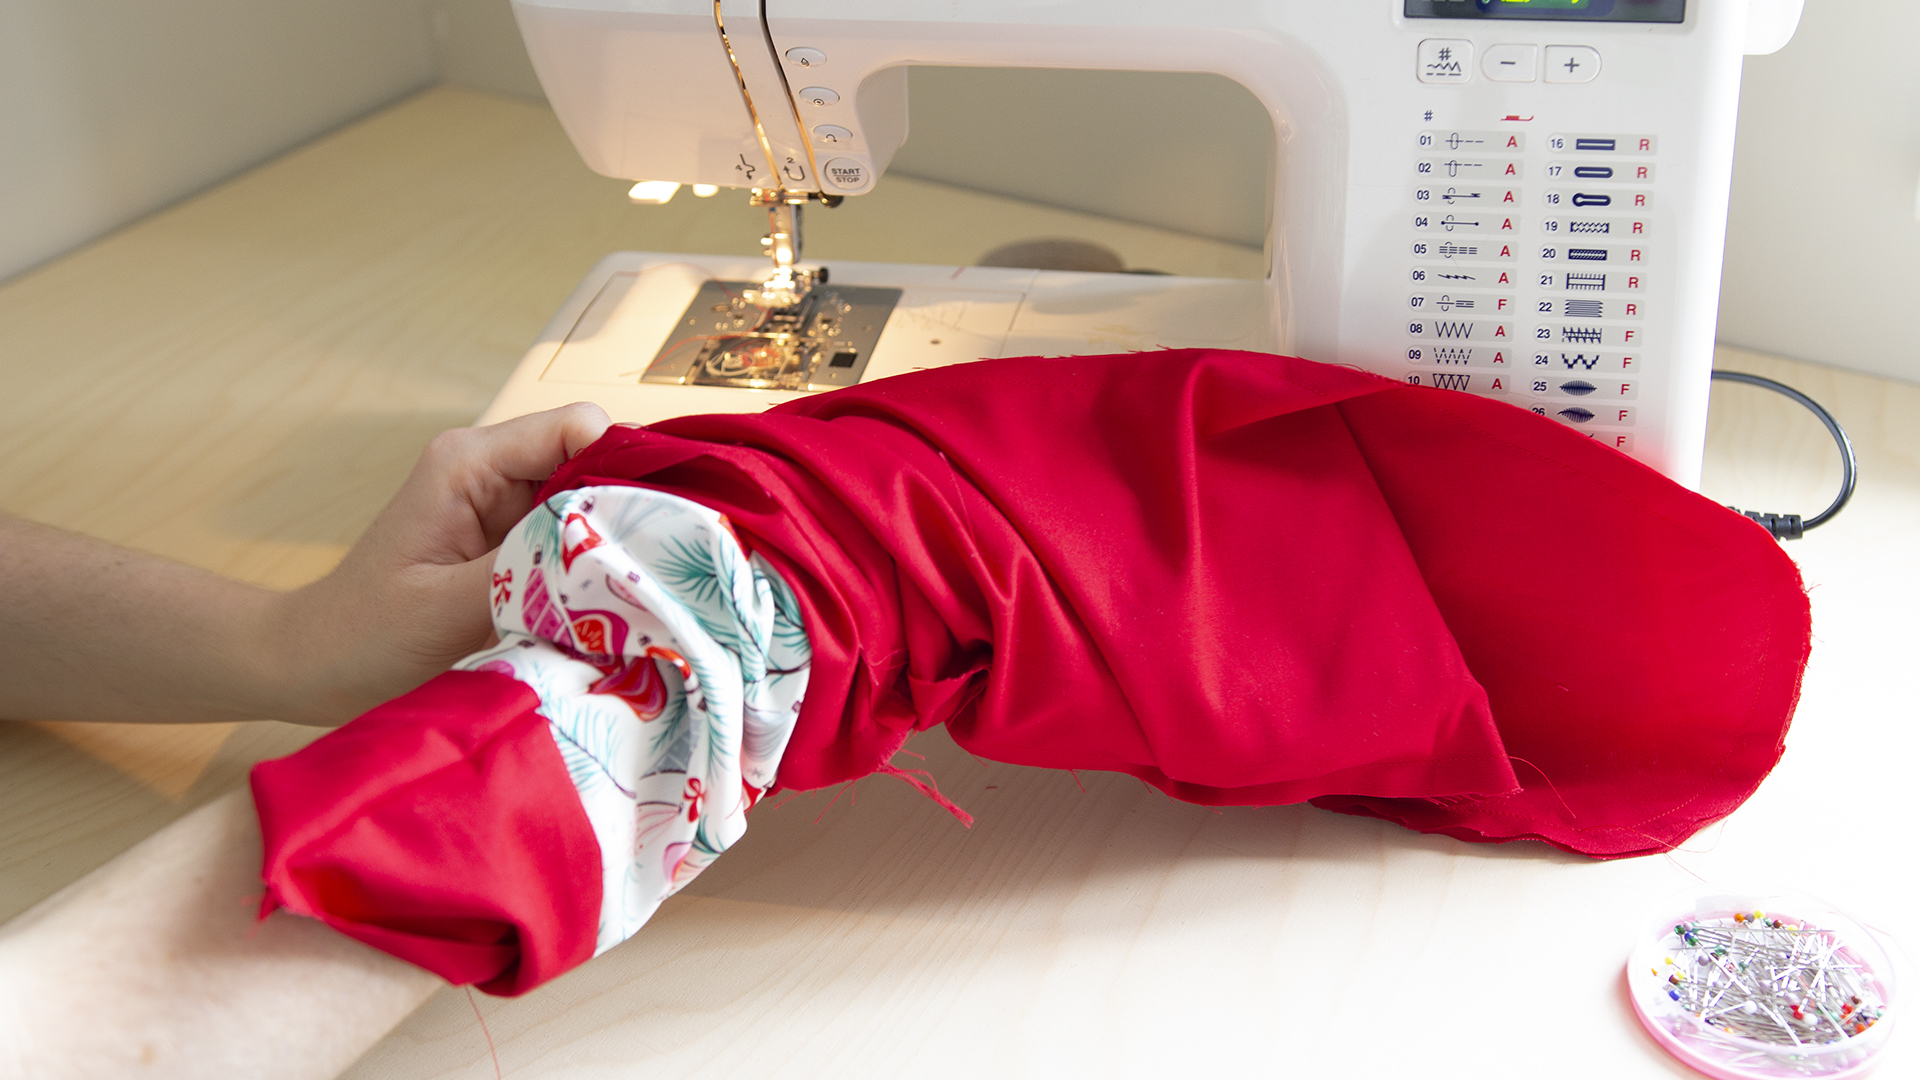
Push the outer stocking inside the lining
Pin the outer stocking and lining together along the top edge of the cuffs. Sew together with a 1cm seam allowance. You might need to remove the extension table from your sewing machine to slip the cuff onto the sewing arm and under the needle comfortably.
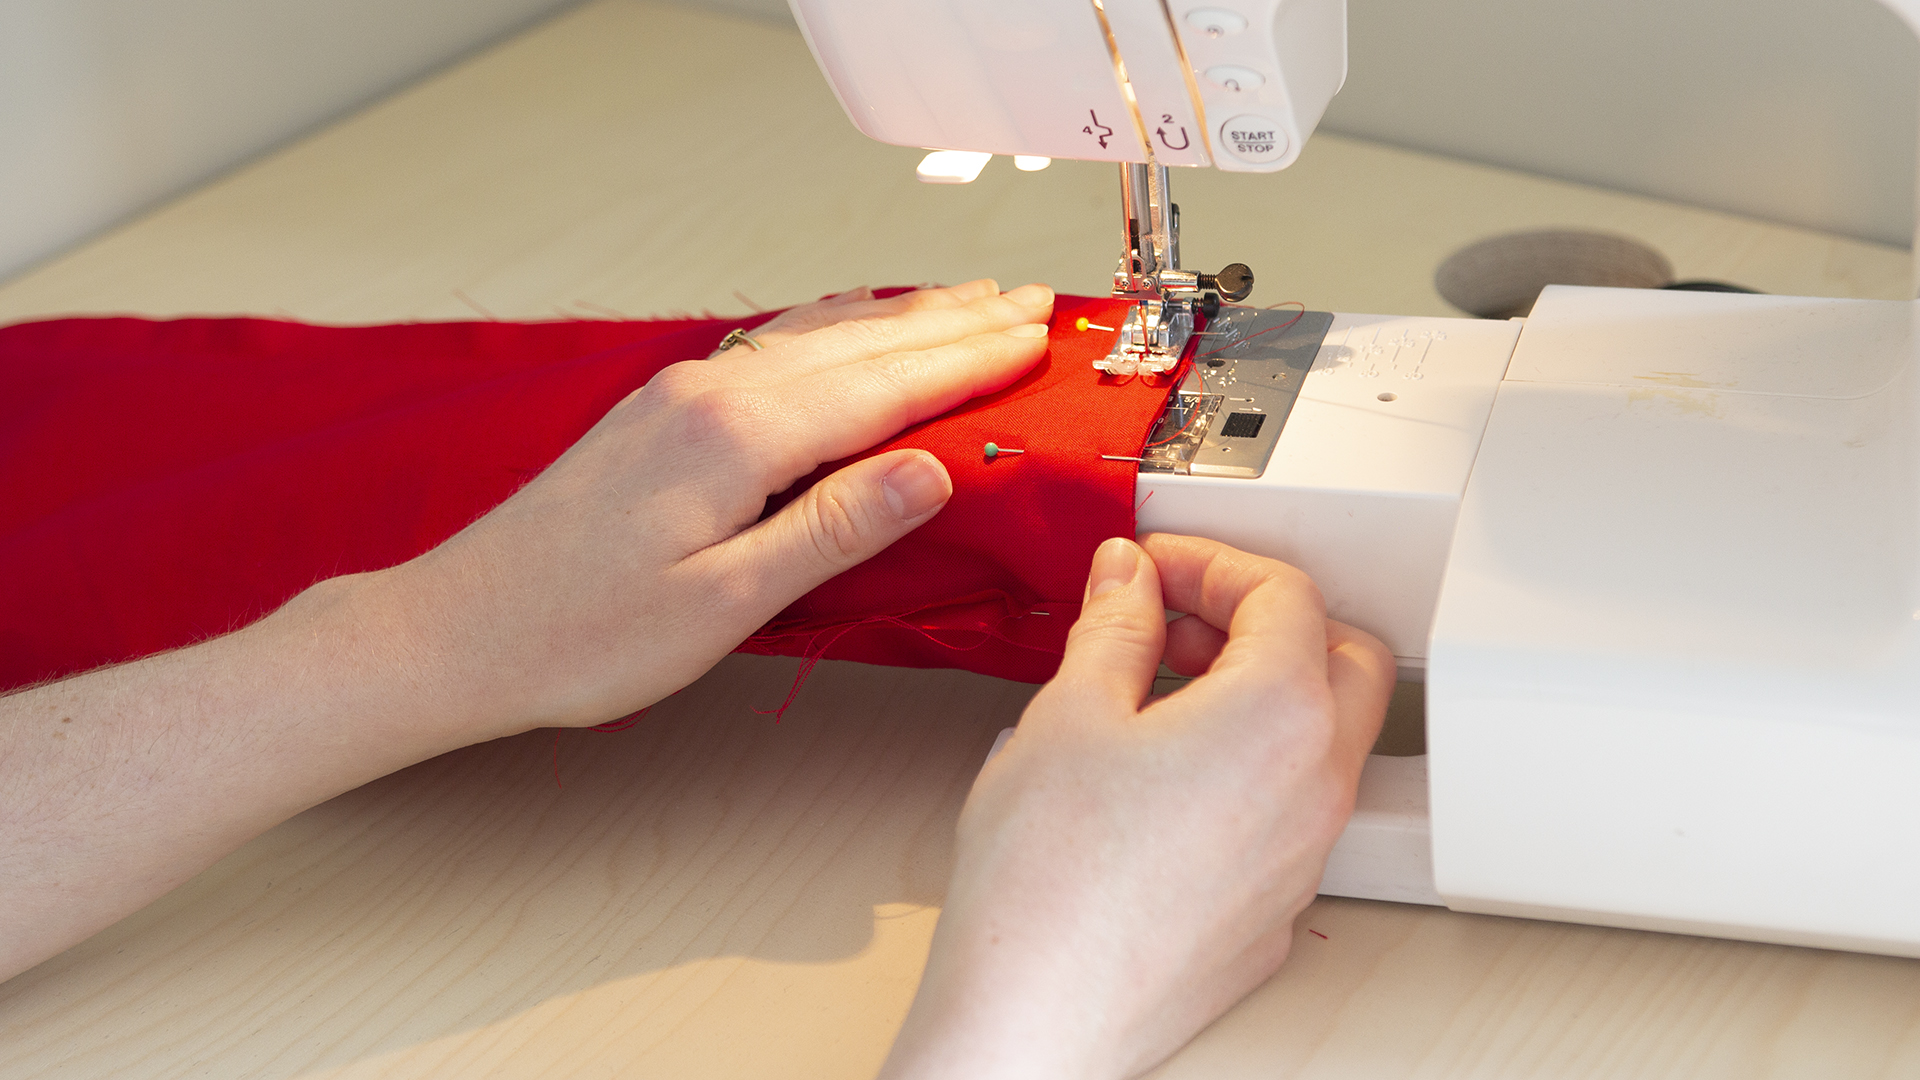
Sew the lining and outer stockings together
Step 6
Pull the outer stocking through the turning gap in the bottom of the lining, then turn the stocking and lining right sides out. Turn the edges of the lining's gap under by 1cm, pin and top stitch as close to the turned edge as possible. Push the lining inside the stocking outer and press thoroughly for a crisp finish.
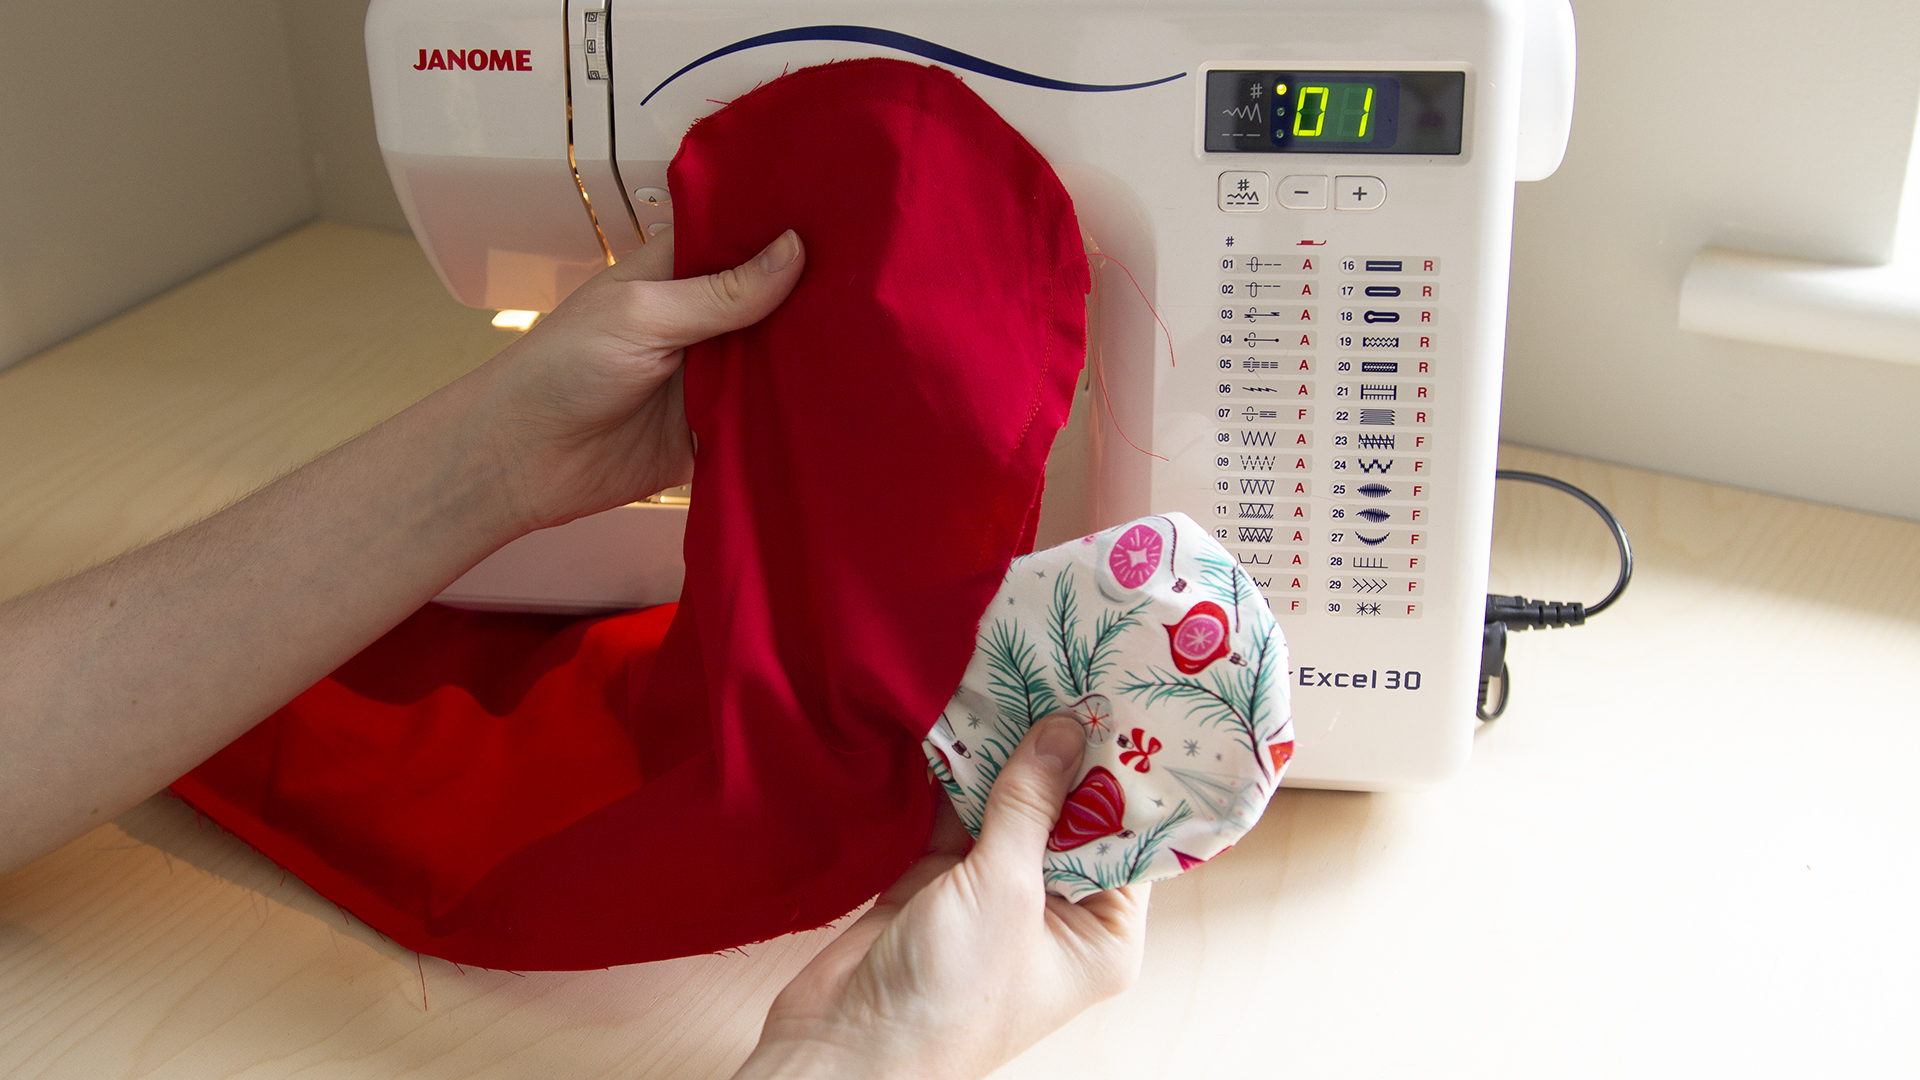
Turn the stockings right sides out, tucking the lining inside the outer stocking
Step 7
Fold the piece of ribbon in half. Open out the stocking cuff and pin to the inside along the back seam. Top stitch 2cm down from the top of the stocking, sewing across the ribbon a couple of times in a colour that matches the cuff to disguise the stitches.

Pin the ribbon to the top of the Christmas stocking
Your Christmas stocking is now ready to hang!
For more homemade ideas on how to decorate for Christmas, see Esme's guide to the best DIY Christmas wreath making kits of 2022.

Group Homes Director and in-house craft expert, Esme Clemo has over 10 years’ experience working in the magazine industry as a homes journalist. Having completed an interior design course with the University of Arts London, she’s now embarking on her second home renovation, DIYing her way through building and decor projects - meaning she has a very hands-on approach when it comes to testing out products for our reviews.