How to make an envelope cushion cover
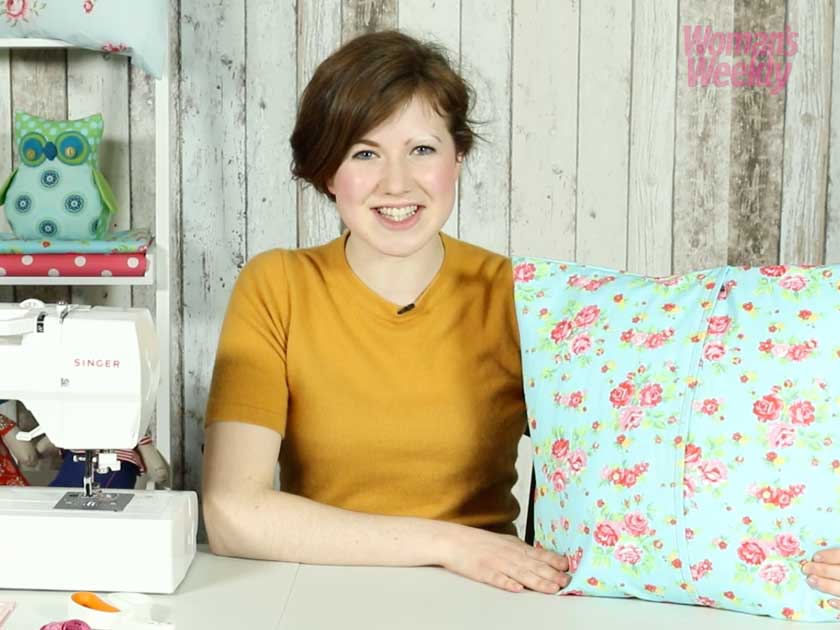
Learning how to make an envelope cushion cover is a great project for a beginner sewer
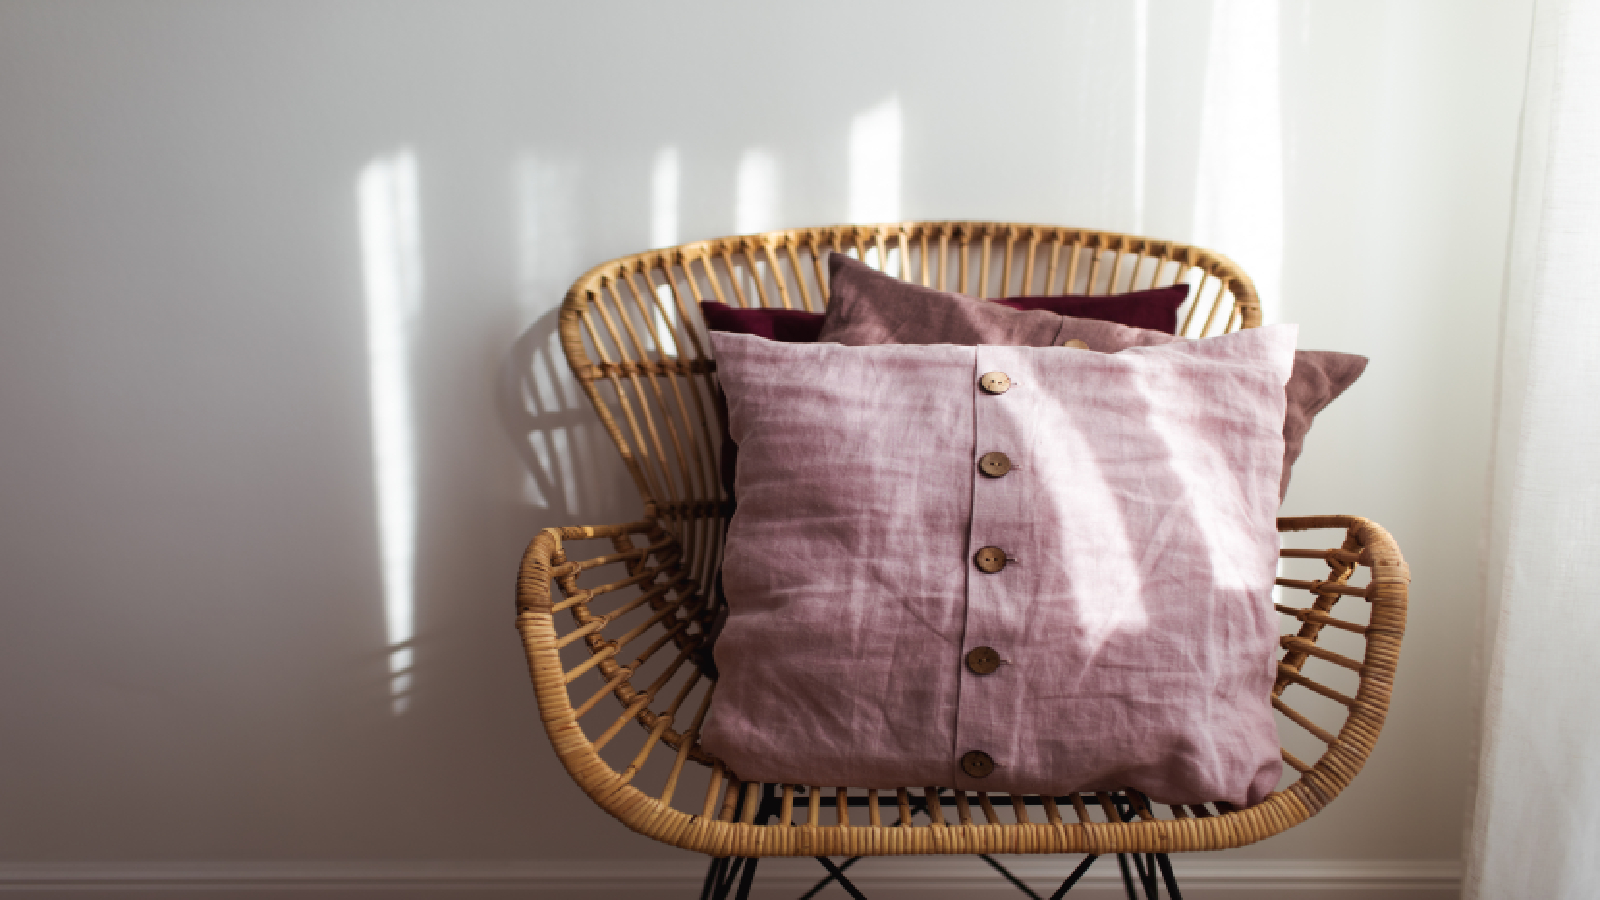

Learn how to make an envelope cushion cover—a great beginner project to have a go at if you’re new to sewing and a quick and easy solution to brighten up your home.
You'll mind this easier with a sewing machine, so we've rounded up the best sewing machines for every budget.
How to make an envelope cushion cover
You can watch our video guide that explains how to make an envelope cushion cover, but we've also broken down the instructions in the article too.
What you'll need
- Cushion pad measuring 45 x 45cm
- Piece of fabric measuring 48 x 106cm
- Matching thread
- Contrasting thread
- Needle
- Tape measure
- Set square
- Ruler
- Dressmaker’s chalk
- Scissors
- Pins
- Sewing machine
- Iron
How to make an envelope cushion cover in 8 steps
Step 1
Start by measuring the cushion pad itself. For the width of the cushion add 3cm for a seam allowance, so 48cm for a 45cm cushion. For the length, double this width and add 10cm to allow for the envelope overlap, so 106cm.
Step 2
Transfer these measurements to your fabric using a ruler, dressmaker’s chalk and a setsquare to get an absolute right angle, and cut out the front cushion panel.
Step 3
If you’re using a patterned fabric and want a motif to sit in the centre of the cushion face, first transfer the measurements to a piece of tracing paper before laying over the fabric so you can see the pattern underneath. Then pin the paper to the fabric and cut out.
Step 4
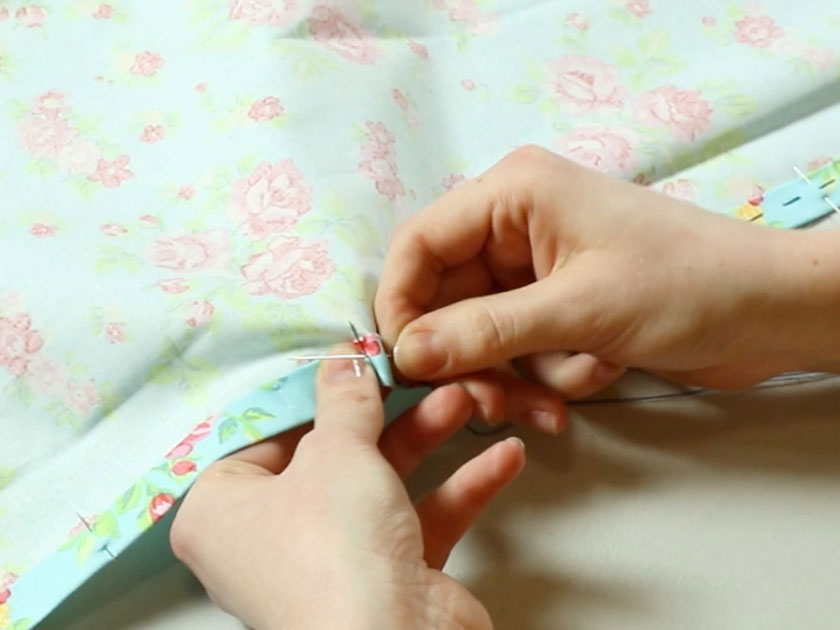
At the two short ends of your fabric create a double hem as these will be the edges of your envelope opening. Fold the fabric over by 1.5cm and press, and then fold the fabric over the previous fold by another 1.5cm, press, pin and tack in place.
Sign up for the woman&home newsletter
Sign up to our free daily email for the latest royal and entertainment news, interesting opinion, expert advice on styling and beauty trends, and no-nonsense guides to the health and wellness questions you want answered.
Step 5
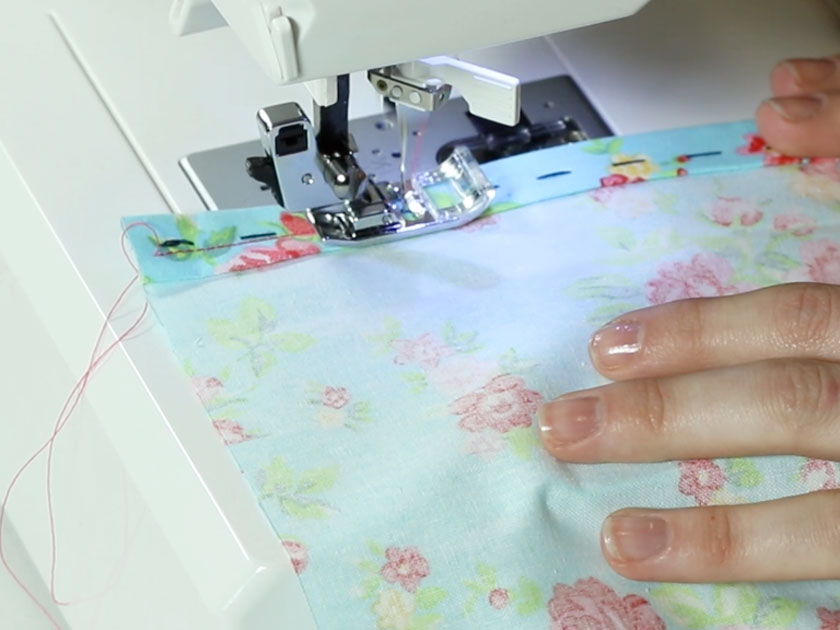
Using a sewing machine set to straight stitch to sew the hems on the right side of the fabric.
Step 6
With right sides facing, pin and tack the cushion panel together, making sure to overlap the double hemmed edges by 10cm to create the envelope opening. Pin along the unsewn edges and tack together.
Step 7
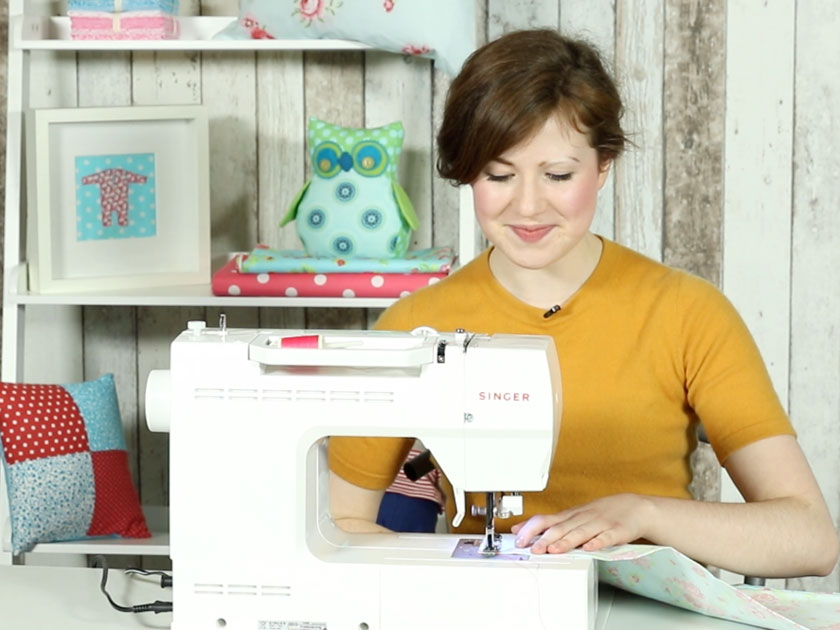
Using the same settings as before on your sewing machine, straight stitch the two tacked sides following the tacking stitches as a guide.
Step 8
Clip the corners and turn the cushion cover right side out, pushing a closed pair of scissors into the corners to get a crisp point. Give the cover a final press before inserting the cushion pad.
Next time follow our guide for how to make piping for a cushion to add some extra detail to your cushion cover.
And, if you're keen to craft more lovely, unique pieces, you can also find our guide to how to make a lavender pillow here, and our step-by-step guide to more easy sewing projects here.

Group Homes Director and in-house craft expert, Esme Clemo has over 10 years’ experience working in the magazine industry as a homes journalist. Having completed an interior design course with the University of Arts London, she’s now embarking on her second home renovation, DIYing her way through building and decor projects - meaning she has a very hands-on approach when it comes to testing out products for our reviews.