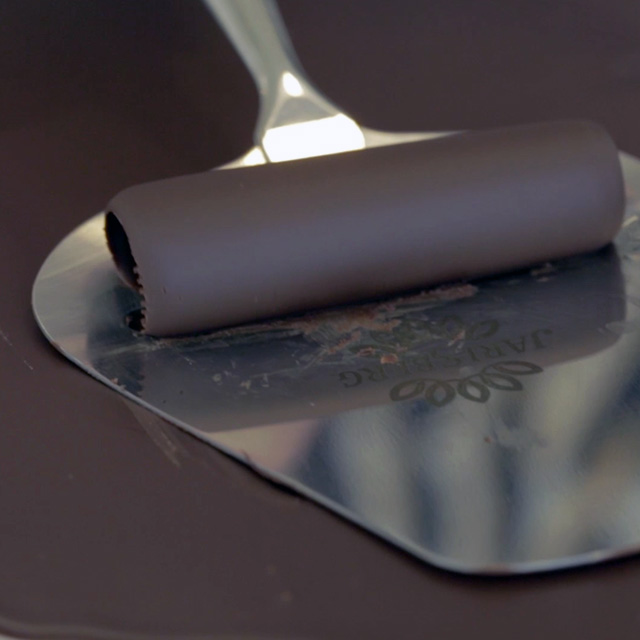
Learn how to make chocolate curls the easy way with our step-by-step video and instructions, using a cheese slice to get perfect curls every time
Sometimes it's the simplest of additions that can take a cake or dessert from everyday to showstopper. Have you ever wondered how to make chocolate curls to finish off your masterpiece? it's simple when you know how. While your cake is in the oven, it's easy to make a lot of chocolate curls to top it with once it's out and has cooled.
The great thing is that you can use your favourite chocolate - whether that's white chocolate, milk or dark, you can choose the flavour that best suits your dessert. Get experimenting and see what you like the look and taste of best.
Now all you need is something to decorate. Take a look at our cake recipes, or if you're hosting a dinner party, pick from our dessert recipes.
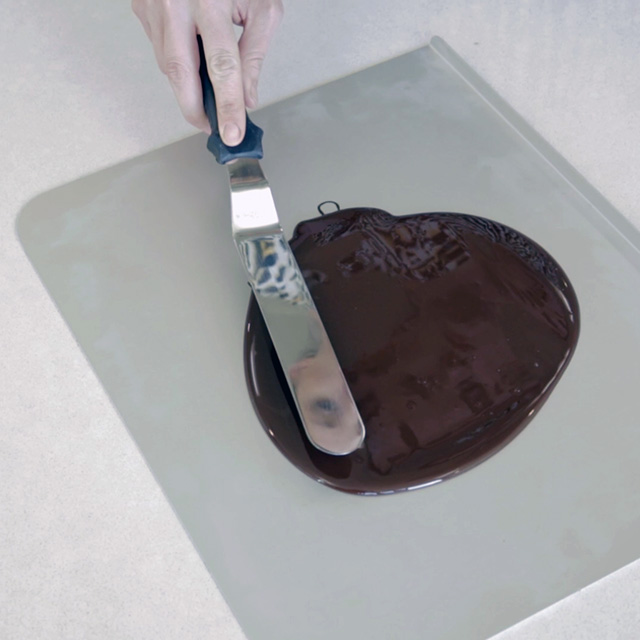
Using a pallette knife, you need to begin by spreading melted chocolate so it's even over a plastic board or metal sheet. The chocolate should spread easily so you shouldn't have any trouble doing this.
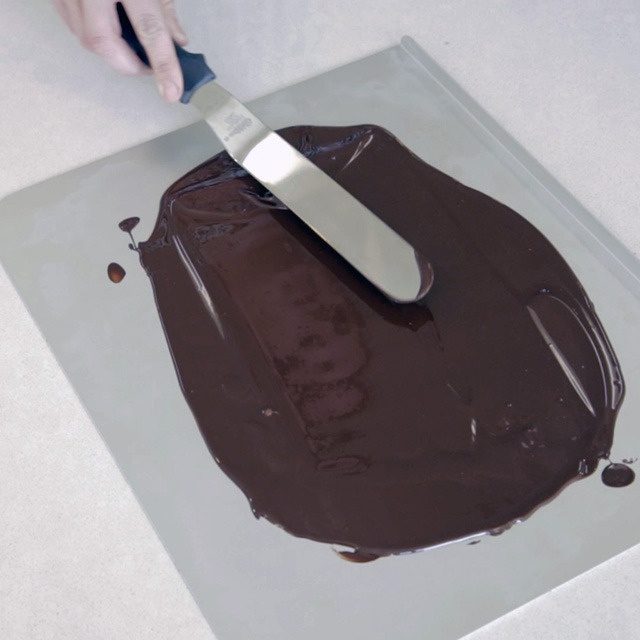
Spreading the chocolate out to this size is ideal so you can use the length of it to create long and perfectly formed curls. You need to ensure that you don't spread the chocolate too thin as this will break the curls as you try to roll them.
For the next stage, you need to put the chocolate in the fridge where it will cool and harden. Once this has happened and you're ready to make the curls, remove the chocolate from the fridge and leave it to get to room temperature. Don't try to make the curls before the chocolate is back up to room temperature as the curls will just flake.
Sign up to our free daily email for the latest royal and entertainment news, interesting opinion, expert advice on styling and beauty trends, and no-nonsense guides to the health and wellness questions you want answered.
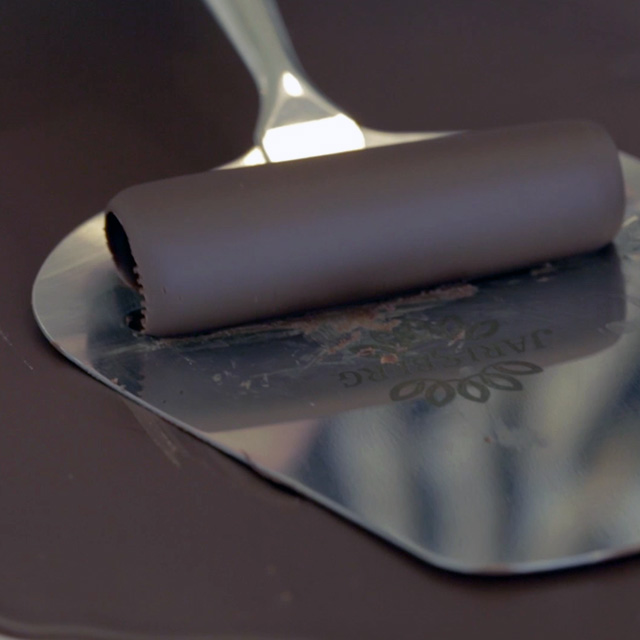
Next, using a cheese slicer, press down and pull towards you. This is a bit of a trial and error process as the chocolate needs to be the perfect temperature to get the curls just right. It shouldn't be too warm or too cold, so it might take a few goes to get it just right - but when you do, they should look something like this...
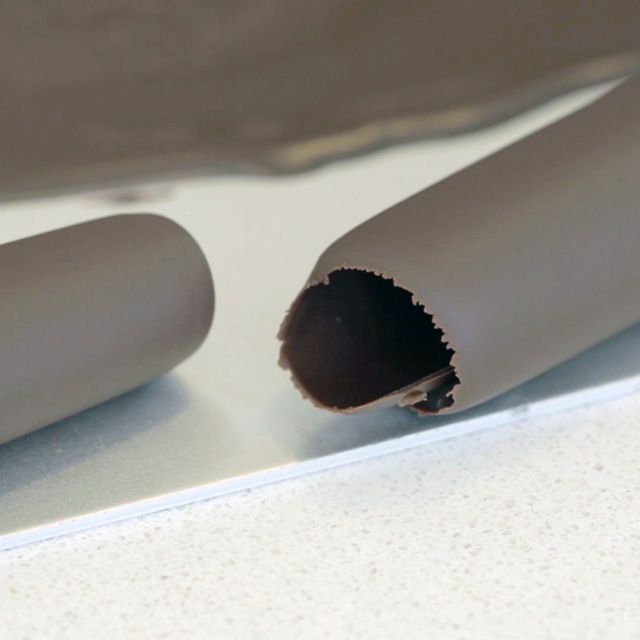
And voila! When they're done, you can use them to decorate your puddings, dinner party desserts or cakes for a stunning finish.
