Considering a faux glow? These are the need-to-knows for a successful self tan session
Don't so much as pick up a mitt without memorising these six golden rules...
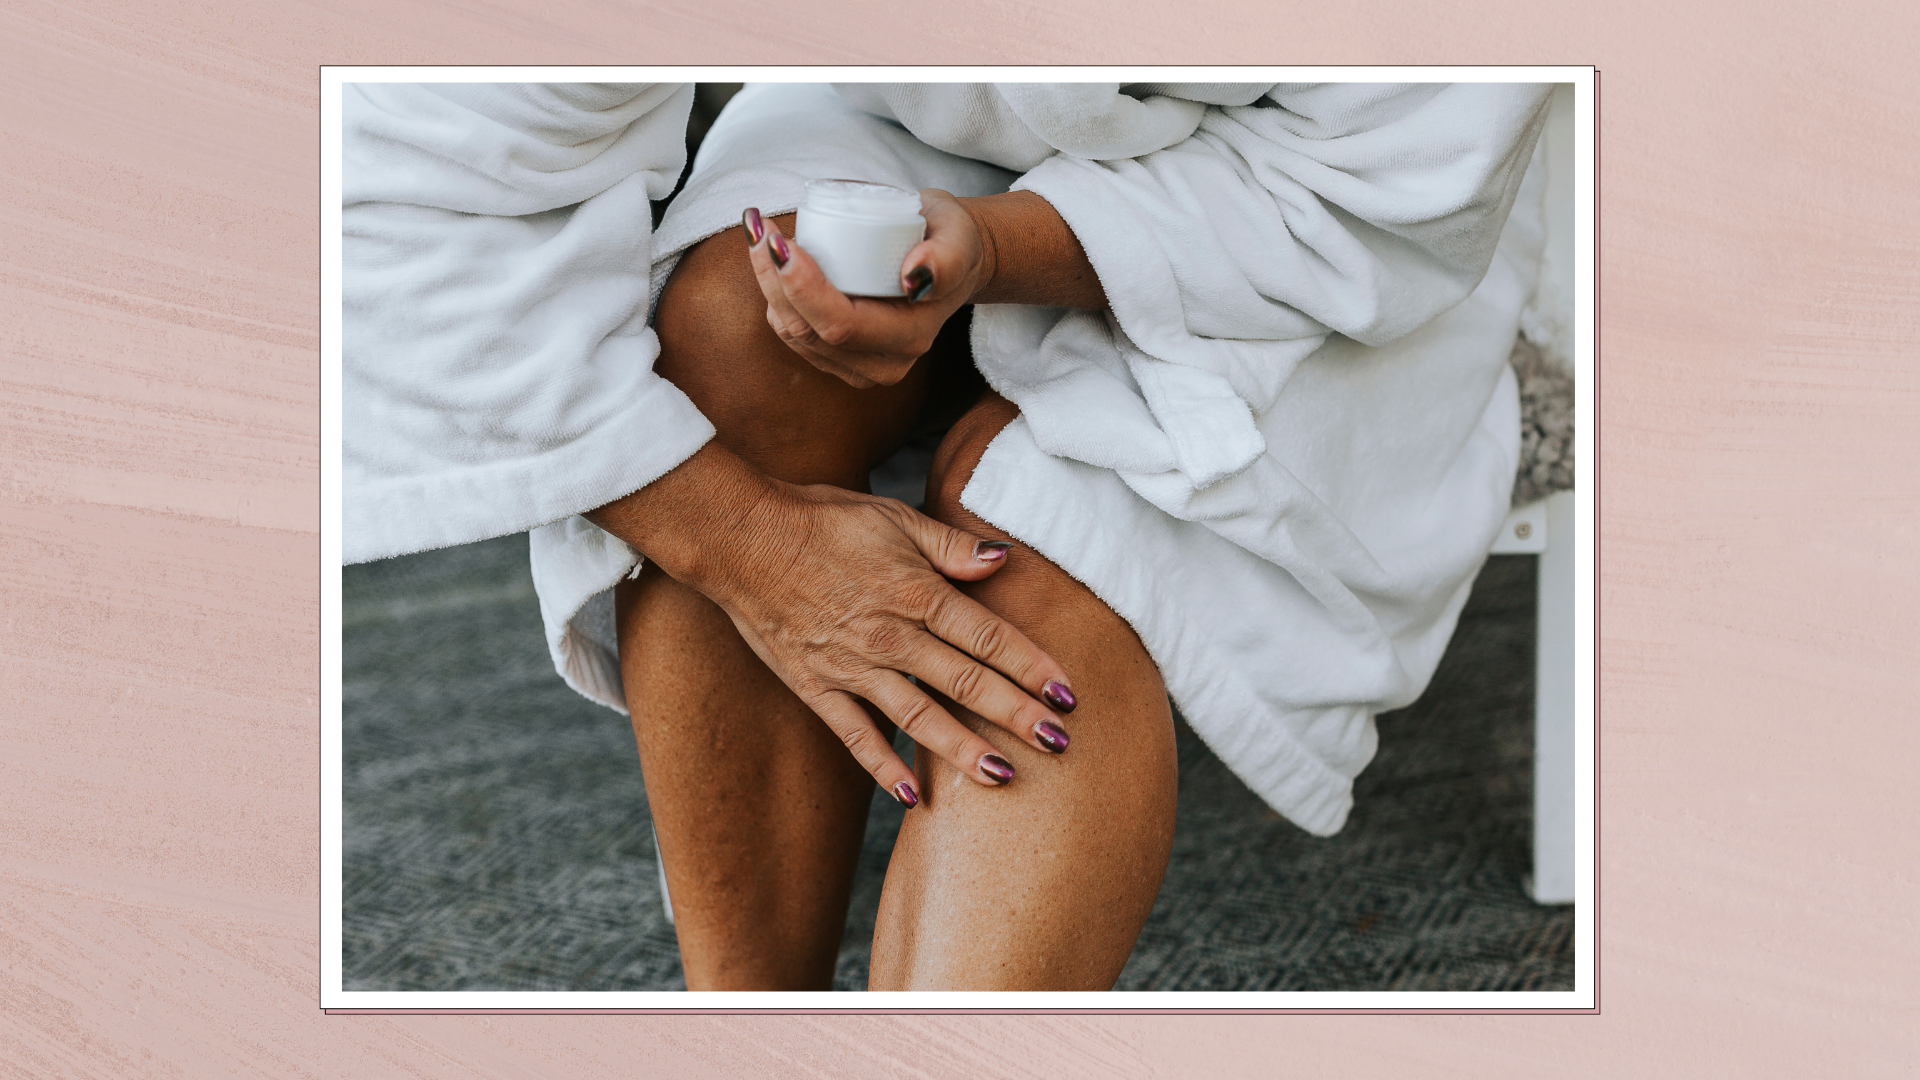

Any self tan enthusiast will tell you that fake tan has the power to transform your skin, body and even mind – really, it can be a secret weapon for boosting confidence. Yet it can still be tricky to master and often feels intimidating to beginners.
For those who haven't tanned at home before and are wondering how to fake tan, this quickfire guide is here to keep you right, and it really comes down to three main factors. “It is important to understand what you want to achieve from your self-tan," says Nicola Matthews, tanning expert and founder of Sienna X tan. "It's about picking the right formula, shade and technique for you."
Here, the experts explain the crucial preparation steps, a guide on picking your perfect tan formula and all the tips and tricks you need to avoid common tanning pitfalls.
Everything you need to know before applying self tan
1. Don't pick a random shade
Those who aren't confident self tanners or are simply new to the game may be torn between shades initially. If your skin tone is pale to medium, it's often sensible to go for a lighter option for your first attempt – it's far easier to add more layers later than remove intense fake tan results that you aren't happy with.
Even if you think you want a great big hit of tan, "Fair skin tones should avoid dark and ultra-dark formulas, instead opt for light-medium tans," Matthews recommends. You can always build up a few applications if needed, which "will compliment your skin tone giving you glowing results."
She continues, "Medium skin tones who tend to tan naturally should opt for medium-dark shades. On dark skin tones, dark and ultra-dark formulas will help enhance your skin's natural warmth and add a radiance boost."
2. Different formulas have different purposes
Fake tan comes in a surprising number of formulas, each with different benefits and purposes "Mousses have quick-drying formulas and have a lightweight feel. Gradual tanning lotions apply similarly to a normal moisturiser and are super hydrating, offering a gentle build-up of colour," explains Matthews.
Sign up for the woman&home newsletter
Sign up to our free daily email for the latest royal and entertainment news, interesting opinion, expert advice on styling and beauty trends, and no-nonsense guides to the health and wellness questions you want answered.
"Mists offer fuss-free application – simply spritz and go. They are also a great option for areas such as the hands, face and feet. Tanning drops are a great formulation for facial tanning – they can be applied directly to the face or added to your daily moisturiser."
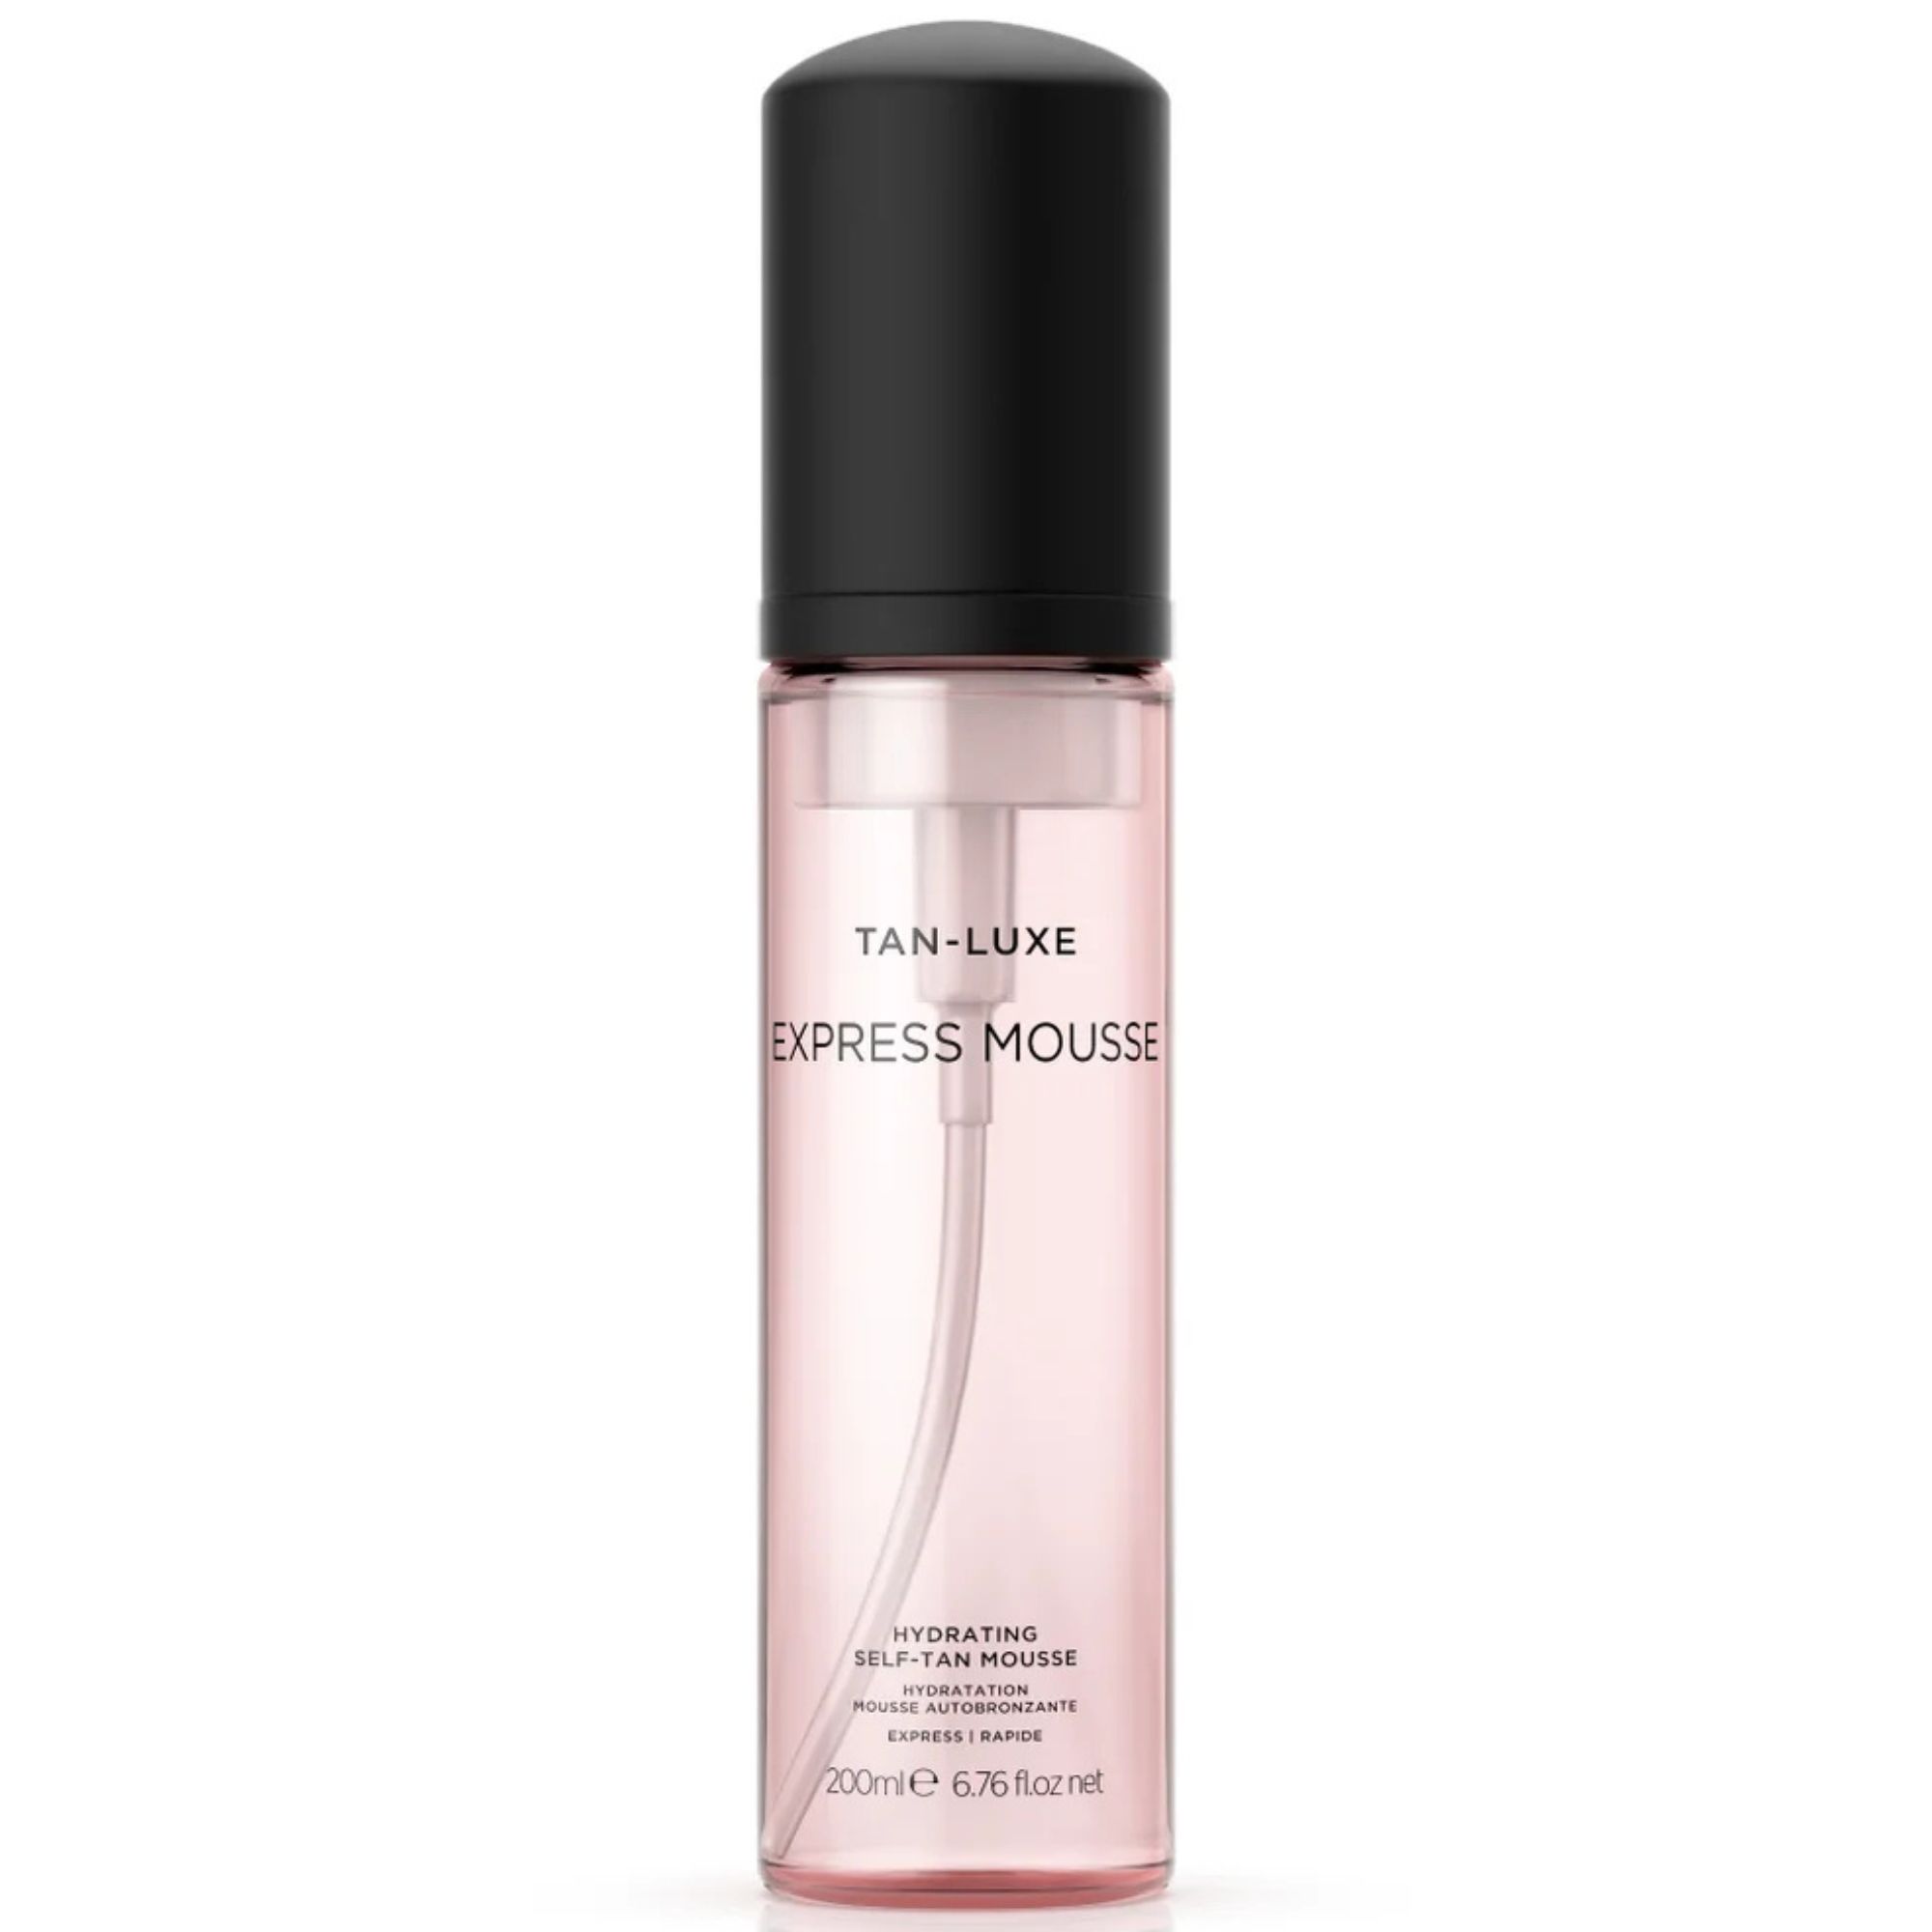
RRP: £37 for 200ml
This express tanning mousse develops in as little as 30 minutes for any last-minute plans and tan emergencies. Pop on the clear foam with a mitt and work into your skin in circular motions, leave for your desired development time (up to three hours for a dark bronze) and rinse off. The clever formula will keep developing to produce a realistic-looking glow.
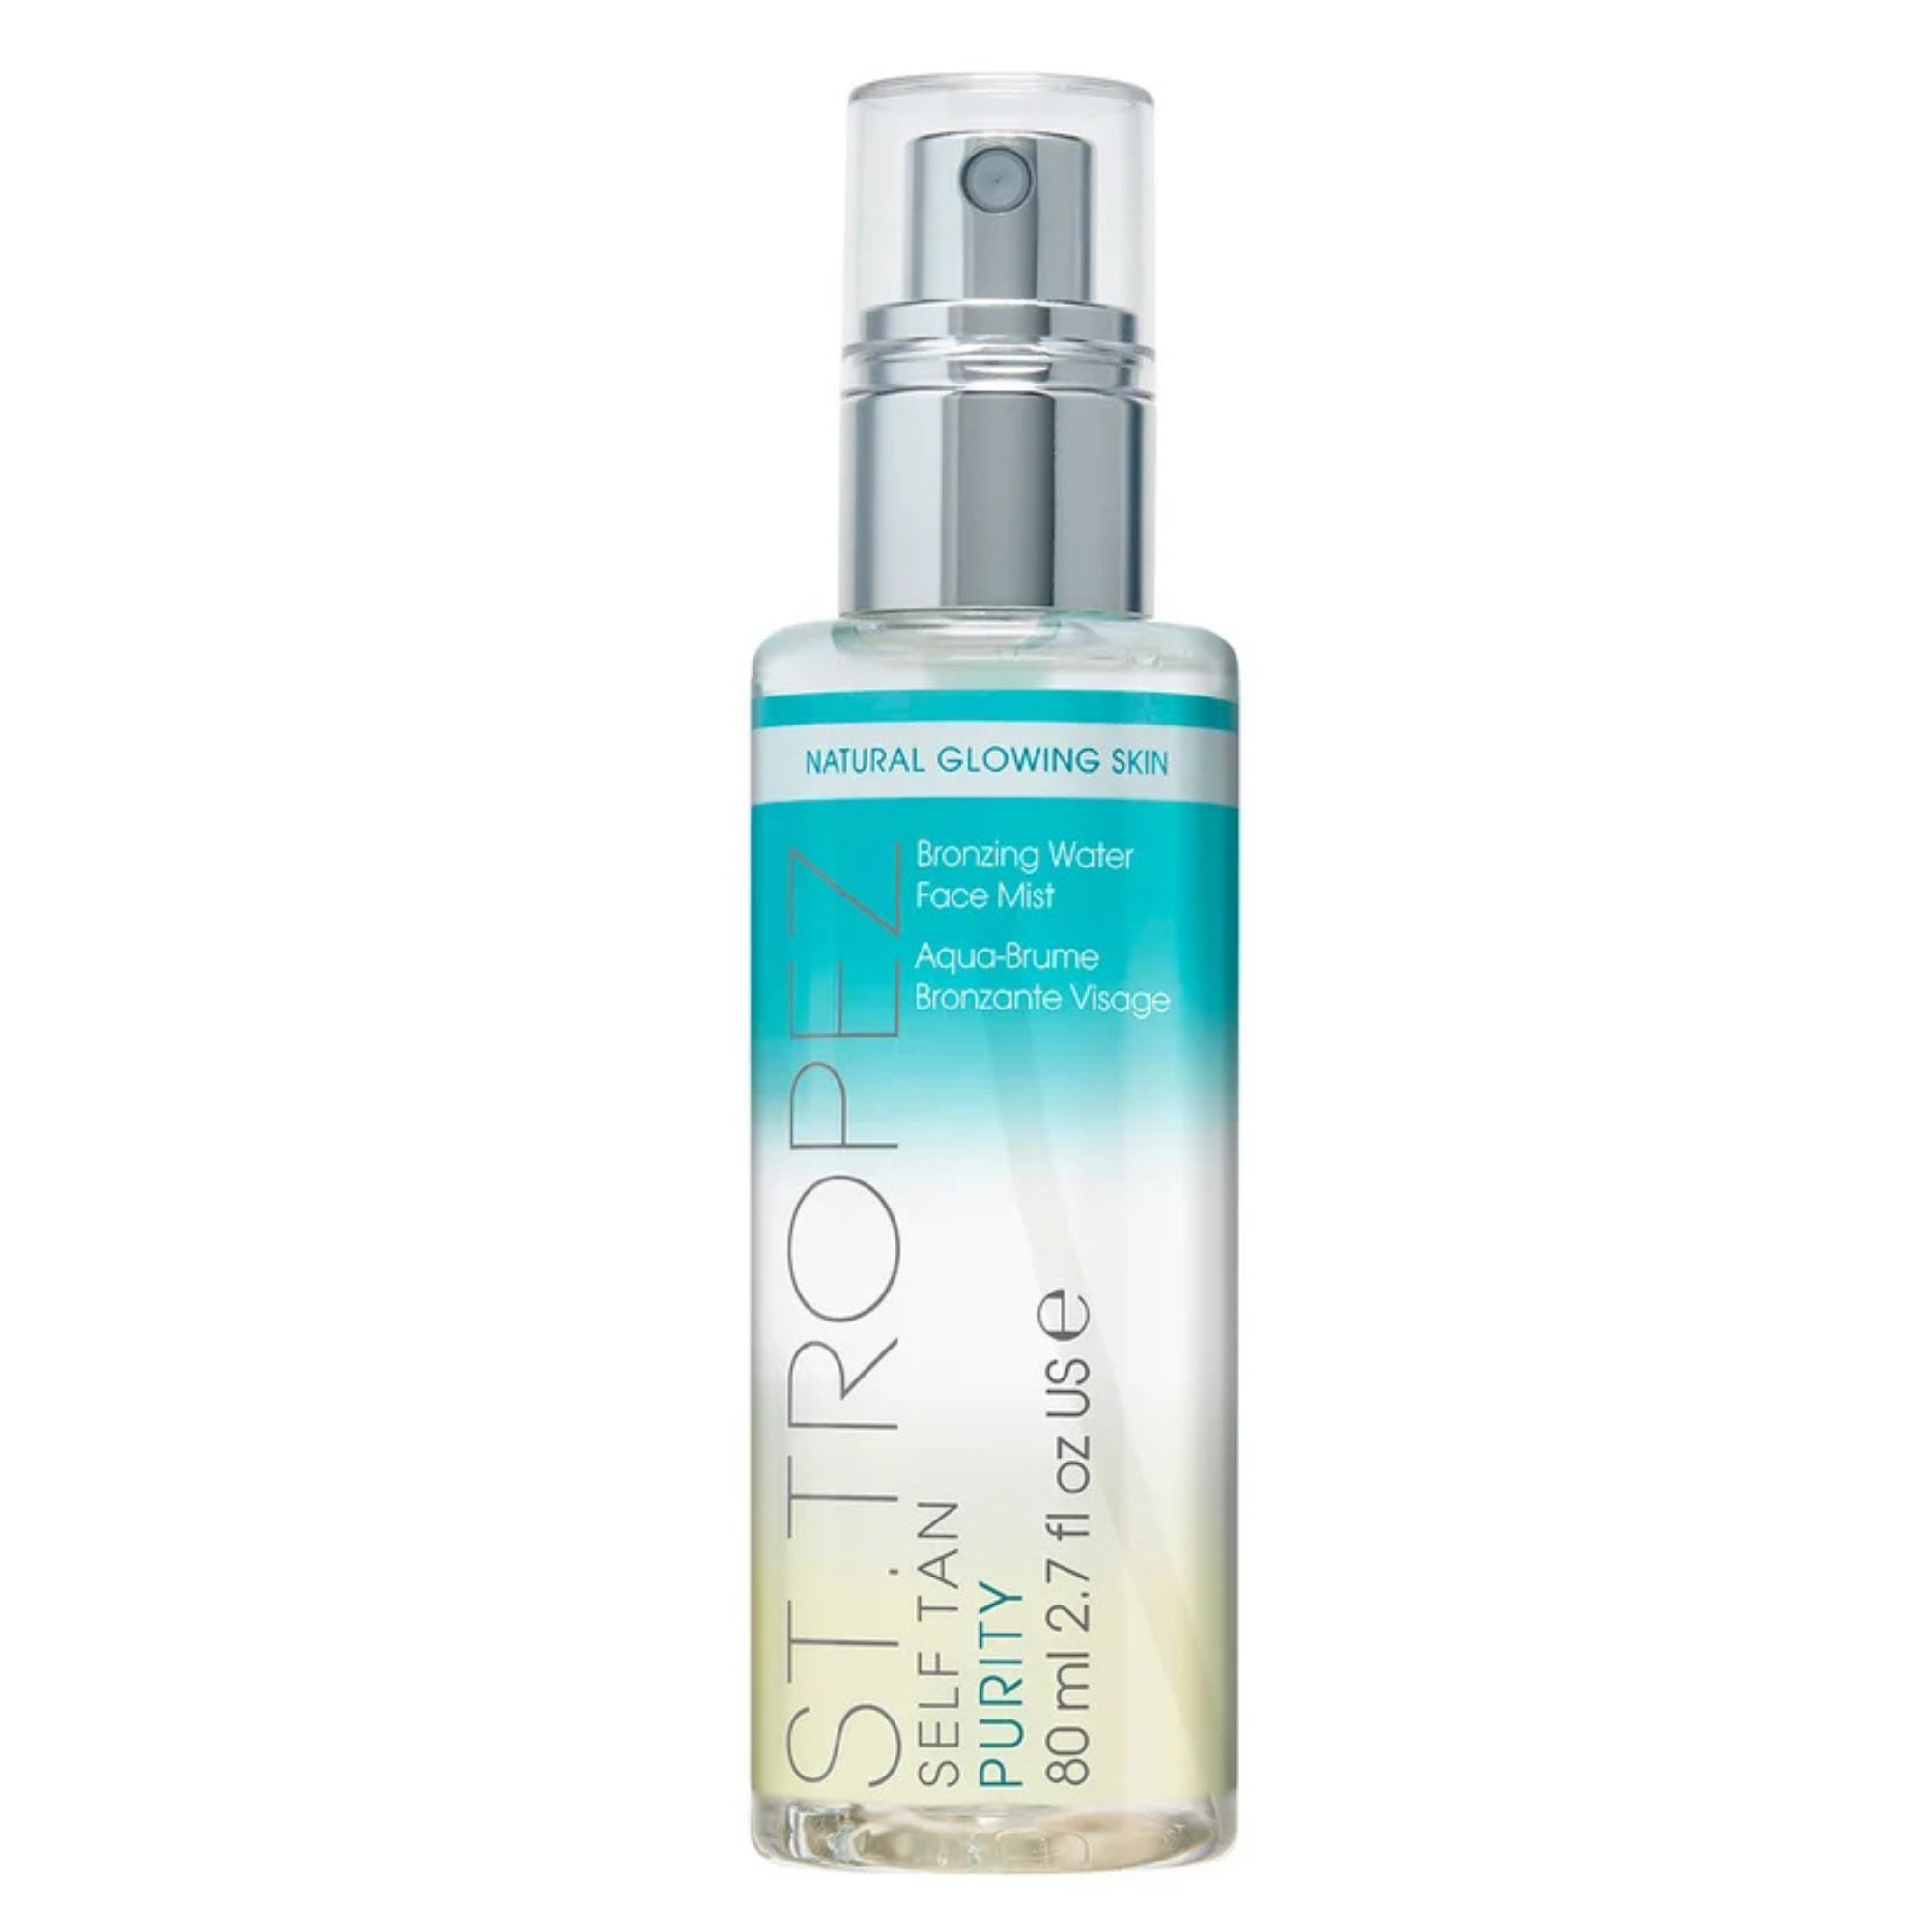
RRP: £24 for 80ml
One of the most popular face tans for a reason, the St Tropez Self Tan Purity Water Face Mist is ideal for those who are short on time or new to tanning. The little bottle of tanning mist is a lazy girl's secret for waking up to a gorgeously bronzed face or for wearing over makeup to develop during the day. The tropical-scented mist is lightweight, easy to apply and dries quickly; layer more spritzes to build the glow depending on your preference.
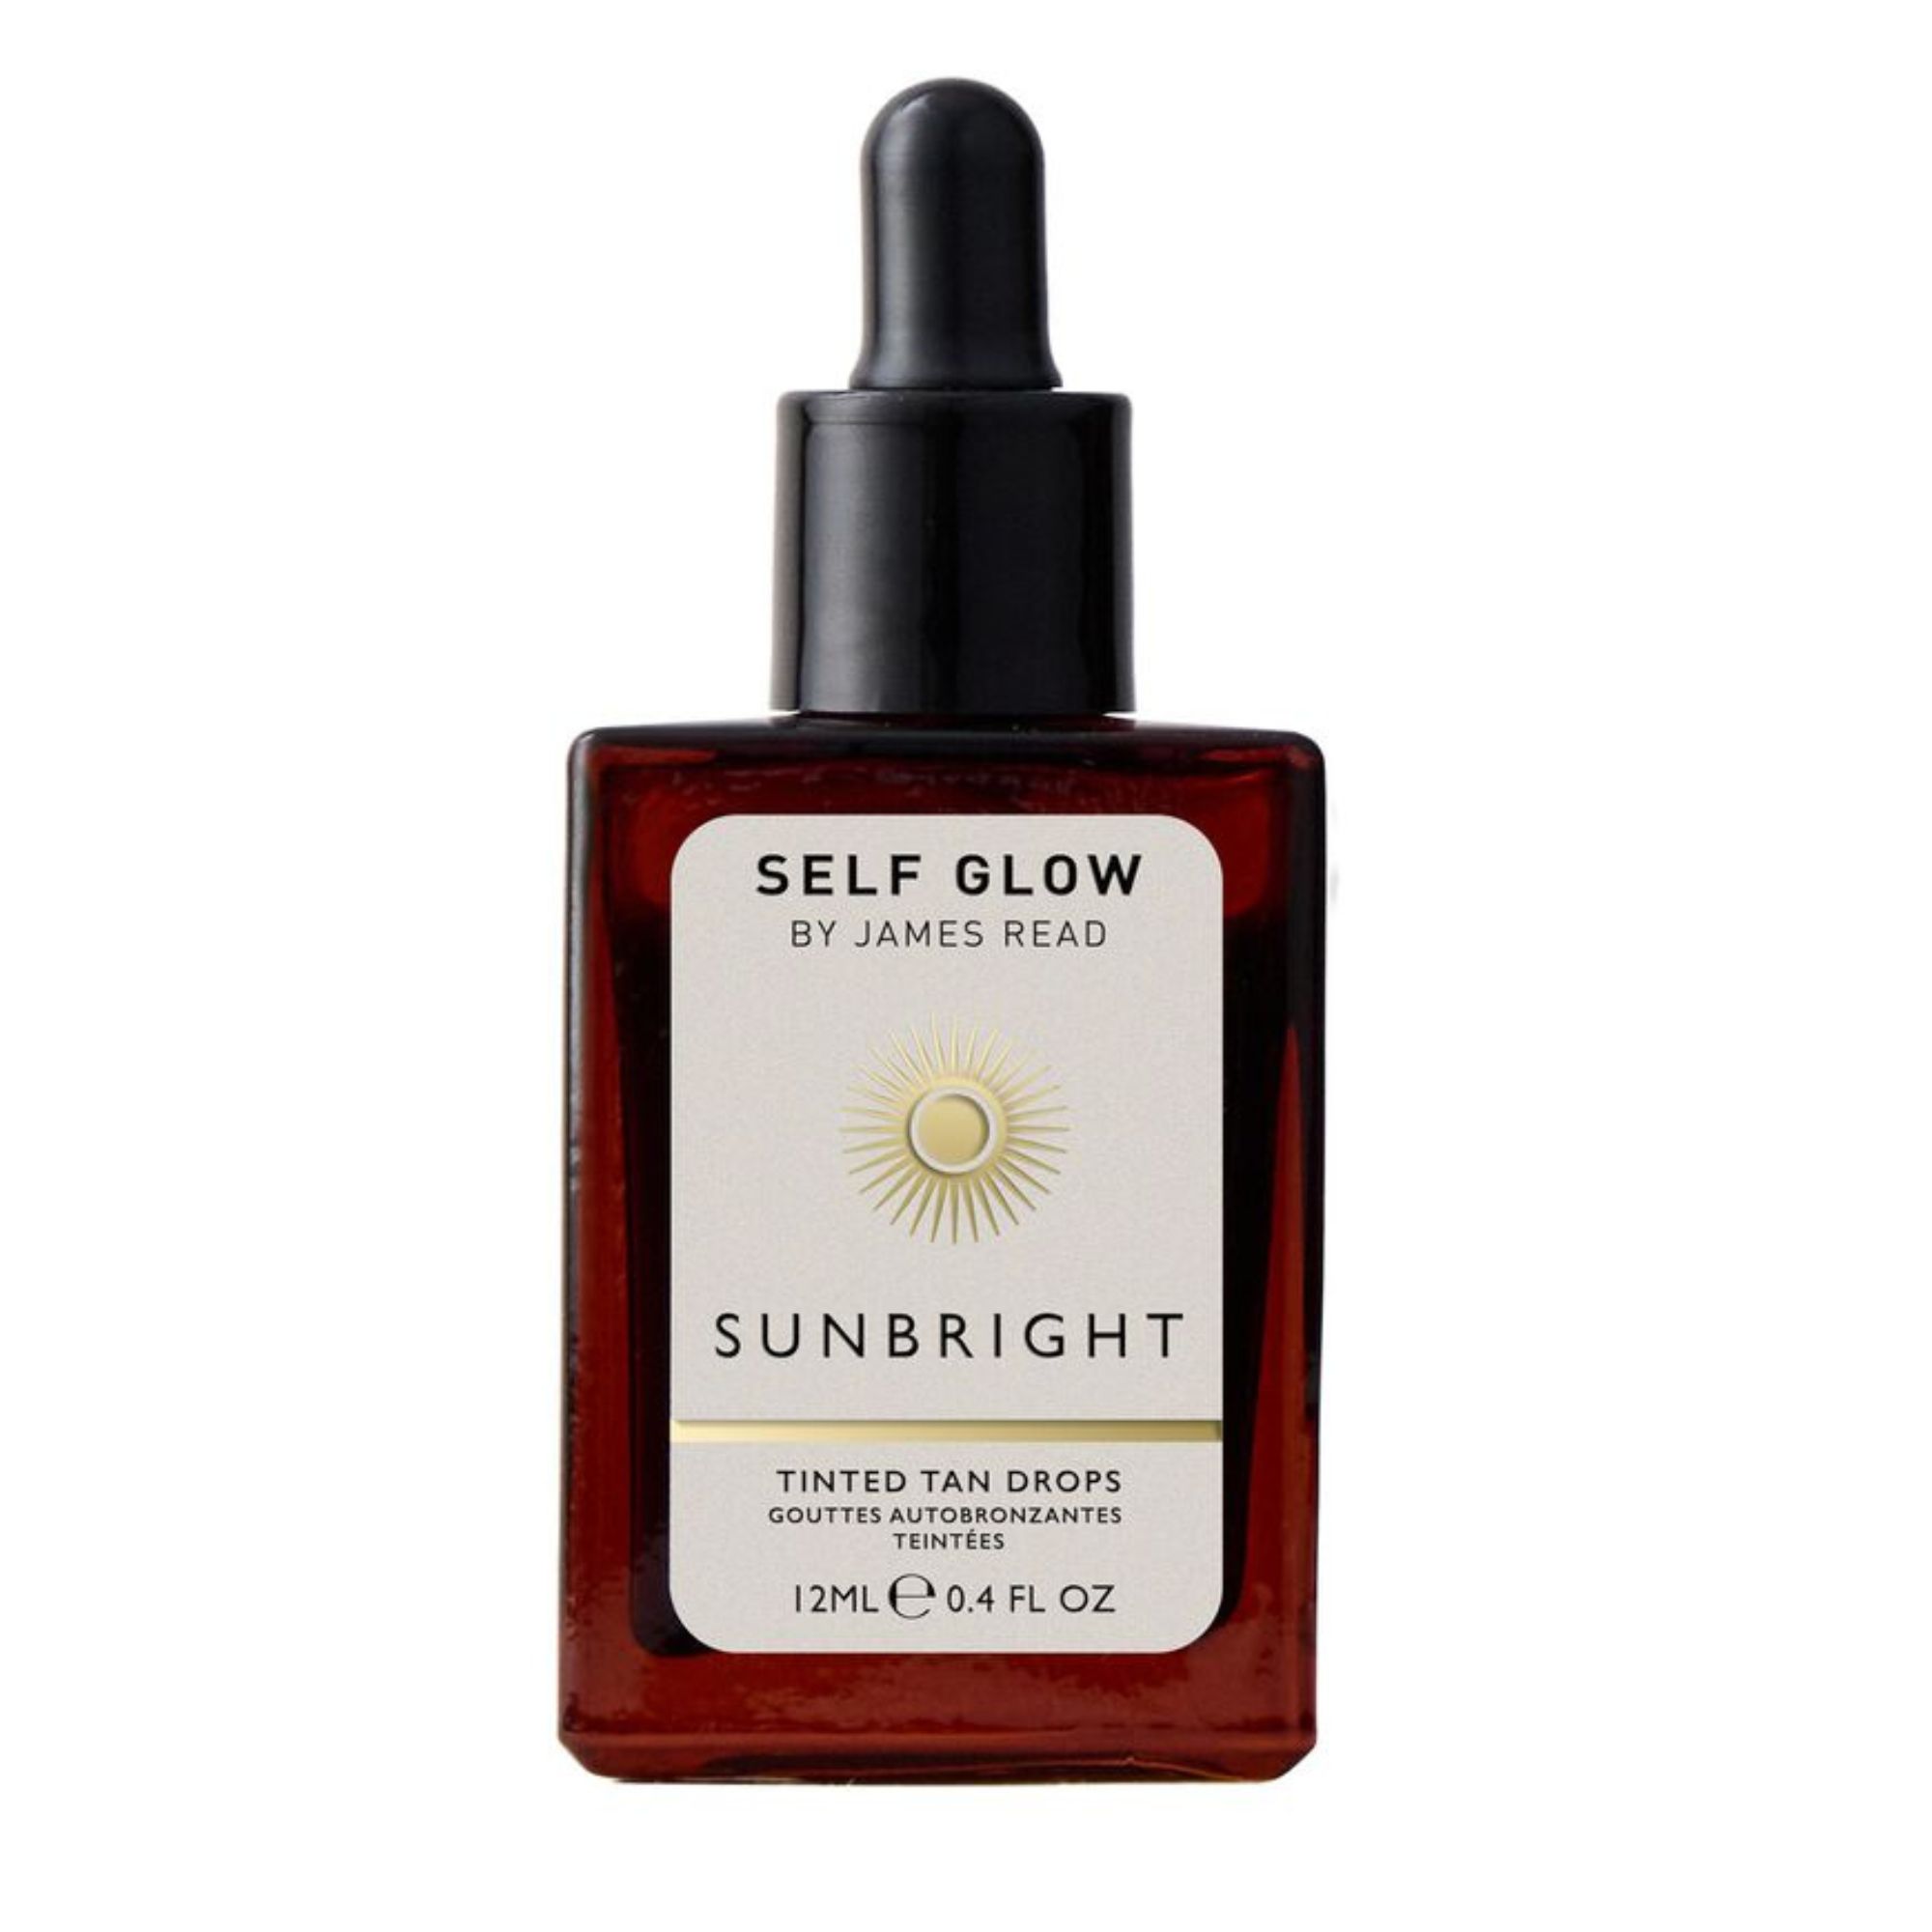
RRP: £18 for 12ml
These tinted tan drops are a bottle of sunshine. Offering an immediate glow, the drops can be added directly to your skin or your moisturiser to give a bronzed base in seconds. Not only does it add tan instantly, the formula also develops over time to produce a long-lasting glow.
3. Consider development time
Before buying any self tan product it's important to determine whether you want bronzed results immediately or can wait for them to develop slowly. "Are you looking for a quick fix or a glowing tan for longer? Picking the right development time depends on how much time you have to spare and how long you want the tan to last," Matthews says.
If you aren't in a rush, it may be better to take the gradual tan route as these formula look more natural and last longer. They are best applied before bed and left to develop overnight while you sleep. However, if you're in need of a quick fix that gets results instantly or within an hour or two, an express formula or an instant tan will be the better choice.
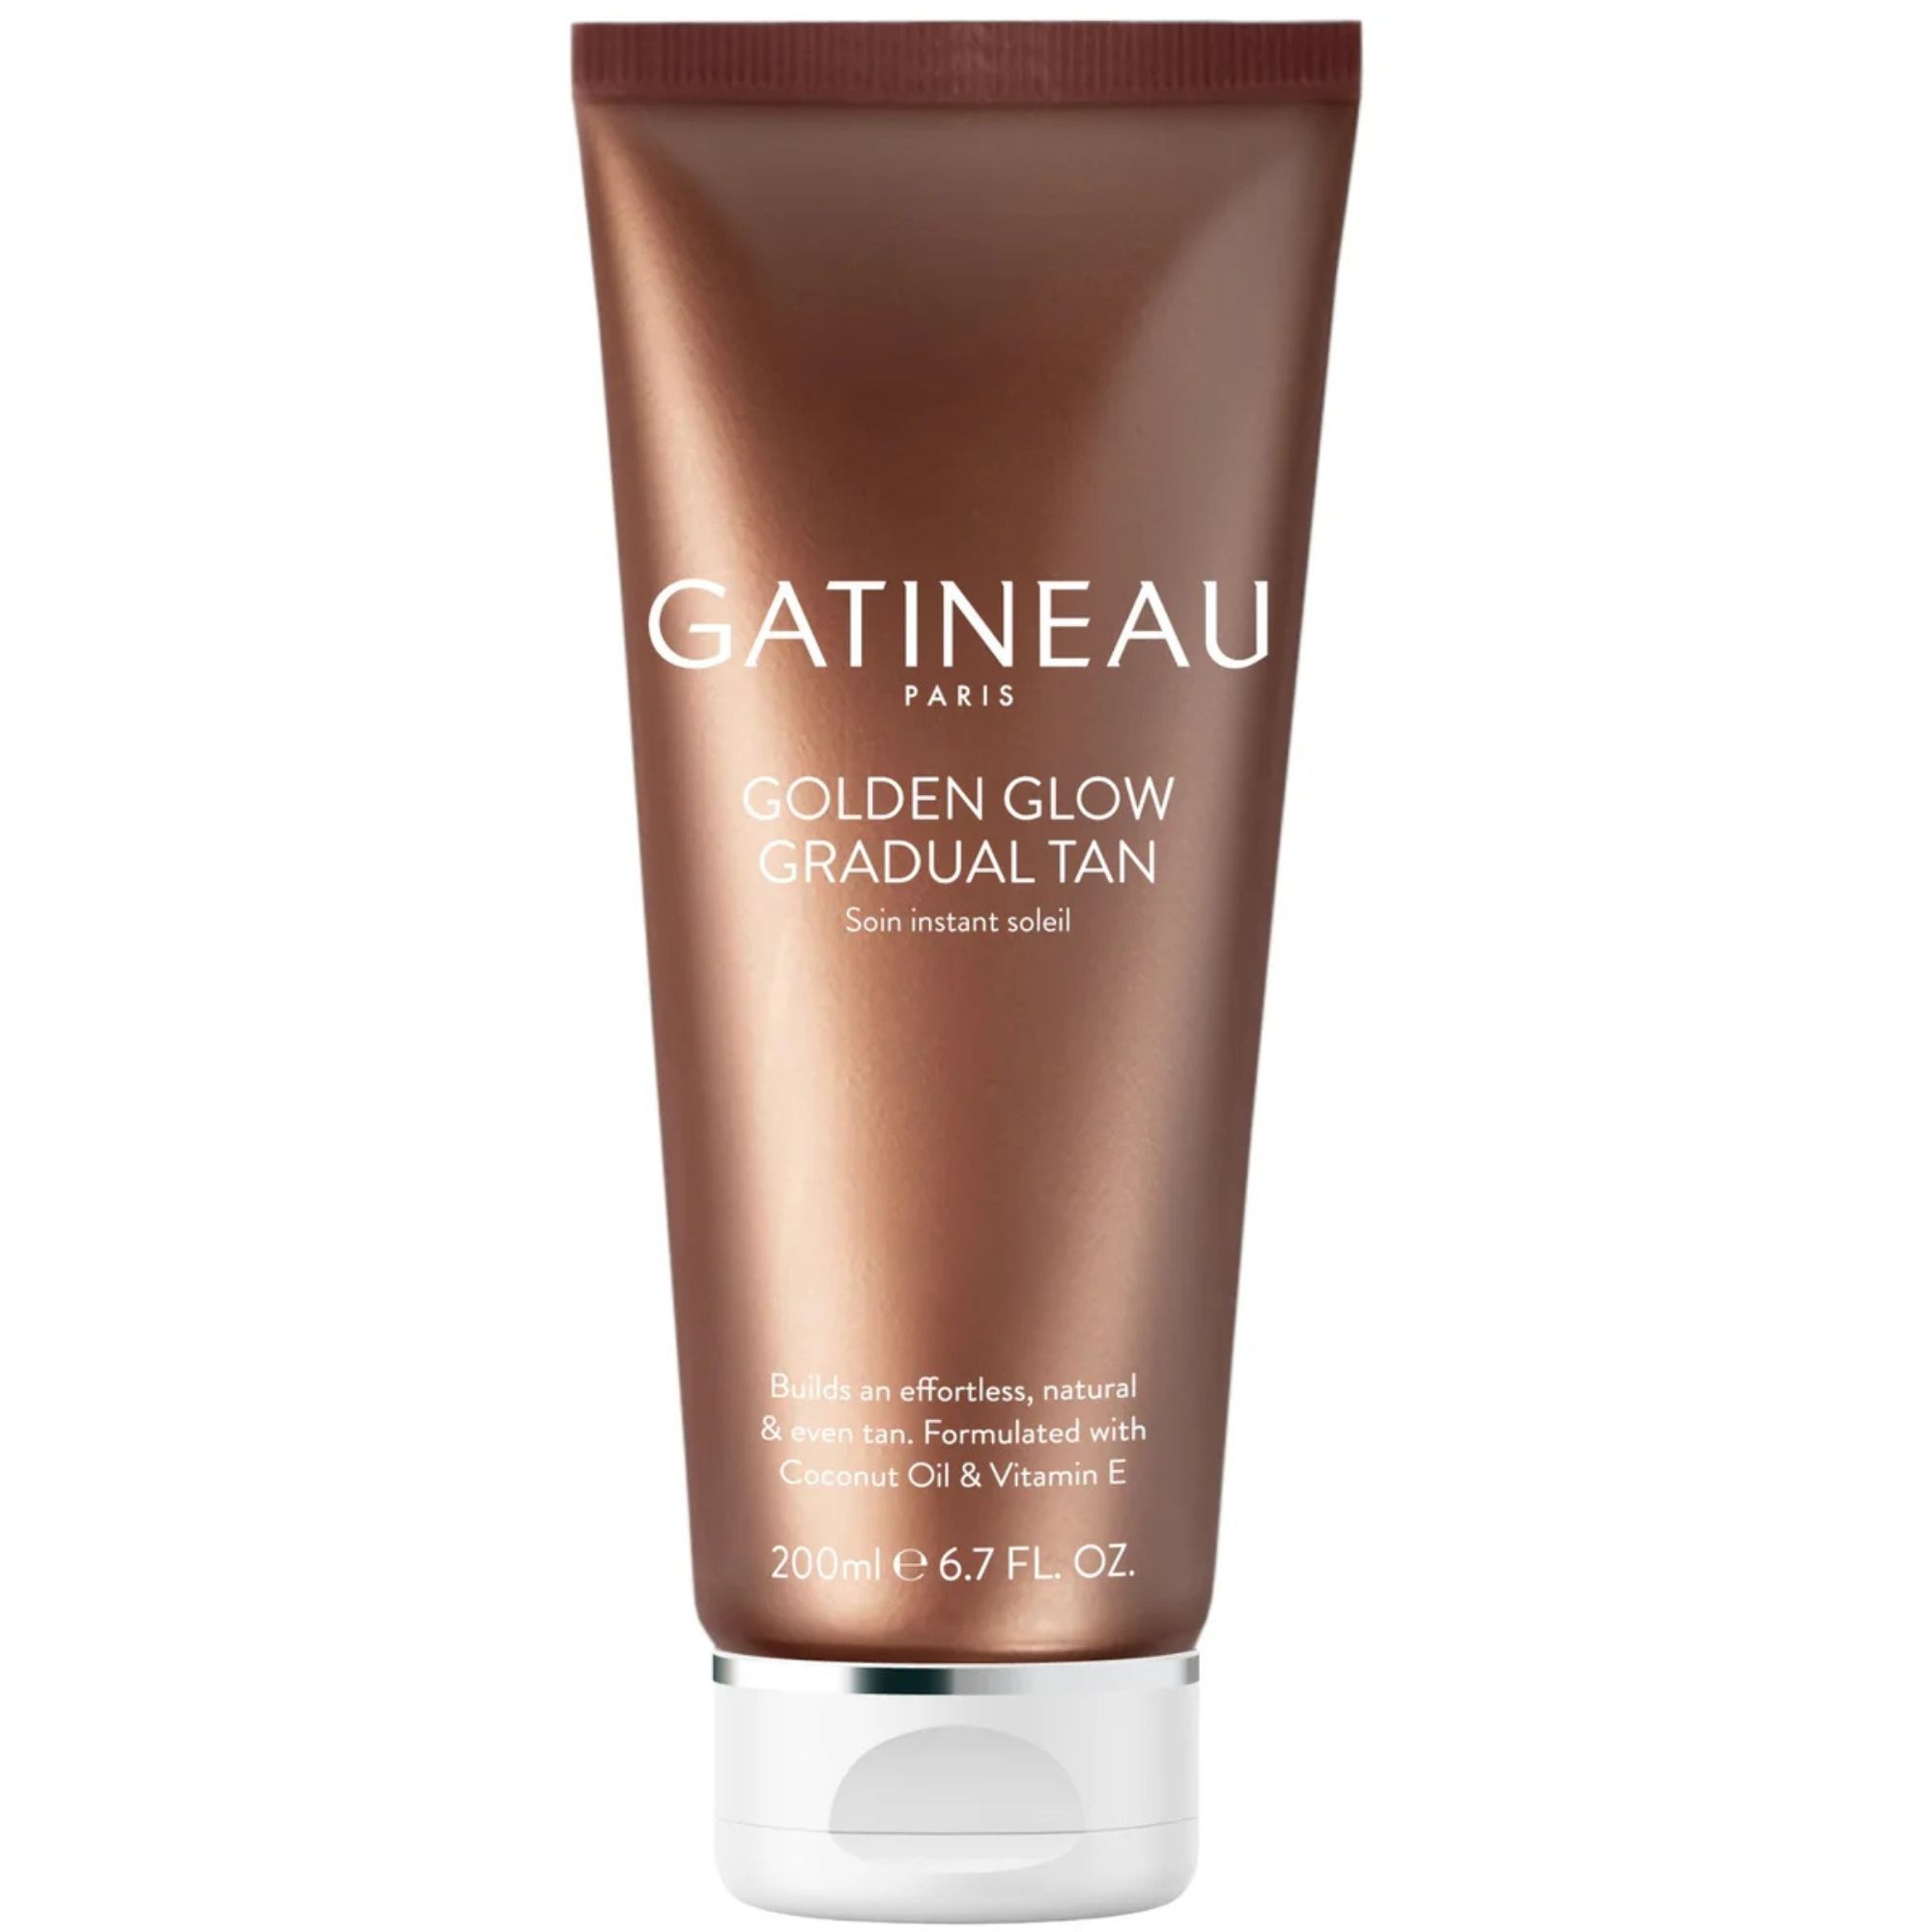
RRP: £35 for 75ml
For the times you've pre-planned your tan, this gradual lotion is the best. The fast-absorbing gel not only smells delicious but over time creates the most natural tan. Buildable and lightweight, this is applied like a body cream and then all you have to do is wait for the sunkissed colour to appear within a day.
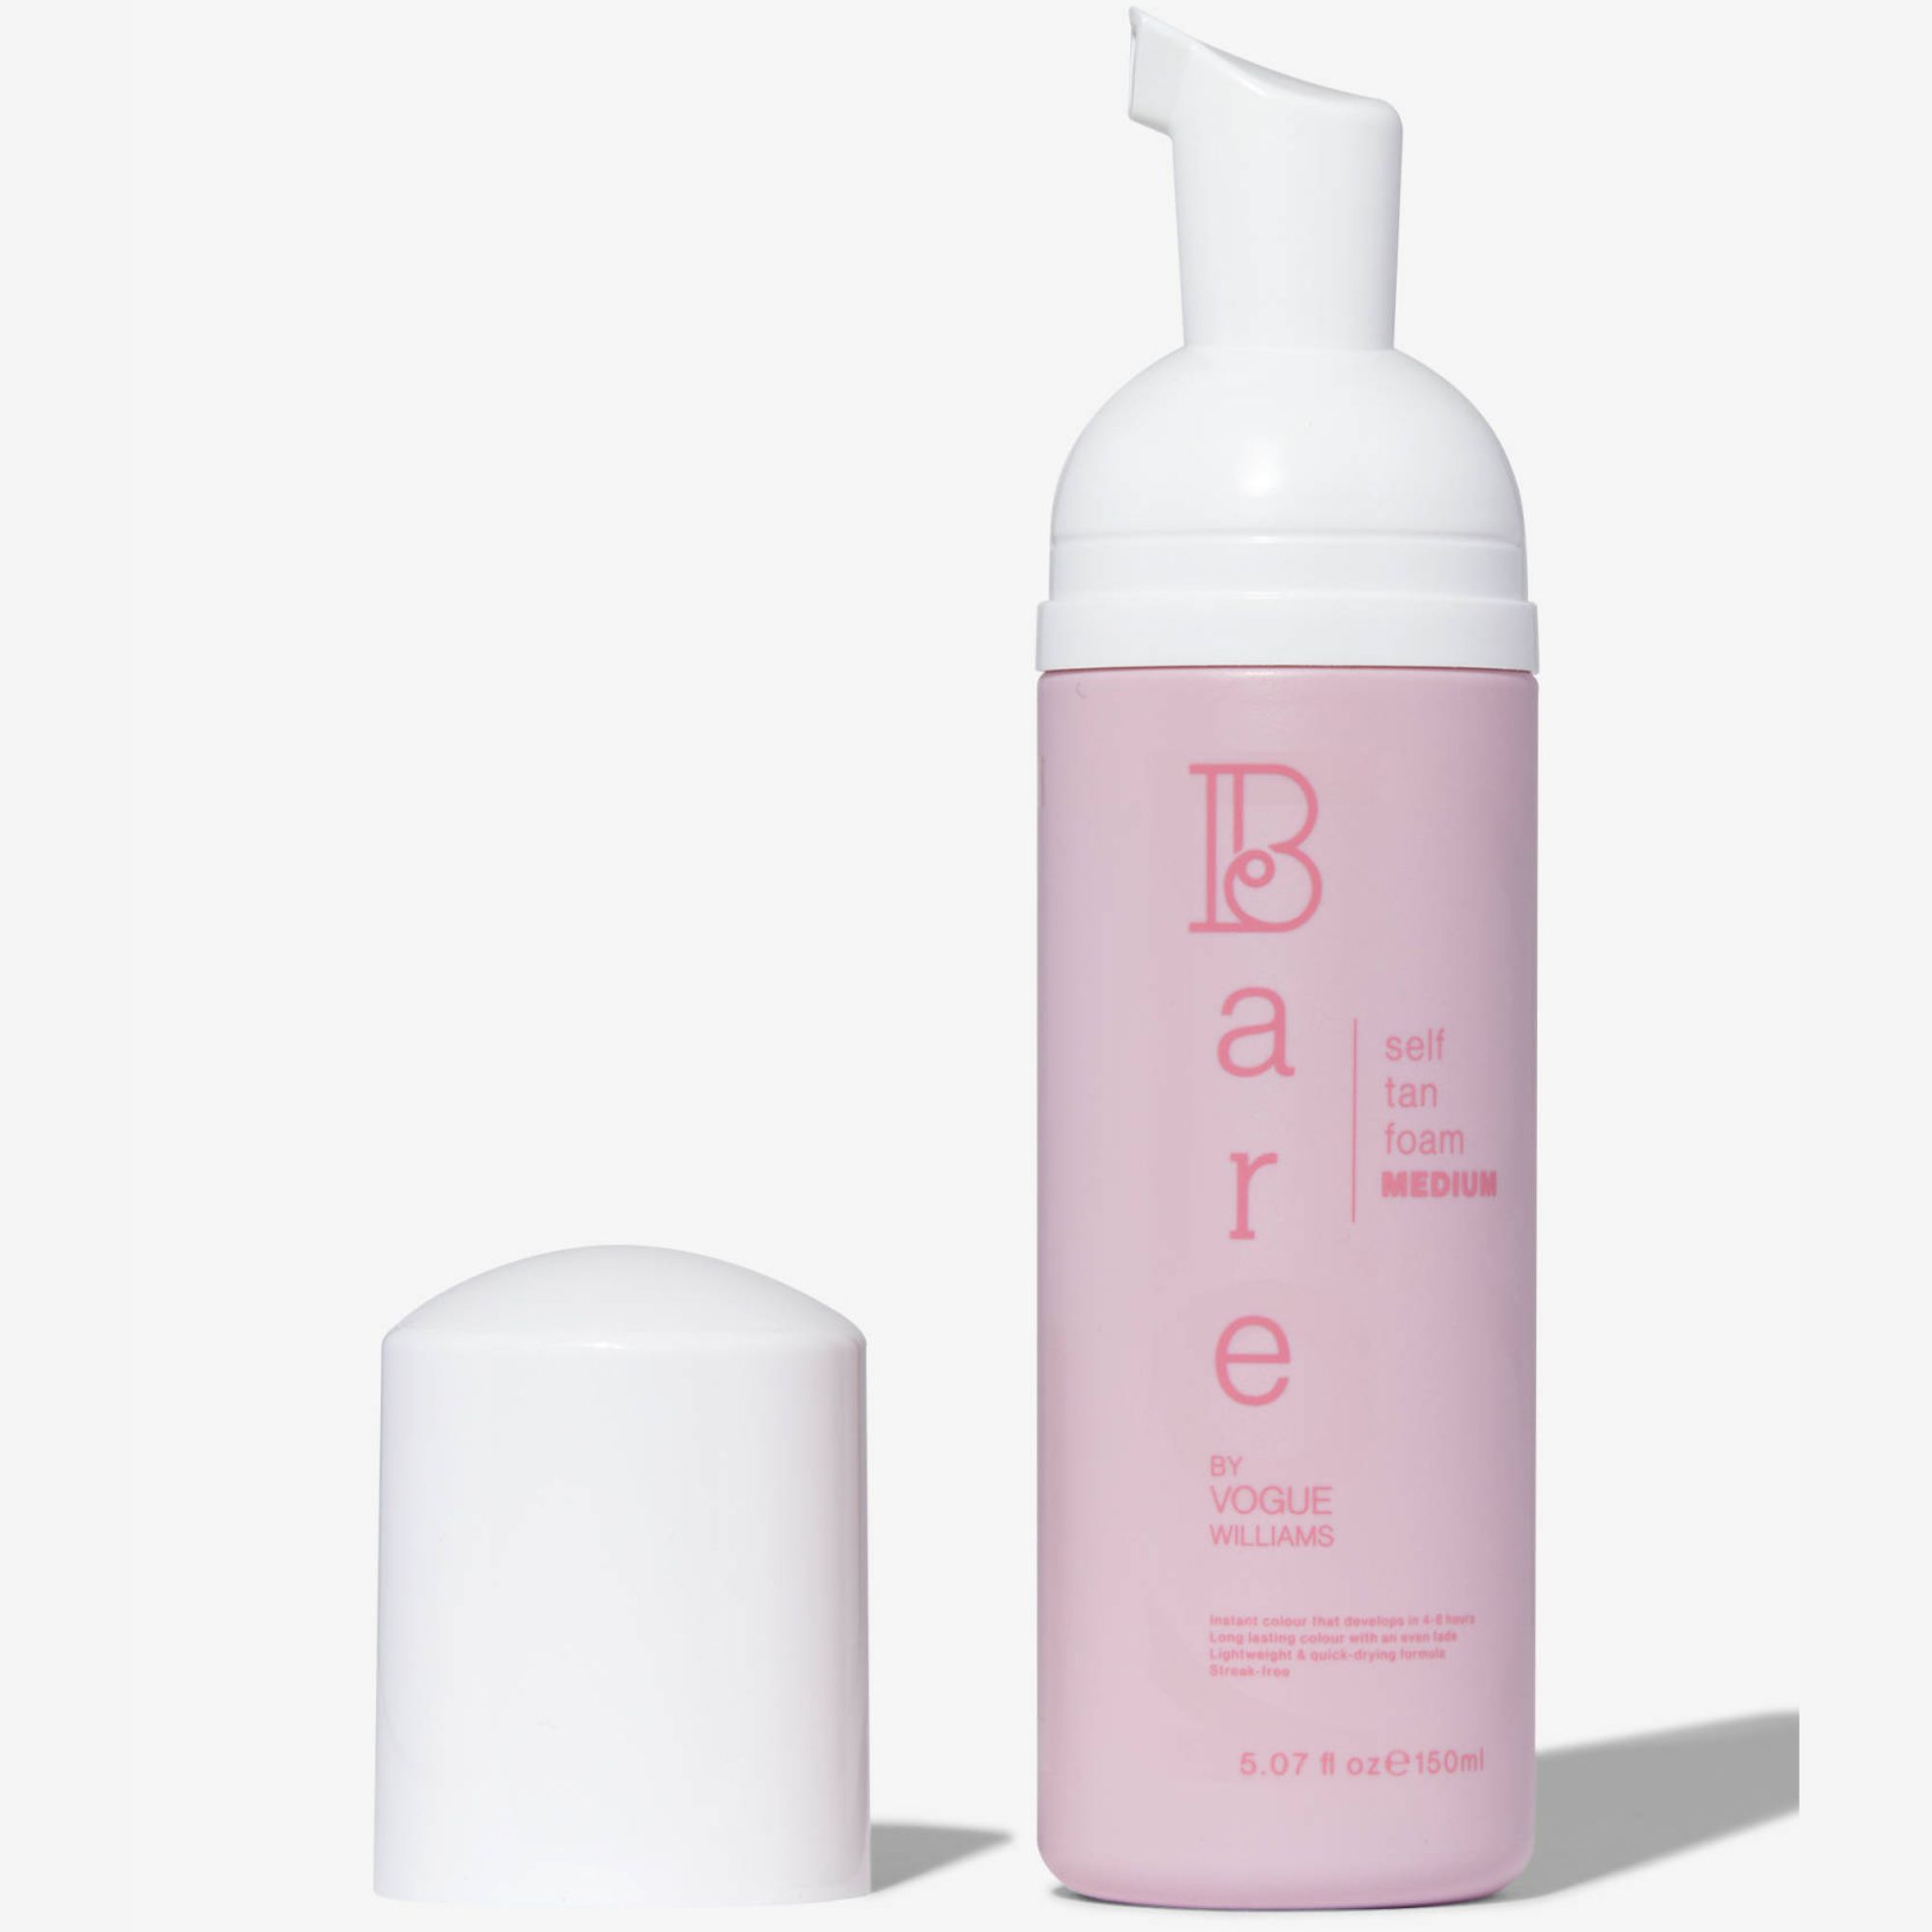
RRP: £22.50 for 150ml
After something in between instant and gradual tan? Try this foam which develops in just four hours. Packed with hydrating ingredients, this self tan foam glides onto the skin for a seamless and streak-free application. It lasts for up to seven days and is ideal for holidays or busy periods.
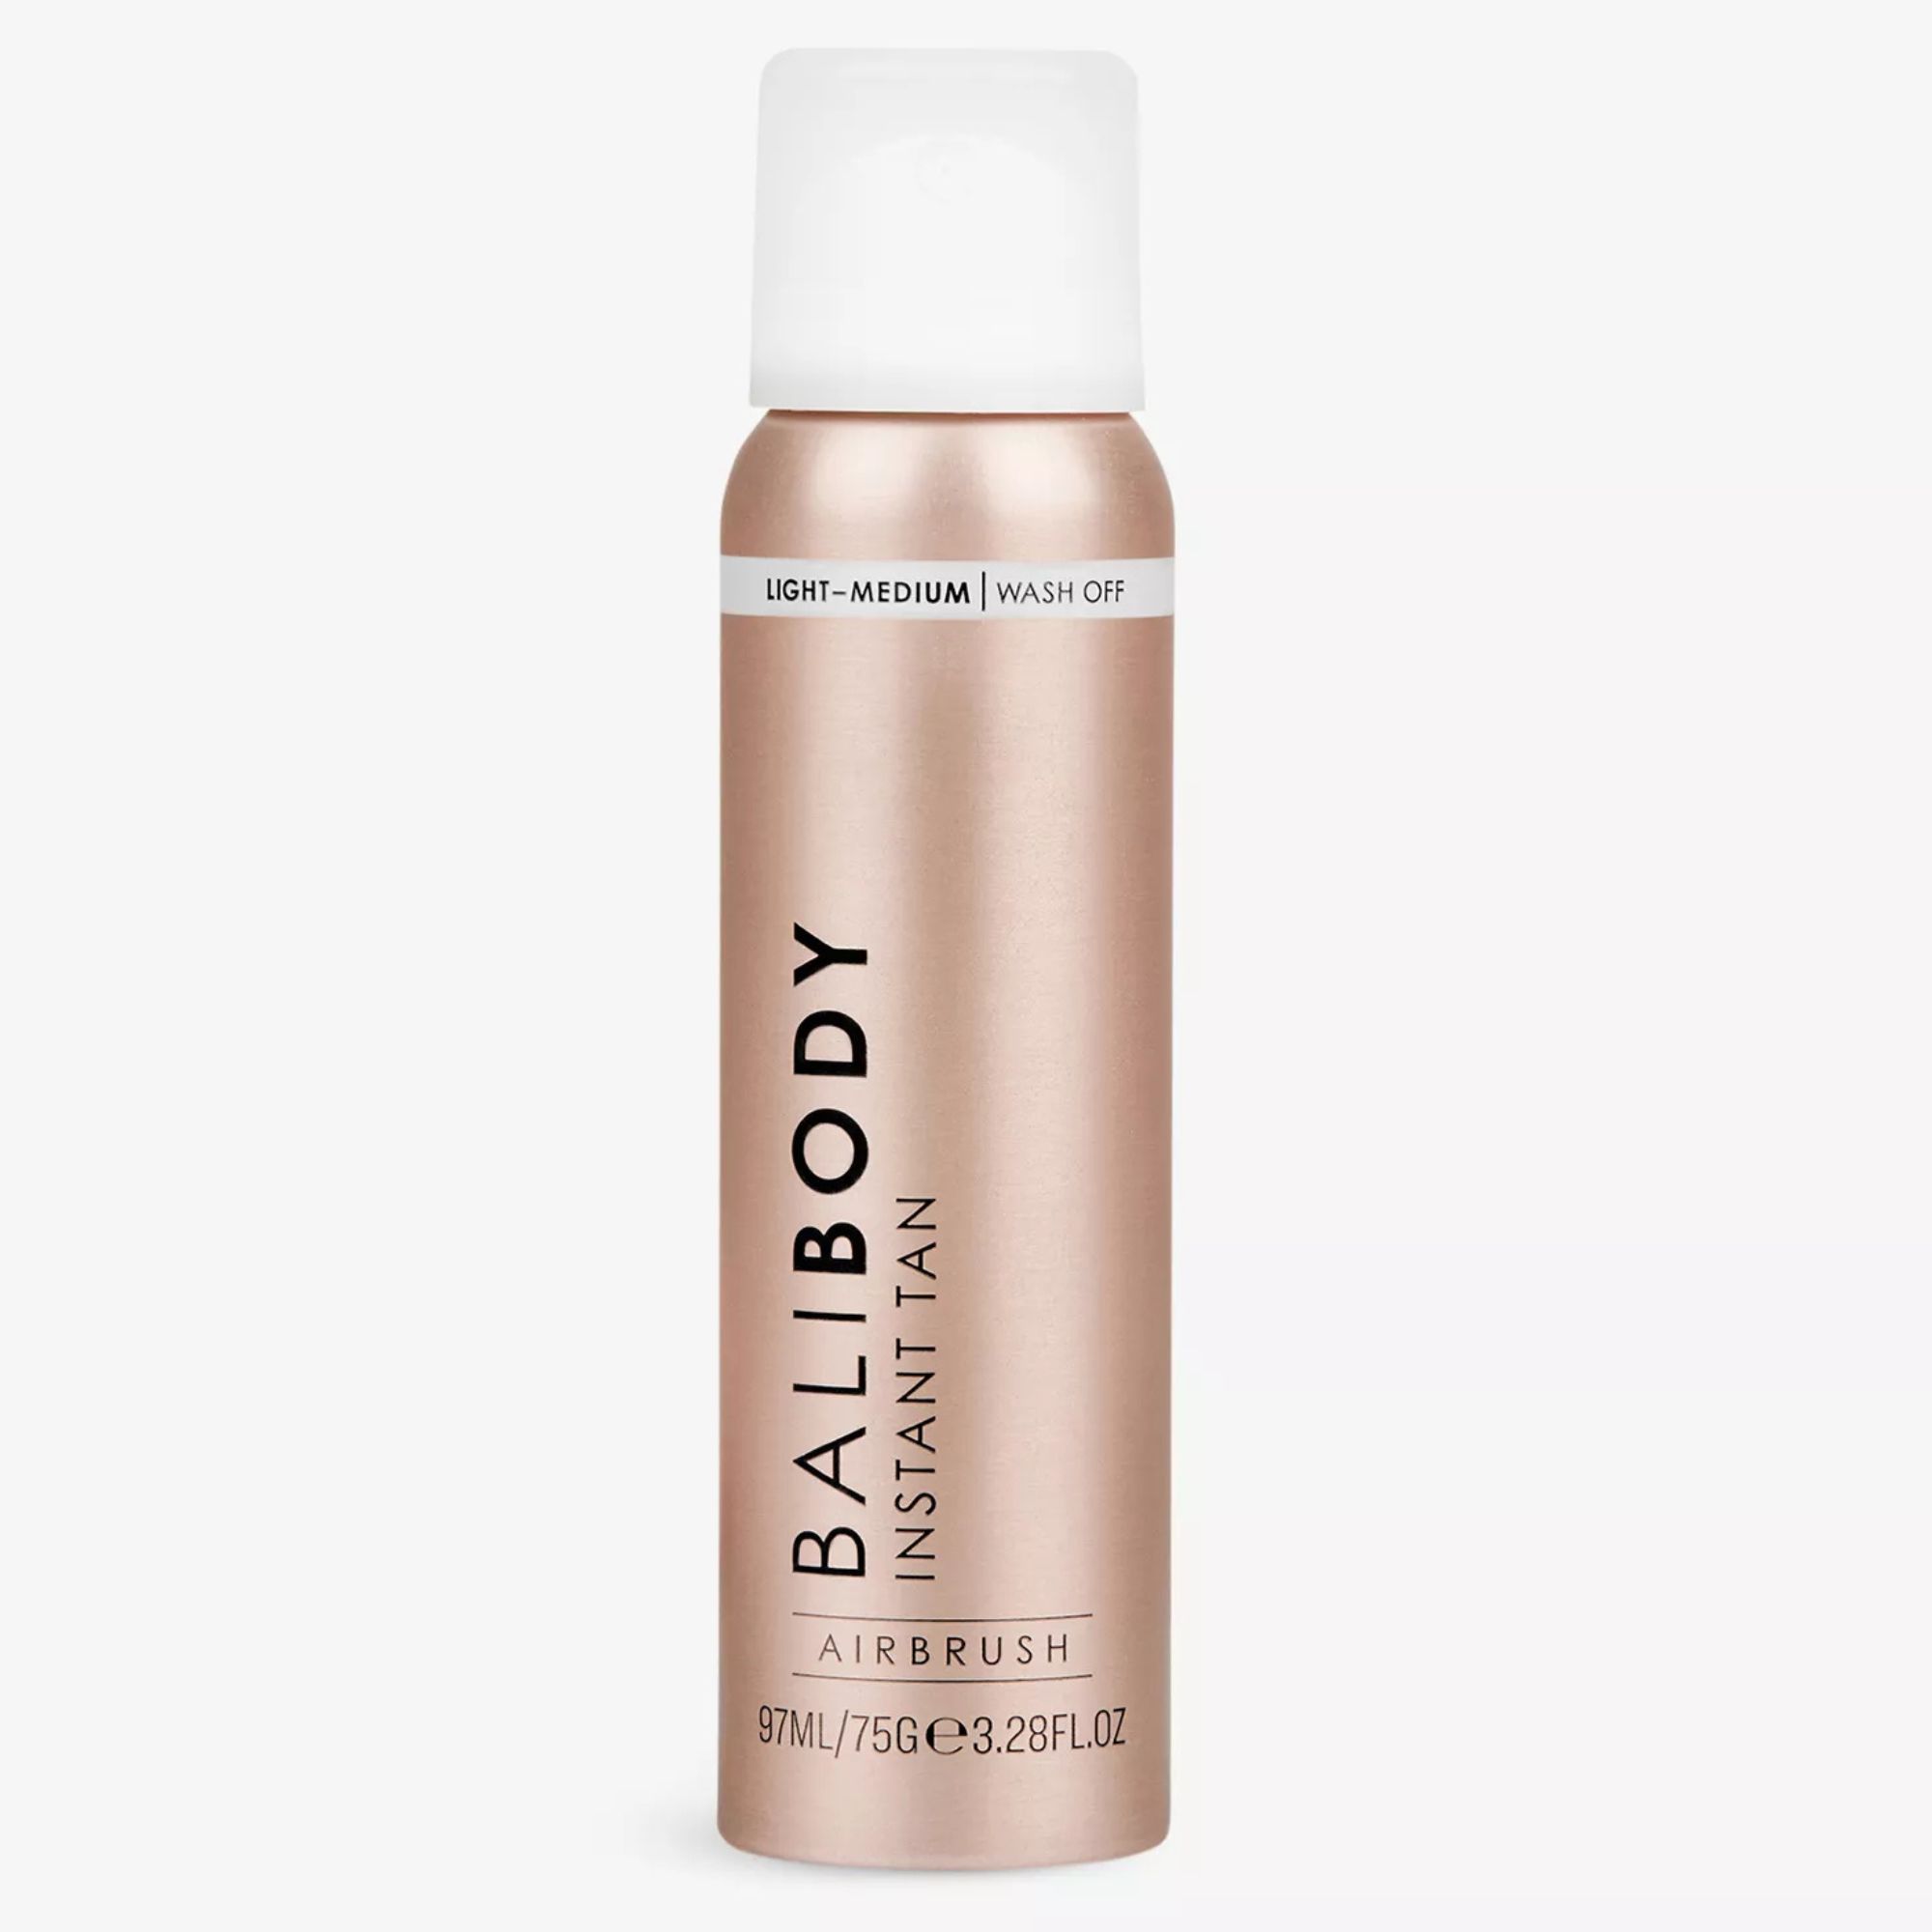
RRP: £19.95 for 97ml
If you want a tan in a hurry then let this mist formula provide a head-to-toe glow in seconds. It can be used on both the face and body, blended in with a body brush for a natural-looking coverage. It also evens out skin tone, blurs blemishes and "imperfections" and leaves the skin looking bronzed and airbrushed.
4. Day-before prep can make all the difference
The secret to a successful, smooth tan application is all in the prep – more specifically, exfoliation and any hair removal. For best results, this should be done a full day ahead of the tan application.
"Shaving and exfoliating with a physical scrub 24–48 hours before tanning ensures that the skin recovers and pores close," Matthews explains. "This prevents any redness and irritation."
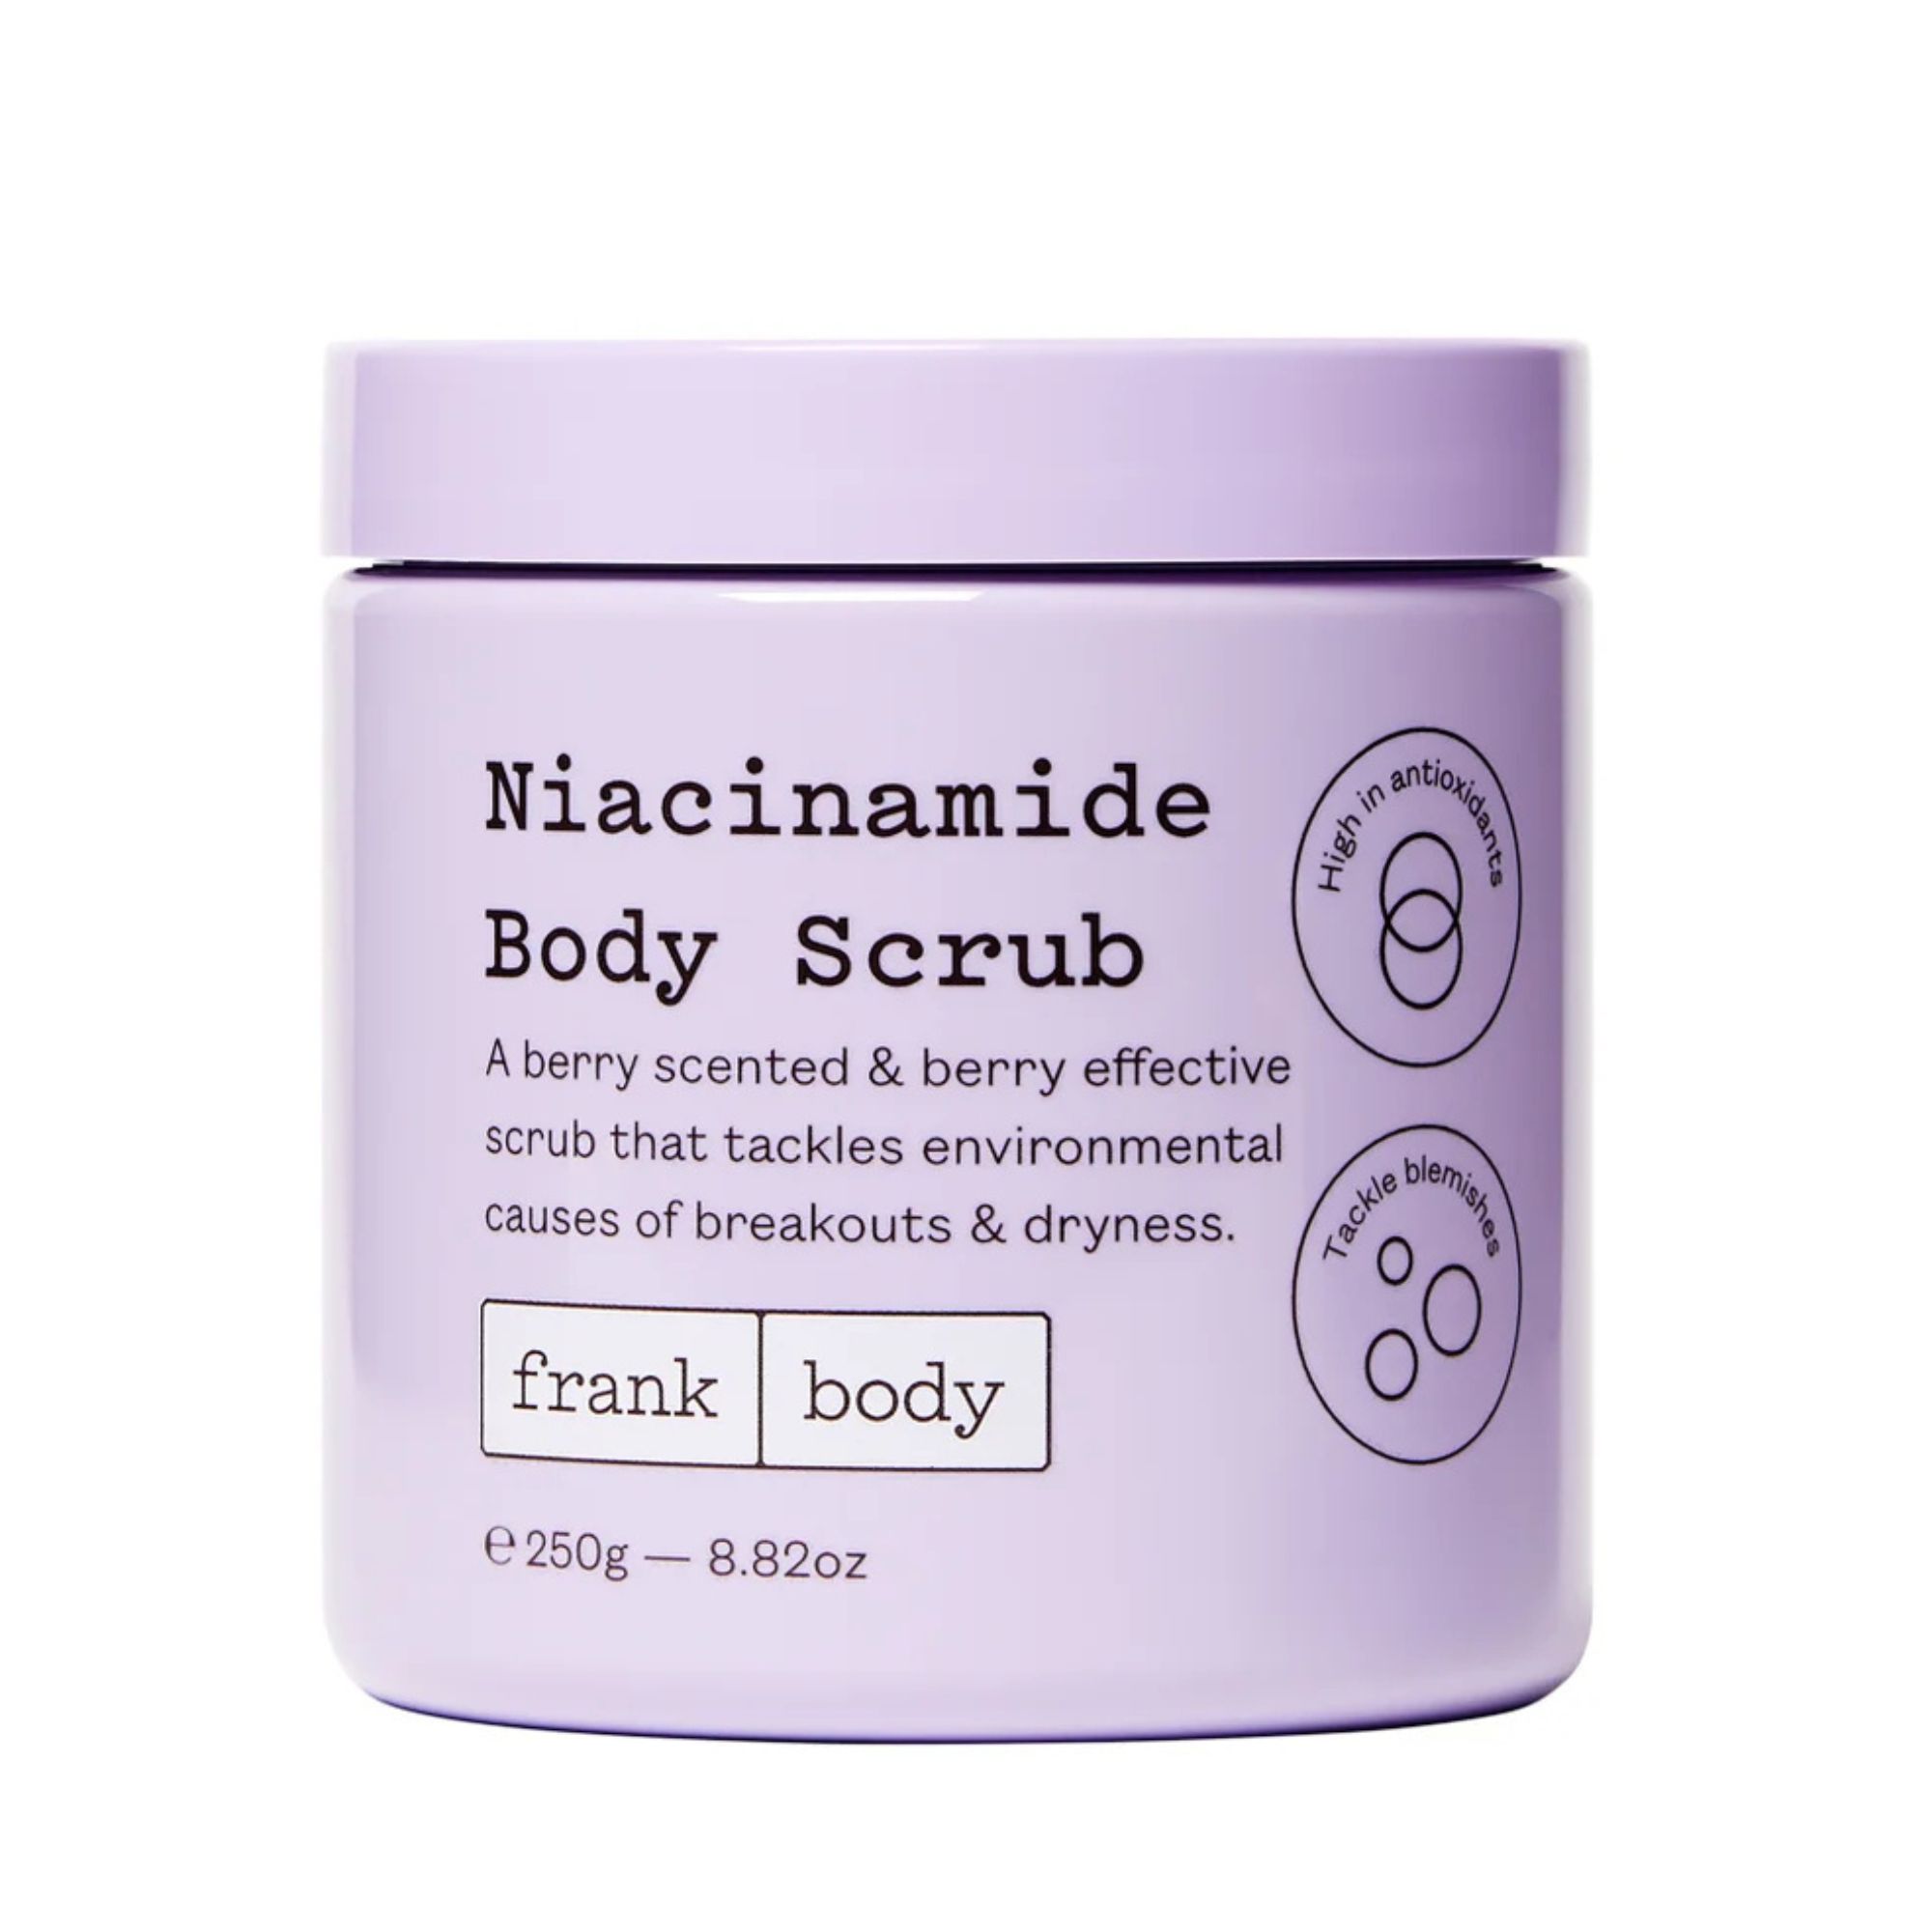
RRP: £17 for 250g
This gritty formula smooths, soothes and minimises the appearance of any blemishes and "imperfections" on your skin. Use it a day before your tan application and before you shave.
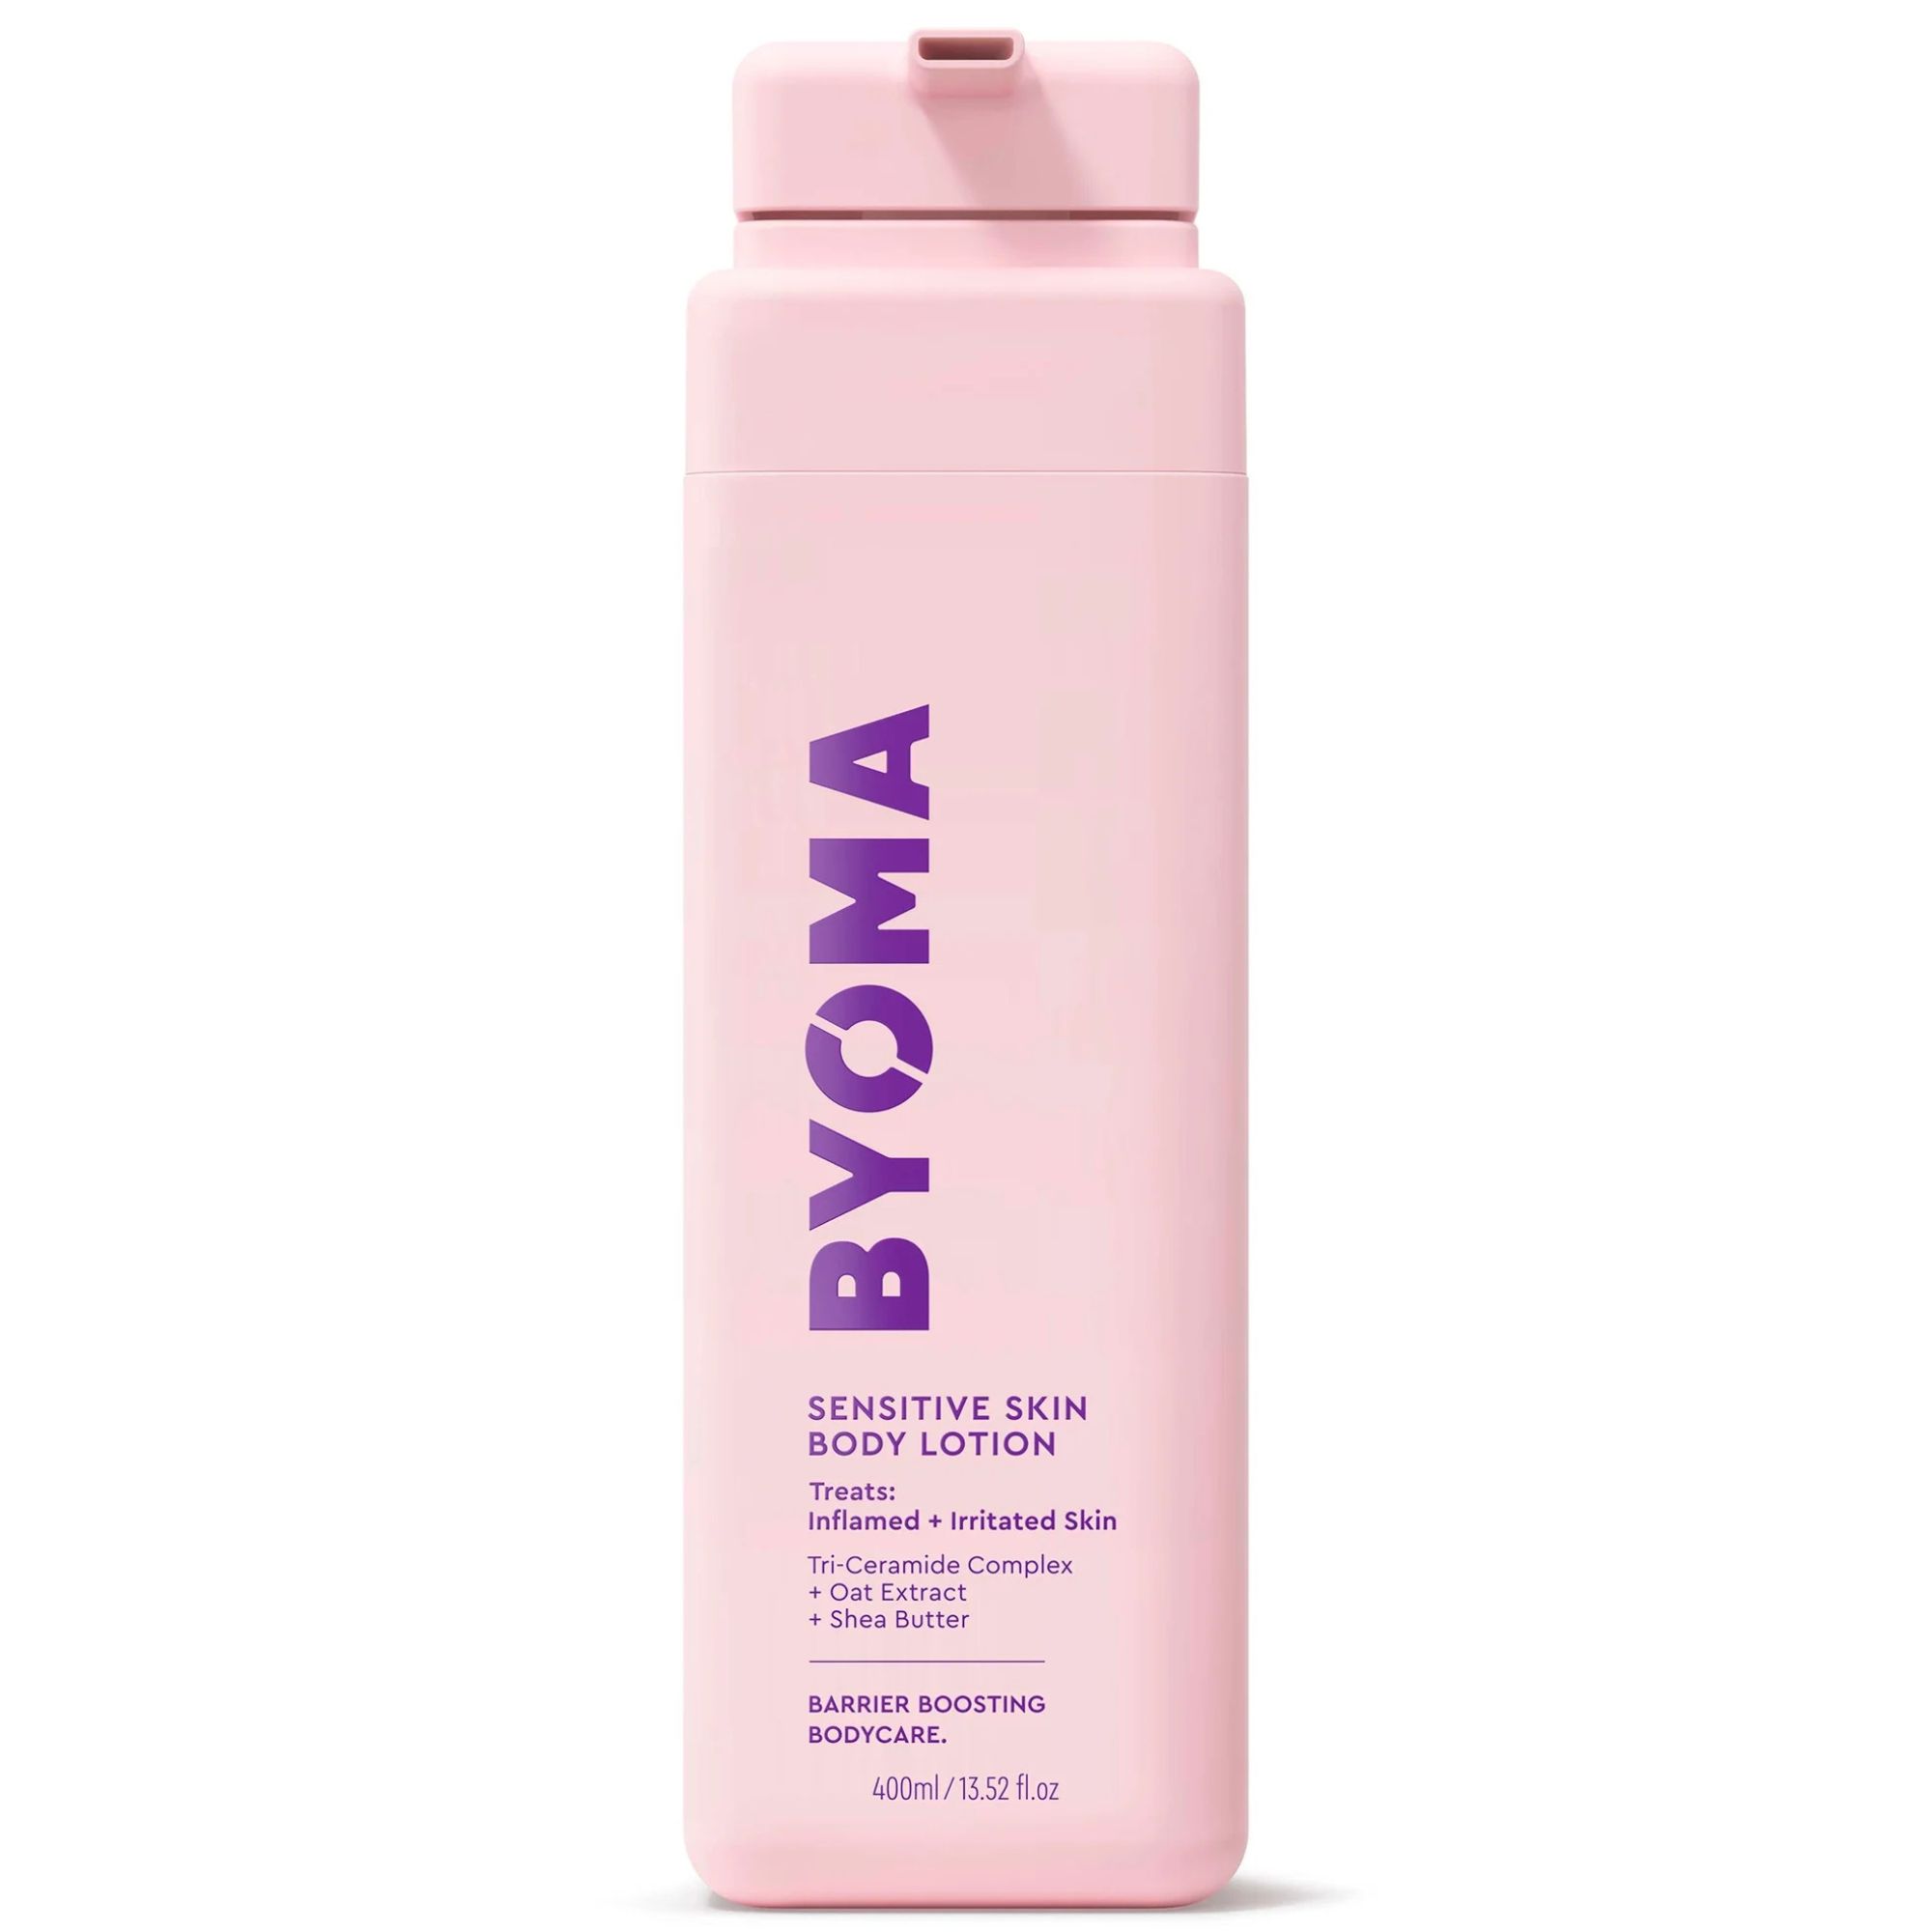
RRP: £12.99 for 400ml
Ideal for popping on areas like your elbows, knees and hands or anywhere your tan tends to cling, this lotion will ensure an even-looking tan. Apply after exfoliating and shaving and right before you apply your tan.
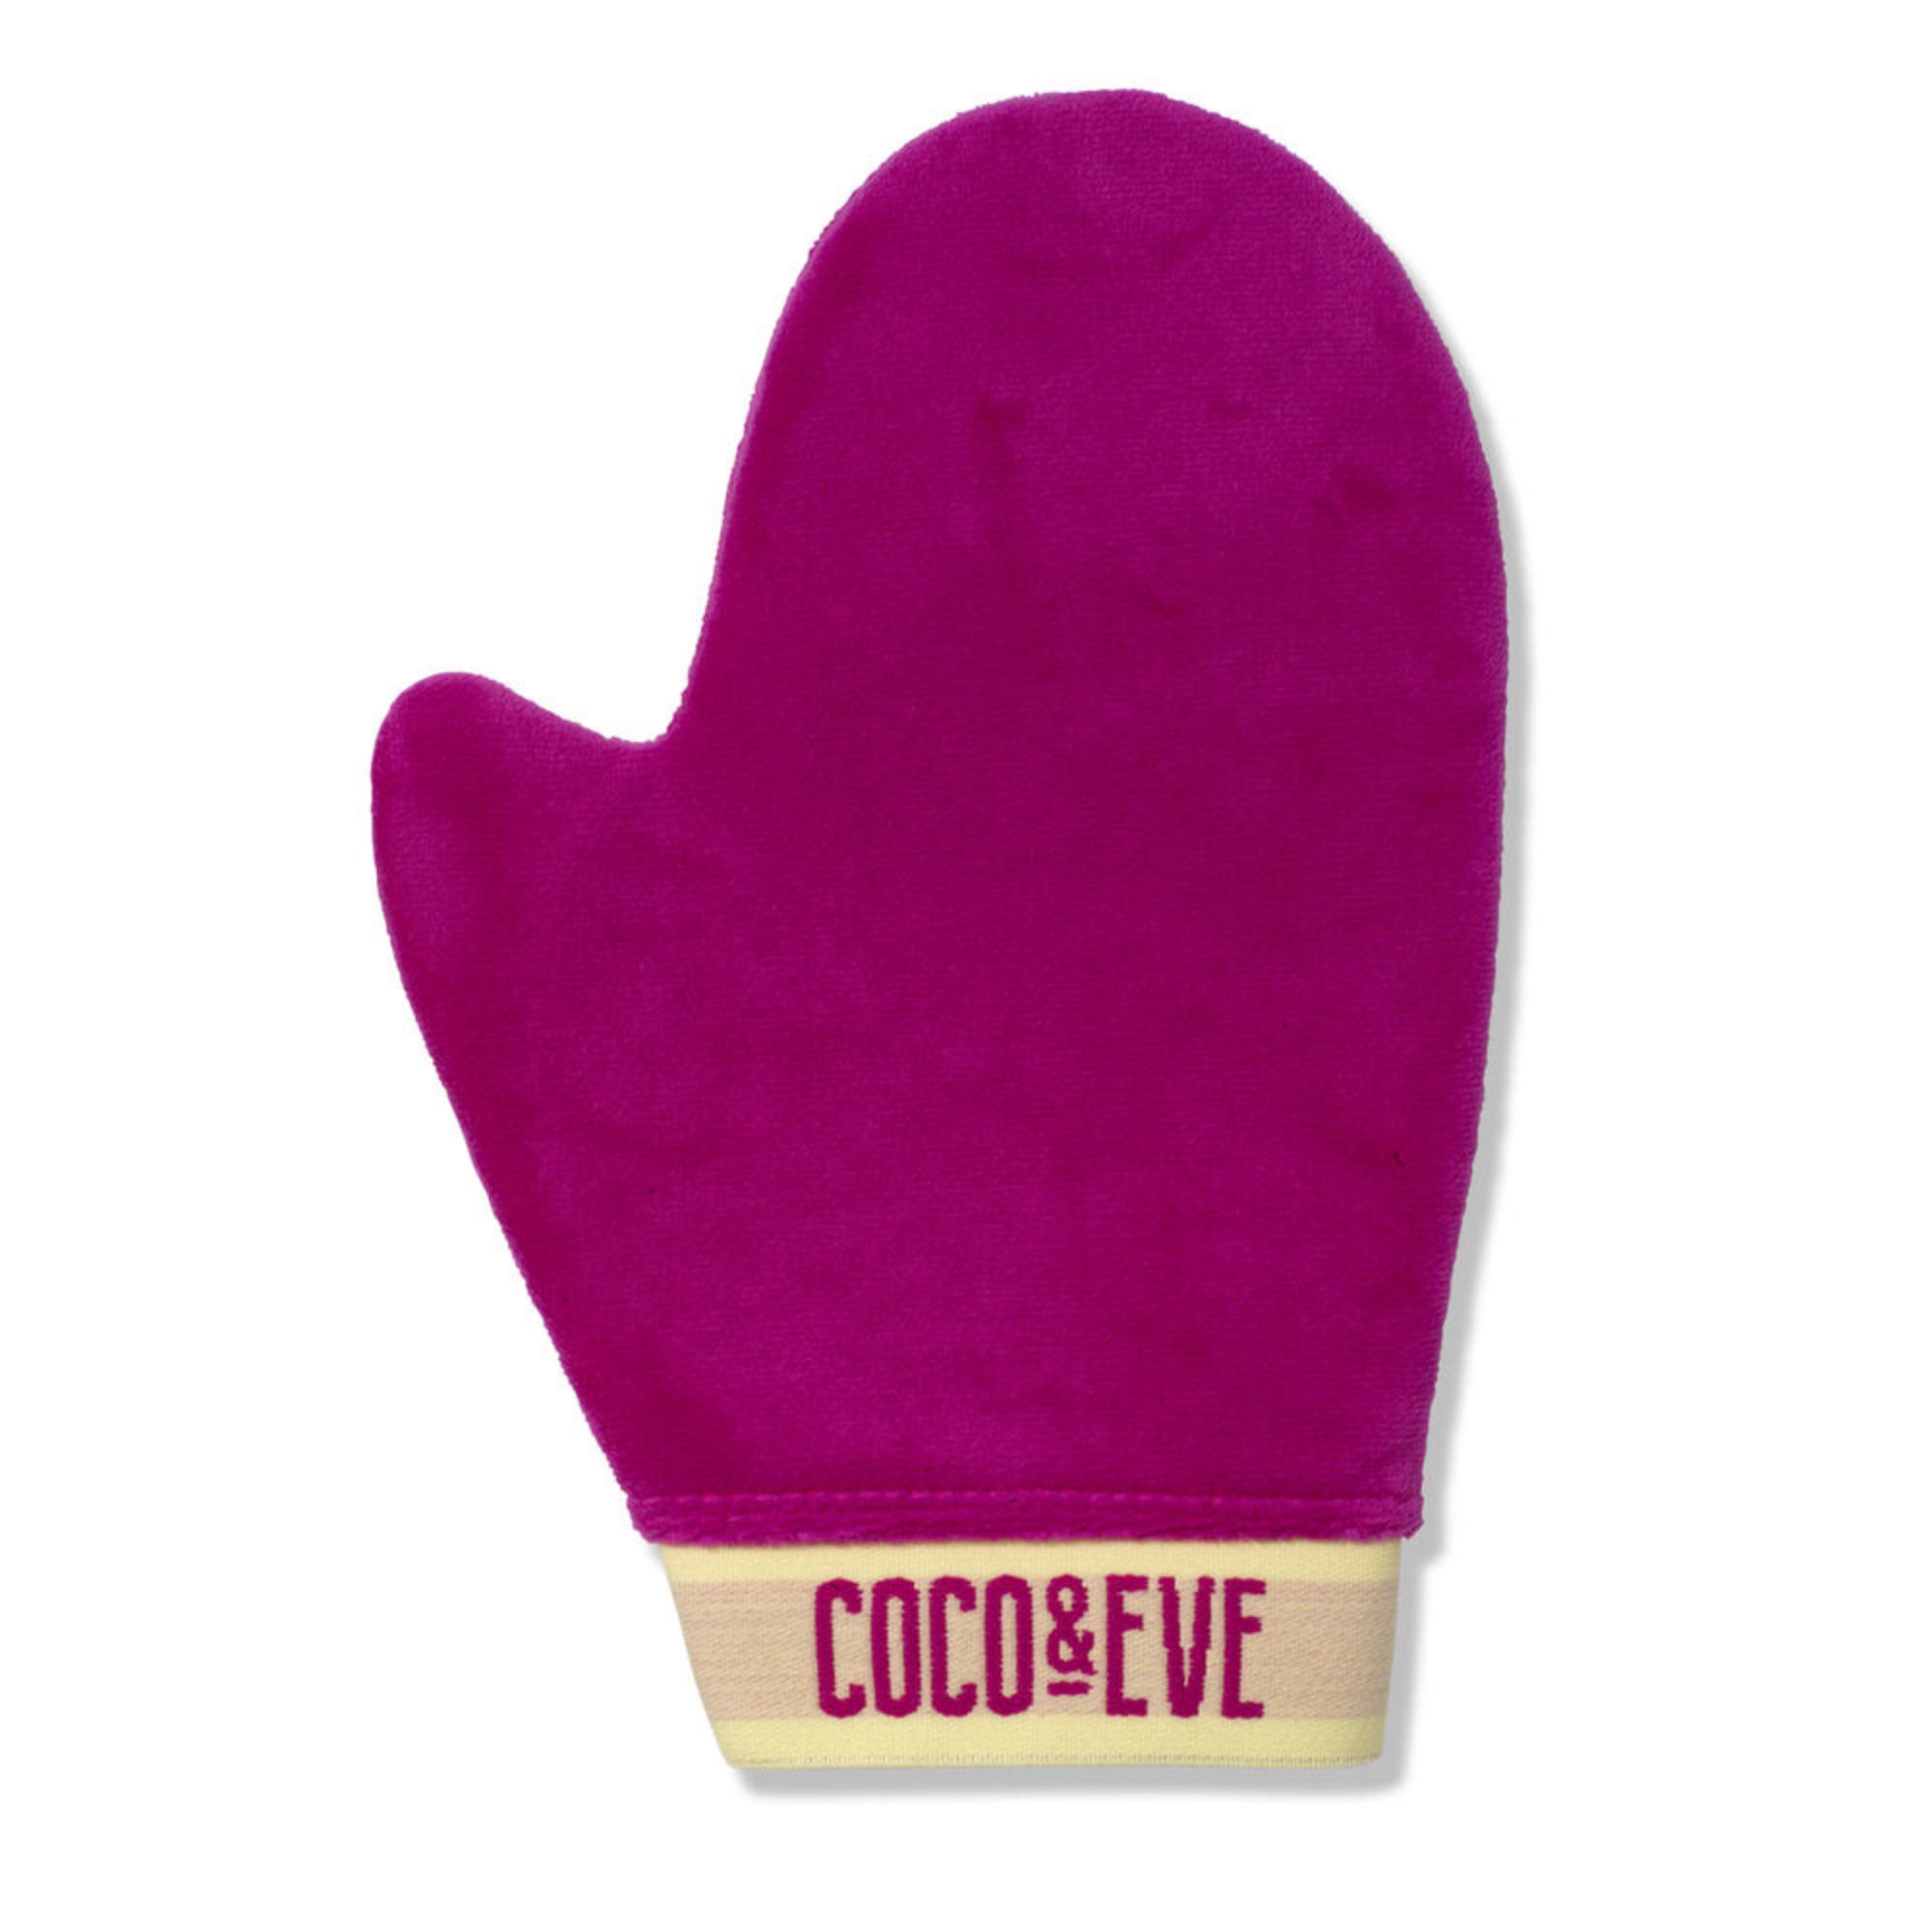
RRP: £12
A decent tanning mitt is an absolute fake tan essential. This velvety soft double-sided mitt will ensure that your product glides onto your skin, providing even and smooth coverage with ease.
5. Moisturiser is the best way to defeat streaks
Even with all the skin-smoothing prep in the world and the correct formula, your tan can still streak. To avoid this, you should moisturise your skin a few hours before application for a smoother and more even finish – pay particular attention to drier areas like the ankles, knees and elbows, as tan formulas can cling to these areas.
Matthews also recommends washing your tanning mitt between uses: "Check that you are using a clean tanning mitt as any signs of old tan on a mitt can affect the application," she explains.
6. Don't forget your hands
Finally, apply your fake tan carefully to your hands. Even after you've mastered the art of tanning your body, your hands are one of the hardest areas to get right and getting them to look natural is a fine art.
Experts recommend using the leftover product on your mitt and running it over your hands and fingers. Sweep the mitt over fingers that are bent at the knuckles for best results. Or, for an easy solution, use a tanning mist to gently spritz only the backs of your hands.
Our beauty writer's favourite foolproof tanning products
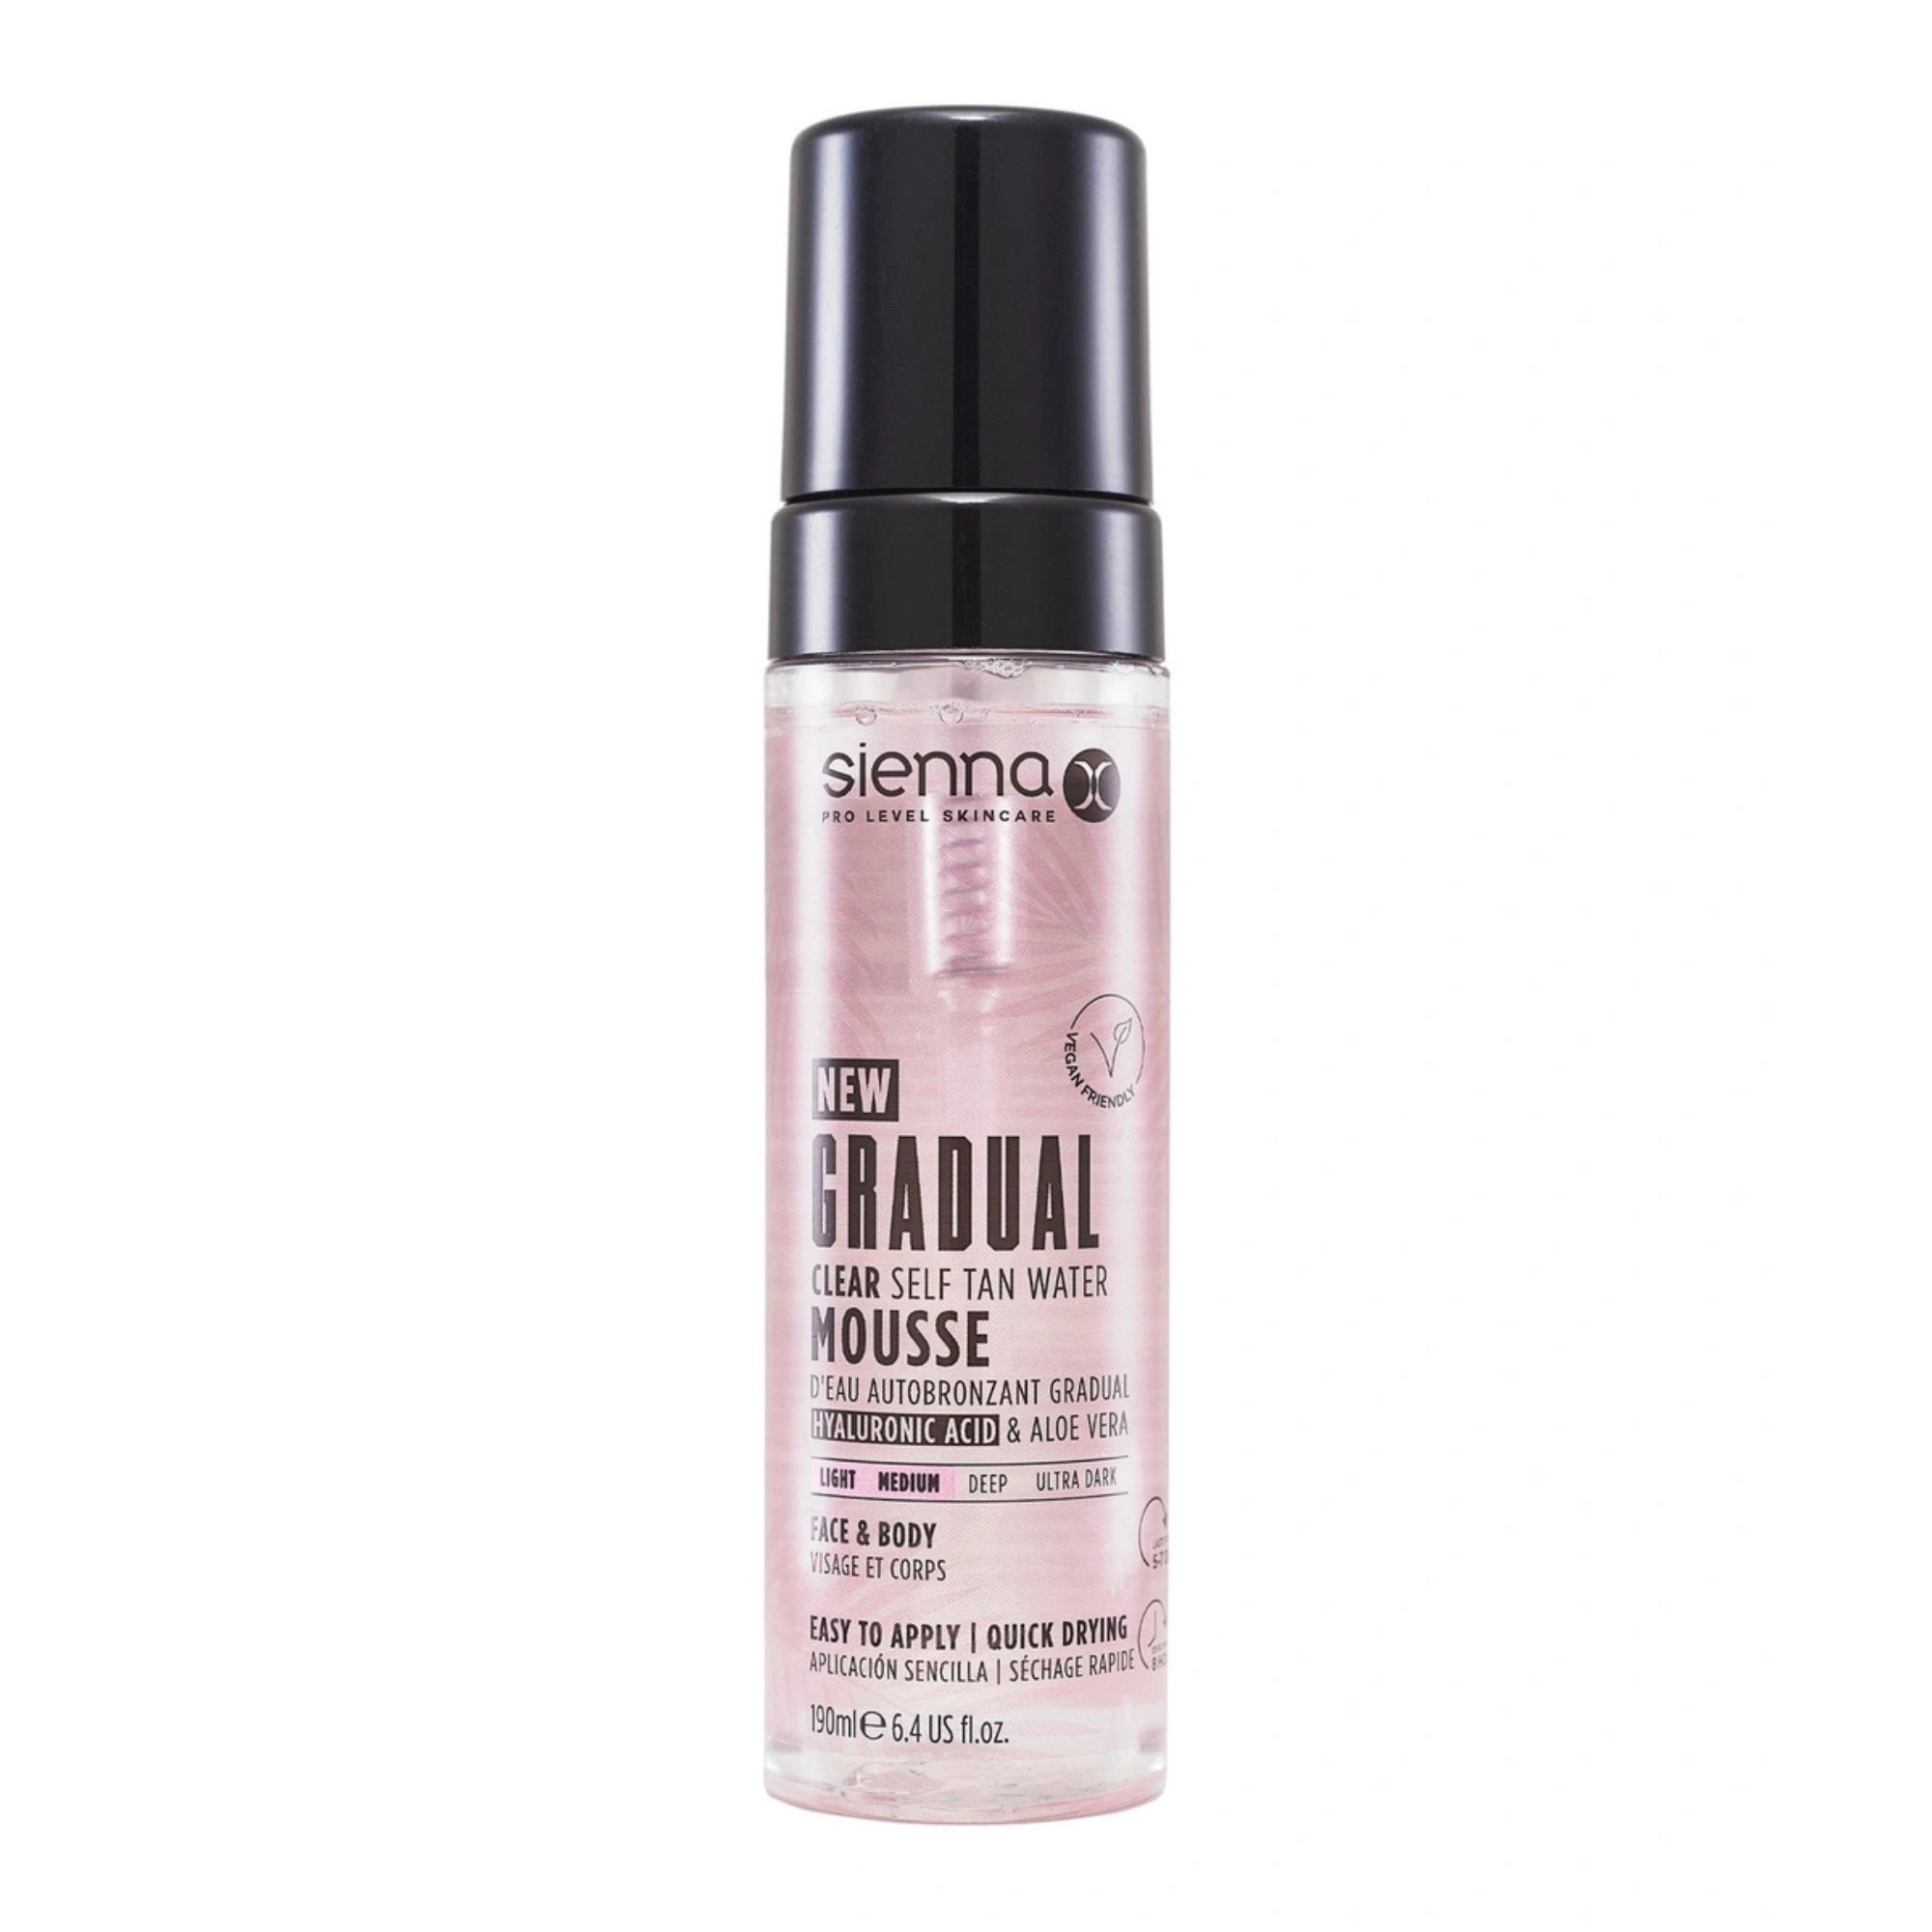
RRP: £19.99 for 190ml
This gradual mousse is ideal for beginners – not only is it one of the best gradual tan options, it's also an entry-level product that promises to look natural and be easy to apply. The clear mousse glides over your skin to provide even and realistic-looking colour. Apply, leave it on for eight hours and shower off to reveal the most gorgeous sun-kissed glow.
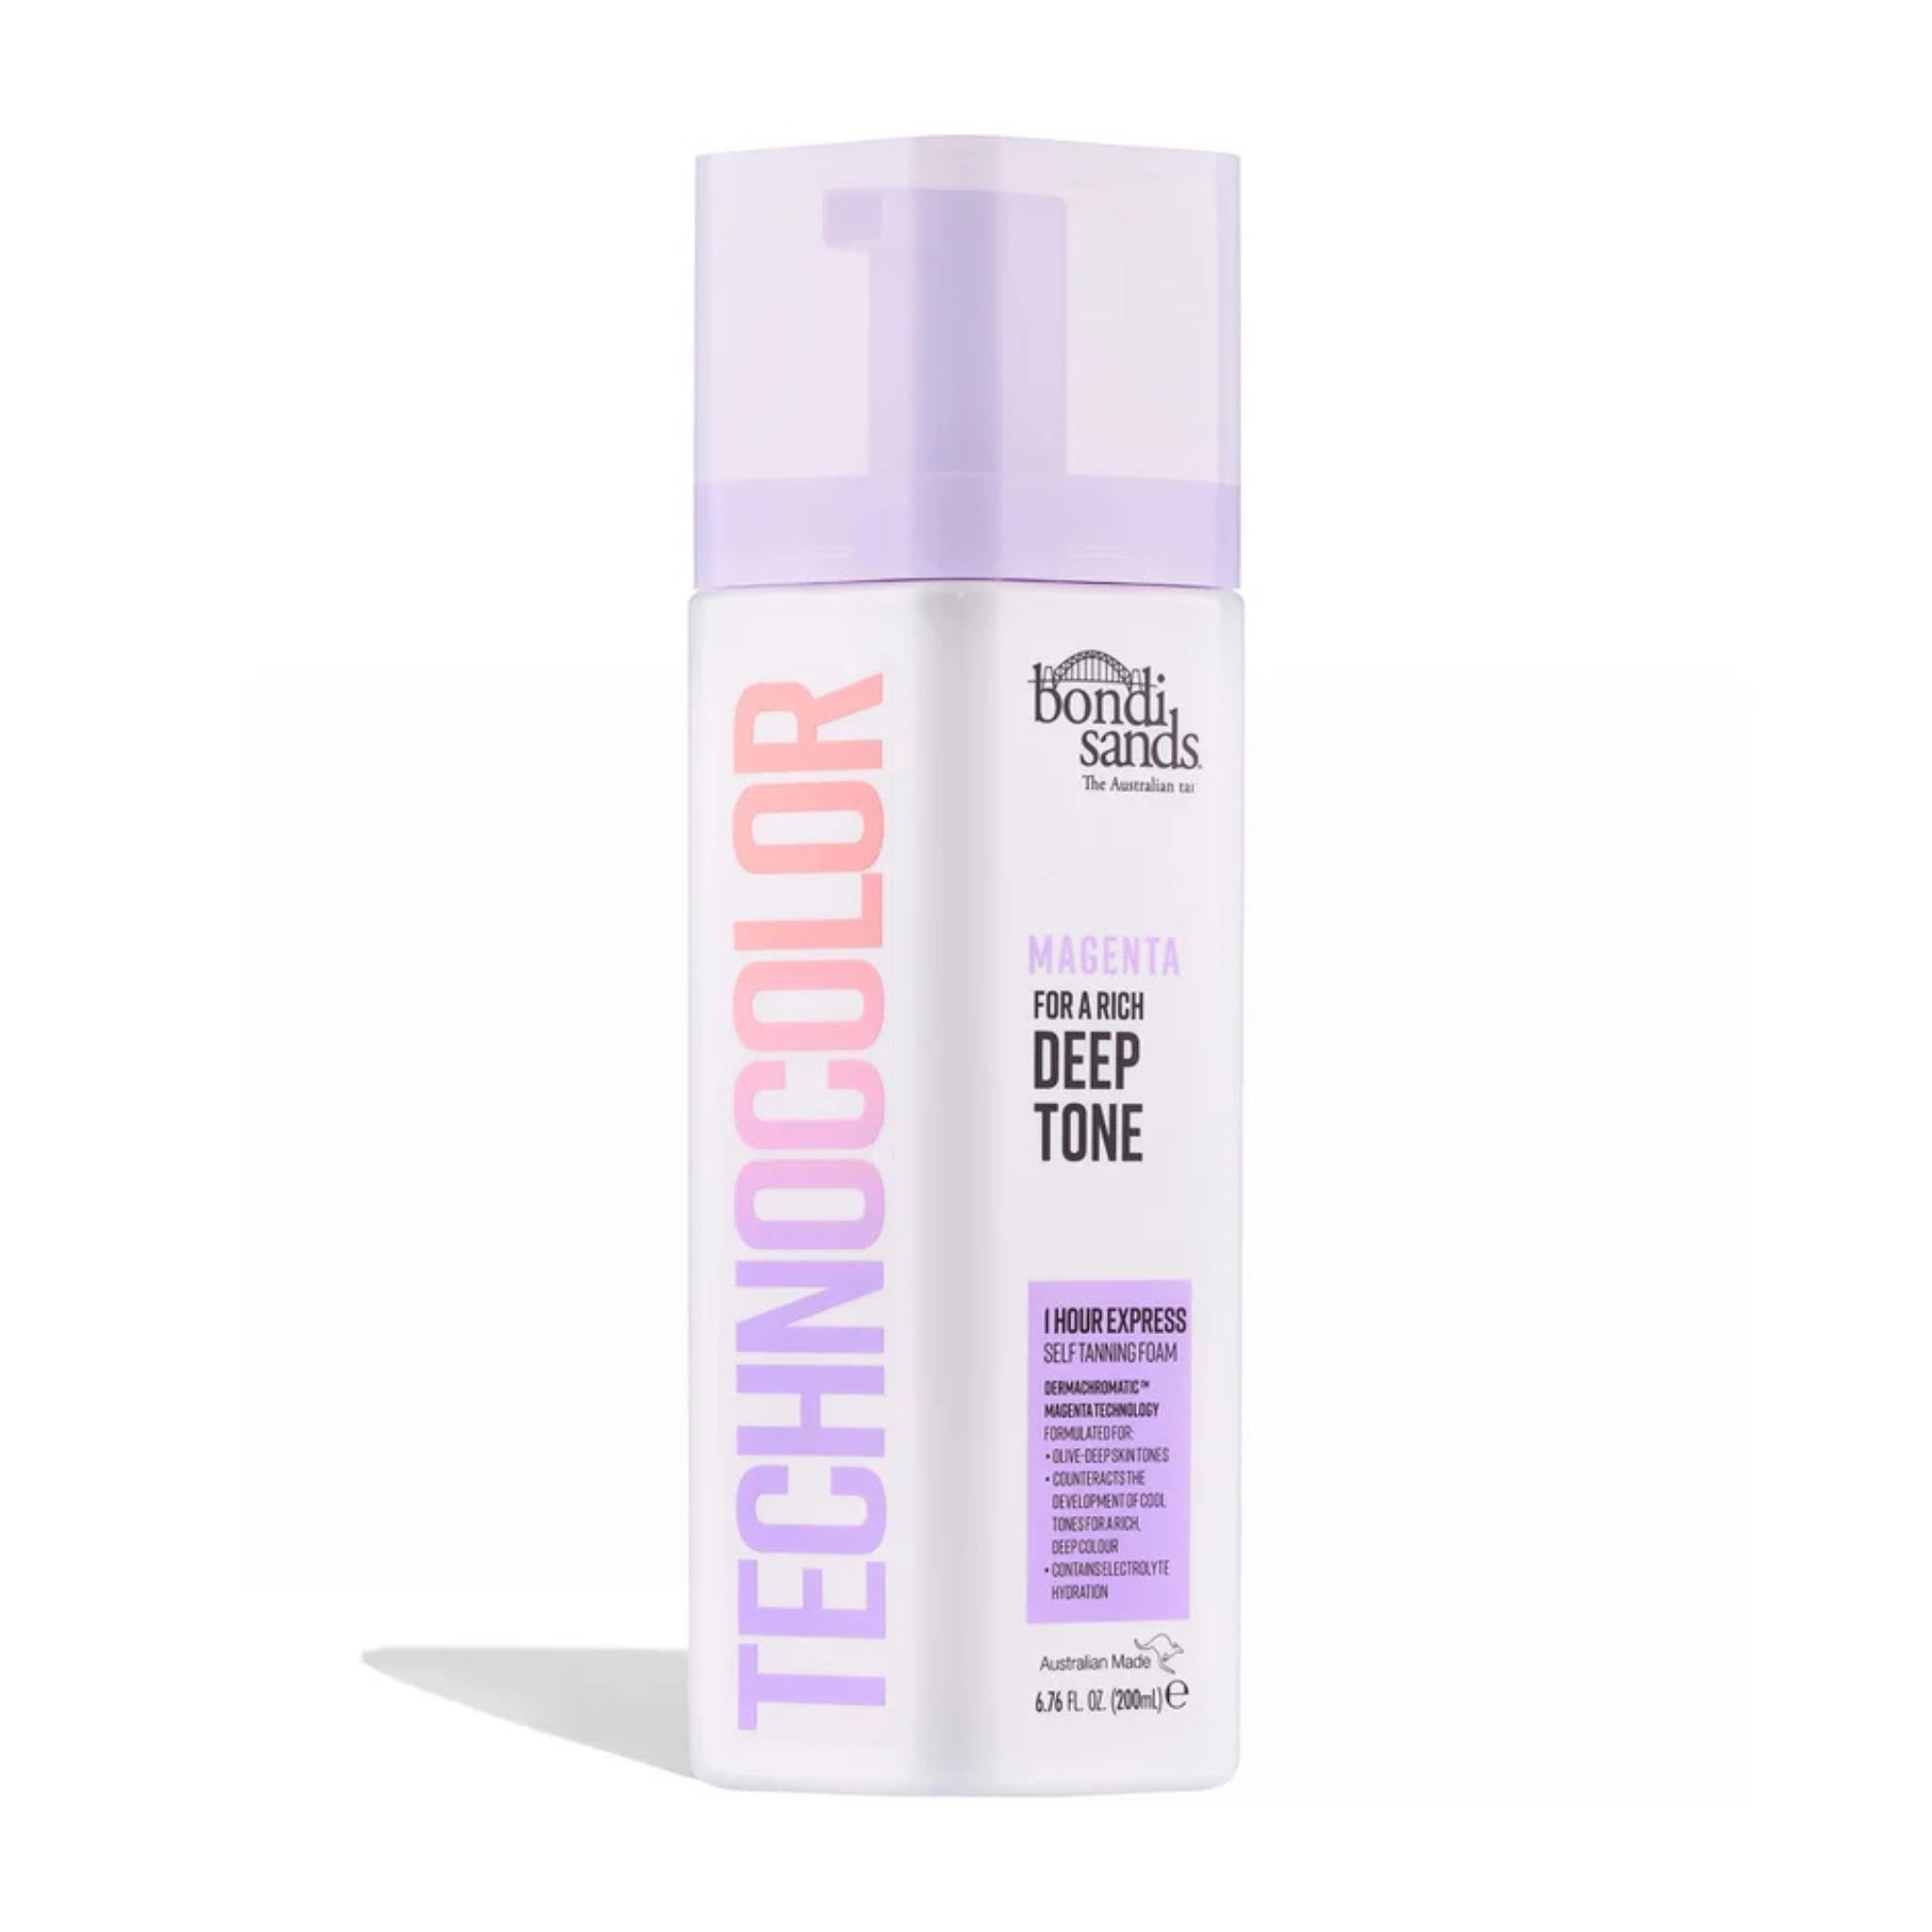
RRP: £19.99 for 200ml
Much like the best instant tan buys, this clever range from tanning experts, Bondi Sands has so many amazing benefits. Offering a tailored tanning experience, this 1-hour express tan is developed with skin tones and undertones in mind. The smart formula creates a unique tan colour which is personal to your skin tone and offers four shades to universally compliment every skin tone and type.
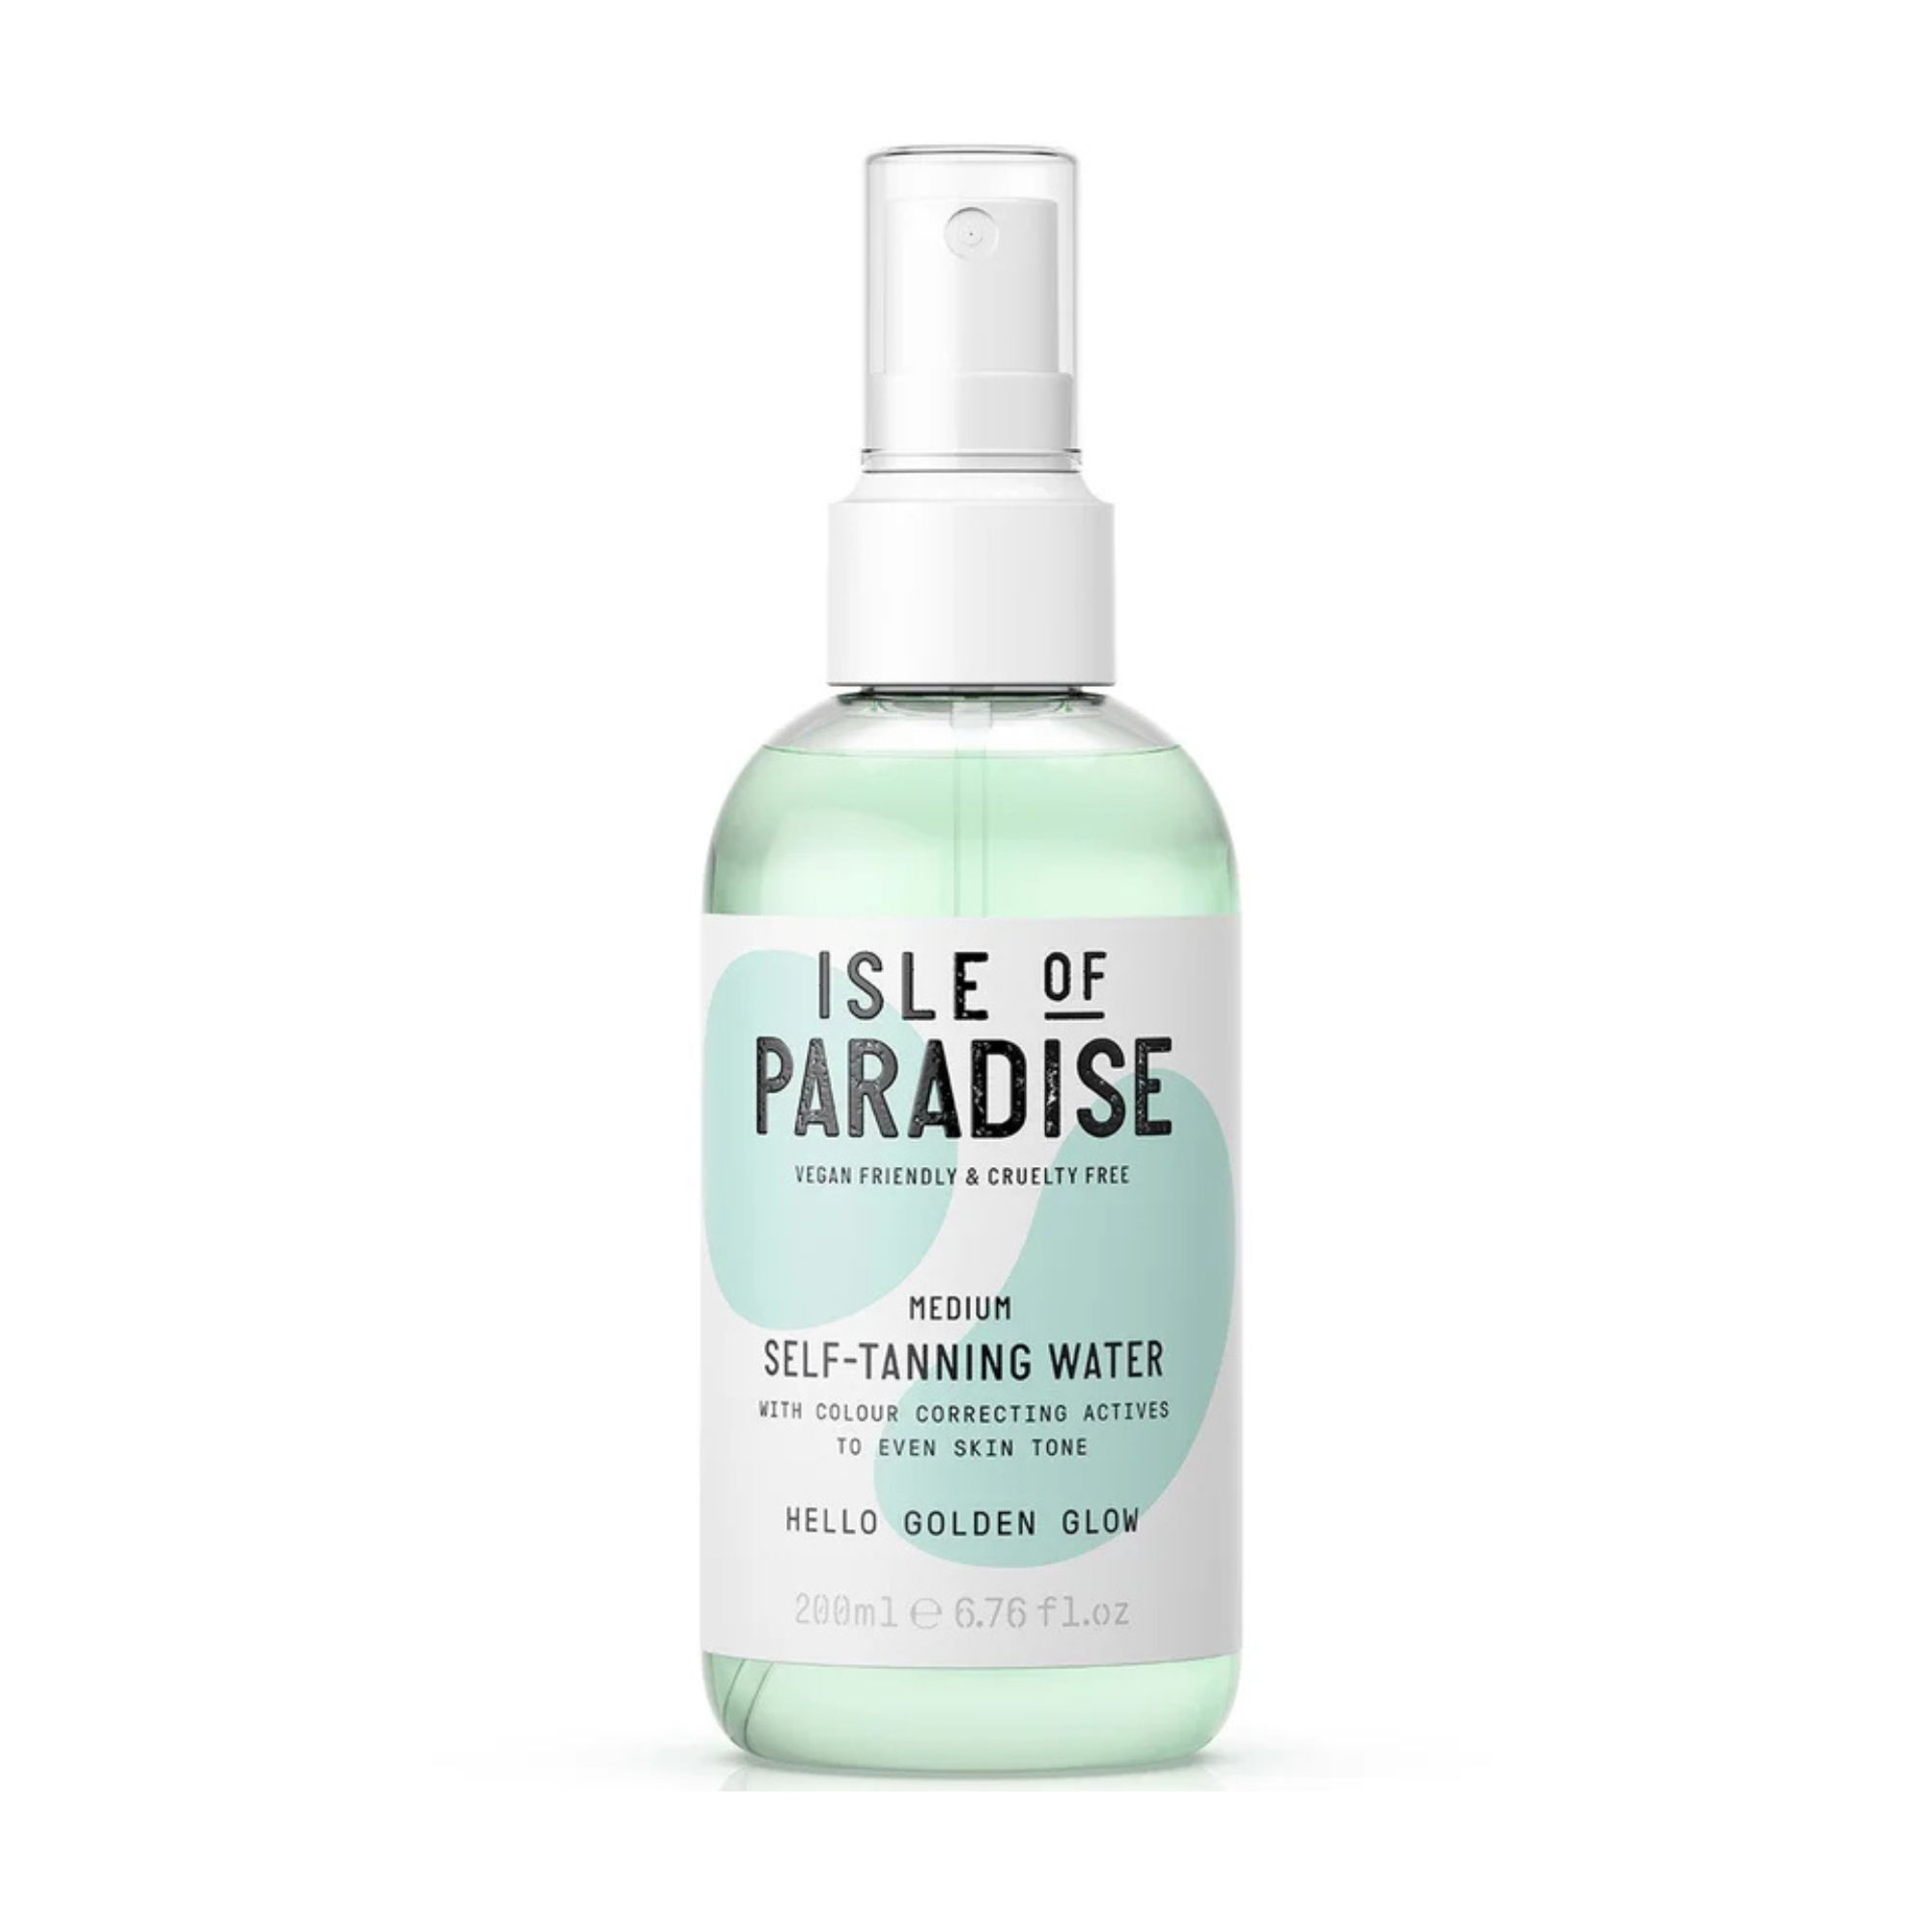
RRP: £18.95 for 200ml
Working to even your skin tone thanks to colour-correcting actives, this self-tanning water provides a well-balanced tan each time. The clear tanning water is easy to apply to both face and body and the formula gets to work in just a few hours.

Annie Milroy is the Beauty Writer for Woman & Home and other publications.
She spent three years studying Journalism and English Language at the University of Portsmouth before starting her career in magazines in 2017. After 8 years in the beauty industry, she's grown very fond of any product that can give her that 'my skin but better' finish, and anything that hydrates her seemingly always parched face.
When she’s not working, she’s shamelessly watching back-to-back Real Housewives episodes, spending all her time with her beloved yellow Lab, Freya, and hunting down the best carb spots London has to offer.
-
 Mouth taping - a dangerous trend or effective sleep solution? A new study has the final verdict
You don't need to be on TikTok to know about mouth taping. This sleep trend hasn't backed down for almost a year, with lovers and sceptics weighing in
-
 Zoe Saldaña's on-trend cherry red look offers the perfect summer lift to our new season wardrobe
Give one of this season's hottest hues plenty of airtime in a head-to-toe look