How to apply false eyelashes properly and remove them gently, by lash pros
The experts reveal how to apply false eyelashes, step-by-step, from strips to individuals and magnetic lashes
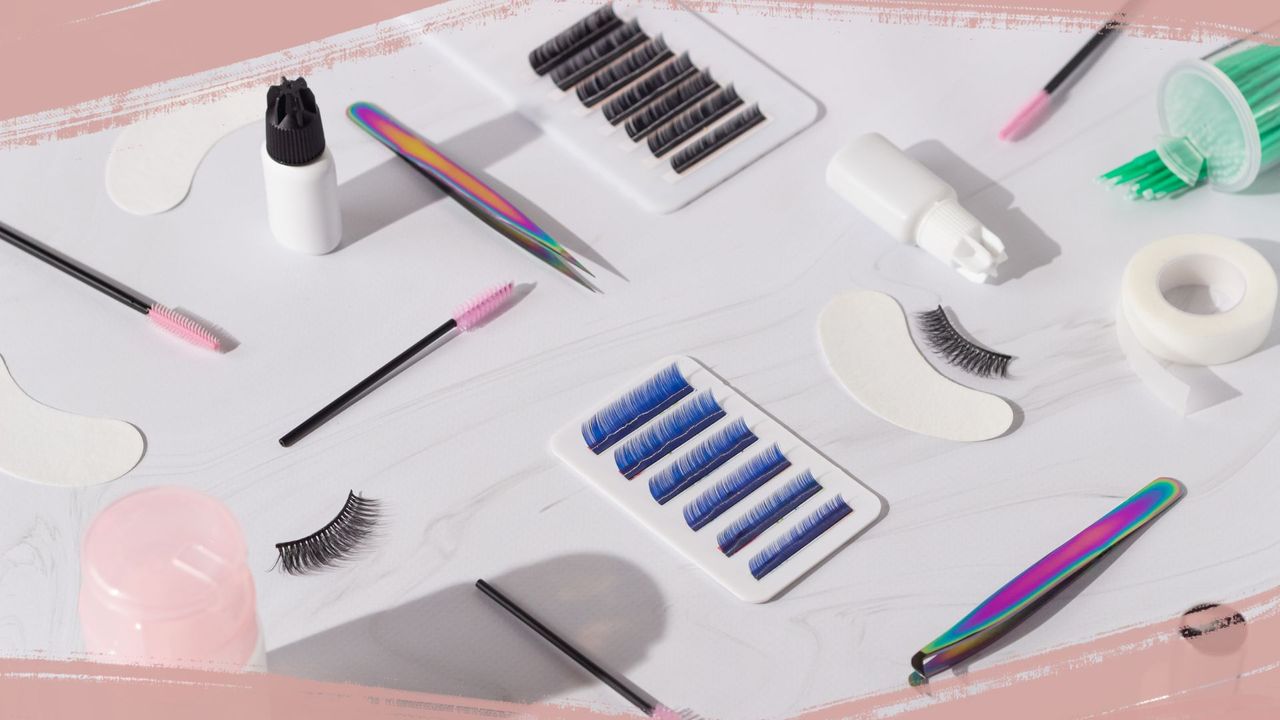

One of the most frequently asked beauty questions is how to apply false eyelashes. Applying false eyelashes is a famously fiddly step in any makeup routine, one many try to avoid altogether. If you’ve ever found yourself contemplating if anyone would really notice that you're only wearing one fake lash for a night out, you probably need a little guidance.
It's true that even the best false eyelashes require a certain level of dexterity and concentration for a convincing flutter. Not to mention the fact that different types of false lashes – strip, magnetic and individual – all involve a slightly different application approach. But if you can (and we promise - you can) master how to apply false eyelashes, a whole world of looks opens up to you. Not only are they the perfect finishing touch to Christmas makeup looks, they can also add everyday flutter that's more natural-looking than the best lengthening mascara and even create the illusion of a different eye shape. They're also far more cost-effective than professional lash extensions and lifts.
In short, if you can make it off the butter-fingered starting block, applying false eyelashes is a skill worth learning. So allow us and some very clever lash experts to guide you through the process and answer all your false eyelash FAQs.
How to apply false eyelashes: prep steps
The aim of the game when learning how to apply any false eyelashes is a natural-looking finish. These universal prep tips from Saffron Hughes makeup artist at FalseEyelashes.co.uk, can be applied to all types of lashes:
- Fit them to your eye shape: "Before gluing, always test how your lashes fit on your eyes. If they are too long, carefully trim off a few hairs. Alternatively, choose a set that is made for your eye type. Downturned eyes can be boosted with falsies that have thicker lashes on their outer ends to raise the outer corners of eyes."
- Use the right glue: "Clear-toned adhesive is ideal for the application of strip or individual lashes. The formulas are normally white to start with, then dry to a clear color making any mistakes invisible. The more durable the glue, the stronger the bond will be. You need your lashes to stay put without peeling off after a couple of hours."
- Pick clear lash bands: "Lash bands affect the comfort and fit of your falsies. A popular option for a natural look is ‘invisible’ lash bands, these are completely clear in color instead of black. Once applied, they are undetectable."
How to apply strip lashes
Strip lashes are false eyelashes arranged on a band to create a long, fluttery lash line. They are hugely popular and come in an almost infinite variety of styles, from subtle wispy looks to drag queen fabulousness. Once glued on, they should last the day, or more likely night, and if removed with care can be re-used up to ten times.
They can also be tricky little blighters, and much like learning how to shape eyebrows, you probably will need to practice a few times before you feel totally confident. “If you struggle with the placement of strip lashes, cut them into thirds," advises Sara Sordillo, make-up artist for Eylure. "Apply each section next to each other which will give the illusion of one seamless lash without fighting with a long lash band."
Follow Sara Sordillo's technique:
Sign up for the woman&home newsletter
Sign up to our free daily email for the latest royal and entertainment news, interesting opinion, expert advice on styling and beauty trends, and no-nonsense guides to the health and wellness questions you want answered.
- "New lashes are stiff, which can cause lifting. Give the band a little wiggle to make it more malleable. This should allow the lashes to hug the curve of your lid.
- Hold the false lash along your natural lash line. Sometimes false lashes are longer and need to be trimmed. Measure both lashes as often our eyes are slightly different.
- Apply a line of glue on the top of the lash band and add an extra small ball on either end, as this is often where the lash starts to lift.
- Look down at a mirror, not straight on. This means that the eyelid is smooth and easier for the lash to stick to. If you close one eye at a time, your lid puckers, and parts of the false lash won't stick properly.
- Pop the lashes down and wait 30 seconds. Don't waft, just let them rest."
For a seamless finish, Sordillo recommends blending the lash line with makeup. "For strip lashes, I advise applying your best mascara before applying your lashes. You can apply some liquid liner along the upper lash line to hide any seams from the band. Use liquid or gel eyeliner as a pencil can cause you to drag across the top edge of your eyelash band, causing it to move."
Our beauty editor recommends...
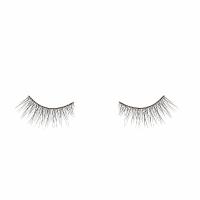
Loveseen Black False Eyelashes in Jack | RRP: $22 / £18.50
The cat eye shape is great for elongating round eyes, as well as bringing downturned eye shapes upwards.
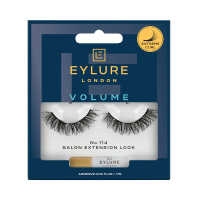
Eylure Volume Salon Extension Look Lashes in No.114 Extreme Curl | RRP: $15 / £10
The cross-cross layers add flutter and depth to your lashes without extra weight.
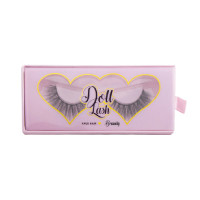
Doll Beauty Faux Eyelashes in Brandy | RRP: $12 / £10
These dynamic lashes will add a flutter to all eye shapes. They’re nice and light too.
How to apply individual lashes
If you're new to false eyelashes or concerned about looking unnatural, individual lashes are a great place to start. You can apply as few or as many as you like, and they create less weight overall when applied, so you can avoid that heavy-lidded look some falsies can create.
As they have to be attached one by one, individual eyelashes can take a little more time than strips or magnetic lashes, but the payoff is worth it. “Individual lashes require patience and practice,” says Sordillo. “Start with the eye you struggle with the most, as you’ll have more time and patience at the start. I’d recommend using tweezers as individual lashes are so delicate and small.”
Follow this technique:
- Ensure your natural lashes are clean before application, then gently curl them with an eyelash curler.
- Pick up each individual lash with tweezers.
- Dip the knotted end into the glue and allow it to go tacky. Timings for this can vary between lash brands, so refer to your individual lashes' instructions.
- Starting at the outer corner of the eye, work inward towards the nose, applying each lash as close to the lash line as possible. To elongate the eye and give a more feline look, apply individuals to the outer half of the eye only.
You can put on mascara after applying your lashes if you wish, but this can affect your adhesive, as can oil-based cleansers. Be cautious with any other products you use around the eye if you want your individuals to last more than one day.
Our beauty editor recommends...
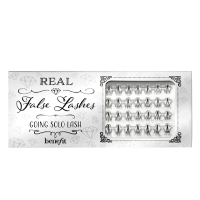
Benefit Going Solo Lash | RRP: $15 / £12.50
Create a bespoke look with individual clusters of lashes in a range of different lengths.
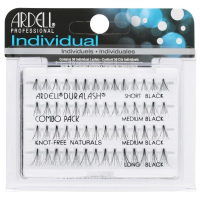
Ardell Knot Free Individuals Eyelashes | RRP: $8.99 / £3.95
These lashes don’t have a knot at the base to hold the individual lashes in a group, which gives a more natural finish.
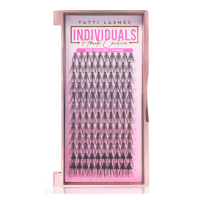
Tatti Lashes Haute Couture Original Individuals | RRP: $9/£7.50
When it comes to value, this pack is hard to beat. Use it to create a full, voluminous lash look at home.
How to apply magnetic lashes
Magnetic lashes are relatively new to the false lash scene but have won many fans for their glue-free application and ability to be re-used as many times as you like. Unsurprisingly, they work via magnetic force, either with charged eyeliner the lashes adhere to or, more commonly, tiny magnets in the lash band to 'sandwich' natural eyelashes in between the falsies.
"Applying magnetic lashes can take some time to master, but practice makes perfect," advises Hughes. "Unlike strip lashes, if you don’t get it right the first time, it’s easy to pull the strips apart and reposition. Don’t use tweezers to apply as the magnets will stick to them, making it a more difficult job! These three simple steps guarantee a seamless blend with your natural lashes."
Follow Saffron Hughes' technique:
- "First, apply a coat of mascara to your natural lashes.
- Once that’s dry, carefully remove the upper lash from the tray and gently place it on top of your eyelashes. Make sure it’s as close to your natural line as possible.
- Holding the upper lash in place, slowly remove the lower lash from the tray and place it underneath your natural lash line with your eye open, until it connects with the upper lash."
Our beauty editor recommends...
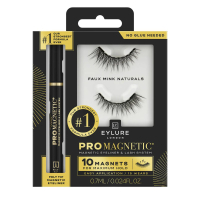
Eylure Pro Magnetic Magnetic Eyeliner & Lash System | RRP: $17.99 / £22
Eylure’s strongest formula yet holds tight to lashes, keeping them in place for longer. They can be re-worn up to 15 times too.

Lola’s Lashes Curl Power Magnetic Eyelash Kit | RRP: $50/£35
These are a little pricier than others on the market, but the extra expense is justified by the addition of a makeup remover pen and eyelash applicator as well as the lashes and magnetic liner.
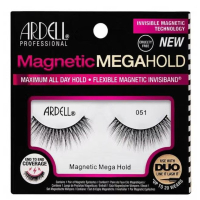
Ardell Magnetic Megahold False Eyelashes RRP: $15.99/£8.95
The band on these lashes is magnetic, for end-to-end coverage and hold with no pinging at the sides.
How to remove your false eyelashes safely
After working hard to get those false lashes on perfectly, your next challenge is getting those babies off without damaging them or - worse - your own lashes below. "Whilst there is nothing more tempting than ripping off your false eyelashes for quick removal, you may take some of your precious natural lashes with them if you are not gentle," says Hughes. To nail how to remove false eyelashes gently, "Soak a cotton bud in an oil-based cleanser and lightly rub against the lash adhesive to loosen it. Repeat until the lash strip or clusters loosen enough to lift away without pulling on your skin or natural hairs," advises Hughes.
Removing magnetic lashes takes a gentle touch, too, says Hughes. "Be careful not to pull the eyelashes straight off. This can be painful and may reduce the longevity of your lashes. Instead, use your index finger and thumb to softly slide the magnets away from each other. The trick is to remove them from the sides, from one corner to the other, until you feel the magnets come apart and pull down towards your mouth. Focusing on each magnetic bond at a time will make them detach easily."
You'll get far more wear out of your lashes this way. "If you look after glue-on lashes, you can use them about seven times, or even more," says Hughes. "You can soften the glue with a cotton bud, and micellar water - run along with the band, and it should start to come away. If you are using mascara on top of the lashes, make sure this is not waterproof. That way, you can use micellar water on a cotton bud to remove the build-up and keep the lashes looking fresh."
Your false lash application FAQs, answered
Do you apply false lashes to the skin or the lashes?
For a seamless finish, it’s best to apply your false lashes onto the skin instead of gluing them to your natural lashes. “Always apply the lashes to the line of skin just above your natural lash line,” advises Sordillo. “Otherwise when you remove the false lashes you may end up taking some of your natural lashes off as well.”
Getting nice and tight to that lashline is key. “If you make the mistake of applying your false eyelashes too wide on your eyelids this can have a big impact on the finished look,” says Hughes. “Always ensure you apply the falsies as close as possible to your actual lashes, otherwise you’ll be left with a noticeable empty space between your real and false eyelashes.” If this does happen after you’ve labored for a long time over your application, filling the gap with a little liquid eyeliner works as a quick fix.
For those without natural lashes as a guideline, try Eylure x C-Lash. “This range has medical-grade tape so that the lashes can stick to the skin seamlessly without natural lashes to blend into,” adds Sara.
Do you apply mascara before or after applying false eyelashes?
Whether to apply mascara before or after false lashes is essentially the beauty equivalent of the chicken and egg debate. “I would recommend applying your mascara before the false lashes and then pinching the false lashes and your natural lashes together,” says Sordillo. “This helps the mascara to blend both together. If you have very straight lashes then this trick really does work wonders.” There is a but here though, as for this to work, you’ll need to be pretty speedy with your false eyelash application. Too slow and your mascara will have dried before you’ve had a chance to proceed to the pinching.
The only downside to applying mascara to your false eyelashes is that it makes them trickier to remove (as they’re more fused to your natural lashes) as well as harder to reuse. “Mascara can make the lashes look a bit messy after a few uses, so you won’t get as many wears as recommended if you’re topping with mascara,” continues Sordillo. “If you have very fair lash hairs then tinting is better at blending false lashes in than mascara.” You’ll get root-to-tip coverage (minus the worry about poking yourself in the eye with the brush) and no clumps to consider either.
Which false eyelashes are best for your eye shape?
When it comes to lashes, it’s not a case of one shape fits all. The most flattering falsies for you will depend on the size of your eyes (some lashes can be too long, or too short) as well as their shape. If you want to pick lashes that will enhance your eyes, Sordillo has the following tips:
- If your eyes are downturned: Choose lashes that flick up and out at the ends. This will help to lift the eyes at the outer corner.
- If your eyes are hooded: You want to bring out the center of your eyes and open them up from there. Look for lashes that are fuller and longer in the middle.
- If your eyes are round: Your big, beautiful eyes will be an amazing focus. Avoid lashes that are longer in the middle as these will make the eyes look even bigger and opt instead for fluttery styles that are consistent across the length.
- If you have monolids: Often your natural lashes can be very straight. Choose false eyelashes that have more curl and open up the eyes in the center as well as bring a beautiful shape to the ends.
- If your eyes are almond-shaped: Then you’re lucky enough to have your pick of a wide choice of lashes as most will complement and flatter your eyes.
What are the alternatives to applying false eyelashes?
Got to the end of this guide and decided that false eyelashes really aren’t for you? We get it. For some, the potential fiddliness outweighs any of the fluttery benefits. Of course, the most obvious and accessible route to thicker, longer, or more lifted lashes is a slick of mascara - choose your tube based on your main goal, be that the best volumizing mascara or the best mascara for sensitive eyes. Investing in an eyelash curler is a smart move too, and can be used with or without mascara to make your eyes look more open and wide awake.
In salon, lash extensions such as hybrid lash extensions can offer a longer-term solution that stops you from having to apply and remove falsies every night. If you struggle with sensitivity, be sure to look into are eyelash extensions bad for your eyes before your salon visit.
Or, try a lash lift treatment like the Elleebana Lash Lift, from $55/£45, which will give your lashes a semi-permanent lift and tint that leaves them looking fuller and longer for up to 8 weeks. Depending on your lashes it can take as little as 20-30 minutes for the treatment, which is pretty comparable to the time it takes a novice to master false lashes. In-salon falsies are also a good option and last well if you look after them by keeping up with daily cleansing and brushing. You can have the full set taken off at once, or have any gaps filled in with new lashes every 2-3 weeks to extend their wear.
Jess Beech is an experienced fashion and beauty editor, with more than eight years experience in the publishing industry. She has written for woman&home, GoodtoKnow, Now, Woman, Woman’s Weekly, Woman’s Own and Chat, and is a former Deputy Fashion & Beauty Editor at Future PLC. A beauty obsessive, Jess has tried everything from cryotherapy to chemical peels (minus the Samantha in Sex and The City-worthy redness) and interviewed experts including Jo Malone and Trinny Woodall.
- Fiona McKimBeauty Editor, womanandhome.com
-
 Think coat season is almost over? Think again! Zara Tindall’s LK Bennett coat is perfect for fresh spring days - and on sale
Zara Tindall knows a stylish coat when she sees one and her checked one from a few weeks ago is still giving us plenty of inspiration
By Emma Shacklock Published
-
 We want Cat Deeley's ruffled open back maxi dress for spring weddings and dinner dates
Cat looked incredible in bold black and white polka dots for a glam night out
By Charlie Elizabeth Culverhouse Published