How to apply blush: 3 make-up artists reveal all
This expert masterclass will show you how to apply blush like a pro.
Learning how to apply blush is a bit like learning to roller skate. It’s simple once you know how, but the path to perfection is littered with potential potholes. However, unlike roller skating, choosing the right blush and applying it well is a timeless and ageless skill that will serve you well for life once you've mastered it.
This is because blush is pretty much impervious to trends. With the exception of the new romantic movement (which arguably didn’t infiltrate the faces of your average make-up wearer anyway), the blush shades and application tricks that looked great decades ago will continue to look beautiful for decades to come.
Used properly, these perky powders and creams will enhance your skin tone and natural bone structure while unifying your whole make-up look. Used improperly, well, we’ve probably all seen what happens there. Stripes, smears, and scary flashbacks of that time your dad dressed as a clown for your sixth birthday party.
So how can you get it right? By doing what the professionals do, of course! Here, three expert make-up artists reveal how to apply blush for your face shape, skin tone, and type.
How to apply blush - picking the right shade
Before you begin learning how to apply blush, make sure you are working with the right shade. Similar to finding your perfect foundation match or the best nude lipstick, this means finding out which tones and undertones will flatter your complexion.
“Finding the right blush shade for your skin tone is an absolute game-changer, it has the ability to lift and brighten the skin, which in turn restores a healthy glow and balances out your full makeup look,” says Nadia Fihema, Too Faced National Education Trainer for UK & Ireland.
“As a rule, don’t go for something lighter than your skin tone as it will instantly wash you out. Also, find a shade which works well with your natural lip color or the lipstick you want to wear.”
Sign up for the woman&home newsletter
Sign up to our free daily email for the latest royal and entertainment news, interesting opinion, expert advice on styling and beauty trends, and no-nonsense guides to the health and wellness questions you want answered.
Fair skin
“Usually fair skin tends to have a rosy or neutral undertone which tends to be cooler, so fresh pinks with a cool undertone work really well,” explains Nadia. “I love Too Faced Peach Bloom in shade Guava Glow for fair skin. It's an instant pick me up, and its glossy finish adds an element of youth."
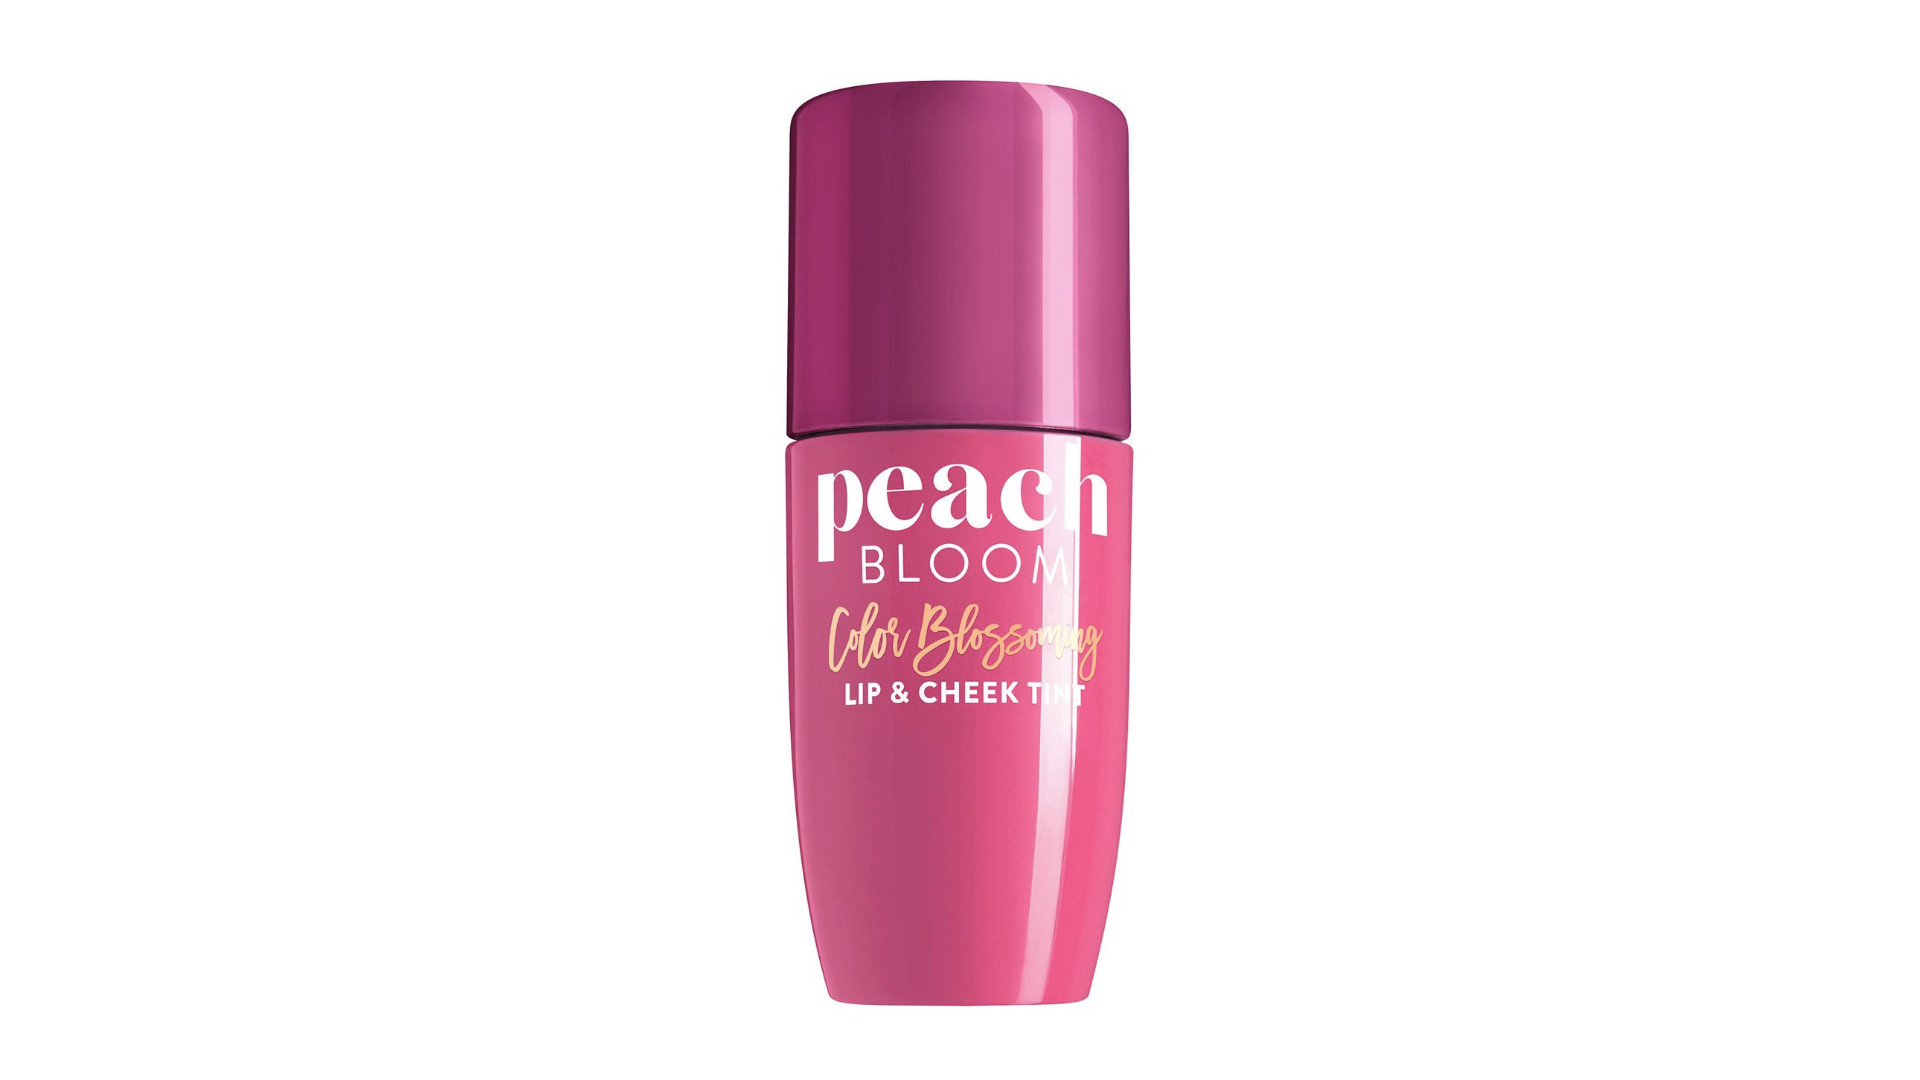
Too Faced Peach Bloom in Guava Glow
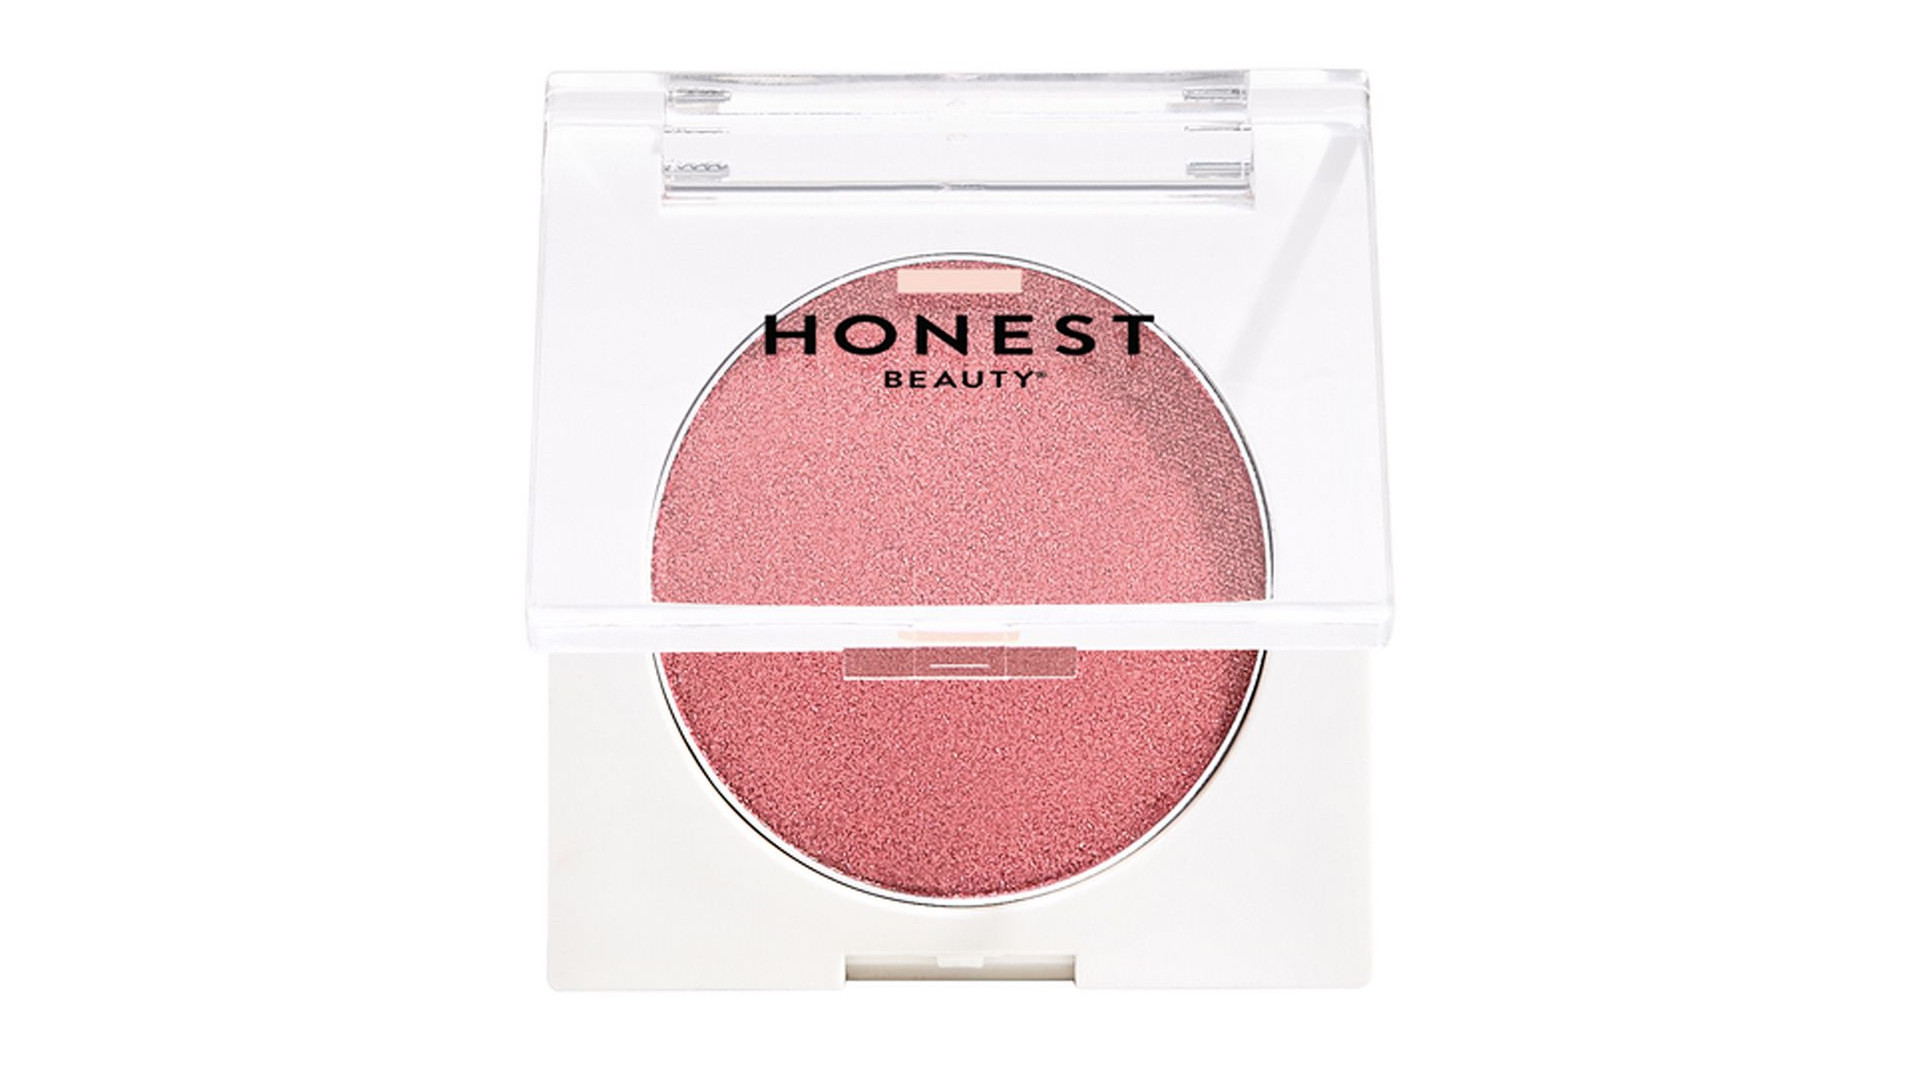
Honest Beauty LIT Powder Blush in Flirty
Medium skin
"I always recommend going for a shade that is a similar undertone to your skin," advises Lancôme Pro Artist Antonia Basile. "For medium skin, opt for warmer toned apricots and roses - coppers can look great too."
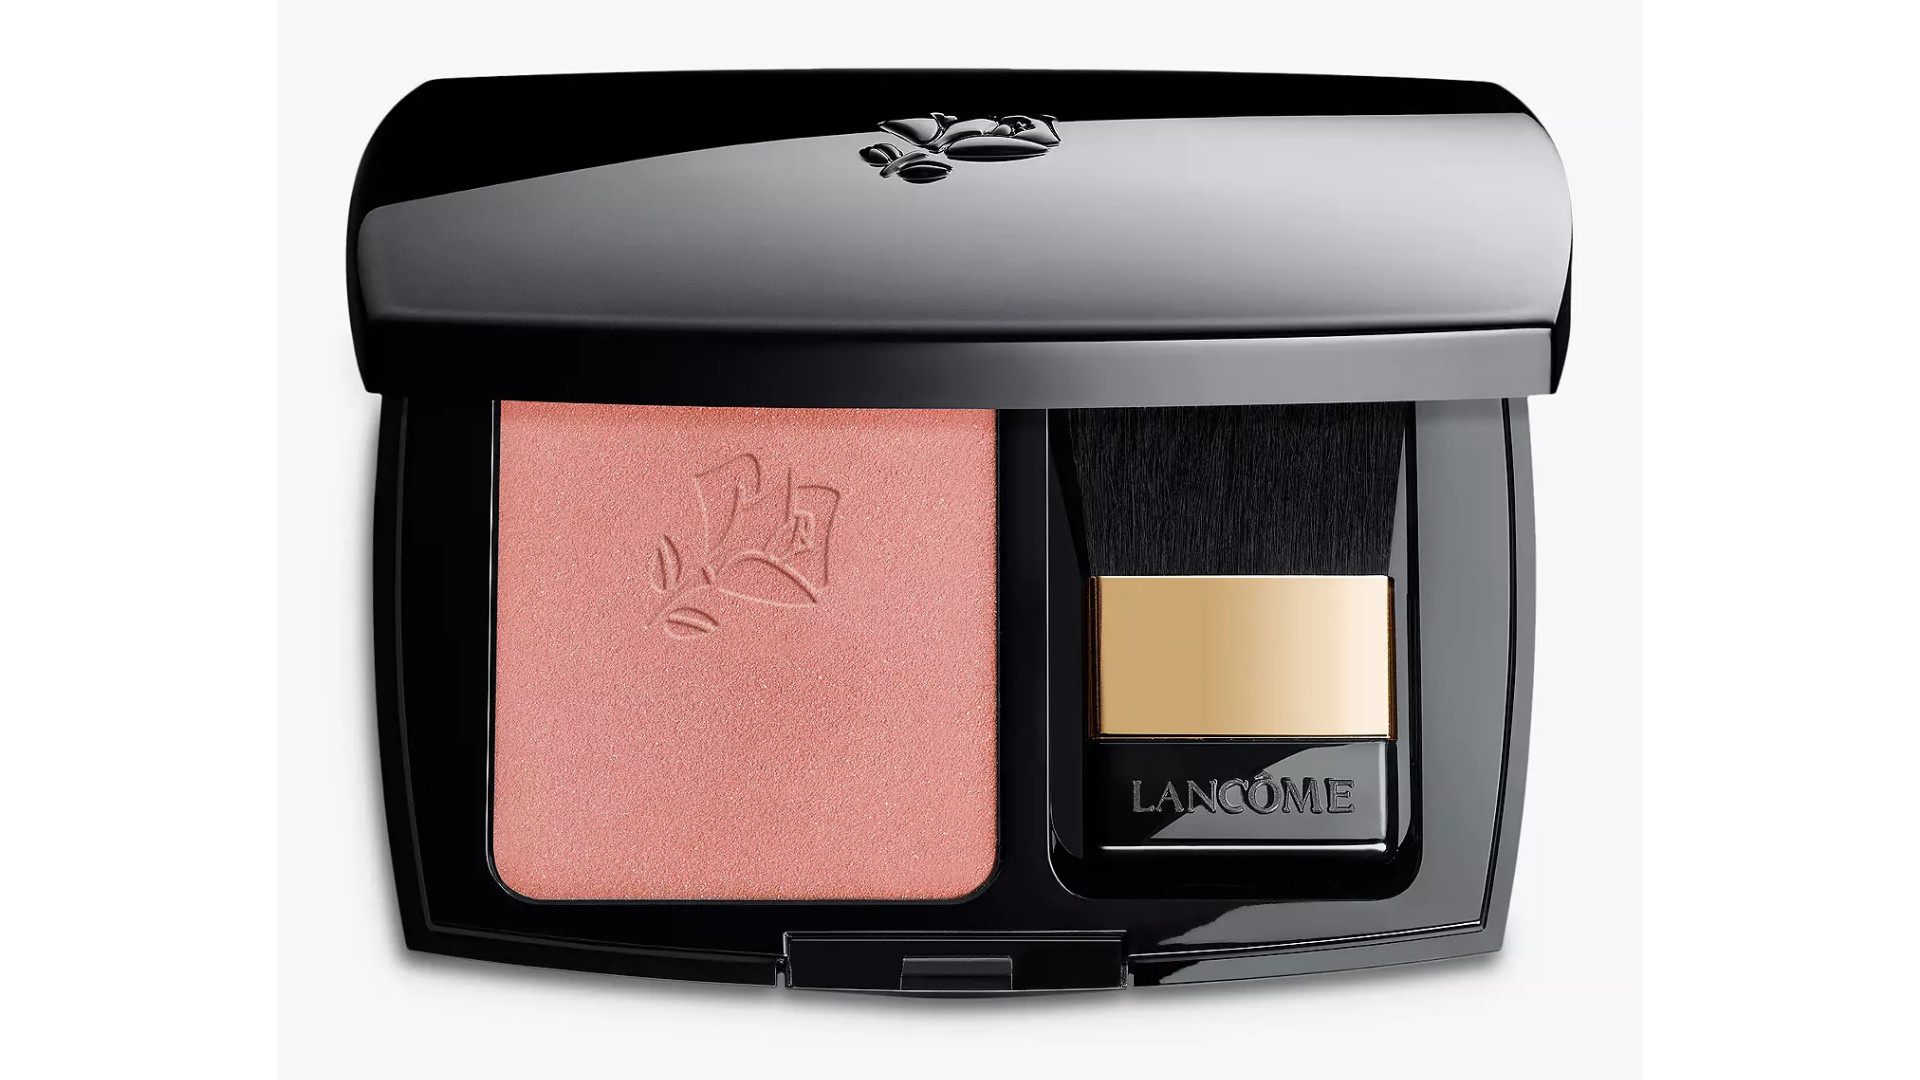
Lancôme Blush Subtil in Rose Sable
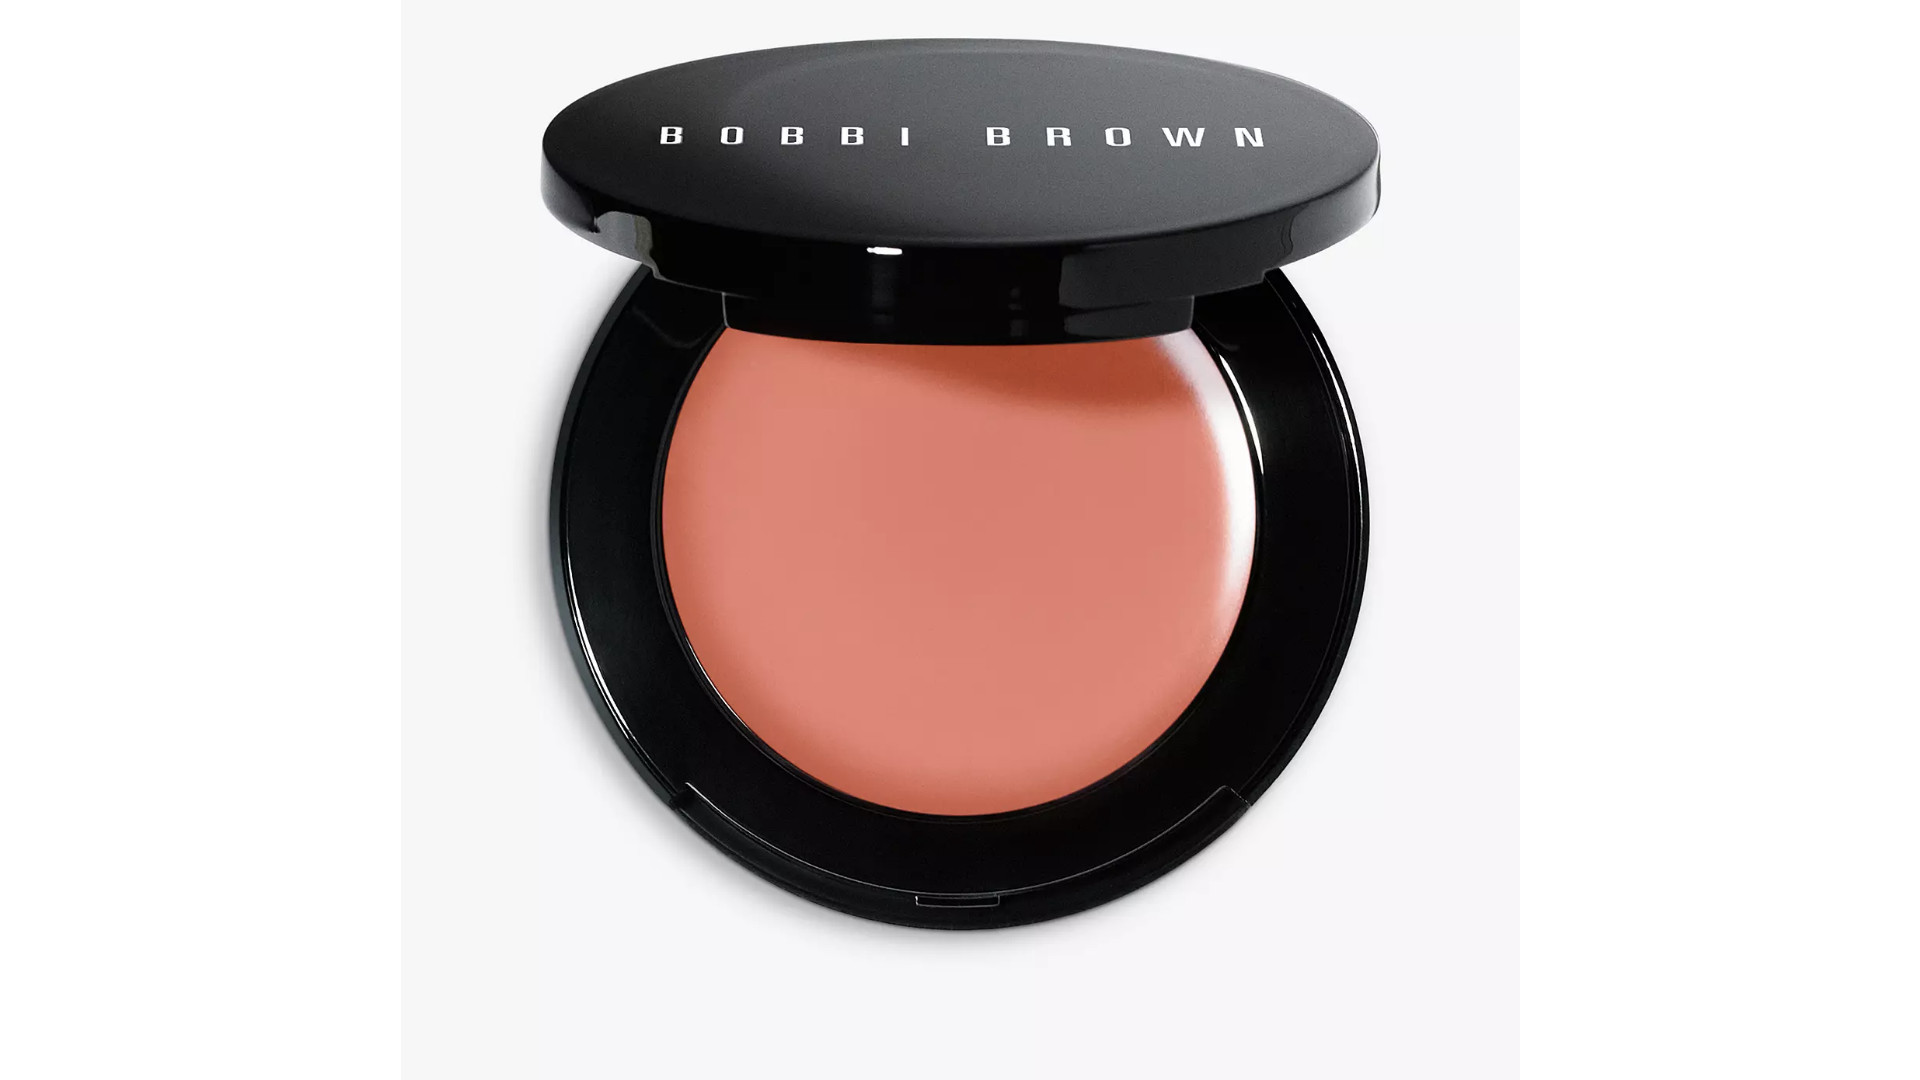
Bobbi Brown Pot Rouge in Fresh Melon
Medium-deep skin
"These skin tones tend to have more of a yellow tint, so I would opt for golden-toned peach or a bronzy effect," says Nadia. "This will give you a natural flush of color."
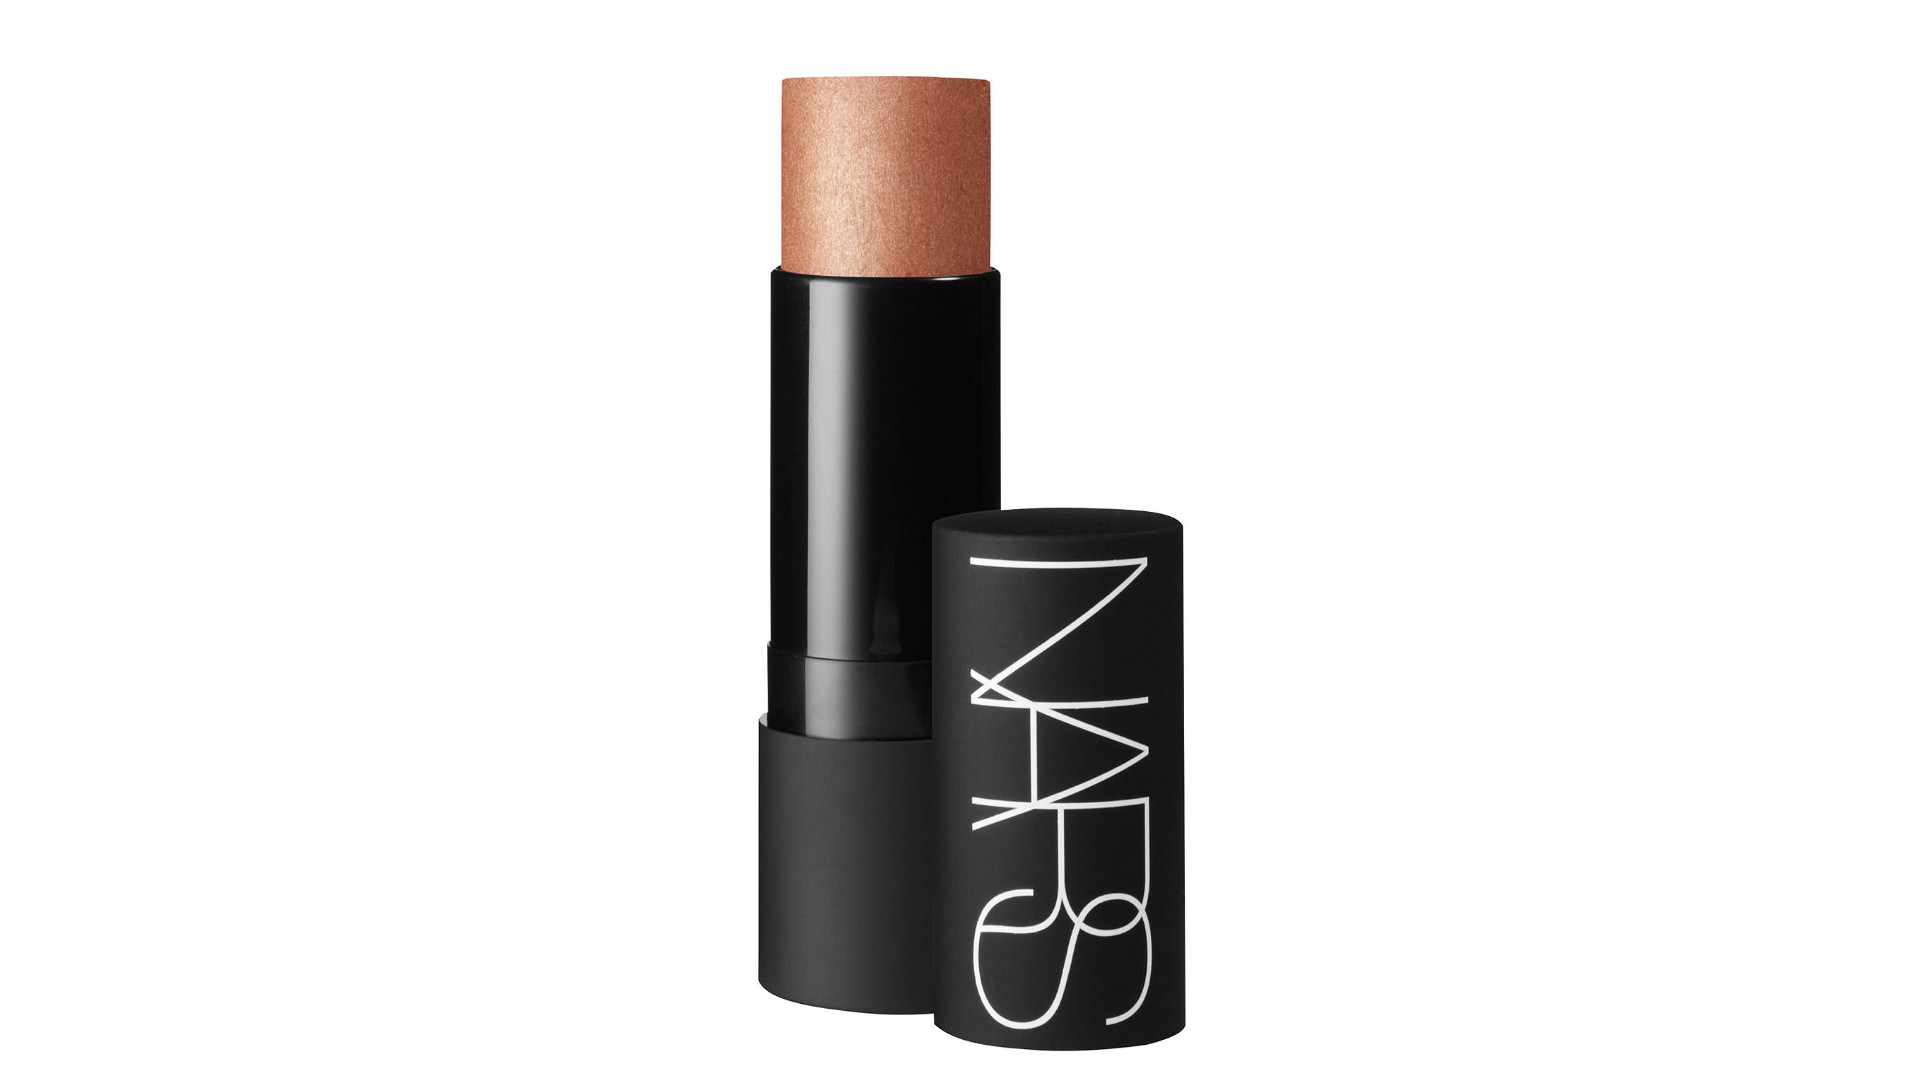
NARS The Multiple in Puerto Vallarta
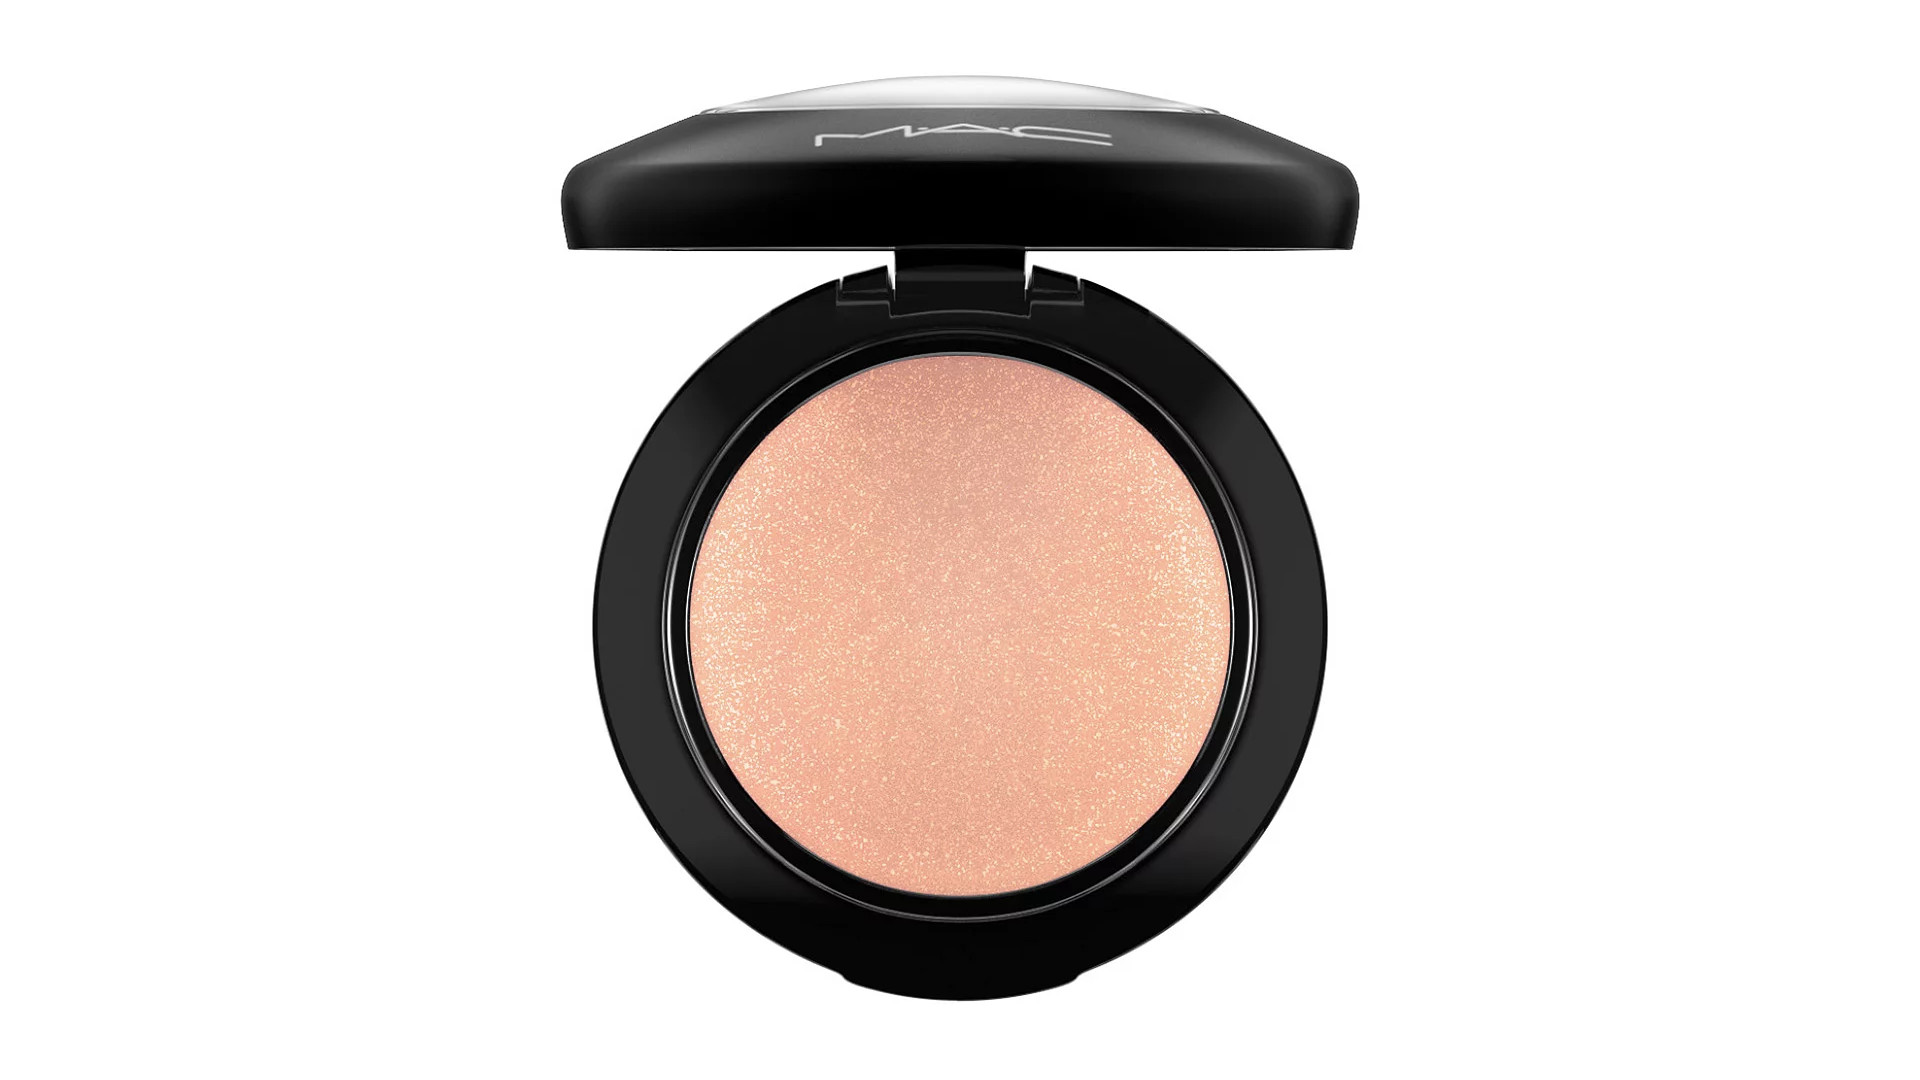
MAC Mineralize Blush in Warm Soul
Deep skin
“Choosing the right blush shade is as hard as finding the right foundation. It needs to compliment you," says Dior Makeup UK Pro Artist Jamie Coombes. “For natural flush on deep skin tones, wear oranges, maroon, burgundy, and rich bronzy browns.
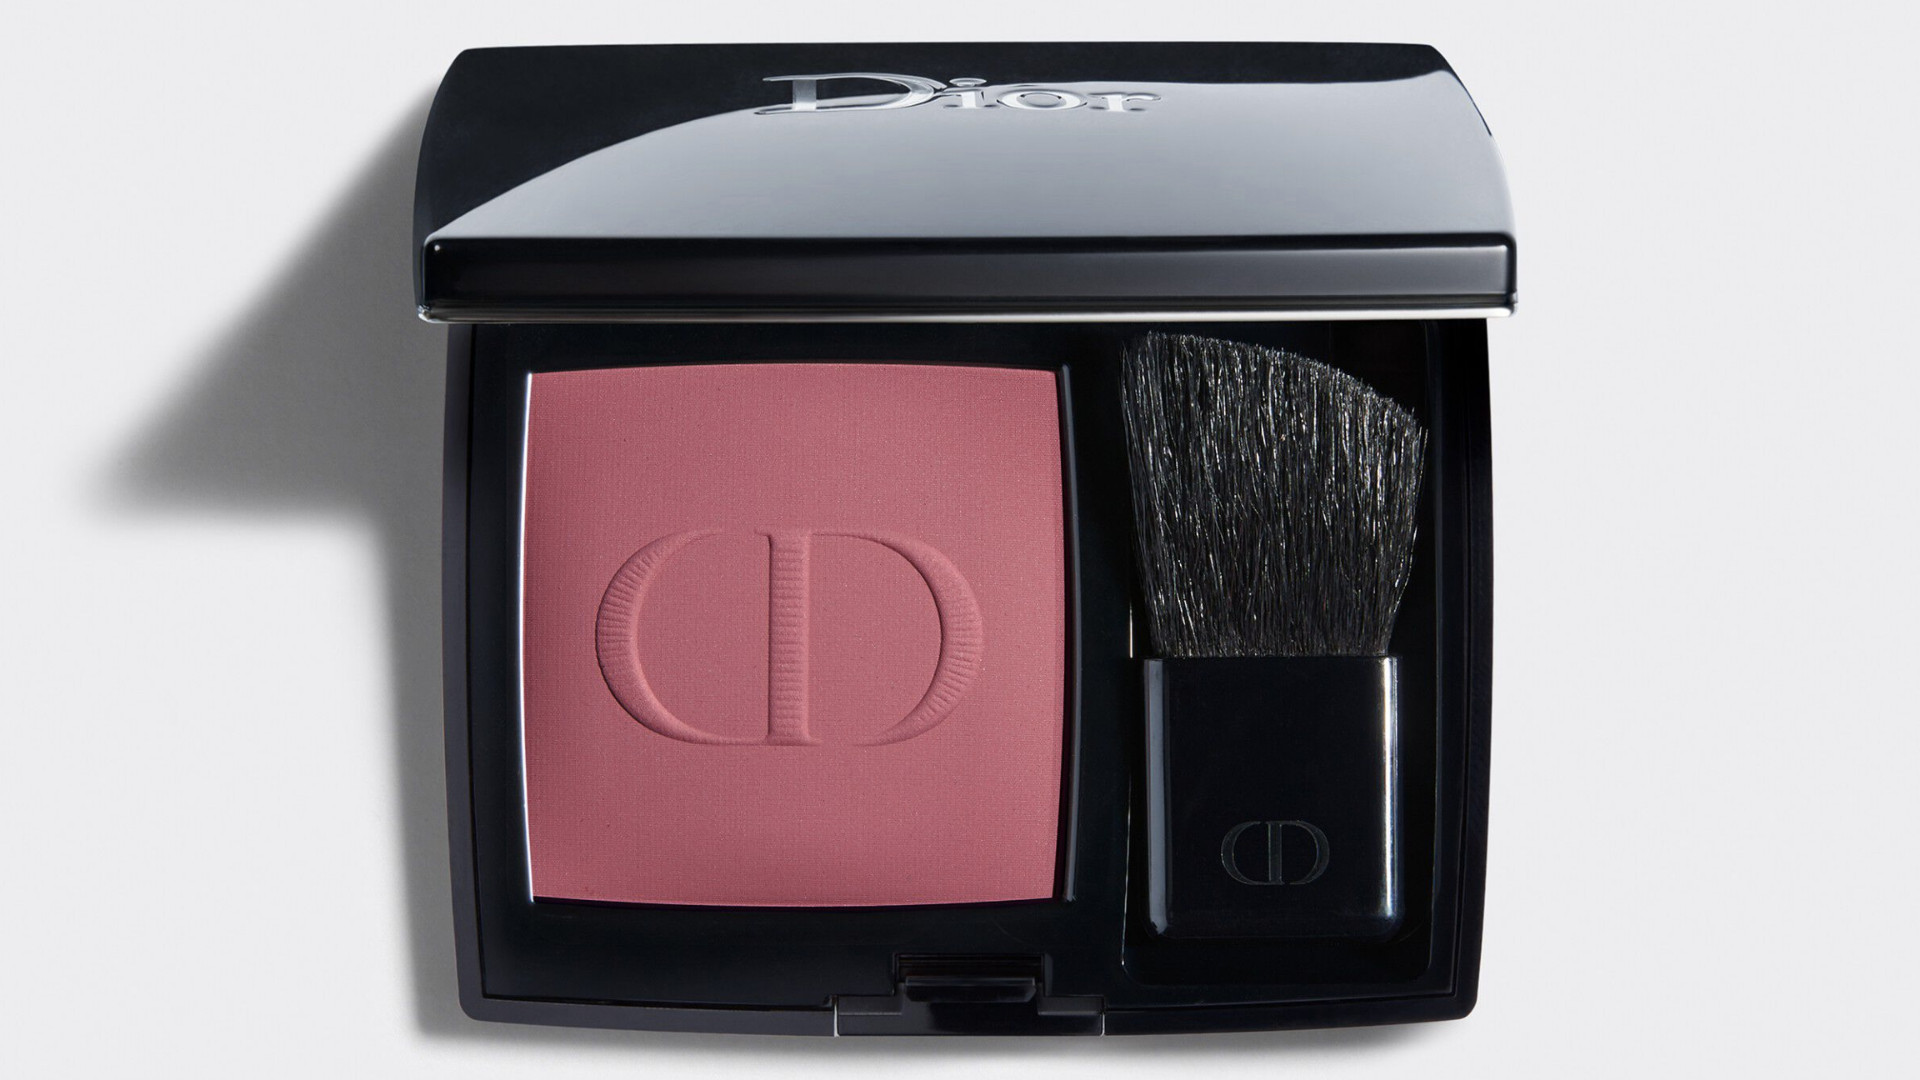
Dior Rouge Blush in Poison Matte
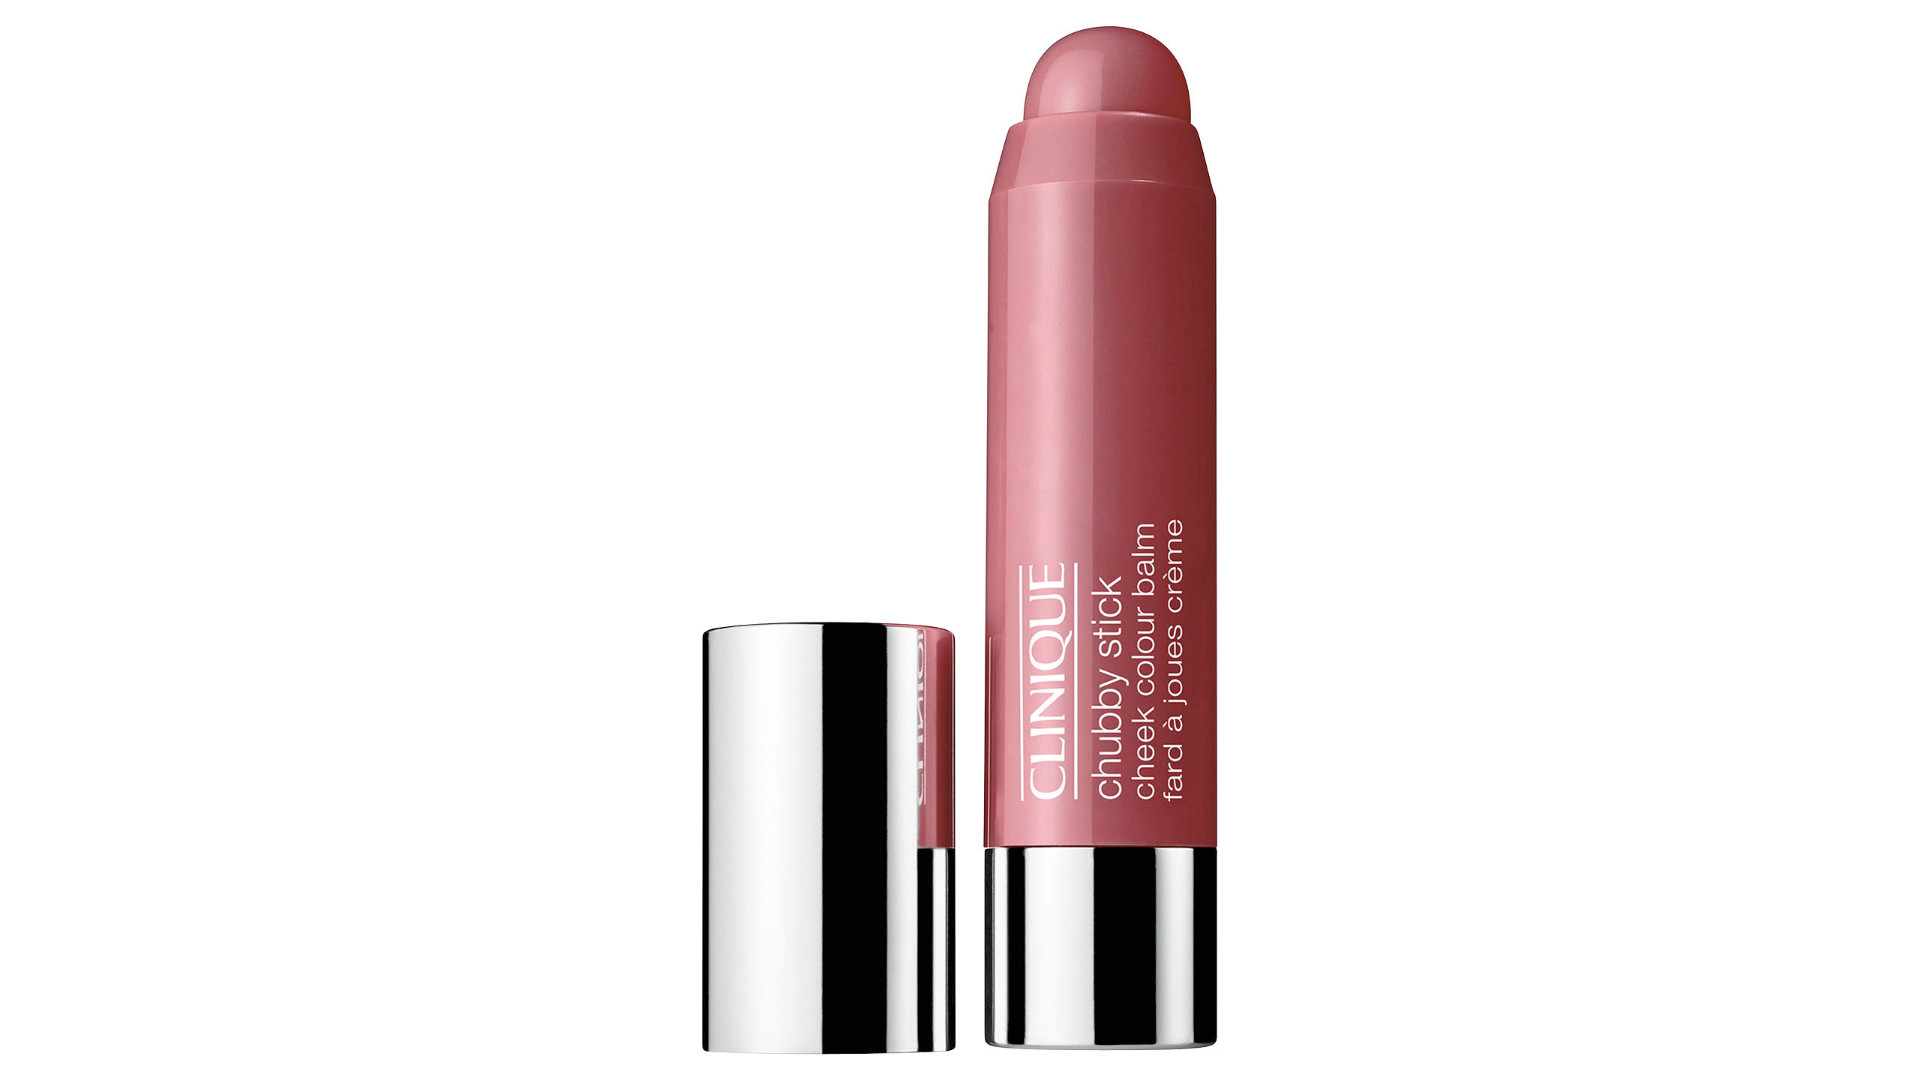
Clinique Chubby Stick Cheek Colour Balm in Plumped up Peony
It goes without saying that your personal taste should be considered. Use these shades as a guide, but remember to test each one and see what works best. "What works best does depend on the wearer's individuality and style," says Jamie, "wear the color that makes you feel happy."
How to apply blush - creams vs powders
Traditionally we tend to think of blush in powder form, but modern cream formulas have been steadily growing in popularity, too - so which is best?
“Both are great but offer different results,” explains Jamie. “Cream blush is ideal for a natural ‘I woke up like this’ effect, perfect to freshen up the face. Powders create pops of color intensity and are longer wearing, which I prefer for shoots and red carpet events.”
Picking a texture can come down to skin type, too, explains Antonia, “I tend to recommend oily skin types to go for a powder as creams can wear off more quickly. On dry skin, cream blushes look great and can give the skin a lit from within glow."
"My favourite combination is to combine the two textures together. I start off with a cream blush to give me glow and then set it with a powder blush in a similar tone, this ensures my makeup lasts throughout the day.”
Where to place blush for your face shape
This is probably the most crucial element of learning how to apply blush, and it’s not a one-size-fits-all situation.
“As a general rule, avoid applying too close to the nose under the eye, as this will pinch the face in,” advises Jamie. “Use color to show and enhance your facial structures. Feel for the cheekbone and apply blush lightly - the prominence of the color should not fall below the line of the septum - then sweep out to the ear to disperse evenly.”
“Blush placement seems like it should be easy, but I understand that this could be a minefield!” says Nadia. "The simplest way is to work to your face shape - but remember makeup should be fun, so go with what you feel looks good."
Nadia Fihema's guide - how to apply blush for your face shape:
Round Face Shape
“The aim of the game for this shape is to make your cheekbones pop and potentially create a more angular look, so apply blush towards the outside of the apples of your cheeks. And work your way up to the temples. Totally avoid the nose area, as applying blush, there will make you look more round.”
Oval Face Shape
“This is the easiest face shape to add blush to as you can literally get away with anything! As long as the blush doesn’t go in the areas you contour in, such as below the cheekbone, then just go for it!”
Long Face Shape
“With a longer face shape, people tend to want to shorten the face slightly. Apply blush to your cheeks starting from just below the pupils and using a semi-circle technique blend to the middle of your cheeks, and this will pinch in the face.”
Diamond Face Shape
“To flatter a diamond face, we want to draw attention upward and soften the facial features slightly, apply your blush to the tops of your cheekbones and blend outward towards your ears.”
Heart Face Shape
“Heart-shaped faces can sometimes appear pointy, so to soften, apply your blush in C shapes from the tops of your cheeks to above the end of your eyebrows - this is a well-known trend called draping.”
Square Face Shape
“Keep things simple by applying on the apples of your cheeks and soften it out by blending out. Try not to pull it all the way up to the temples, as this could result in your face looking wider than it is. The aim is to keep the face shape soft as a square face is more angular.”
Three application tips for a pro finish
Try a light touch
“A common mistake is applying blush in haste, resulting in color overload," says Jamie. "When I use an intense powder color, I dip the blush brush into translucent powder first, tap it out, then go into the blush shade so as not to overload the brush with pigment. If you do apply too much, do not rub it off with your fingers as it will smear the color over the cheek, use a cotton pad and lightly puff the color down.”
Use a prep product
"Always apply a base to your complexion before applying blush," says Antonia. "Even on days when you want to go foundation free I always recommend applying a primer. This will ensure your blush stays put and won’t go patchy throughout the day.”
Let your base dry
"Trying to swipe powder blush over the top of wet liquid foundation is a recipe for streaky, blotchy disaster!" says Nadia. "You should always allow your foundation time to dry down, and I would always advise setting your foundation with translucent setting powder - blush will glide over the top like a dream."

As woman&home's Beauty Channel Editor, Fiona Mckim loves to share her 15+ years of industry intel on womanandhome.com and Instagram (@fionamckim if you like hair experiments and cute shih-tzus). After interning at ELLE, Fiona joined woman&home as Assistant Beauty Editor in 2013 under industry legend Jo GB, who taught her to understand ingredients and take a cynical approach to marketing claims. She has since covered every corner of the industry, interviewing dermatologists and celebrities from Davina McCall to Dame Joan Collins, reporting backstage at London Fashion Week and judging the w&h Beauty Awards.
-
 We're in awe of Sienna Miller's easy-going and 'piece-y' hairstyle and how perfect it is for spring
This laid-back hairstyle is - quite literally - making waves this season
By Naomi Jamieson
-
 We never thought we'd see this 'dated' manicure make a chic comeback, but here it is - and we're on board
Clean and angular, short square French tips are a go-to this season for a practical but stylish manicure...
By Naomi Jamieson