
From achieving this season's trendiest blush effect to knowing how to apply your go-to formula to suit your facial structure, we've quizzed an MUA on all things blush placement.
The best cream blushes can be as instrumental as the best foundations and bronzers when seeking to achieve both radiance and definition. That said, it's their ability to add a pop of fresh, youthful-looking colour to our cheeks that really makes them a standout in our beauty bag – especially when summer rolls around. The key is to know where and how to apply your favourite rosy formulas because, like with contouring and eyeshadow, there are a few different avenues you can take, the likes of which can dramatically change the look and feel of your overall makeup look.
Thus, we've asked a celebrity makeup artist to break down all things blush, from the best placements for every face shape to the recommended formulas for mature skin, to help you achieve the natural flush of your dreams.
Everything you need to know about blush placements, per an MUA
As mentioned, blush has the power to really make a makeup look and create a rosy 'lit-from-within' glow to your complexion, that – when applied tactically – can look natural and perfectly fresh. As with all products, though, there are a few things to note as far as application and formula are concerned as they can deliver very different results. Hence why we've turned to Simone Otis, Makeup Artist for 19/99 Beauty, for all the tips and tricks.
Before we delve into all things placement, we would also like to preface this by saying that blush, as with the rest of your beauty regime, largely comes down to personal preference. If you exclusively apply your cream or powder formulas to the apples of your cheeks or forgo this product entirely, that's A-okay. However, if you're looking for guidance on how to elevate your application or learn how to create this season's trendiest of looks (hello, "boyfriend blush"), we've got all the intel for you ahead.
But first, if you're in need of a new blush before testing out these blush placements, we've rounded up three of our beauty team's favourites...
Our go-to blush picks

RRP: £22
This popular gel blush from Glossier is available in eight flattering shades, all of which can be mixed and layered, and offer a dewy but blurry finish to the skin. They're buildable, lightweight and feature soluble collagen to help the skin retain moisture for a fresh and glowy look.

RRP: £30
This blush is refreshingly easy to apply and even comes with a blending brush at one end, meaning you can quickly swipe and diffuse the formula into your cheeks. It creates a dewy, fresh-faced radiance and is also multipurpose; it can be used on your cheeks, lips and eyes.

RRP: £35
If you prefer a powder blush and more of a matte finish, this Charlotte Tilbury option blends beautifully. It features a second shimmery shade in its centre to deliver a blurring radiance that's not too shiny or glittery. We love the iconic Pillow Talk shade.
What blush placement works for your face shape?
"Overall, I will say that I think that anyone can wear makeup in the way they like," says Otis. However, she adds, "If you want a guide to help you choose where to place your blush, you can identify your face shape," and choose based on what is traditionally recommended for yours, blush-wise.
- Oval: Considered the most "balanced" face shape. "Apply your blush along the top of the cheekbones going towards your temple for a sculpted look or apply your blush on the round or apple of your cheeks for a fresh-faced look," Otis says. 19/99 Beauty's Watercolour Tint is a great option for a rosy apple blush moment.
- Oblong: "If you are looking to create a more balanced appearance for an oblong face shape, place your blush in a straight line or half-circle shape on the cheekbones on the outer corners of the eyes."
- Heart: For this face shape, Otis recommends applying blush "in a semi-circle shape starting on the upper tip of the apple of your cheekbone and ending on the outer corner of your eye." She adds that this C-shape will "soften the edges of a heart shape. You can also add a bit of well-blended blush to the temples and the centre of the forehead to further soften the shape."
- Square: "For a square or triangular shaped face, placing blush directly on the round or apple of the cheekbone, closer to the nose, and blending well towards the hairline creates definition and softness," Otis advises.
- Round: "Round face shapes are generally looking to create more angles and definition for their cheekbones," explains Otis. She recommends applying your blush "in a well-blended straight line from the middle of the ear down towards the outer corner of your mouth" – similar to the way you might apply your best bronzers.
Where to put blush to lift your face
If you're wondering where to put blush to "lift" your face, opt for your cheekbones and blending upwards. "Placing blush higher up on the face or cheekbone creates focus and attention there," says Otis. "It is usually suggested for a rounder face shape as this blush placement can add more definition and structure."
That said, applying rosy tints to the apples of your cheeks can afford an equally flattering effect. "Generally, placing blush on the apple or roundest part of your cheekbone can give you a sweet and fresh-faced look," notes Otis. So, regardless of which placement you choose, you're more or less guaranteed a healthy and glowy complexion.
We also recommend applying blush with your fingers, if you opt for the apple area, for a really "lived-in" and natural-looking finish.
The best placement and formulas for mature skin
"When we are talking about mature skin it depends on how textured the skin is," notes Otis. "We all age differently and some people wrinkle and crease more, or have more texture to their skin no matter their age. I always like to use cream products, especially for blush, as you can layer and blend easily to create the best look for you."
How to achieve sunkissed blush for summer
If you've been keeping an eye on this year's makeup trends, you'll know that sunkissed blush is once again a go-to for many, as is ombré blush. So, naturally, we asked Otis to delve into how we can create these looks on ourselves.
"[It's] really about placing your blush on the cheeks and nose – where you would naturally get colour if you were suntanning," says Otis of a "sunkissed" effect. "Apply your blush to the tops of the apples of the cheeks and across the bridge of the nose, being sure to blend well and layer your blush for a natural effect."
As for ombré blush, "[this] look is when you use two or three blush shades at the same time to create depth and a multi-dimensional tone to the cheeks," Otis explains. "For example, choose two shades of blush; a pink and purple work well. Then, experiment to get the look you like – place the pink shade on the apples of the cheek and the purple along the upper cheekbone going towards the temple, or flip that and place the purple shade on the apple and the pink along the upper cheekbones. The effects are subtle but give some flattering shape and colour to the cheeks.
"Be sure to blend the blush well for a seamless finish," she adds. For this look, we recommend playing around with Glossier Cloud Paint or NUDESTIX's range of cream blush formulas, both of which are available at Sephora.

-
 How to watch Race Across the World from anywhere - stream the BBC reality series online
The acclaimed reality series is back for a highly anticipated fifth outing, and there's no need to miss out on any of the action
-
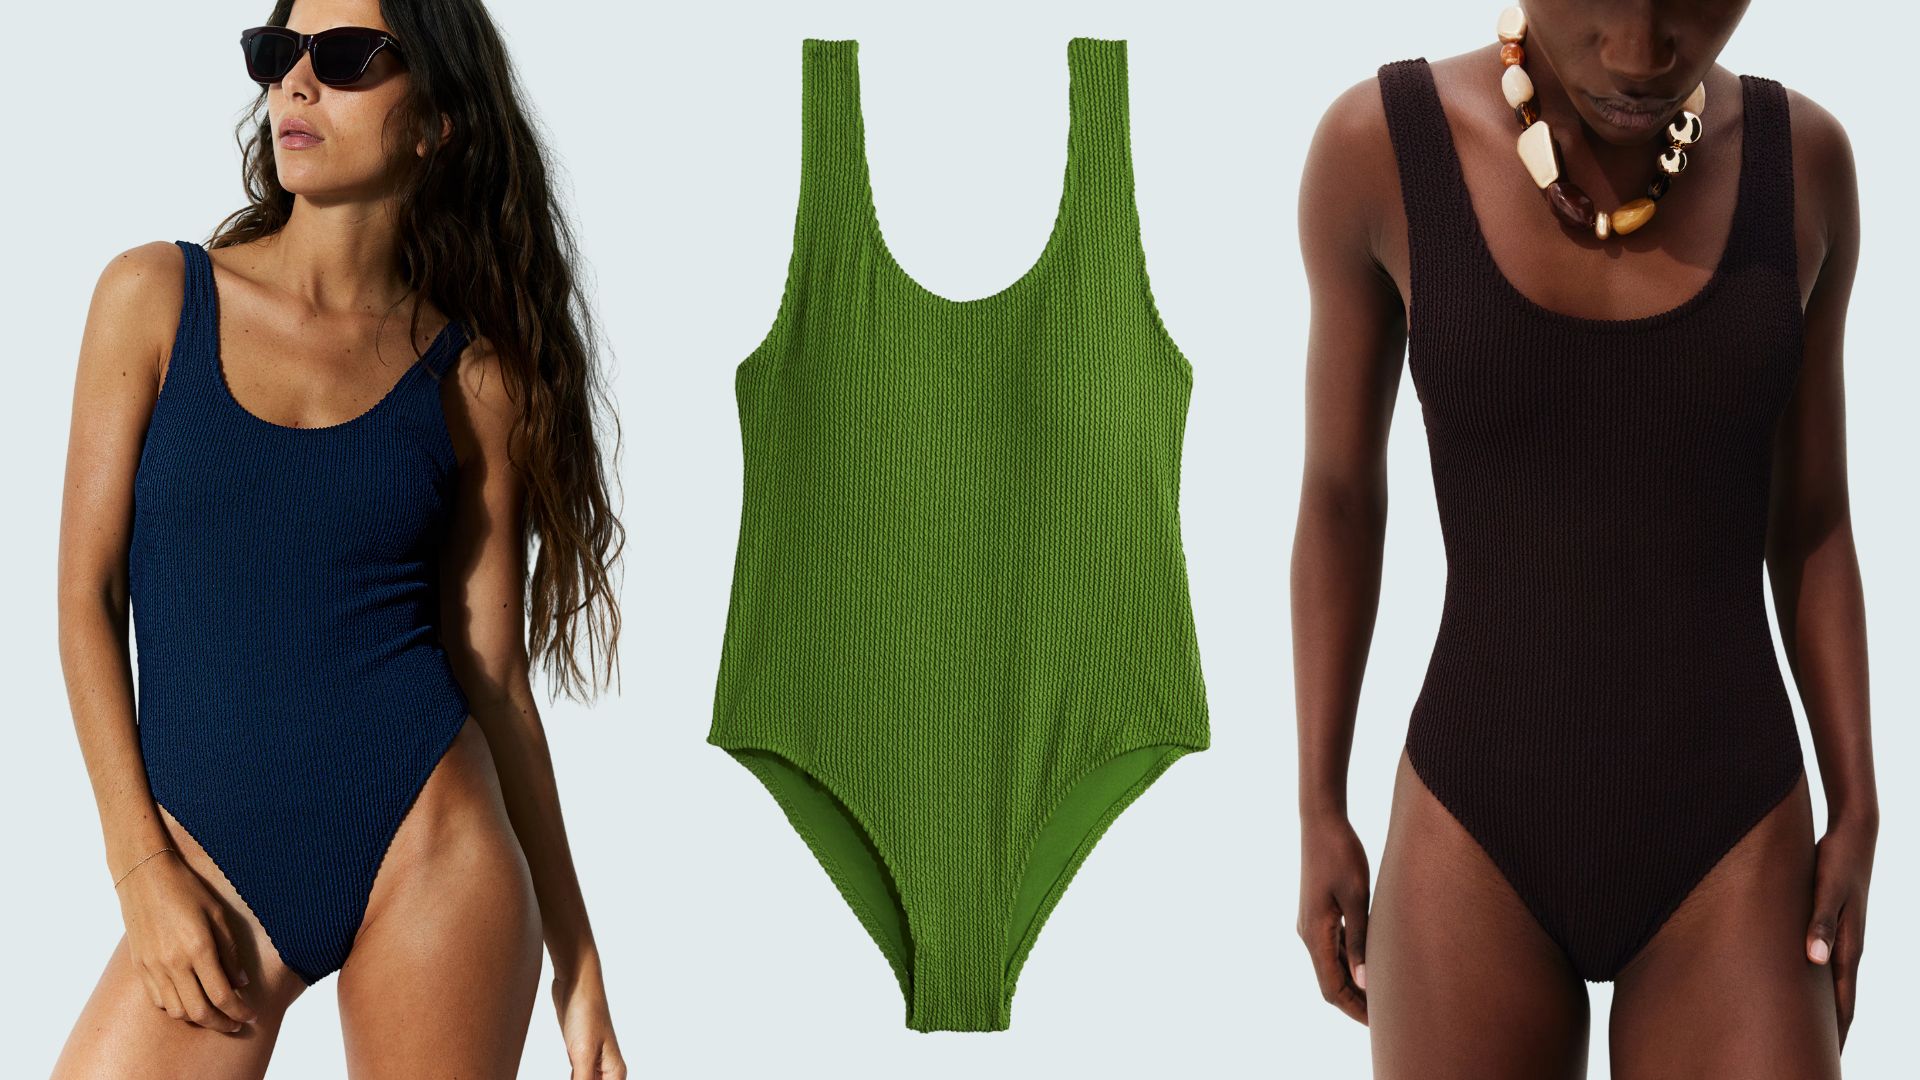 I thought my swimsuit buying days were done after splashing out on a designer style - then I discovered this must-have H&M option
Priced at just under £25, the H&M padded-cup swimsuit seriously surprised me


-
 Michelle Williams' flicky bob is the perfect transitional look for growing out short hair
With a face-framing fringe, choppy layers and flicked-out ends, Michelle Williams' bob is the cool cut of the summer...
-
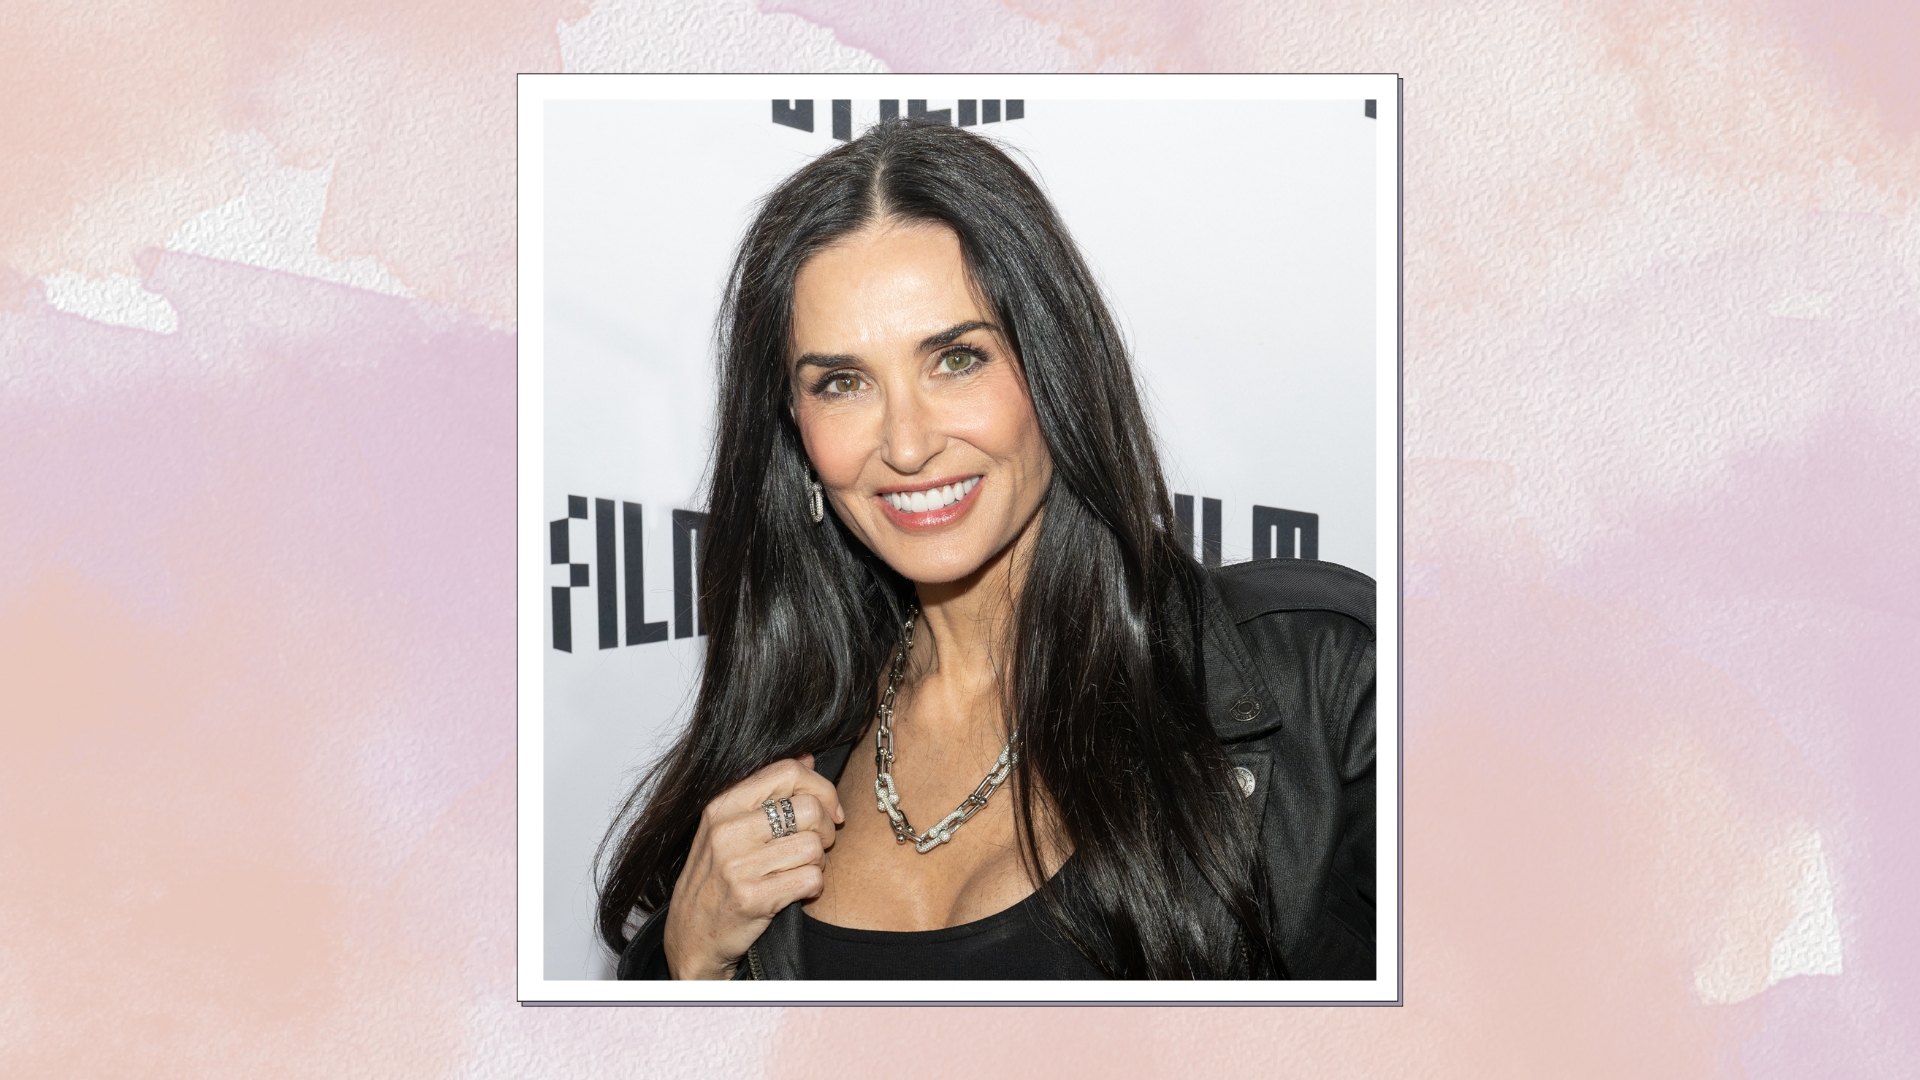 Demi Moore’s chic bob transformation is all the inspiration we need to give our strands a refresh for summer
Chop, chop, it's time to take a trip to the salon
-
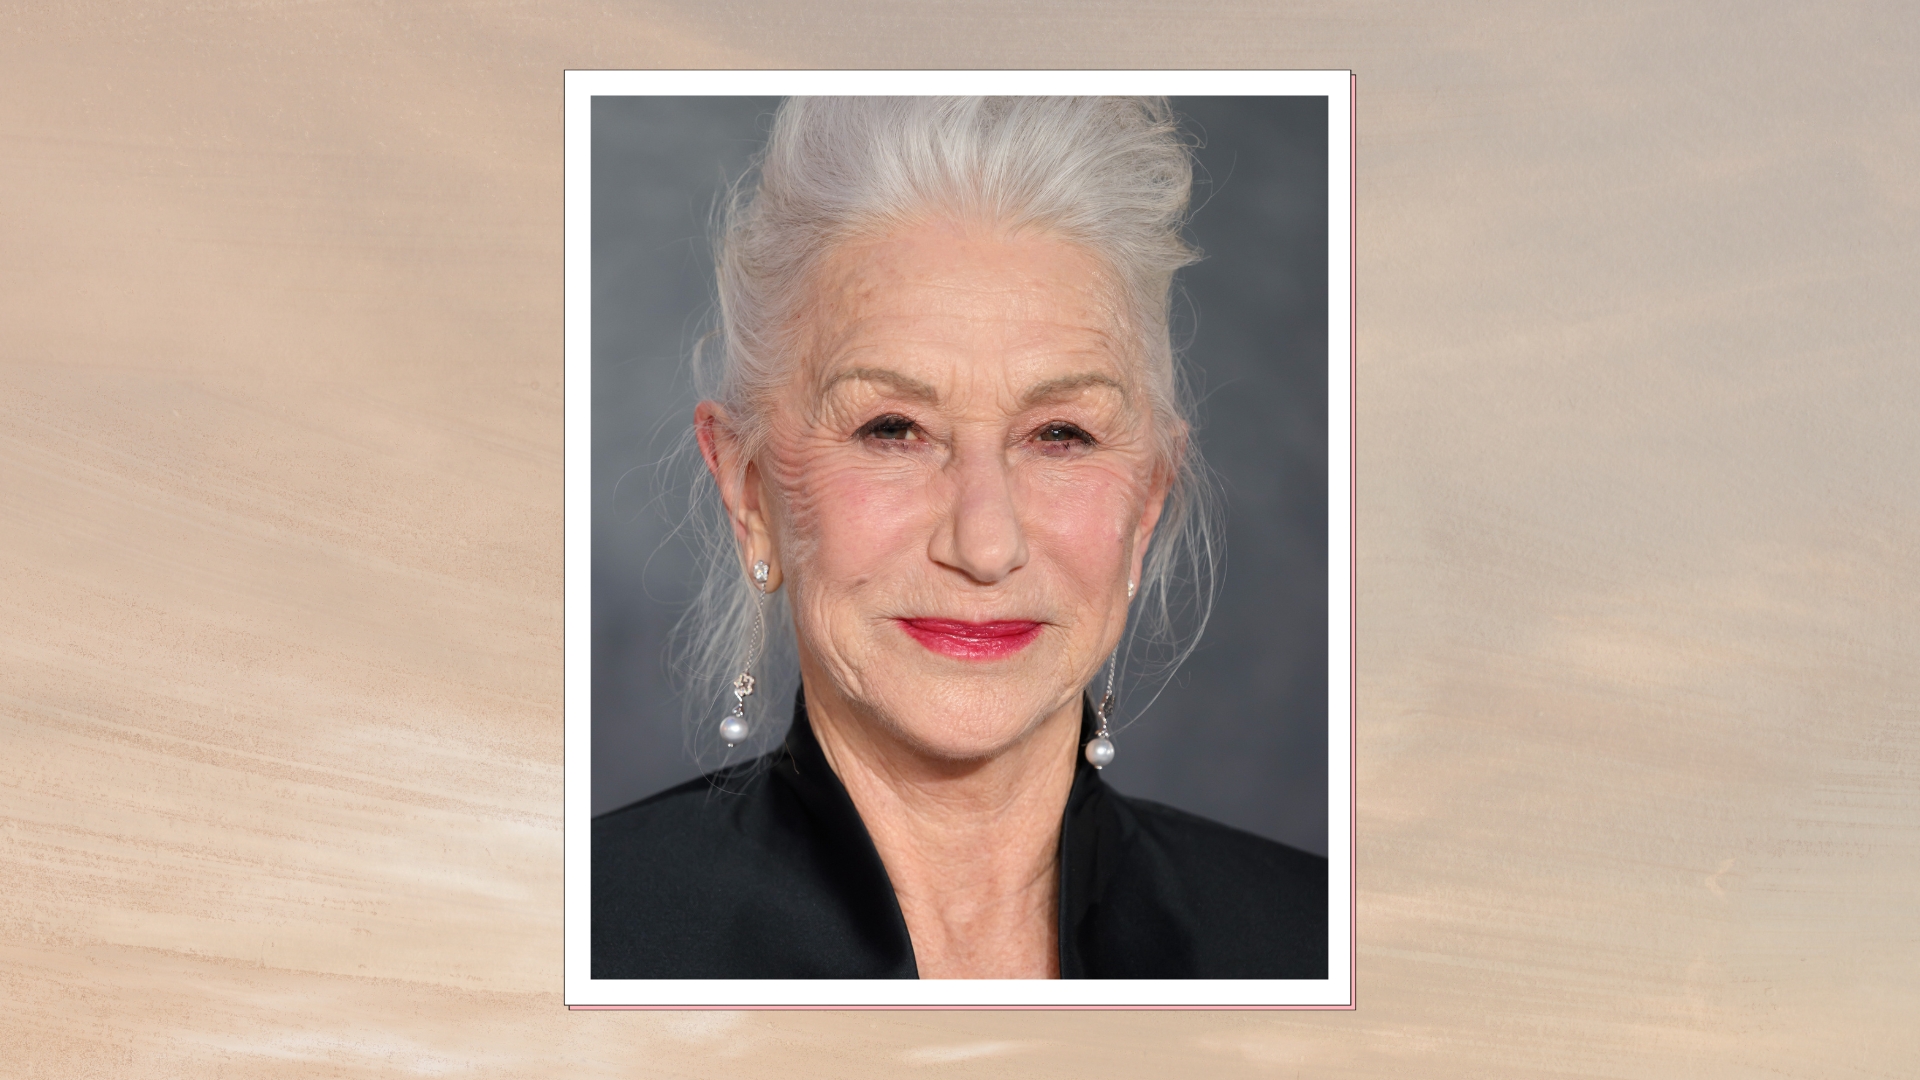 Helen Mirren's simple trick to making berry-red lipstick far less intimidating is so clever - and it's perfect for spring
When in doubt, do as Helen Mirren does and steer clear of matte formulas...
-
 We've found the two styling tools behind Cat Deeley's effortless television-ready curled hair
Unlocking a blow dry that's full of body and bounce, these results are set to give anyone hair envy
-
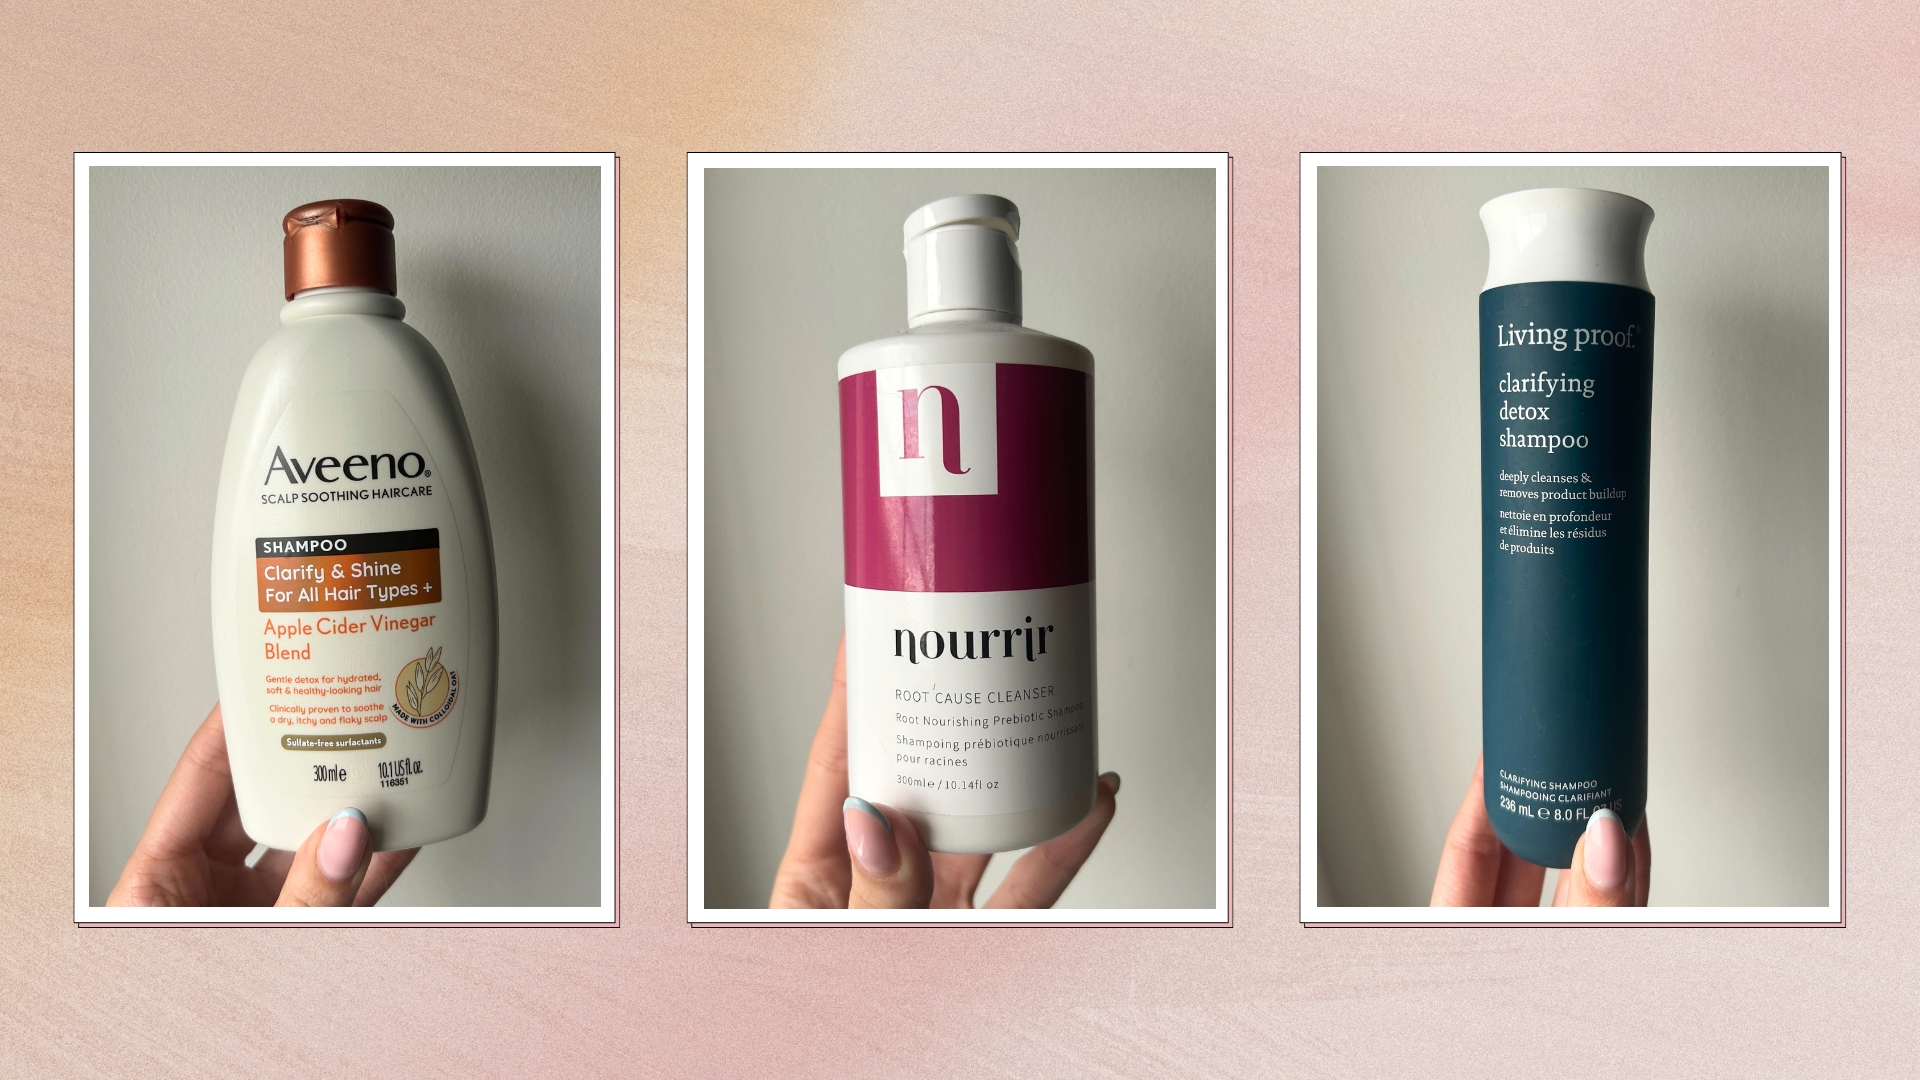 Budget to Blowout: The only three cleansing shampoos I rely on to keep my greasy hair at bay
These three deeply cleansing formulas do a stellar job at prolonging the time between each hair wash
-
 Claudia Winkleman uses this nifty fake tan to unlock her recognisable bronzed holiday-like glow
The presenter surprisingly relies on these clever self-tan wipes for her bronzed complexion
-
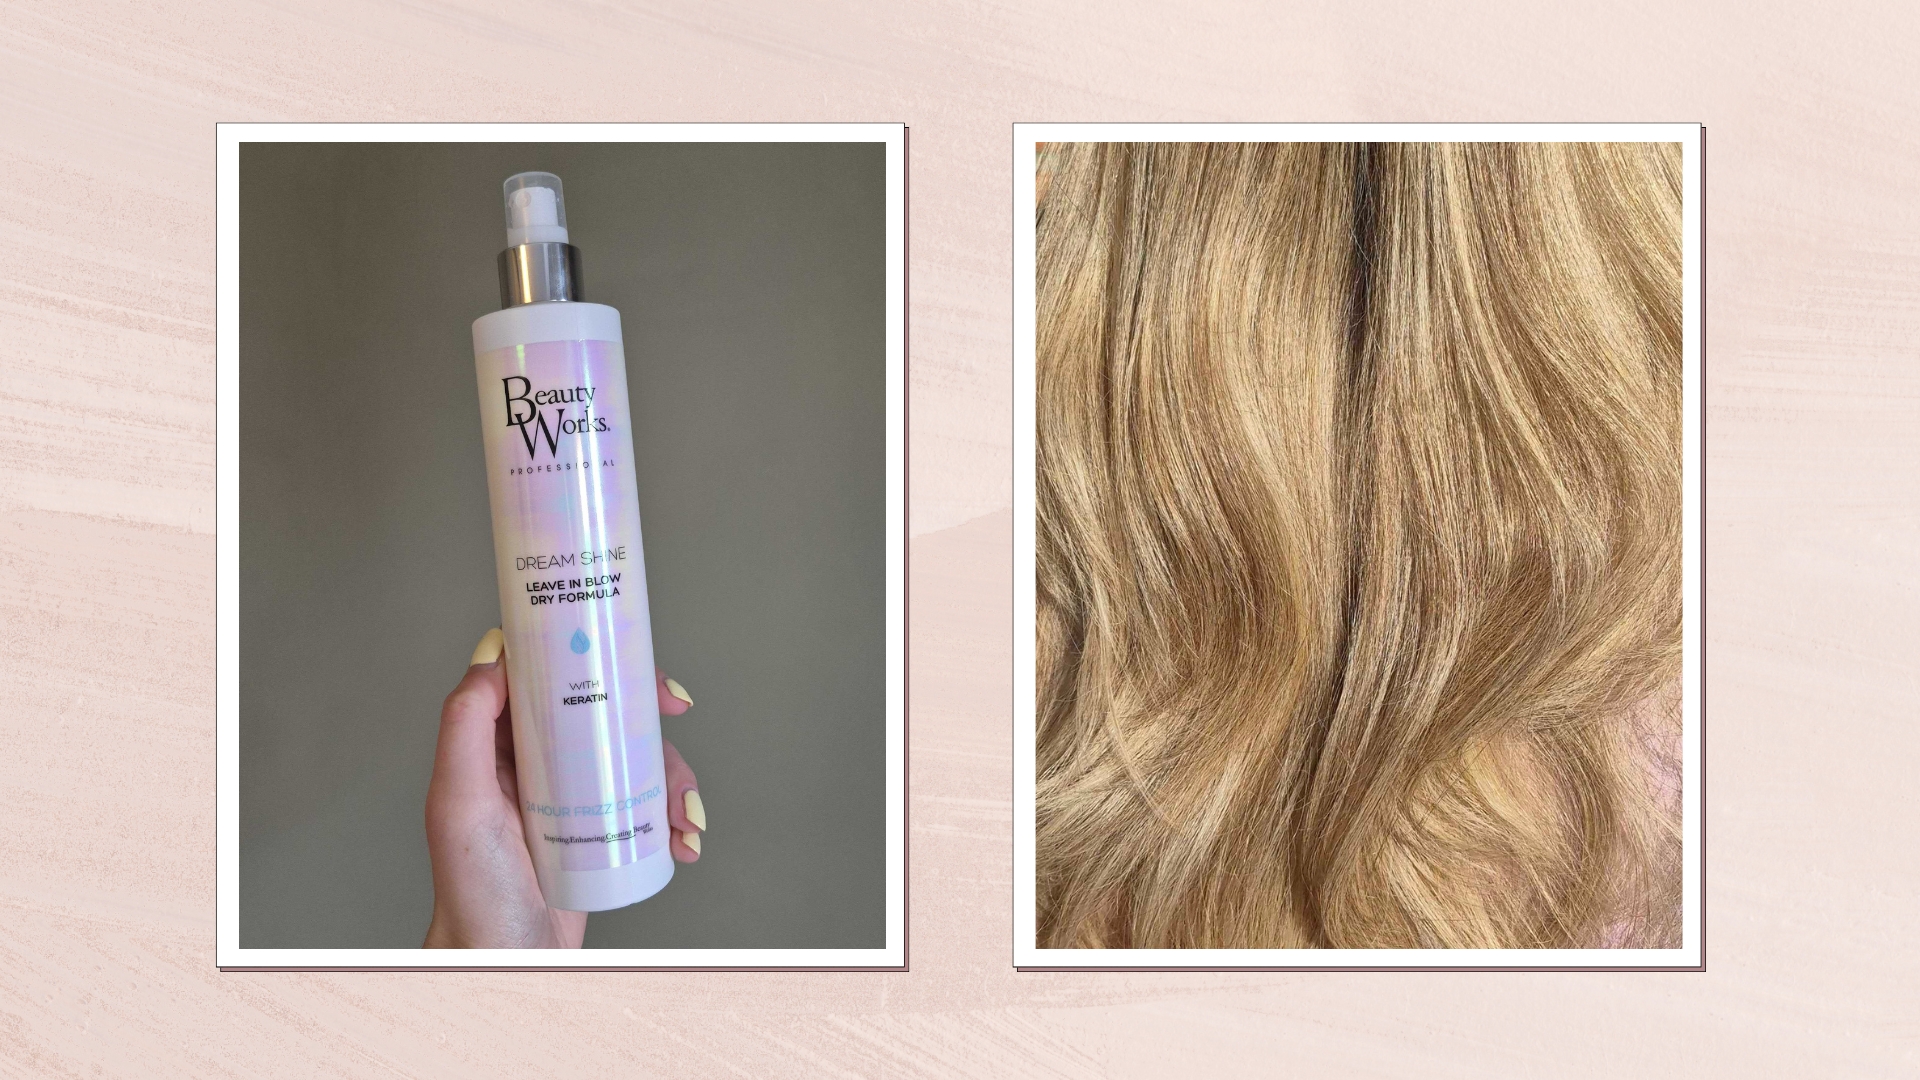 A glossy shine was never possible on my dyed blonde hair, until I tried this £17 spray - now my strands glisten
Offering silky-softness and instant shine, this easy-to-use blow-dry treatment has transformed my frazzled, faux blonde lengths...
-
 We were fully ready to embrace pastels until we saw Sarah Jessica Parker's liquorice manicure
Liquorice nails for spring? Groundbreaking


