Learn how to do marble nails in the comfort of your own home with the help of our manicurist-led guide
Marble nail manicures are surprisingly easy (and fun) to do at home once you know the technique...

Amelia Yeomans
We love a salon visit, but for those manicure fans who also love a bit of DIY nail art, it’s worth learning how to do marble nails – a chic design that’s a step up from a single block colour.
Nail trends come and go, but some designs are timeless, and we’d definitely put marble nails in that category. It’s one of those looks that works with just about any colour combination, whether you prefer classic shades or something more daring involving bright neons.
It doesn’t matter if you’re team BIAB nails or wedded to your acrylics as, in our opinion, marble nails cater to all manicure fans. In our expert guide, two professional manicurists share their top tips for choosing on-trend marble nail designs and creating them for yourself at home, step by step.
Firstly, what are marble nails?
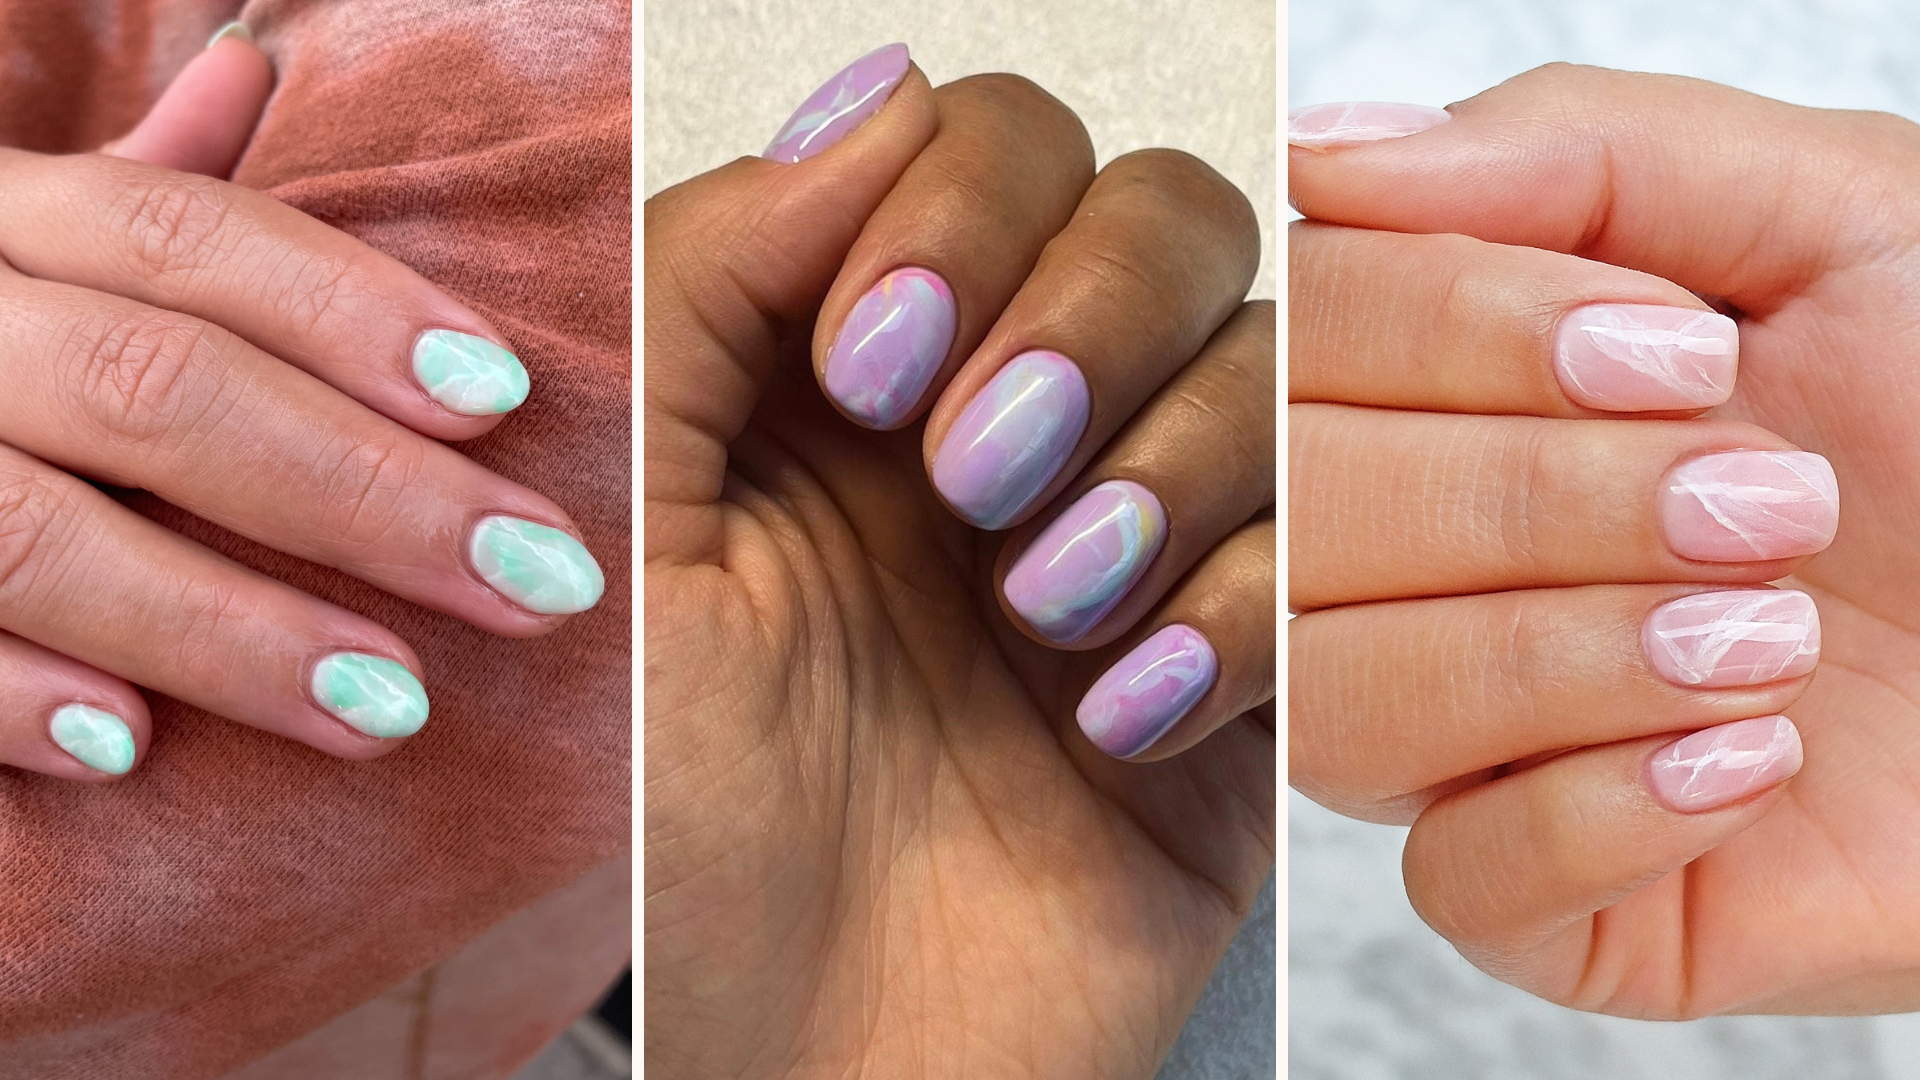
As the name suggests, this nail design mimics the look of the wispy-patterned stone. "Marble nails combine a blend of different colours to create the captivating appearance of marble, complete with the smoky effect characteristic of this natural stone,” says celebrity manicurist and Sally Hansen ambassador Michelle Class. "This design is exceptionally versatile, allowing you to tailor its boldness or subtlety according to your preference."
There are a few different techniques for creating marble nail designs, though the water method is very popular for DIY at-home marbling. “Water marble nails is a nail art technique where you place drops of nail polish into a cup of water to create a stunning marble pattern on the surface that you will then transfer onto your nail for the perfect marbleised finish,” says manicurist Lou Stokes, UK ambassador for ORLY. "This is great fun, if a little messy, but the results are fantastic and the colour combinations are endless."
How to do marble nails at home: A step-by-step guide
“There are multiple methods to achieve this aesthetic,” says Class. “The first approach, albeit a bit messy, involves filling a shallow bowl with room-temperature water.”
- Step 1: The foundation of all good at-home manicures is the base coat. "Apply one coat of your chosen base coat over the entire nail plate and allow to air dry," says Stokes. "I use ORLY Bonder Base Coat, as its unique rubberised formula grips the colour to the nail plate and helps prevent chipping."
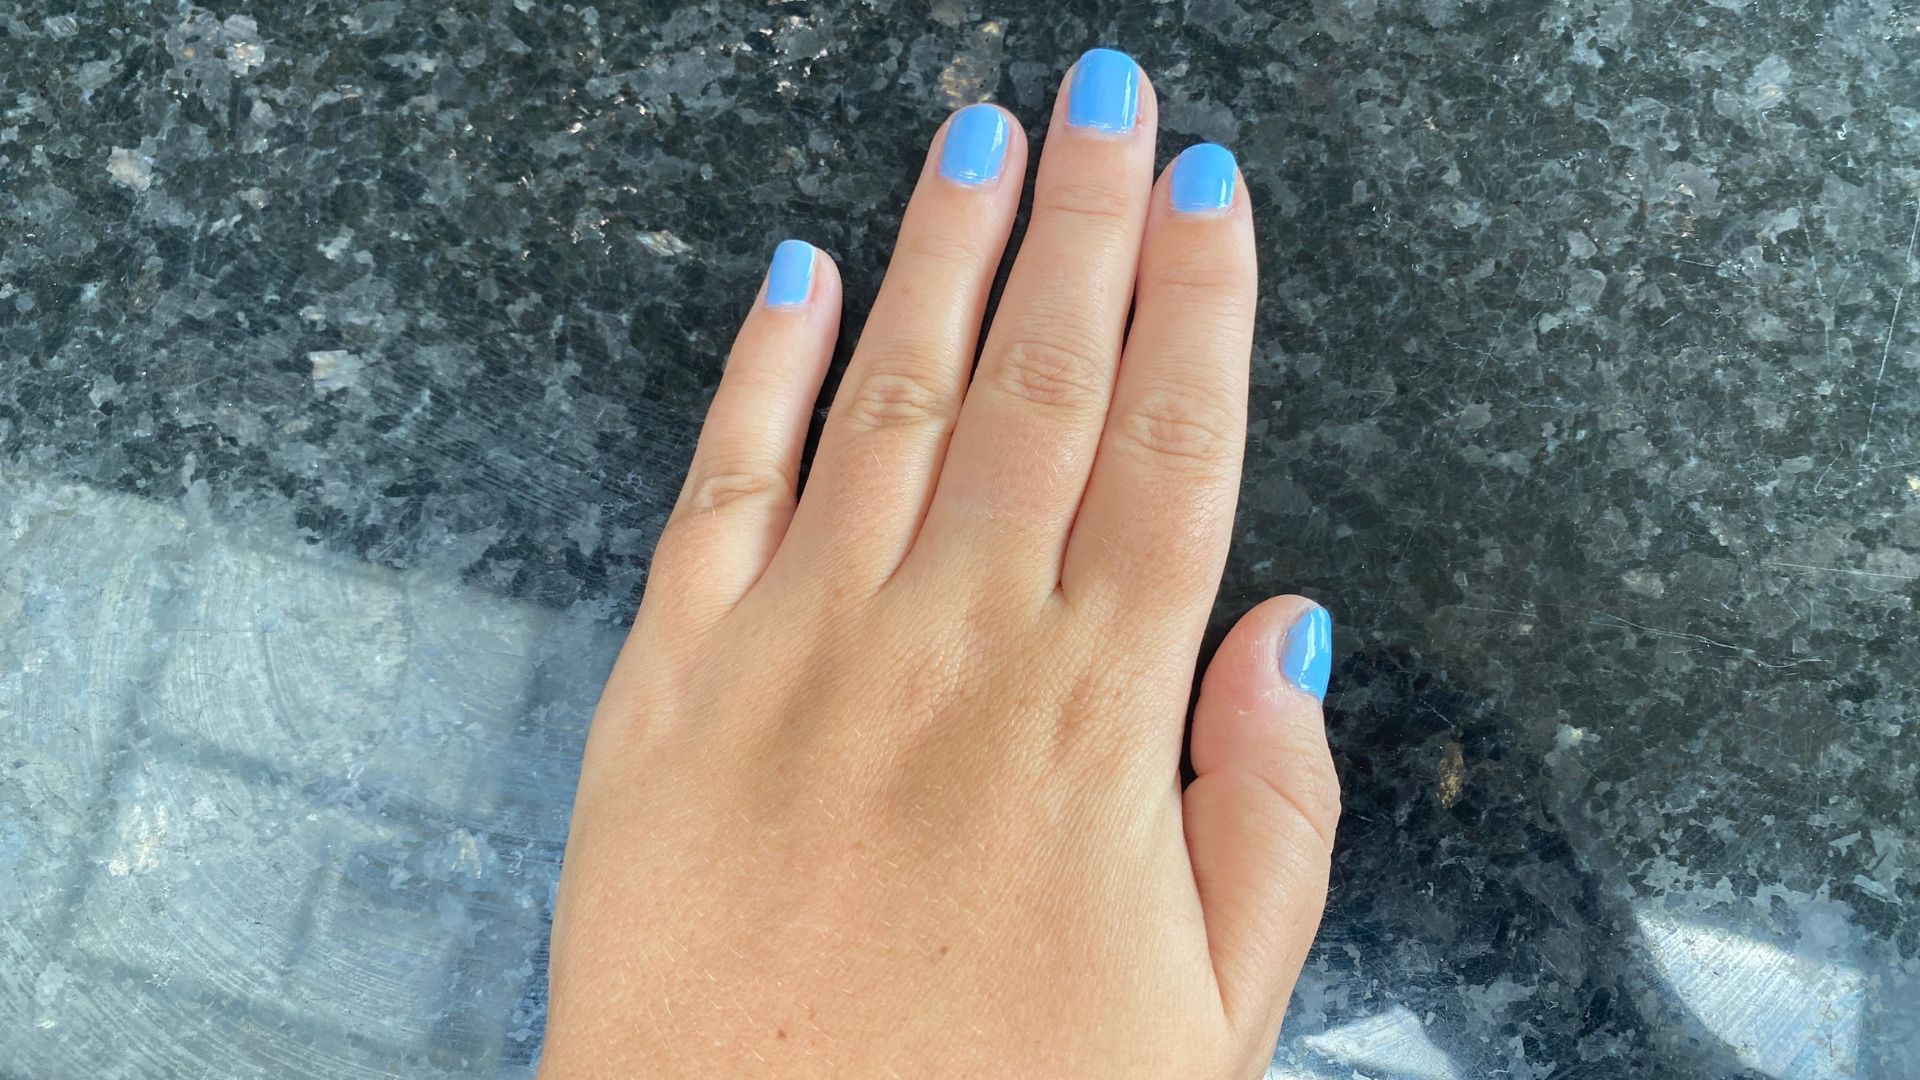
- Step 2: Apply the main colour that'll be the base layer of your marbled design. "White is always a go-to favorite as it can make the marble design really pop, but a base colour that works with your colour combination is ideal," Stokes recommends.
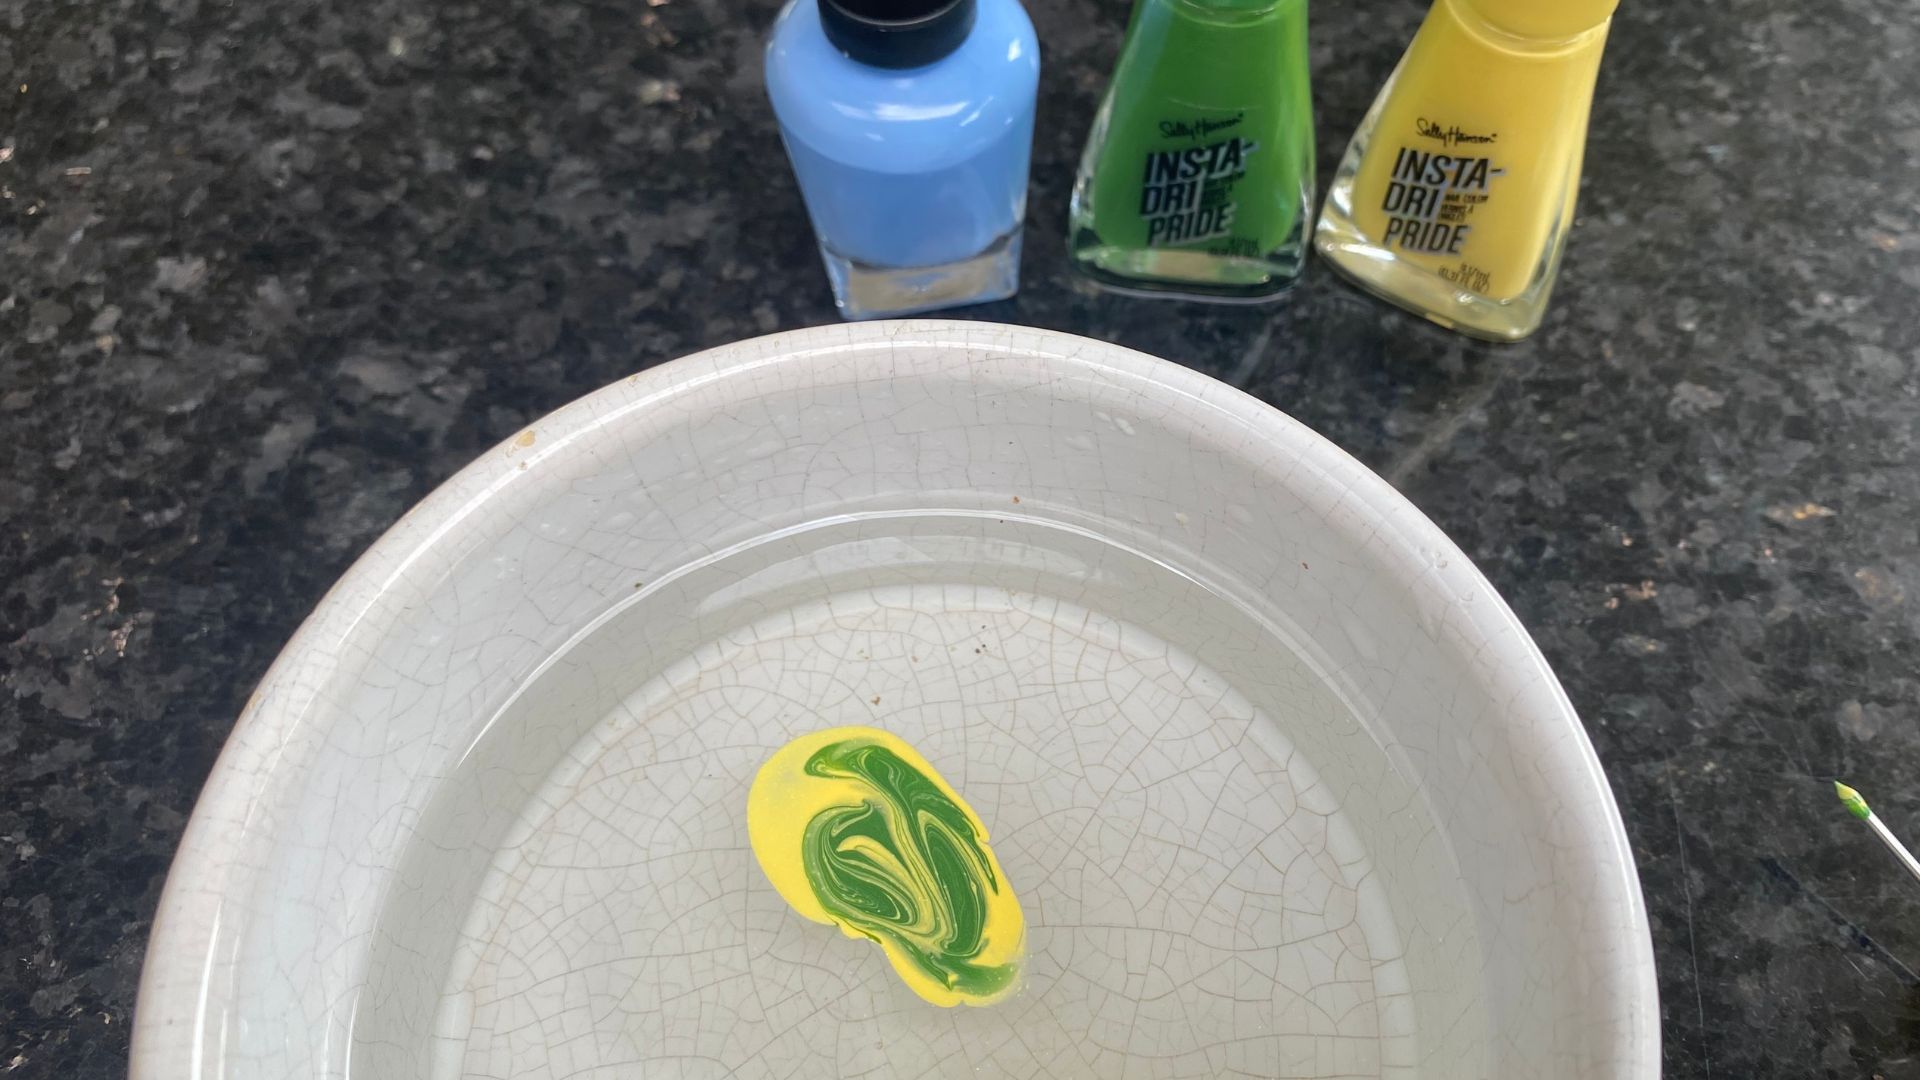
- Step 3: Fill a small, shallow bowl with warm-ish water. "If the water is too cold the polish will dry too fast, so room temperature water is ideal," says Stokes.
- Step 4: "Drop your preferred colours one by one into the water until they spread out," Class instructs. "Then, carefully manipulate the colours using a toothpick to create your desired pattern." This will create the marbled design that ends up on your nails.
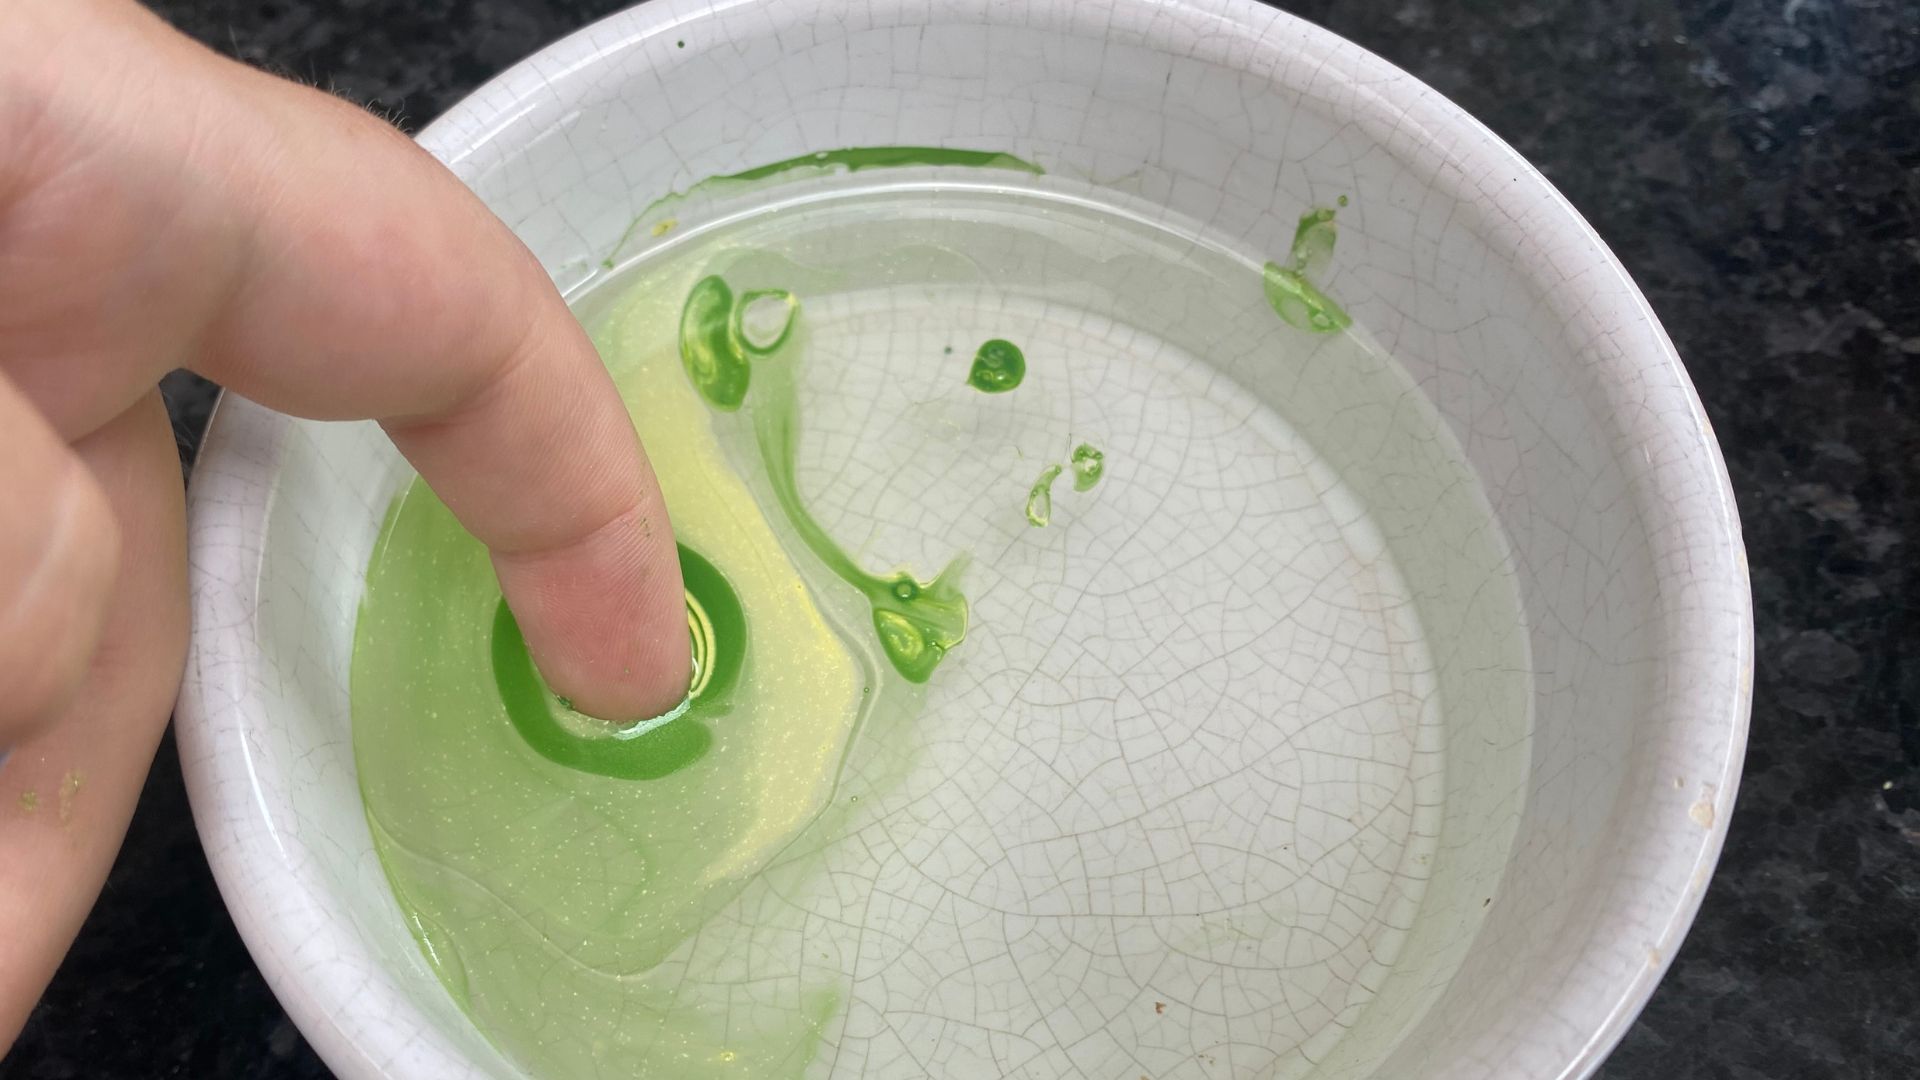
- Step 5: “Dip your nail into the water and lift it out, allowing the design to adhere to your nail," says Class. "Repeat this process for each nail you wish to decorate.”
- Step 6: Class's final tip is to "use an old eyeshadow brush and a small amount of acetone to tidy up the edges."
- Step 7: Finally, apply your top coat of choice to seal everything in and to help prevent your hard work from chipping.
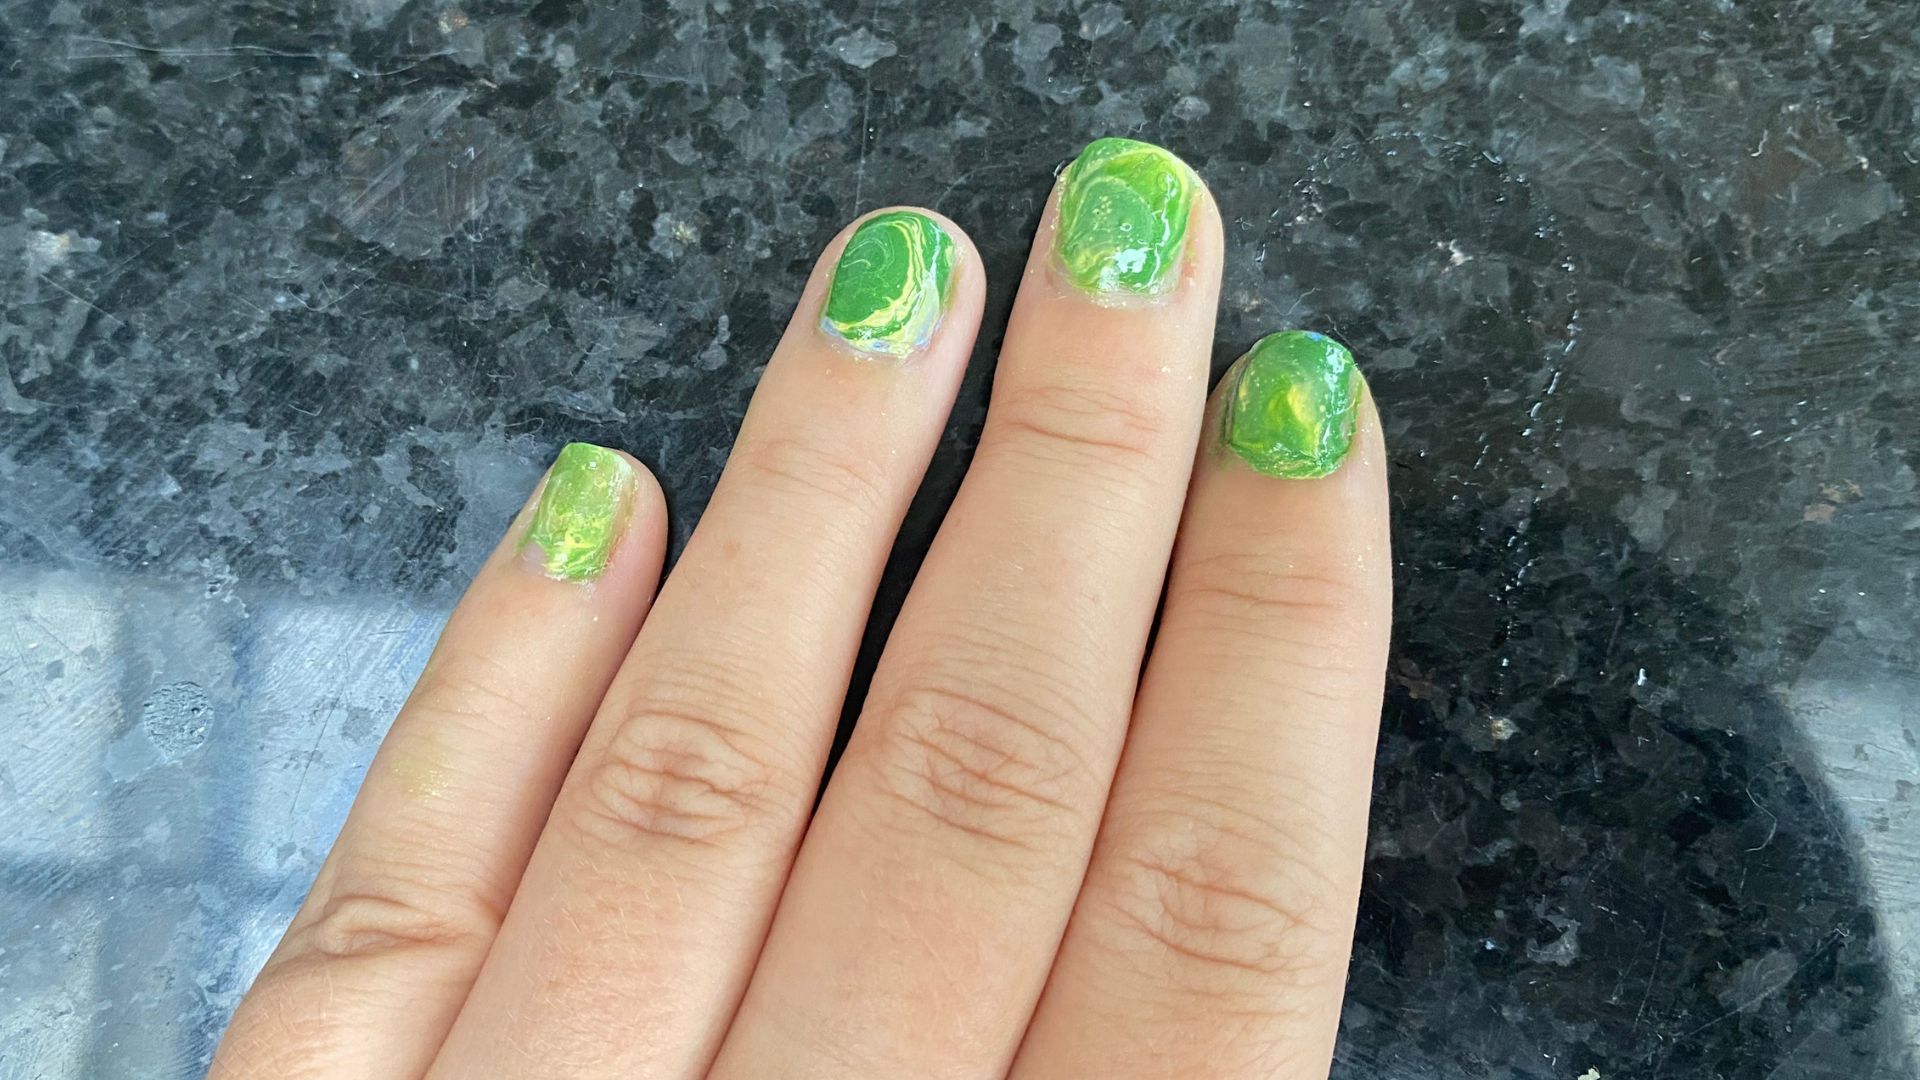
Alternatively, you can pour both colours onto a palette and marble them, which Class notes is an easier and less messy approach. “Using the end of your nail polish brush, gently scoop up the colours and delicately apply them to your nails,” she says.
Sign up for the woman&home newsletter
Sign up to our free daily email for the latest royal and entertainment news, interesting opinion, expert advice on styling and beauty trends, and no-nonsense guides to the health and wellness questions you want answered.
Our beauty editor and experts recommend...
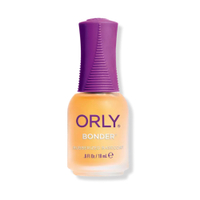
ORLY Bonder Rubberized Base Coat | RRP: $12.99 / £12.79
As recommended by Stokes, this gripping base coat is designed to help prolong the life of your manicure.
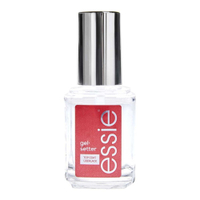
Essie Gel Setter Top Coat | RRP: $11 / £8.99
The ultimate shiny top coat, this formula gives nails a seriously glossy finish without having to pay a visit to the salon.
Which nail polish shades work best for marble nails?
The good news is that marble nails can work with just about any colours you like, though there are some particularly on-trend and classic combinations. "Feel free to unleash your creativity with this trend," says Class. "If you're aiming for a vibrant look, a combination of neon shades would be fantastic, providing a lively and eye-catching effect. However, if you prefer a more understated, yet effortlessly cool, minimalist vibe, I suggest opting for a blend of sheer pink with either white or pastel tones – this subtle aesthetic is currently highly popular."
For a particularly on-trend look, Class suggests: "To create a marvellous marble look inspired by matcha, my top recommendation would be to mix Sally Hansen's Mint Refresh from the Good Kind Pure range with a hint of White Tea and a touch of Pink Cloud."
"This summer is seeing a focus on bright bold nails," agrees Stokes. "Neons, bright skittle nails, and bold blues are all really popular and, of course, there is a lot of focus on Barbiecore pink. If the nails are long then the marble effect can look really effective as a French tip. You don't have to do all your nails in the marble design, instead, you can choose to do it on one or two nails as an accent."
Our beauty editor and experts recommend...
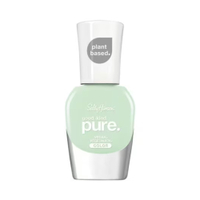
Sally Hansen Good. Kind. Pure. Nail Polish | RRP: $9.99 / £9.99
A vegan formula with caring plant extracts, such as algae and bamboo, to keep nails hydrated and help strengthen them.
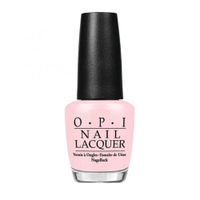
OPI Nail Polish in Pinks | RRP: $11.49 / £14.90
One of the most trusted nail polish brands in salons all around the world, you can't go wrong with two coats of OPI – even the late Queen Elizabeth II reportedly relied on the pink shade, Ballet Slippers.
Five marble nail design ideas to copy at home
1. Pink and white
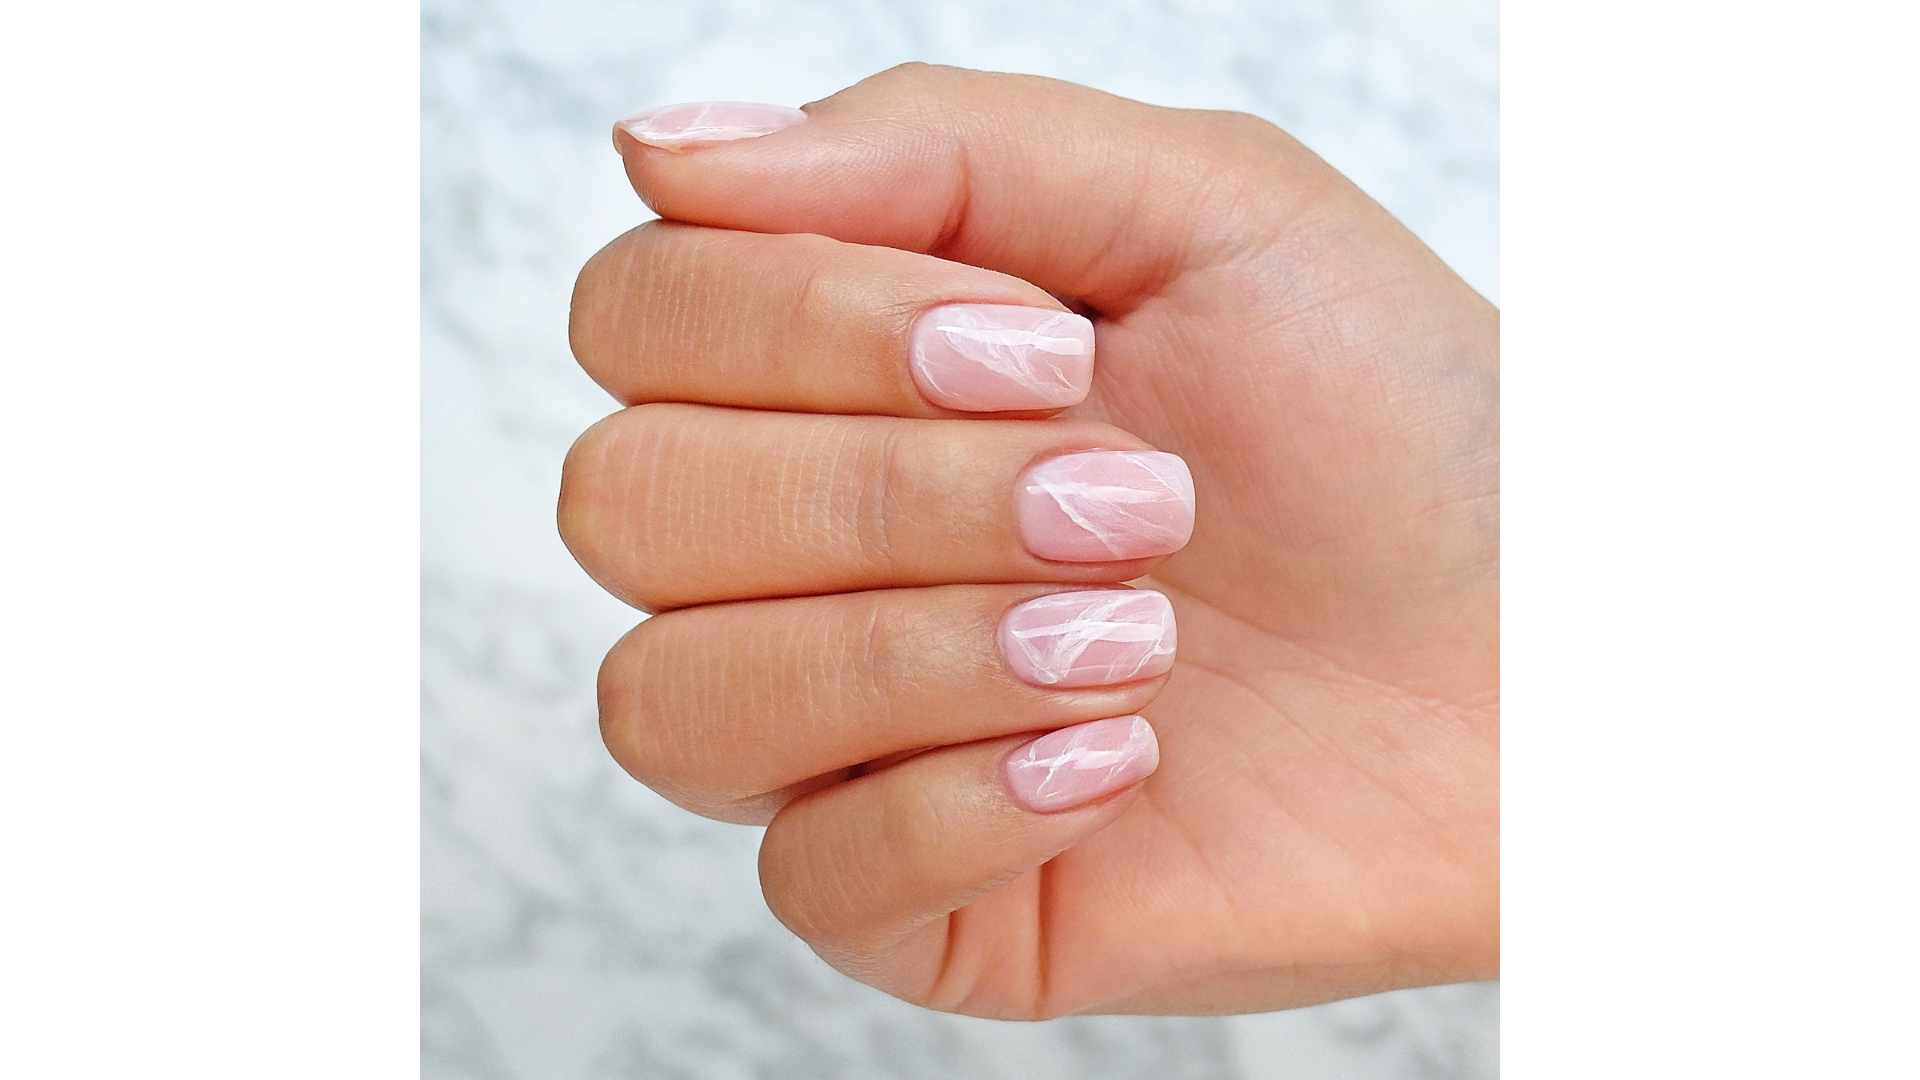
Pink and white is a go-to combination across so many different nail designs, from French tip nails to and, you guessed it, marble designs. This design from TOWNHOUSE also showcases how chic they can look on a square nail shape.
2. Purple marble nails
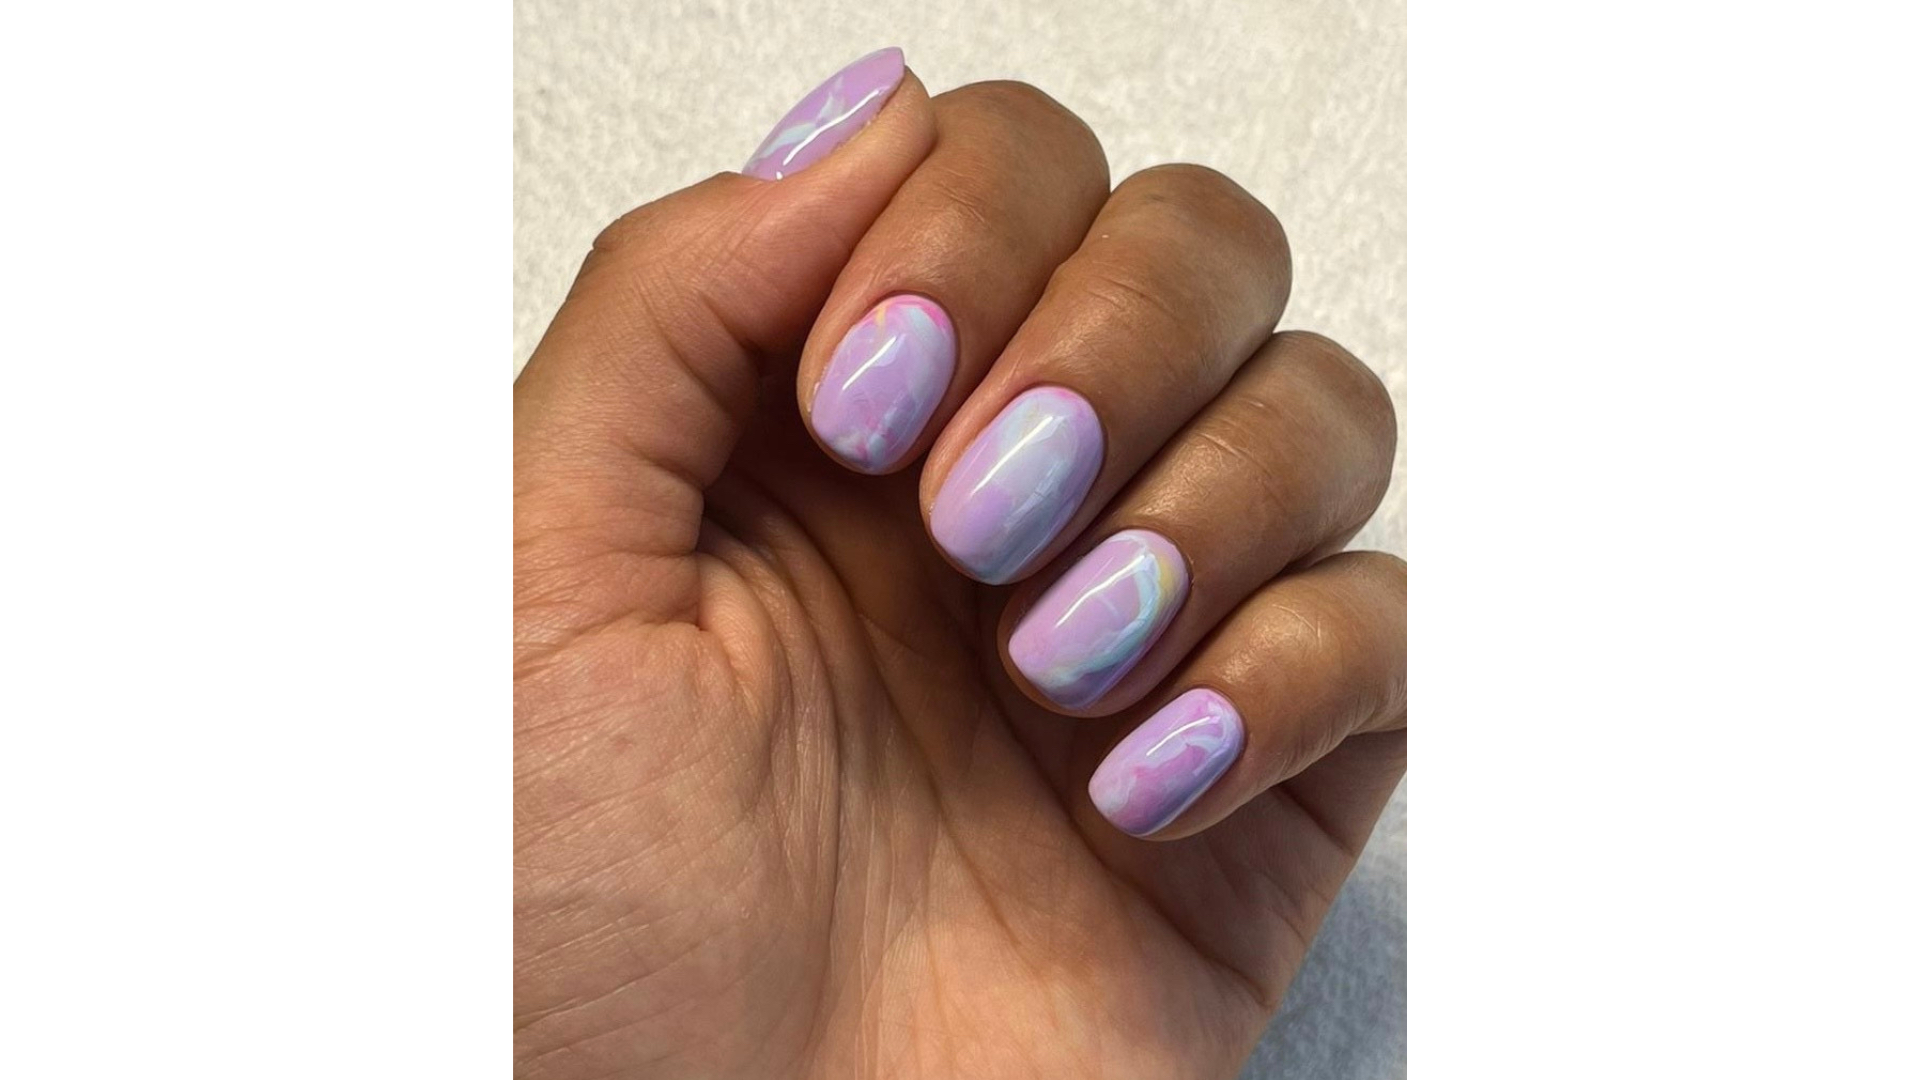
You can also marble a design using contrasting colours for a strikingly cool effect, such as this purple base with green accents by Duck & Dry on squoval nails.
3. Mint green marble nails
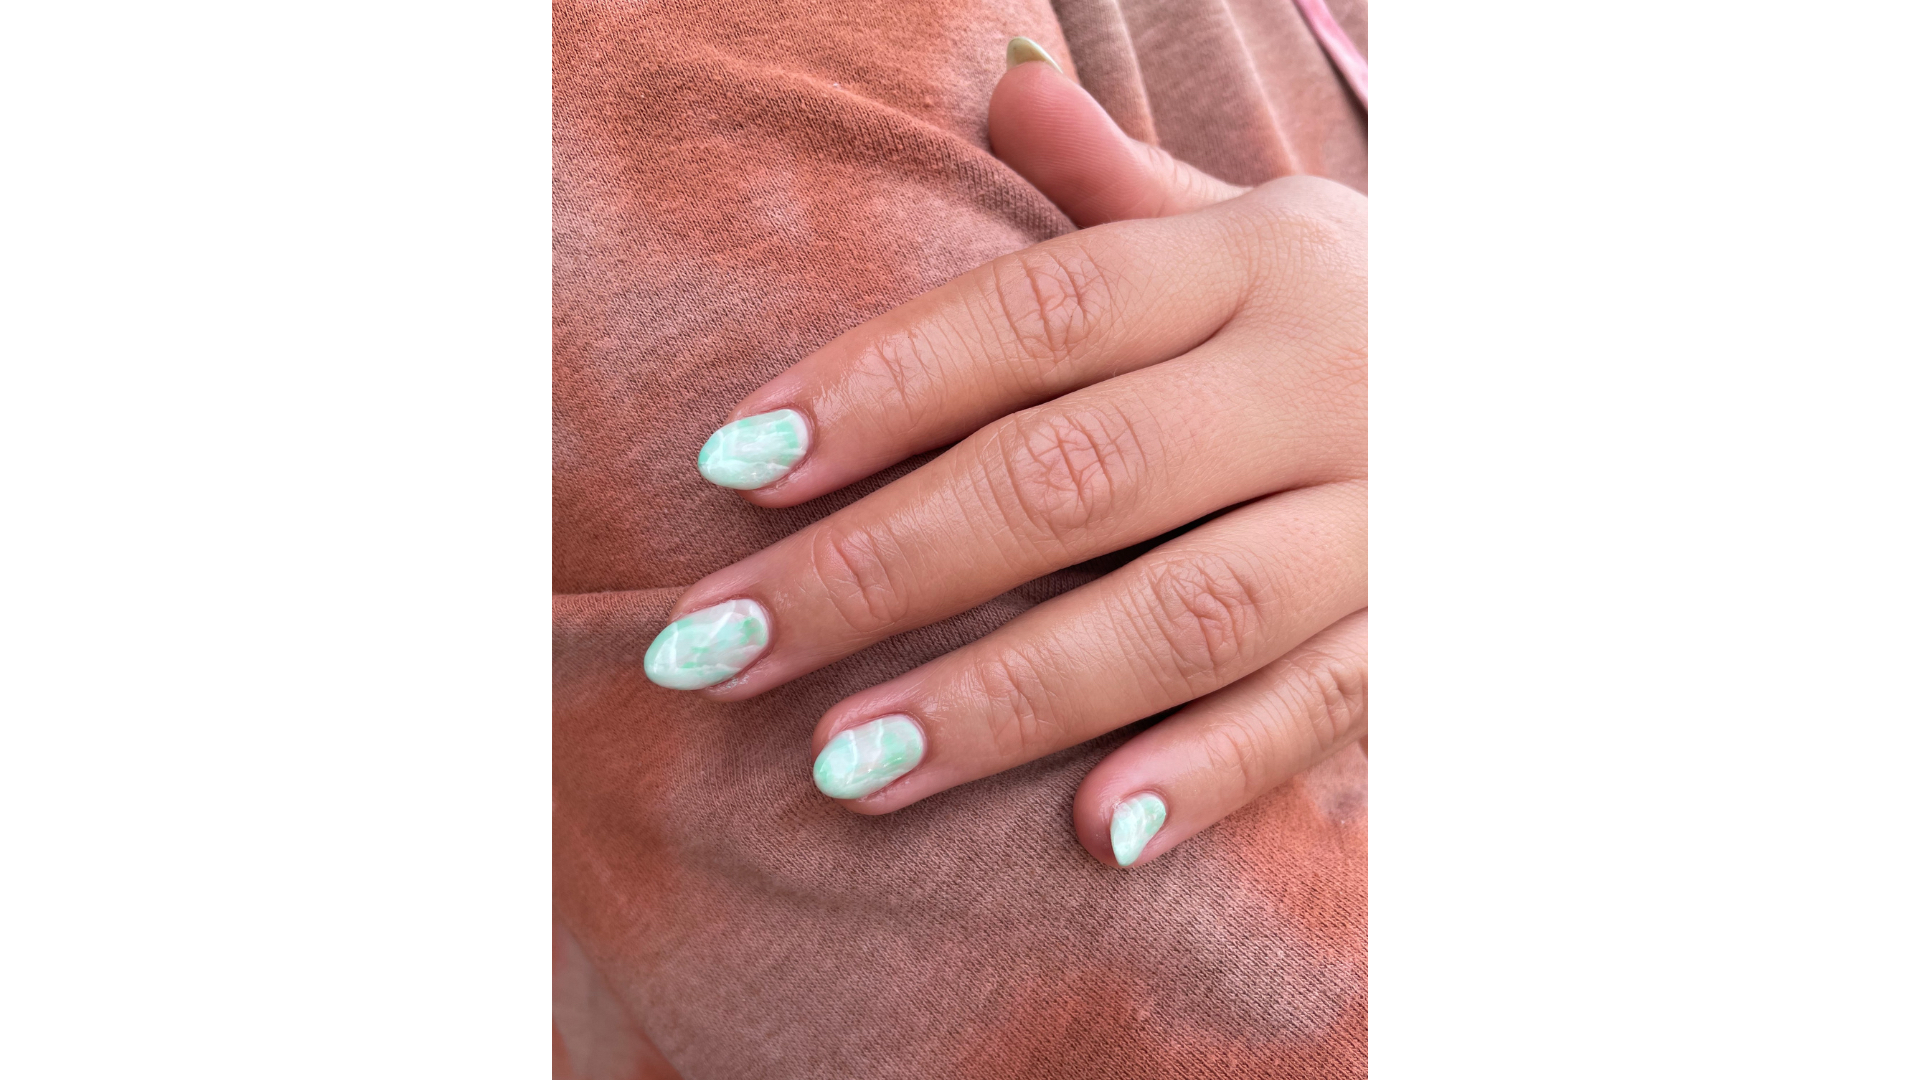
Mint green is one of a few summer nail colours that are trending this season, and we love this understated design paired with white by Shoreditch Nails.
4. Bold pink and orange marble nails
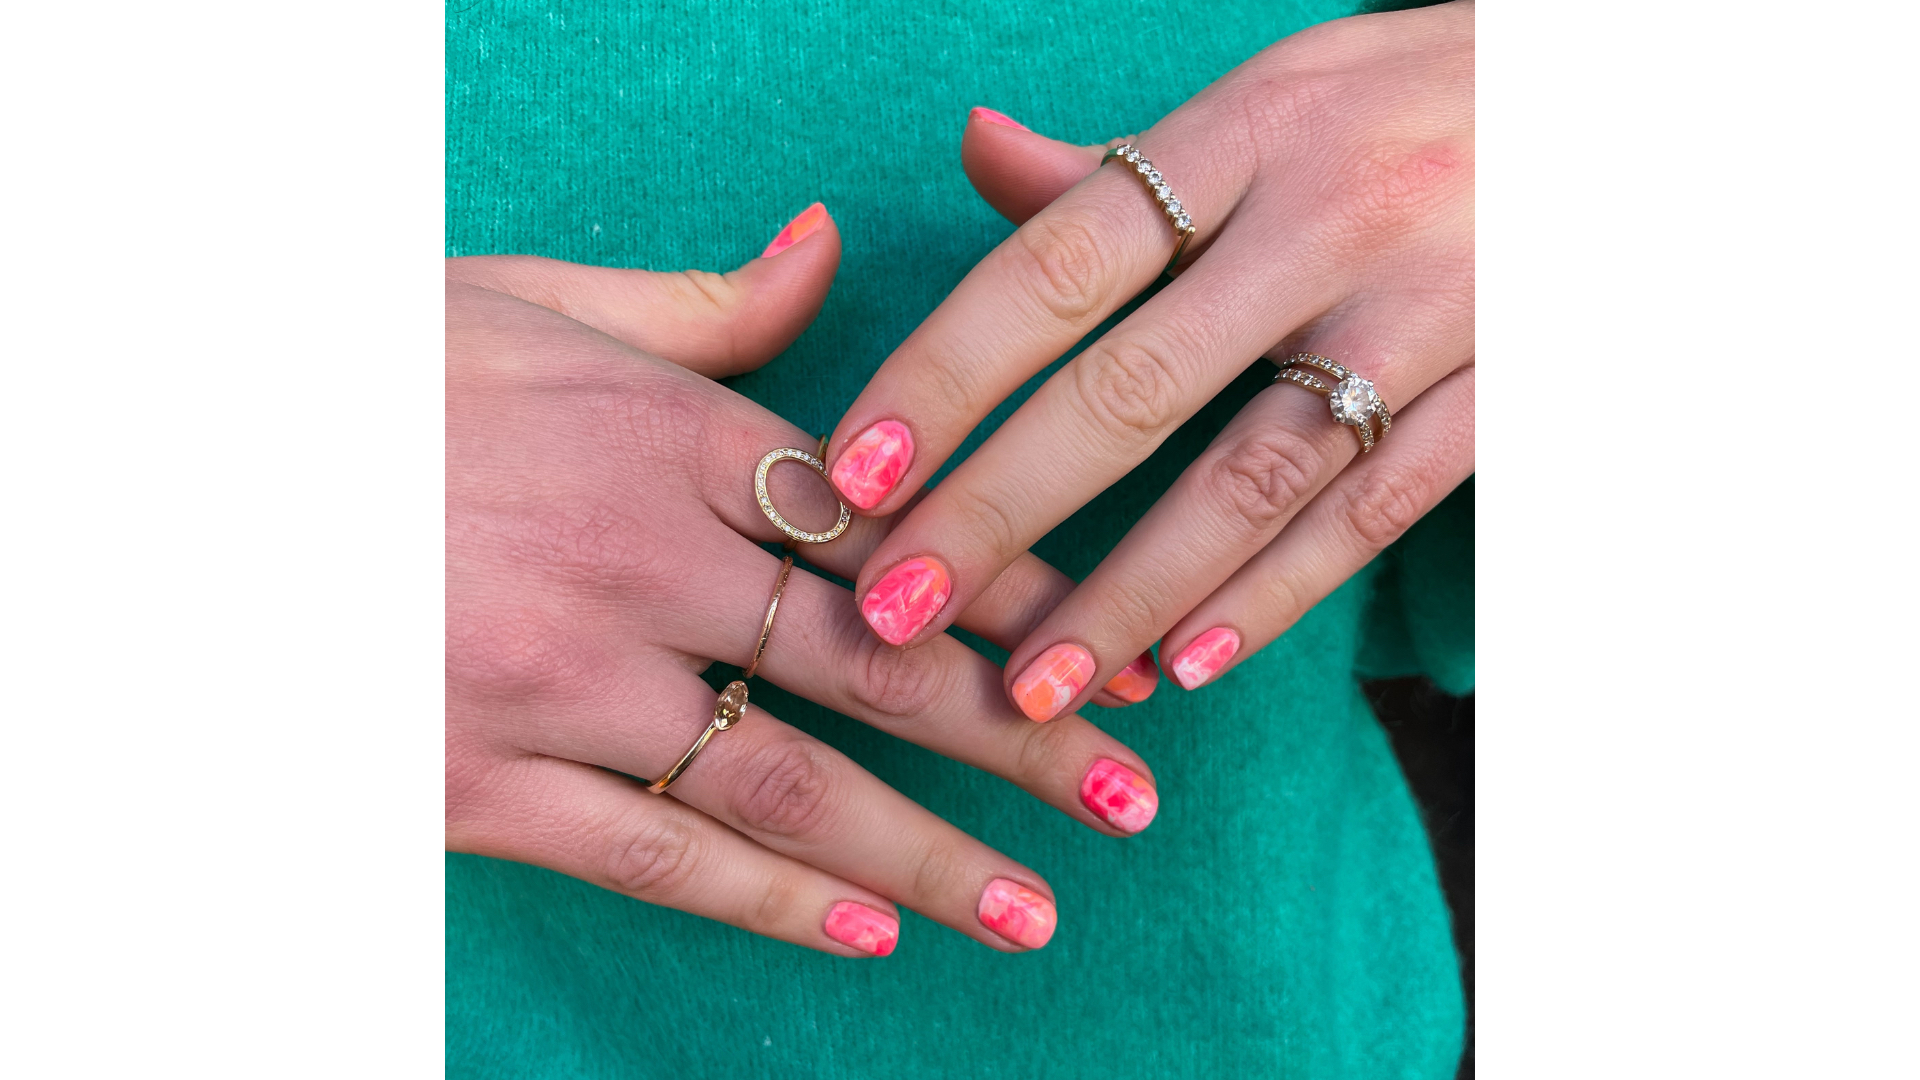
'Tis the season for summer brights, and pink and orange is the perfect ice pop-inspired combination to see you through festival season or a sunny vacation.
5. Green and white marble nails
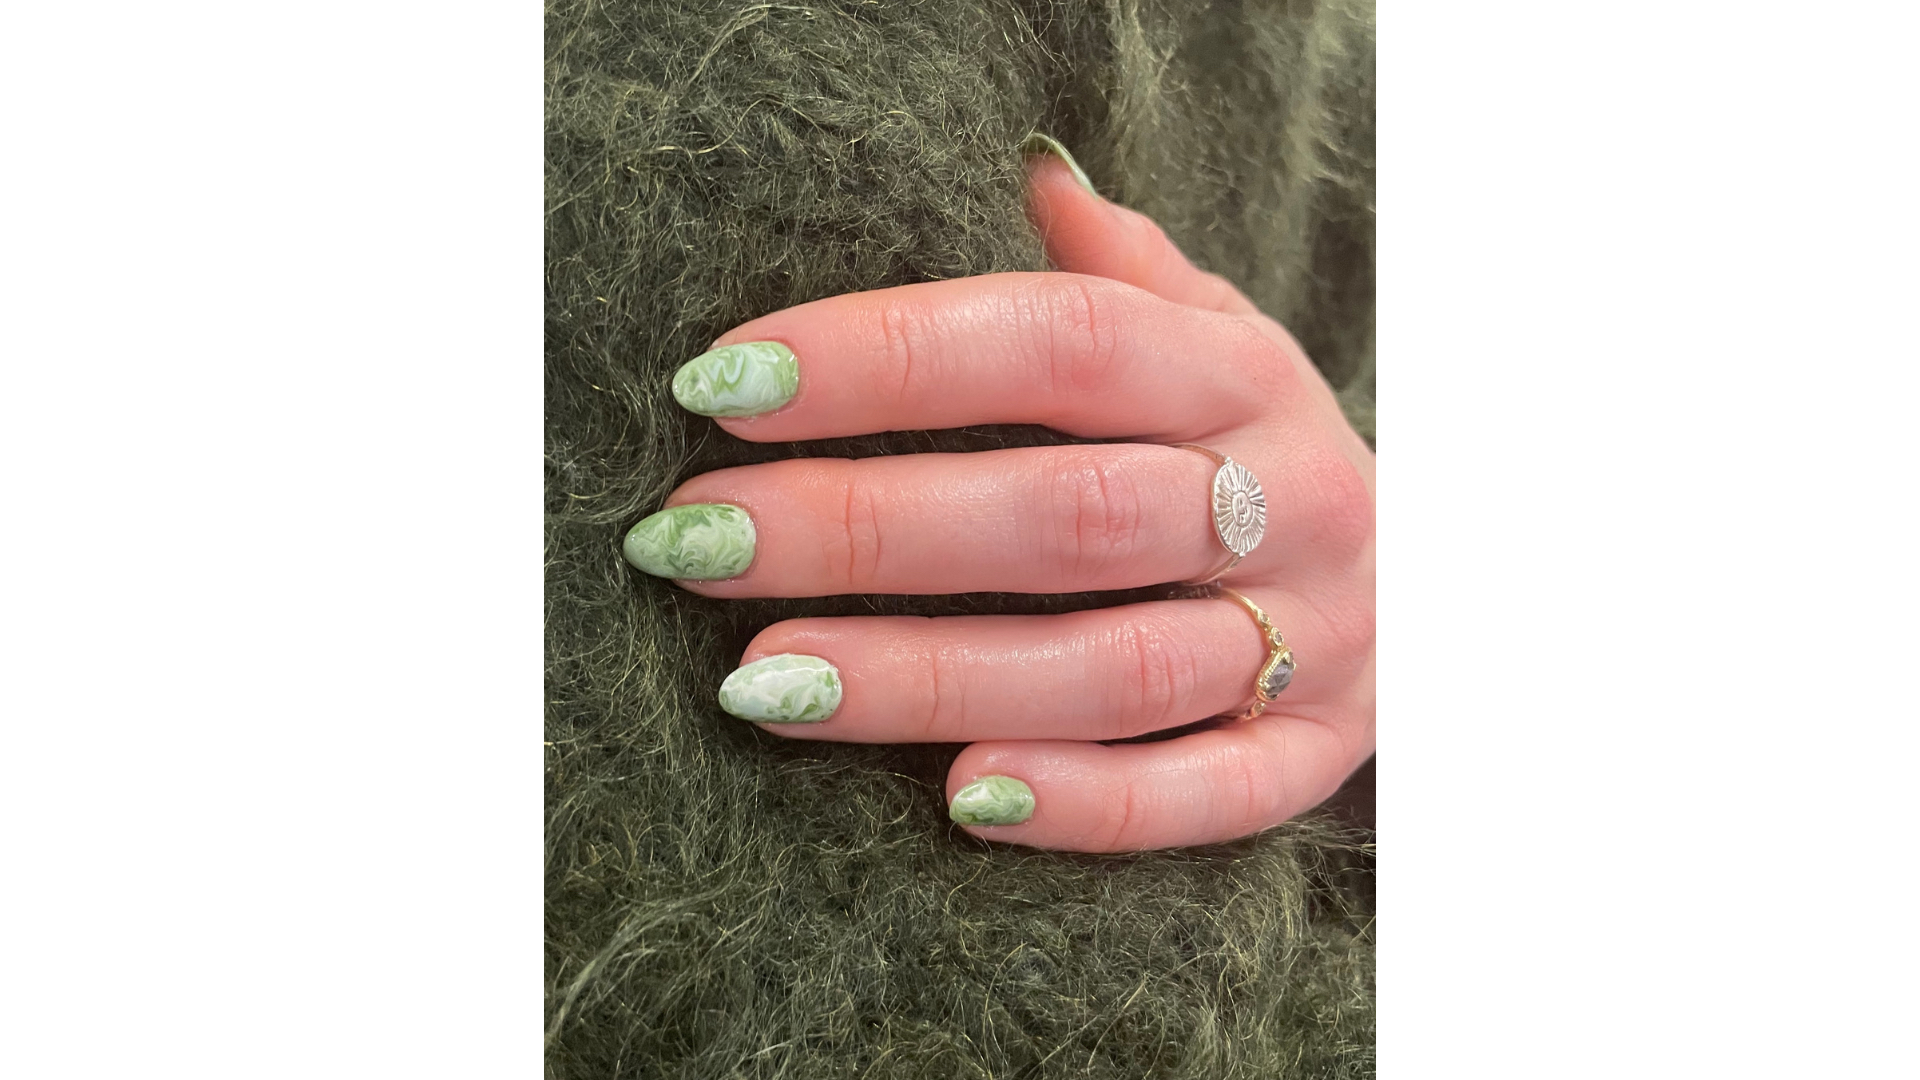
The matcha nails trend has lasted through spring and is still proving popular for summer 2023, working with all nail shapes and lengths, including the rounded ones pictured.
Lucy is a UK-based beauty journalist who has written for titles including Marie Claire, Glamour and OK!, as well as contributing to woman&home. Her work covers everything from expert skin and haircare advice to beauty trends and reviews of the latest products. During her career she regularly speaks to the industry's leading hairdressers, dermatologists and make-up artists, has covered backstage at London Fashion Week and interviewed many a celeb about their beauty routine.
- Amelia YeomansSenior writer