I’m a curly beauty editor who can make a smooth blow-dry last a week: here's how
Our senior beauty editor has mastered the art of stretching out a salon blow-dry, try these tricks to stave off a wash day
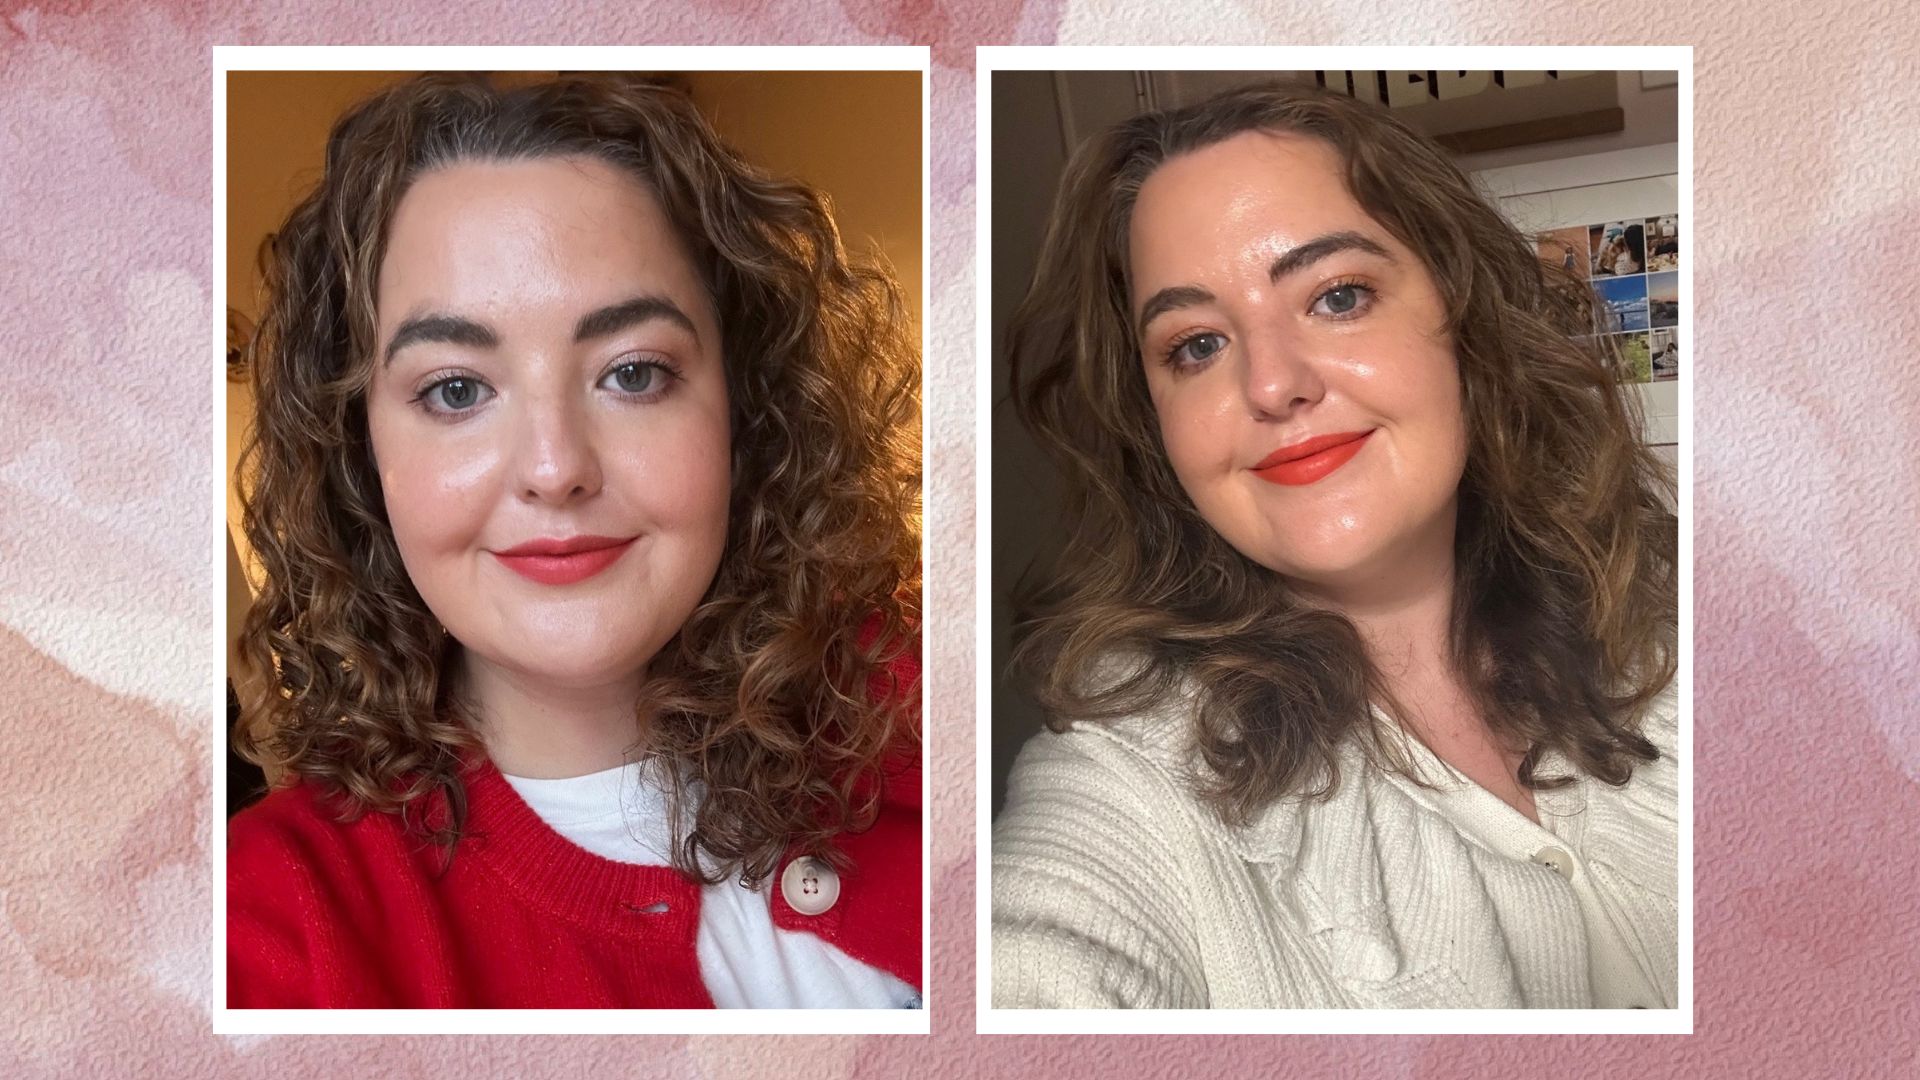

Is there anything better than a fresh blow-dry? The bounce, sleekness, the swish. What if I told you I could turn that good hair day into a good hair week? I have a very particular set of skills that could help you do exactly that.
As a senior beauty editor with curls, I’m a fan of ditching my best hair dryer for the occasional salon bouncy blow-dry. Mostly because I lack the arm strength and patience to create an at-home blow-dry, so if I’m offered the opportunity to transform from a cockapoo to an afghan hound, I’m taking it. Because of the novelty factor of this sleek hairdo and my intrinsically lazy hair-washing schedule, I've learned how to make a blowout last longer.
In fact, it's become my best skill - I'd go as far as to say it’s gold medal-worthy. Seven, eight, even nine days down the line my hair looks as good as it does on day one. Whether your ‘do is from the salon or by your own hands, if you’re looking for ways to give your Christmas party hair some longevity (who has time for a hair wash when there’s wine to be mulled?), you’ve come to the right place.
Here's how our senior beauty editor makes a blow-dry last over a week
Day 0 to Day 1
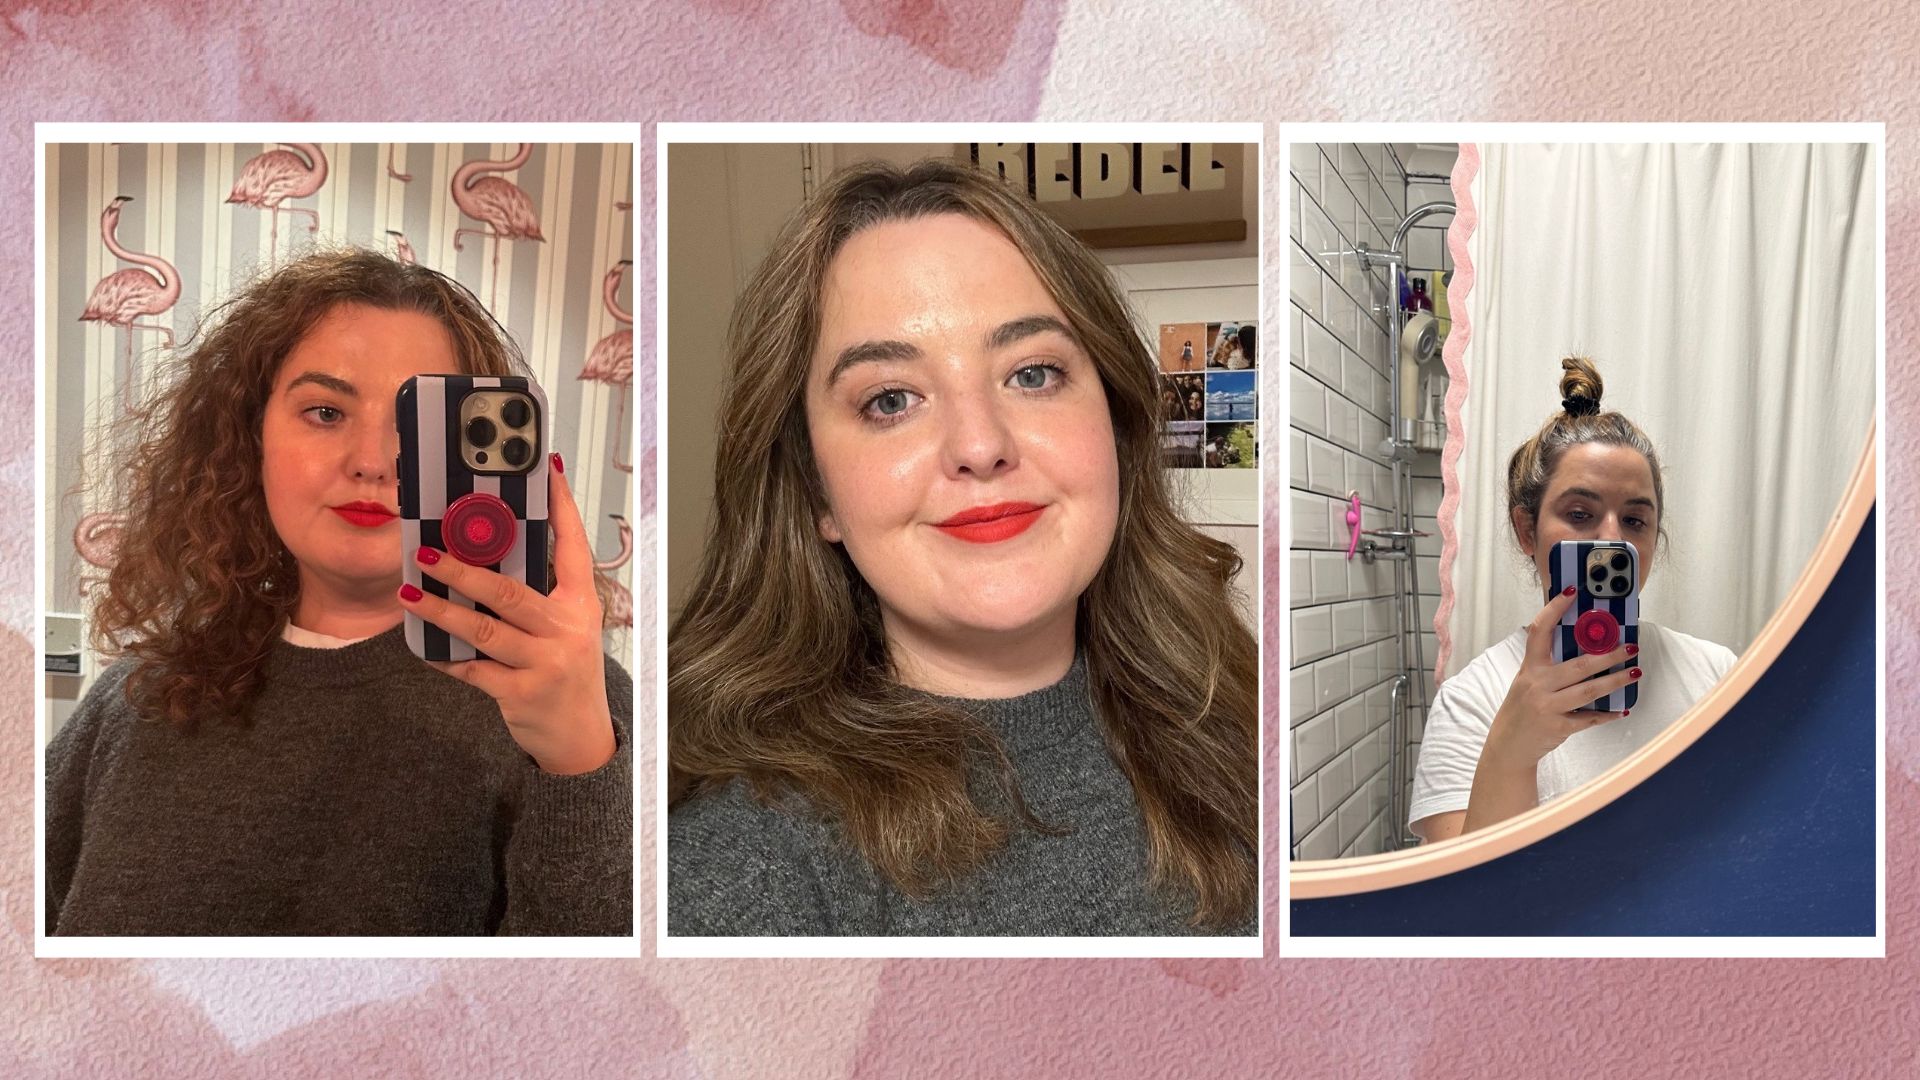
Rhiannon before, after and overnight with the blow-dry
The way you prep your hair will improve the staying power of your blow-dry. I find that using a clarifying shampoo the day before my appointment gives my hair a better base. This is especially important if you have curly hair - it helps remove the product buildup from all those rich creams and gels.
To write this guide (all in the name of scientific research, you understand) I booked a blow-dry at Hershesons, my go-to venue in London. They're quick and efficient, and they know how to master that cool-girl, done-but-undone look. Wherever you decide to go - or even if you're DIYing it, shampoo twice and consider a lighter application of conditioner, applying just to the ends. This will stop your hair from going flat on day 2. In my experience, using tongs to create curls post-drying helps them hold for longer, and it creates a better shape.
How you sleep on it the first night is crucial. Whatever you do, don’t sleep with your hair down. Put it into a pineapple - a loose, undone bun at the very top of your head. I find that twisting the hair before wrapping it around itself creates a bouncy curved movement in the hair. If you want it to look sleeker, a quick flipped bun or a ponytail will work well - just make sure it’s not too tight.
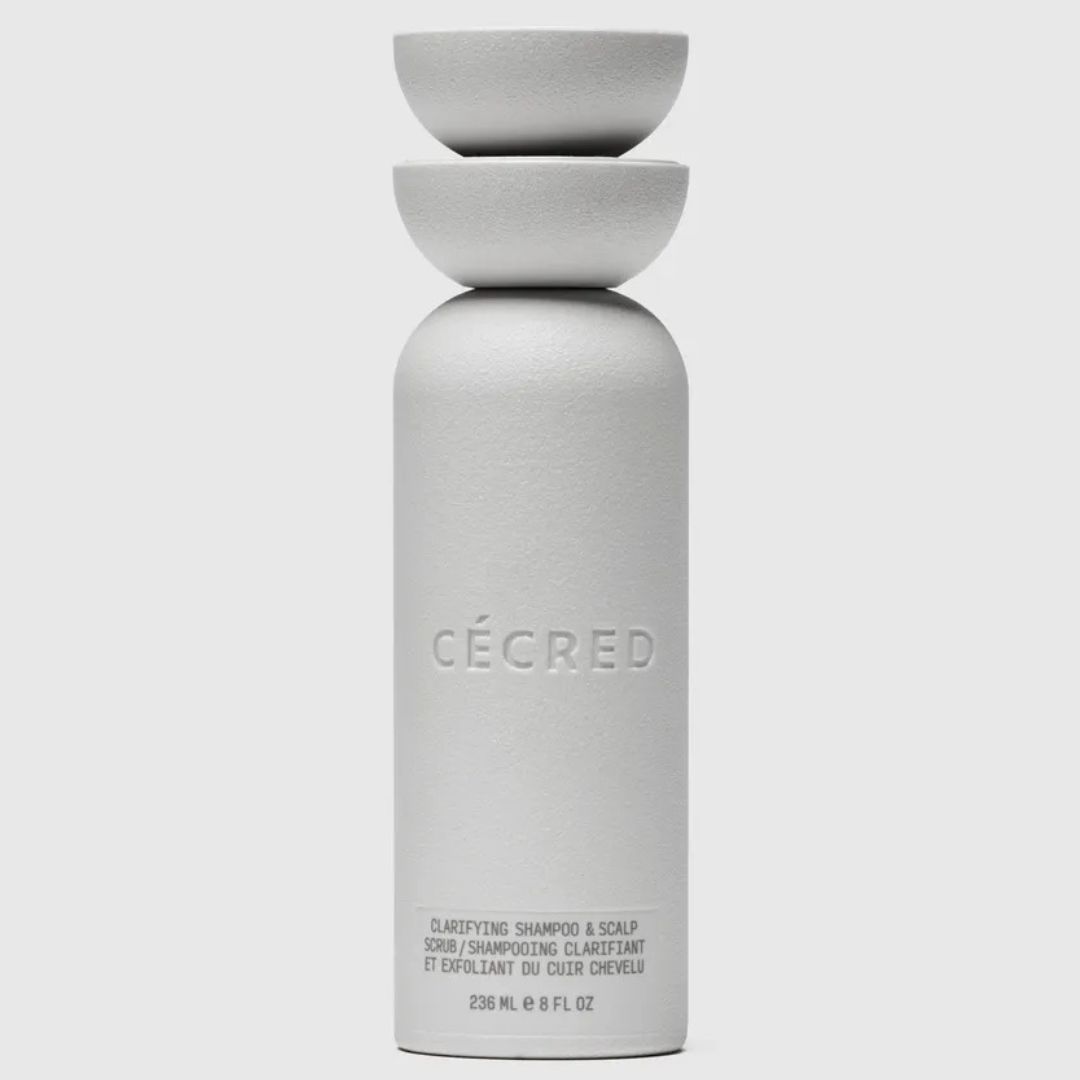
RRP: £37
I'm quite wary of celebrity hair brands, but this shampoo from Beyonce's range Cecred has blown me away. The nozzle applicator allows you to section hair and immediately reach the scalp, and my hair feels squeaky clean and shiny after every use.
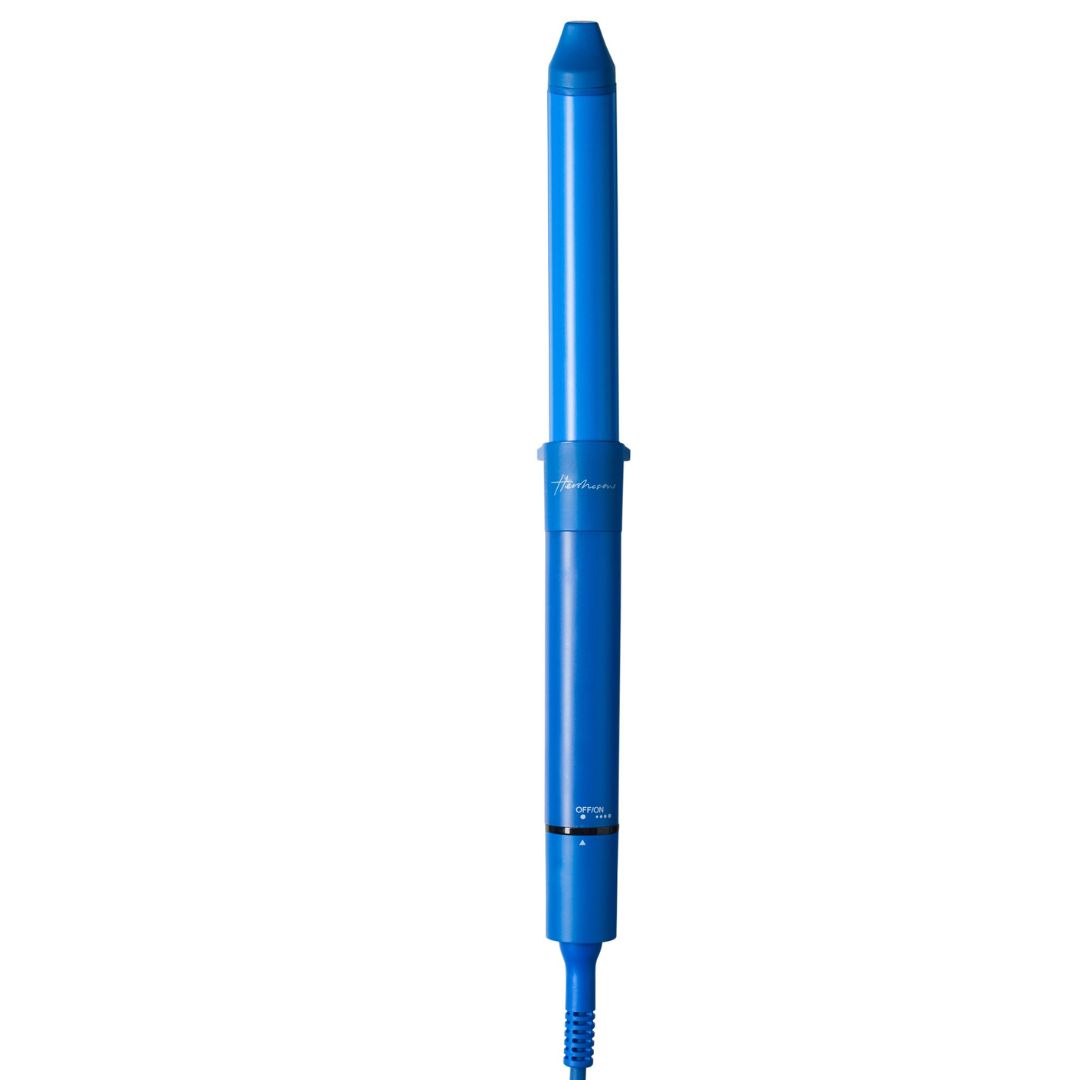
RRP: £120
These tongs were used on my hair to create this blow-dry, and the curls lasted an impressively long amount of time - I was bouncing well into day three. It heats up quickly and reaches quite a high temperature, so you don't have to hold the hair in it for too long - my entire head was done in less than 10 minutes.
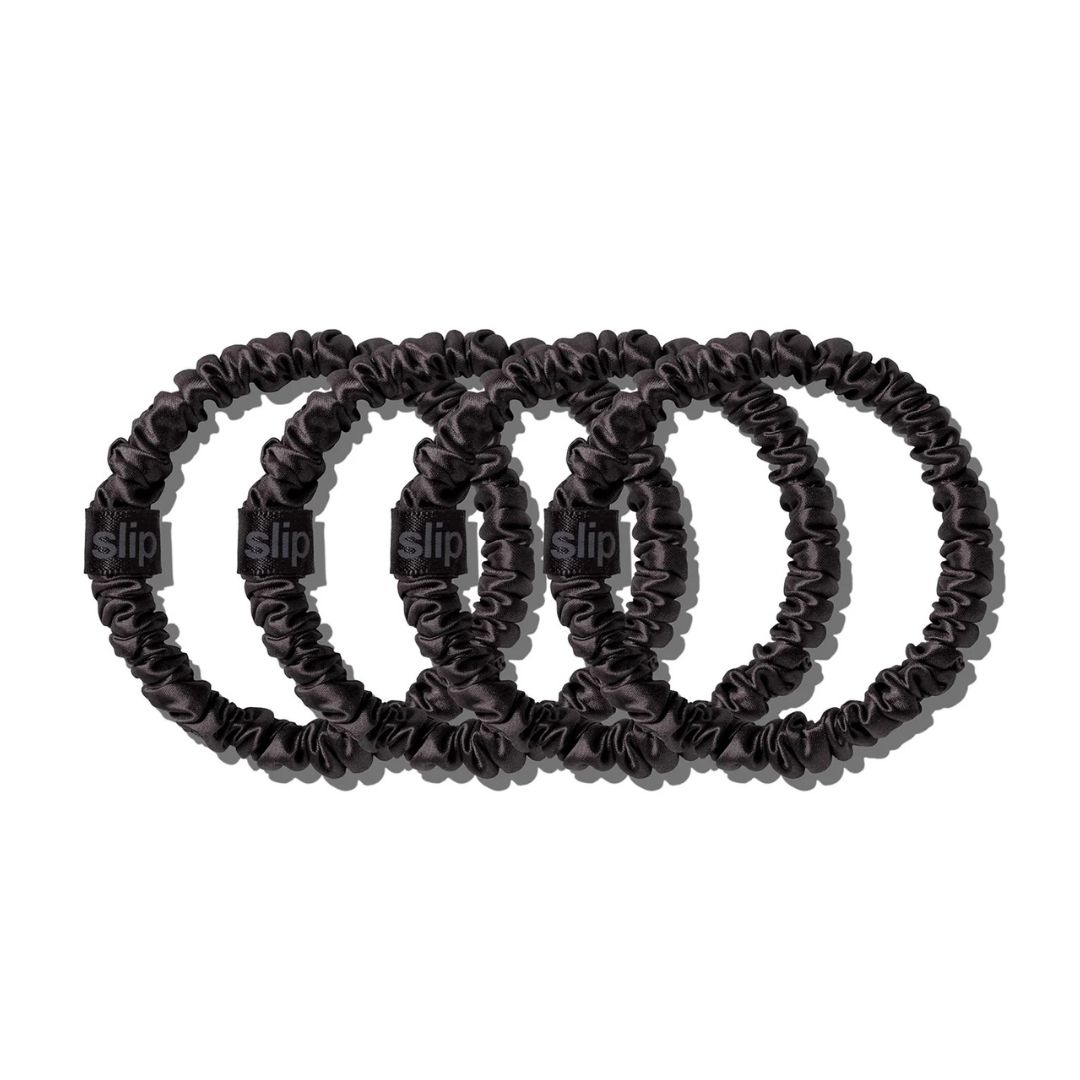
RRP: £29 for 4
I've been using silk and satin scrunchies for years - I could never go back to my time on the 100-for-£1 elastics. They're much gentler on hair, making them more comfortable to wear while preventing breakage or kinking - crucial for the longevity of a blow-dry. I have one permanently on my wrist or in my hair.
Days 2 to 3
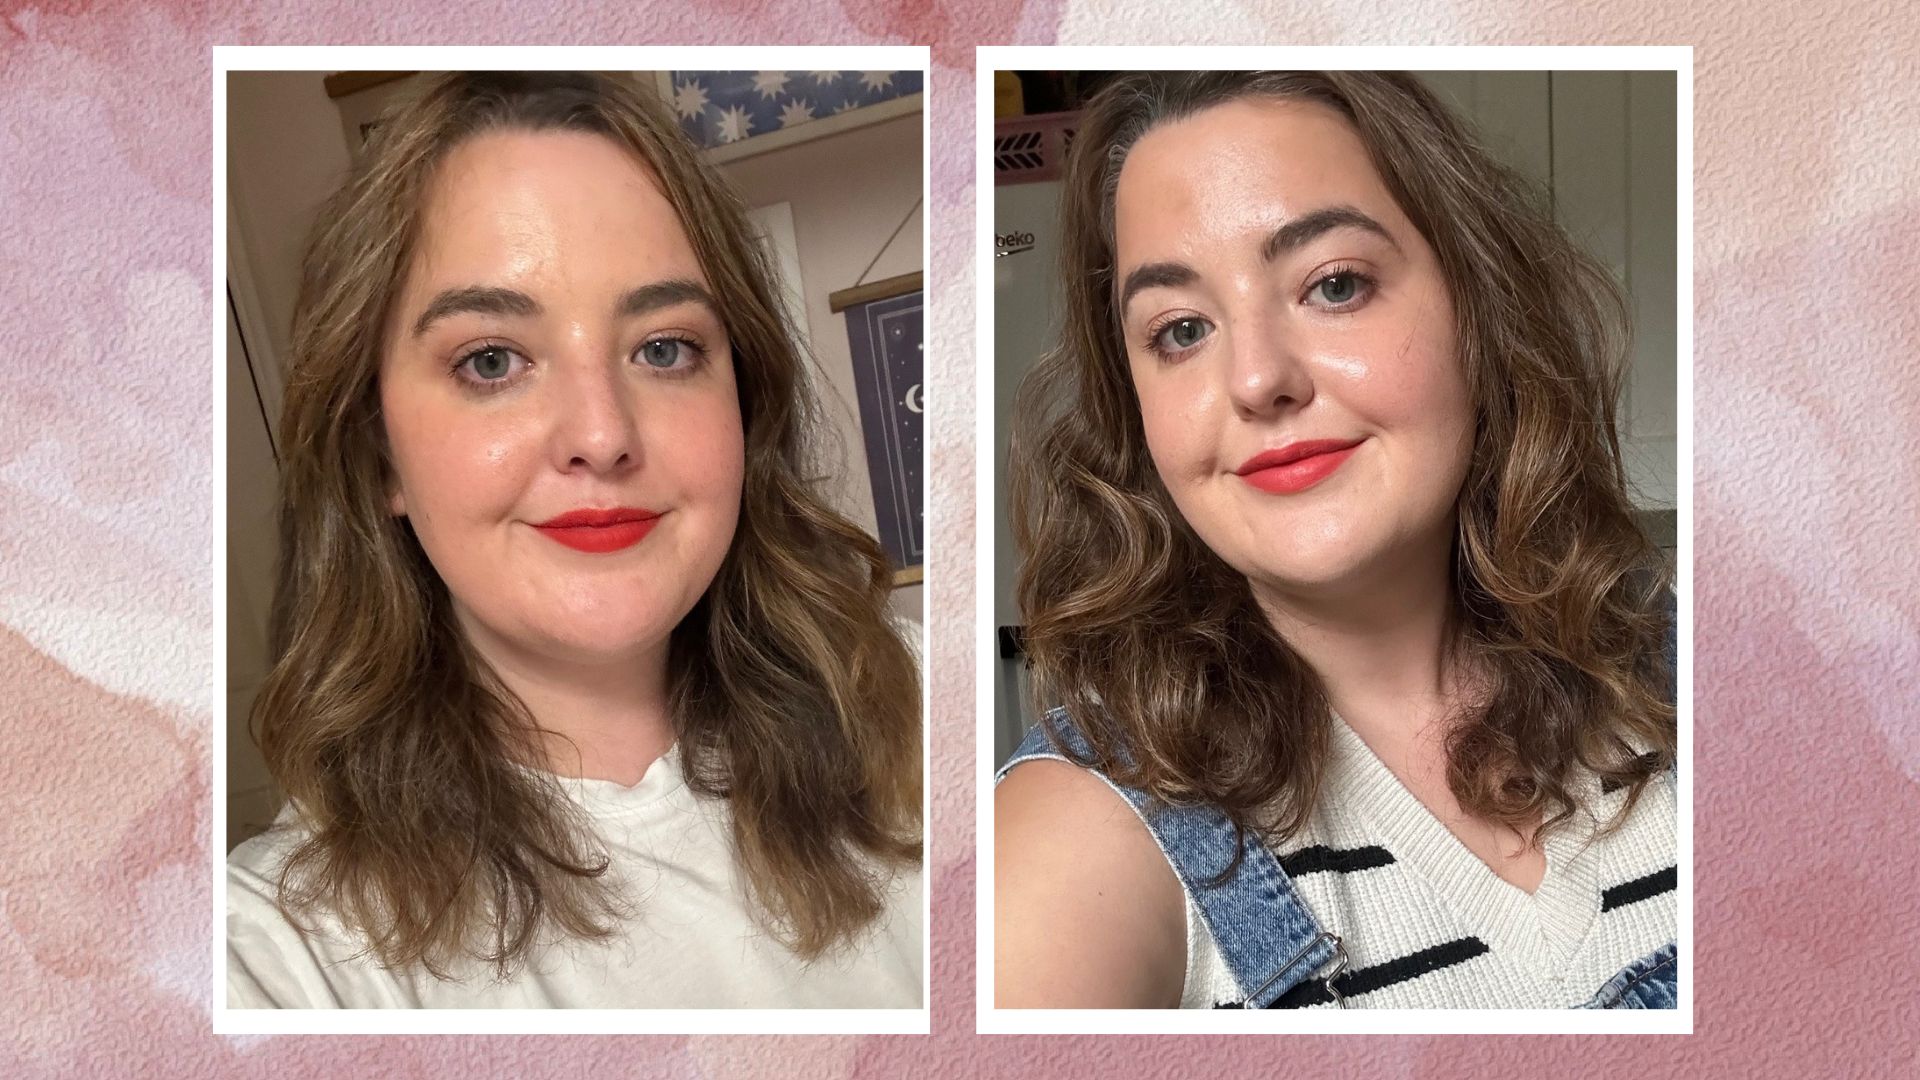
On day 2 and 3, the blow dry improves
In my case, days two and three are the golden era of a blow-dry. Day one can occasionally look a bit 'done', but on day two or three, some natural movement arrives, with some volume building up from the twist pineapple method.
Sign up for the woman&home newsletter
Sign up to our free daily email for the latest royal and entertainment news, interesting opinion, expert advice on styling and beauty trends, and no-nonsense guides to the health and wellness questions you want answered.
The first phase of this process is incredibly straightforward - continue to sleep with your pineapple (ideally on a silk pillowcase, to prevent bedhead), with a misting of dry shampoo on the roots if needed.
Tip - I always apply dry shampoo before bed. Overnight it gets more time to sink in, so by the morning hair looks clean and fresh.
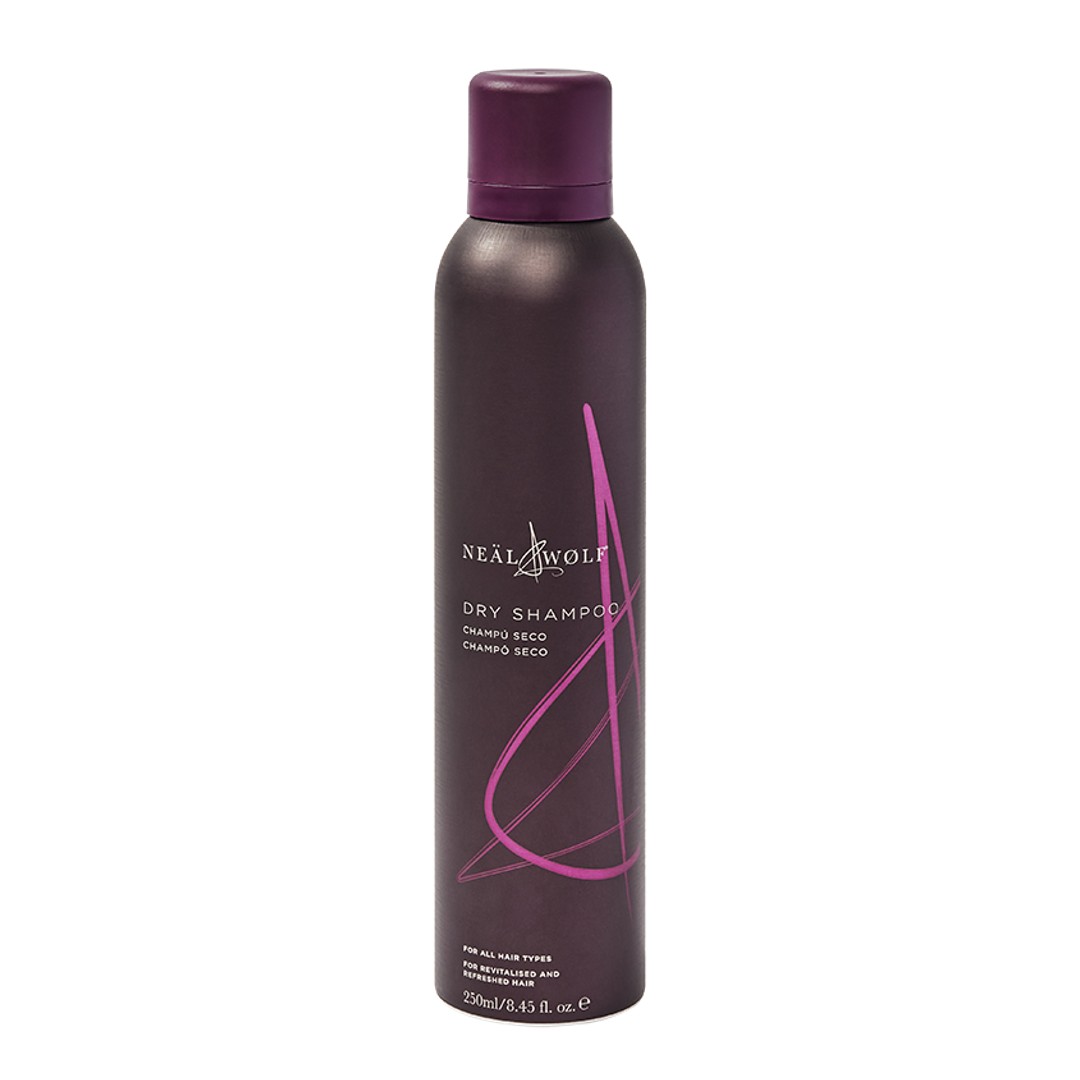
RRP: £12.75
This is my favourite dry shampoo. It smells like a posh perfume and never looks chalky or white. The scent and the texture make it the ultimate hair refresher, even a week down the line.
Days 4 and 5
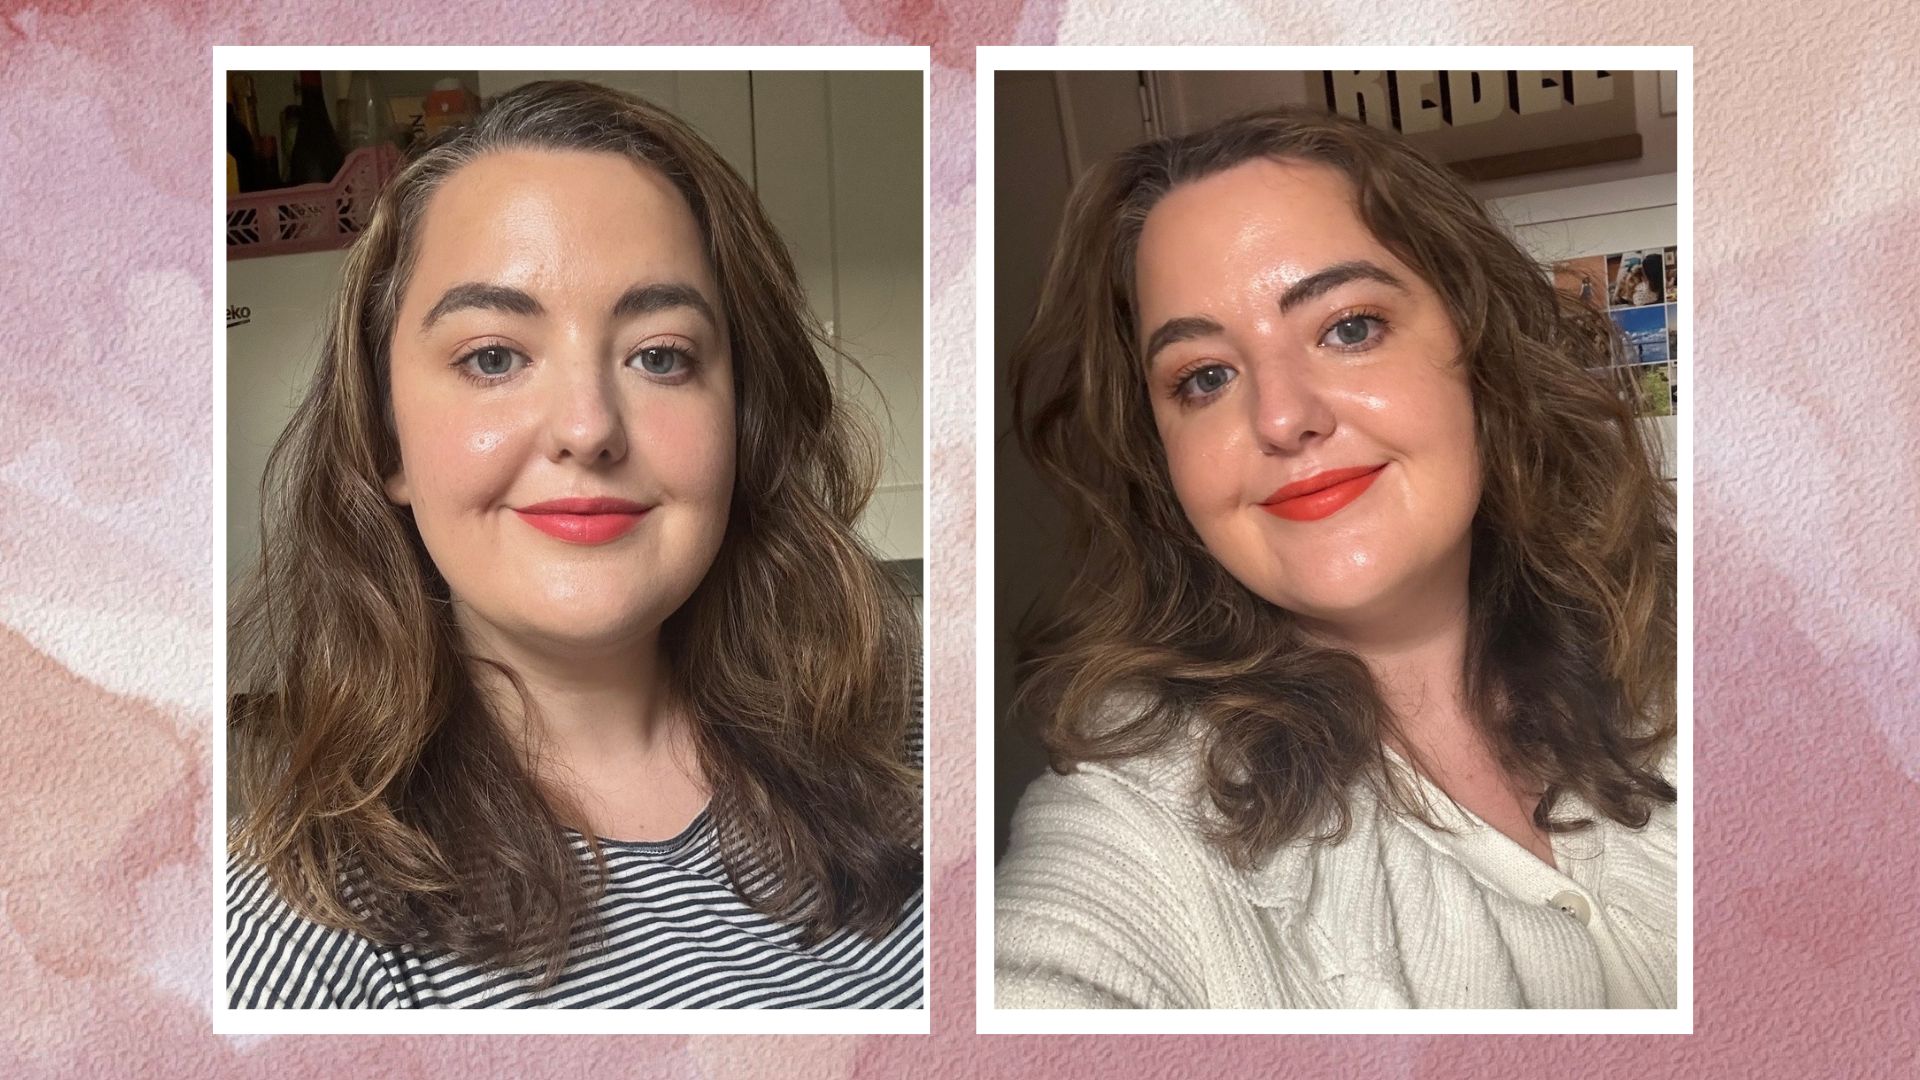
Day 4 and 5 - still going strong, thanks to some styling tricks
Here's where things get a little bit more complex. The technique on day four and beyond depends on the finished look you'd prefer. If you want it to look smooth and shiny, you should add nourishment in the form of oils or light conditioners, to keep frizz and flyways at bay. You can also use straighteners to tidy up any kinks, or a curling tong to create waves or curls if it's looking flat.
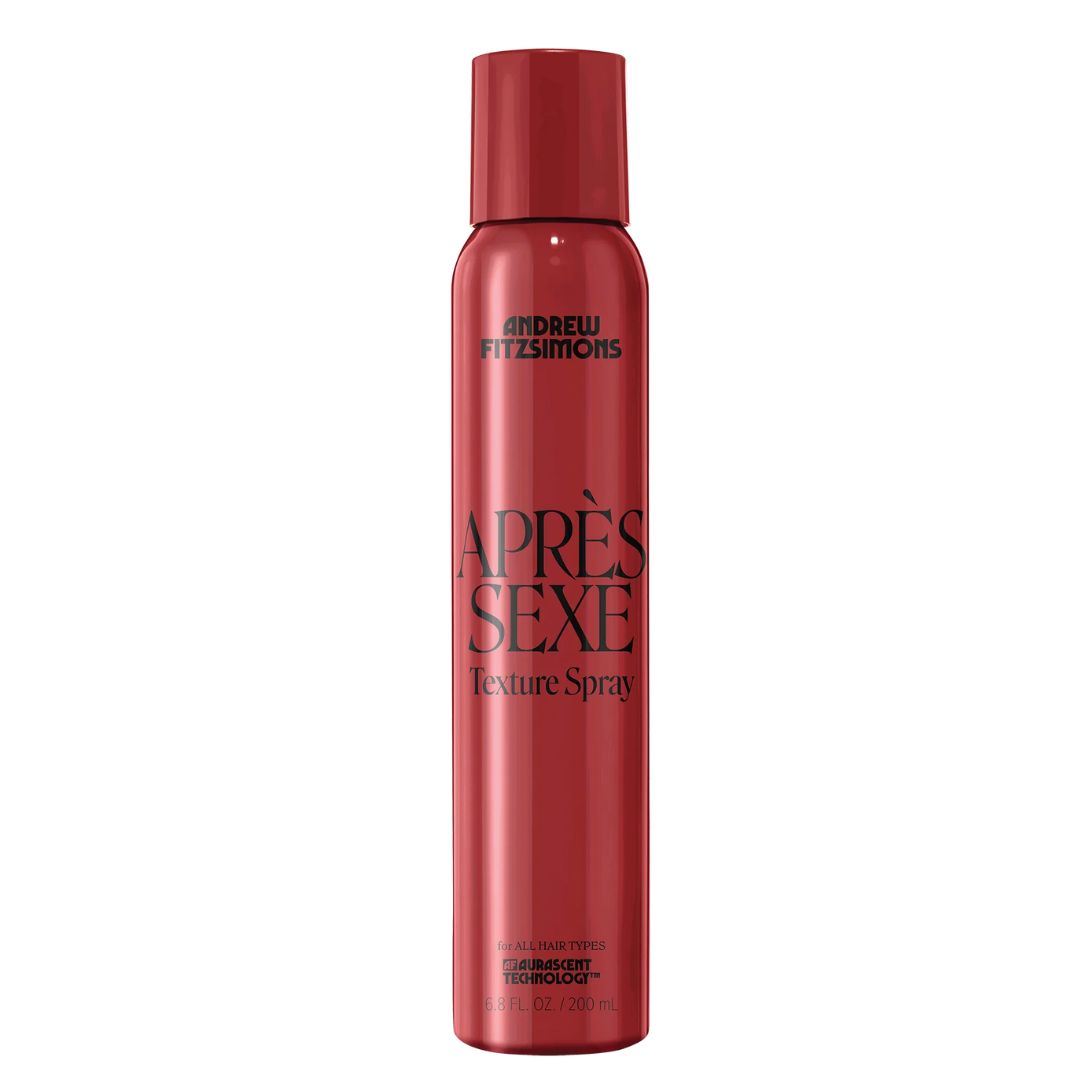
If you - as I do - prioritise volume and movement, use a texturising spray to create shape and texture. This works especially well when applied before you do your nightly pineapple twist. Spritz through the body of your hair, zhuzh it in then twist it up. In the morning it'll have plenty of volume, with an improved shape from the twist. As you might be able to tell from the pictures, I did this the evening of a slightly flat day four - the volume boost on day five is impressive, with very little effort.
Another thing you can do is to move your parting, as I did on the morning of day four. Swapping to a side parting adds volume in a matter of seconds, and you could also flip it back the other way a few days later to get the same effect again.
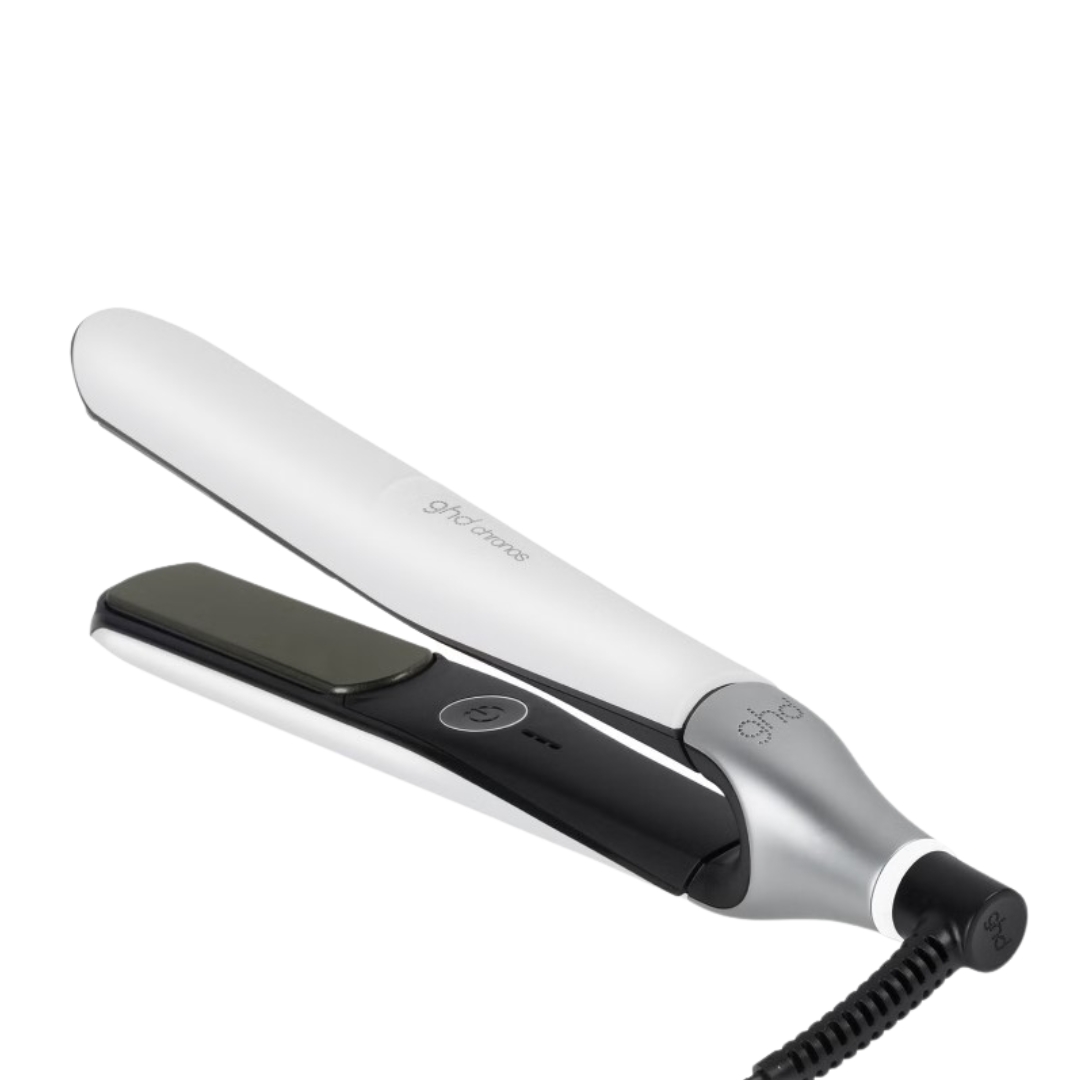
RRP: £289
This is the beauty team's favourite straightener, and for good reason. It's designed to make styling easier, quicker and with less heat damage. It's come to the rescue of many of my rained-on blow-dries, bringing some sleekness back in a matter of seconds.
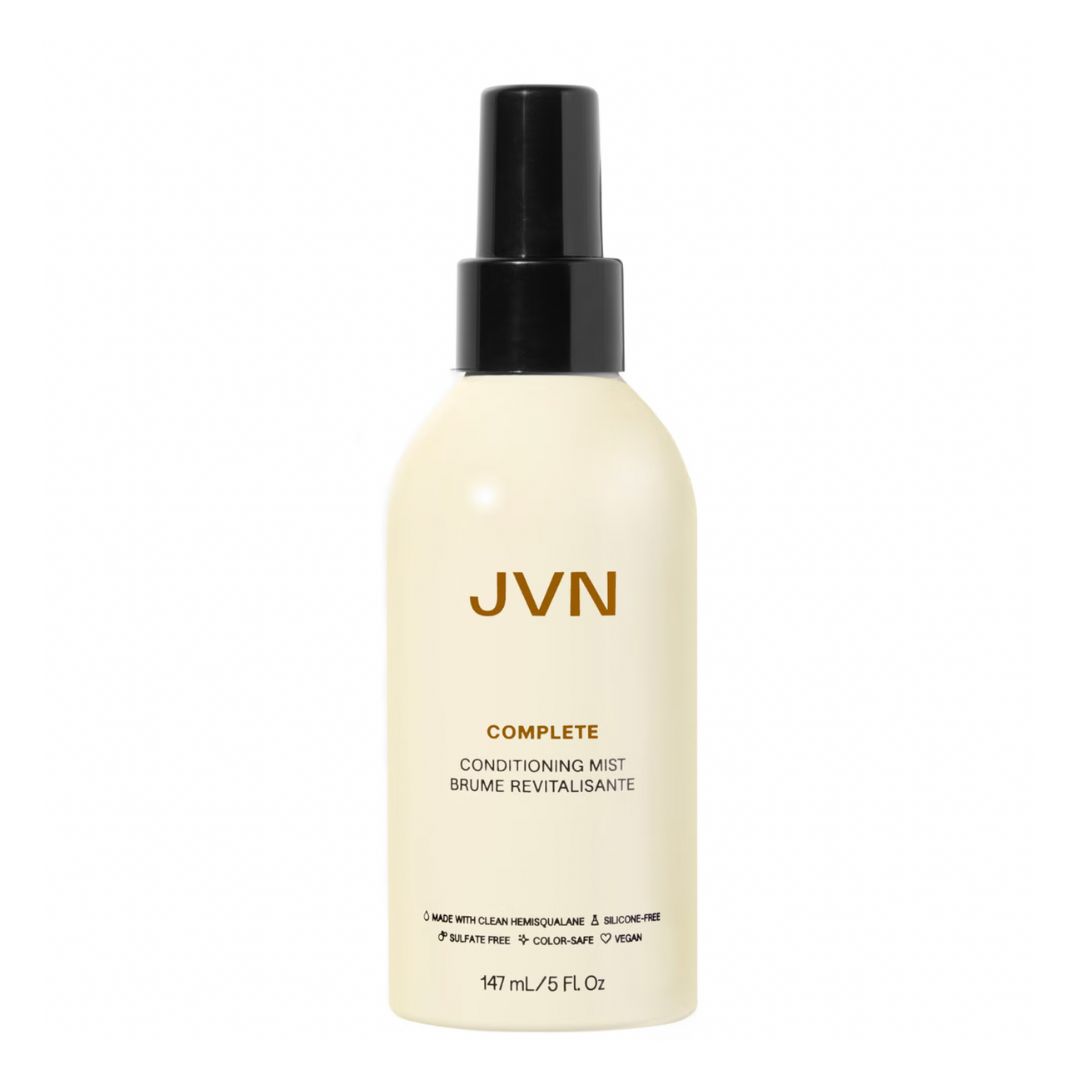
RRP: £21
Whenever my hair looks a bit thirsty or crispy, a couple of mists of this leave-in conditioner instantly provides some hydration. It looks softer, sleeker and generally happier. It also smells amazing, which is a brilliant bonus.
Day 6, 7, 8 and beyond
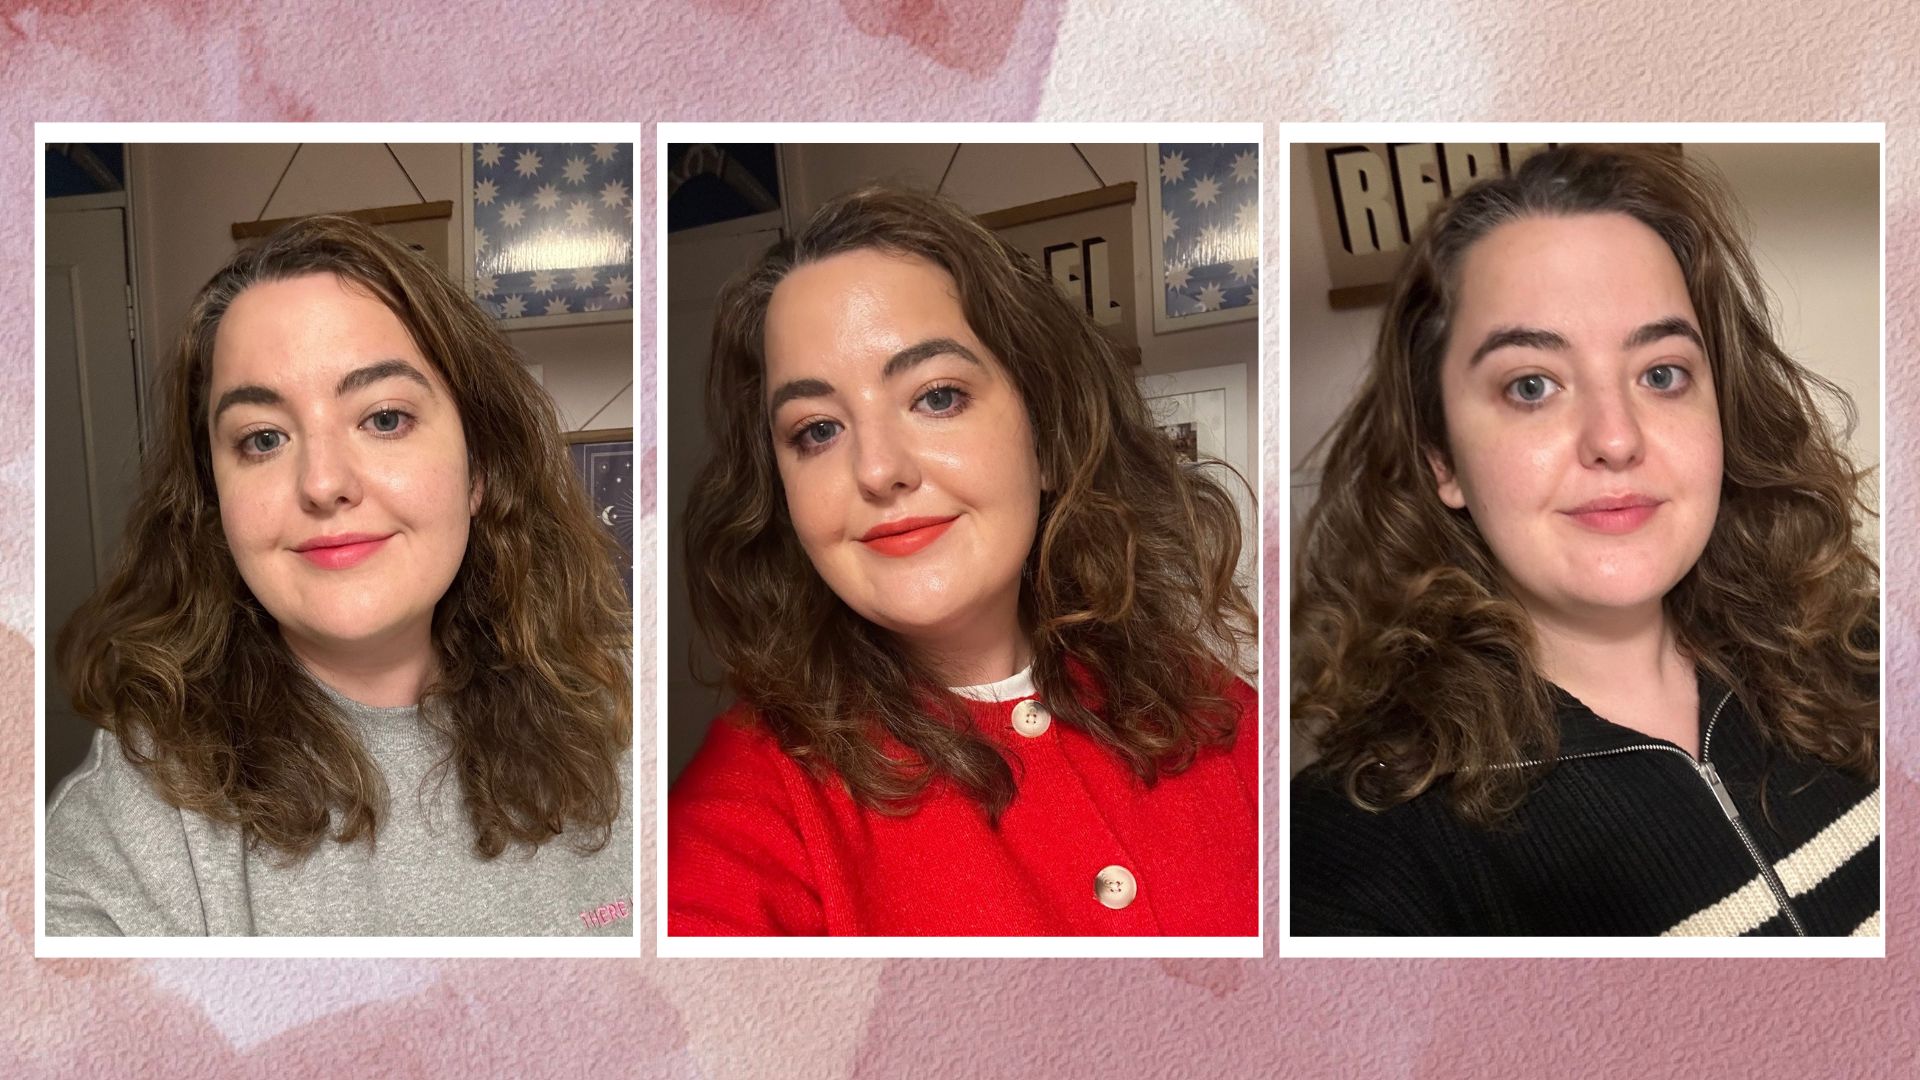
Depending on the path you've taken, the following days should be a continuation of the technique. I wouldn't advise going for volume and then dampening it down on day five, or vice versa - in my experience that leads to overstyled, frizzy hair.
I tend to lean into the textured, volumised look. It also rained on day six, as you might be able to tell from some curls creeping back in. I leant into it, enjoying watching my hair get 10% bigger every day.
On this occasion, I gave in and finally washed my hair on day eight, but I've been known to go a full 10 with no issues.
Extra factors that help & hinder a blow-dry
Something worth remembering is that I have naturally curly hair, which holds (faux) curls well, and the natural shape helped create that volumised look that I was after. If your hair is very fine, flat or straight you may not get the same result, especially after four or five days, but I hope that employing a few of these techniques will help give you an extra few days - you may just want to skip to my day-5 techniques on day three. If you have scalp issues, it's also not advisable to go a week without washing.
Another thing to consider is that external conditions can impact your blow-dry - rain, wind, exercise (something I was heroically willing to give up for the week), and hats. A light bit of rain did little to dampen my week of sleek hair, but then again I am a pro - and with practice (and a sturdy umbrella), I'm confident that you'll be swishing for a full week too.

Rhiannon Derbyshire is the Senior Beauty Editor for Woman & Home.
She started interning for glossy magazines in 2011 while working alongside her Fashion Journalism degree. There, she was lured to the beauty desk, seduced by red lipsticks, posh shampoos, and every skincare product imaginable. 10+ years into her career, she now writes about all things skincare, haircare and makeup for six national titles and interviews celebrities, experts and brand founders. She oversees and judges products for the Woman & Home skin, hair and beauty awards, testing hundreds of products yearly.
With 3A curls, Rhiannon specialises in writing about curly hair routines and has a penchant for red lipsticks and minimalist skincare routines - with a bit of LED therapy thrown in.
-
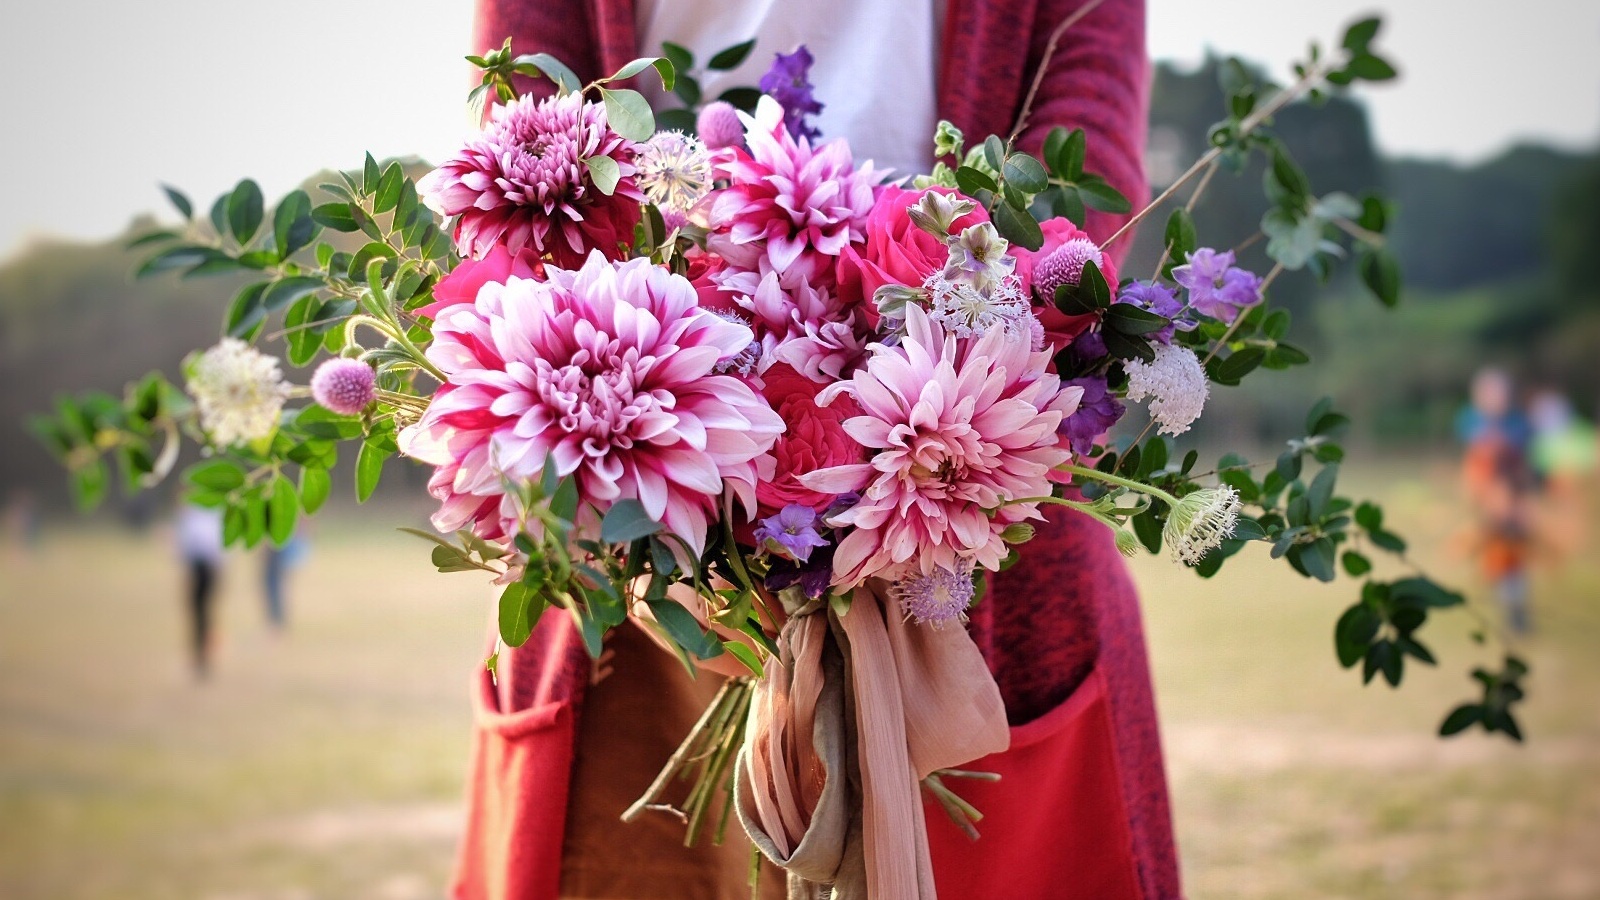 Do you know what your stems are saying? These are the most popular flowers and what they symbolise
I break down different flowers and what they symbolise so that you can say more whilst speaking less with a truly beautiful bouquet
By Laura Honey
-
 Celebrities who built their looks around a simple, timeless white shirt
A white shirt should be in every woman's wardrobe - and these celebrities prove all the ways to expertly style one
By Jack Slater
