How to use a blow dryer brush, step-by-step, for the perfect at-home blow dry
Our guide on how to use a blow dryer brush has every tip you need to master the art of the at-home blow dry
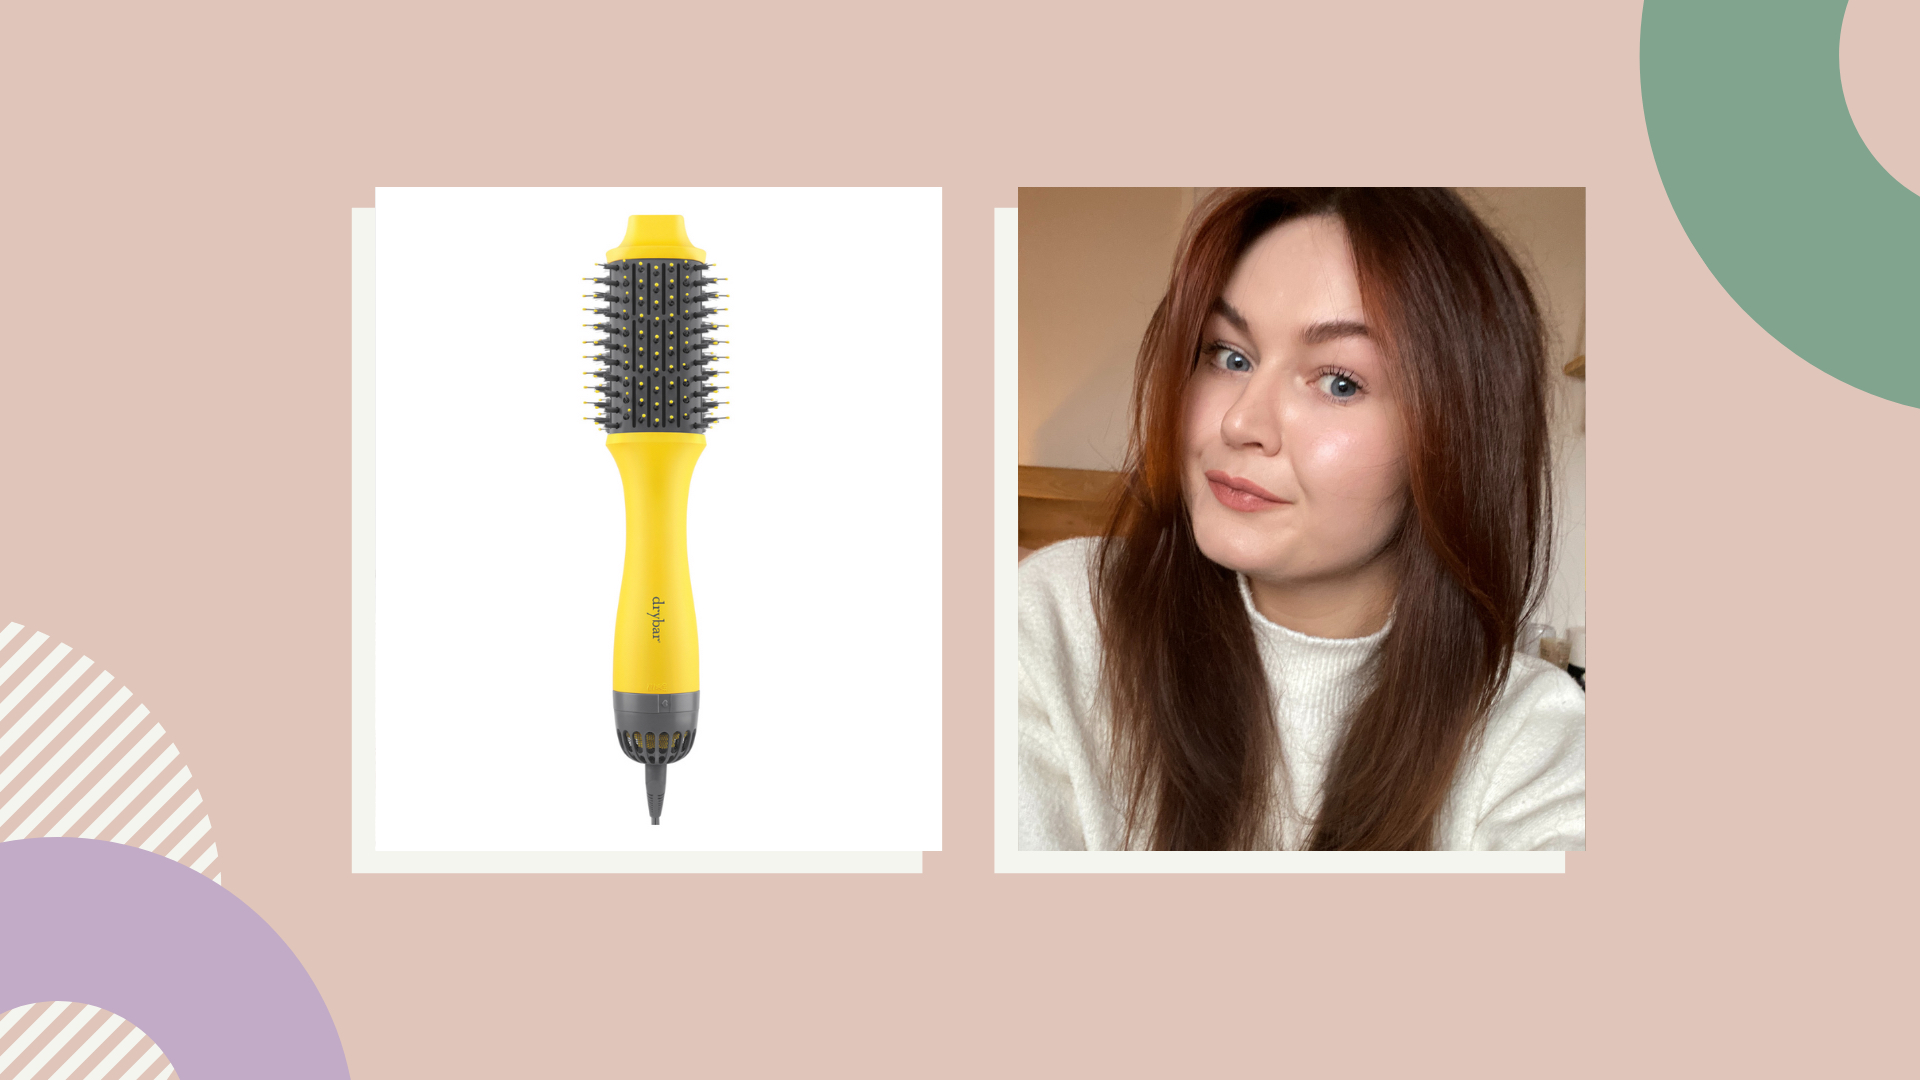

So, you’ve read up on the brilliance of hot brushes and treated yourself to a snazzy new tool. Congrats! Next on your to-do list is learning how to use a blow dryer brush for the perfect at-home blow dry, which requires a smidge more know-how.
The main selling point of the best hair dryer brushes is that they swerve the difficulty of styling with your best hair dryer and a round brush by combining both steps in one easy-to-use tool. And if like us, your attempts to use a dryer and a round vented brush look nothing like a hairdresser's work, this could be a game-changer for you.
For the most part, it’s as simple as slowly running a brush through your hair, but there are a few things to know to ensure your hair looks closer to salon-worthy than a salon disaster. To help you on your way to learning how to use a blow dryer brush for that perfect 90s blowout hair, we tapped into the expertise of one of the hair industry’s leading stylists for the tips and tricks you need to get it right. Below is your step-by-step guide to using a hot brush at home.
How to use a blow dryer brush: your step-by-step guide
1. Brush through your hair
After shampooing and conditioning your hair as usual, brush through your hair while it's still wet. You want your blow dryer brush experience to be snag-free, so it’s important to completely detangle with a regular hair brush or comb before you pick up your styling tool.
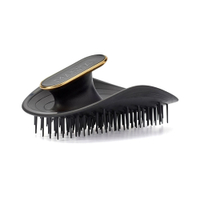
Manta Flexible Hair Brush | RRP: $30/£25
Manta makes brilliant gentle hair brushes, which are great both for brushing your hair dry and for combing through products, like conditioner or one of the best hair masks.
2. Apply styling products
Before you even pick up your blow dryer brush, it’s important to prep your hair with good styling products, both to provide heat protection for hair and nail how to make your blowout last longer – the best hair straightening products are great for creating sleek styles that last.
“Firstly, prep the hair with a heat protectant to help create a barrier between your hair and the styler,” says session stylist and BaByliss ambassador Syd Hayes. Once applied, another brush-through will ensure that your products are distributed evenly through your hair.
3. Dry excess moisture from hair
Although these tools are technically dryers, it’s best to style your hair from damp rather than completely wet. You can remove some of the moisture from your hair with a microfiber towel (my preference), but if you’re short on time then drying off the roots with your usual hair dryer will get your hair to the damp stage faster. “Blast hair until it is about 75% dry and most of the moisture is taken out of the hair," Hayes advises.
Sign up for the woman&home newsletter
Sign up to our free daily email for the latest royal and entertainment news, interesting opinion, expert advice on styling and beauty trends, and no-nonsense guides to the health and wellness questions you want answered.
4. Section off your hair

Lucy after sectioning off her brushed-out hair, with the first two sections ready to dry
Split your hair into sections to make it easier to dry a small area of your hair at once. The thicker your hair or the more you have, the more sections you’ll divide it into. (My hair is fine-to-medium but I have a lot of it, so I usually split it into three or four sections and dry one side at a time.)
I find that small or medium-sized claw clips are the best tools for this, as they keep sections very secure and are easy to remove when you’re ready to bring down the next layer for styling.
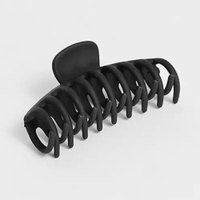
ASOS Design Claw Clip in Black | RRP: $9/£6
Claw clips are available from most fashion retailers, but this particular style from ASOS will do the job nicely as well as making for a chic accessory.
5. Brush through each section, angling depending on your desired finish
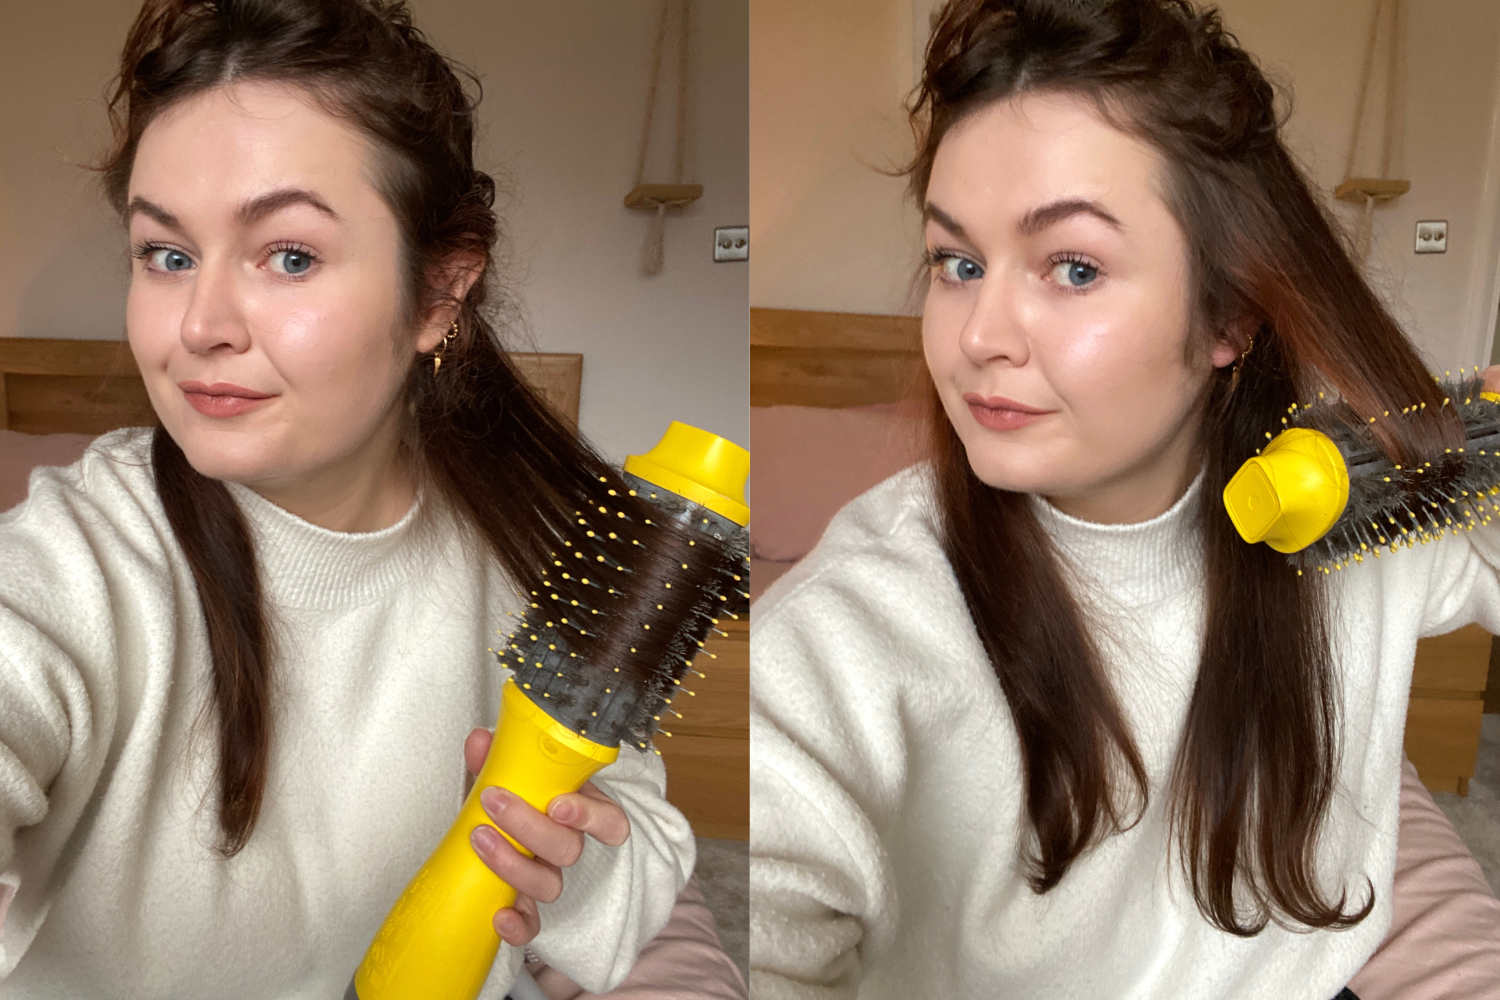
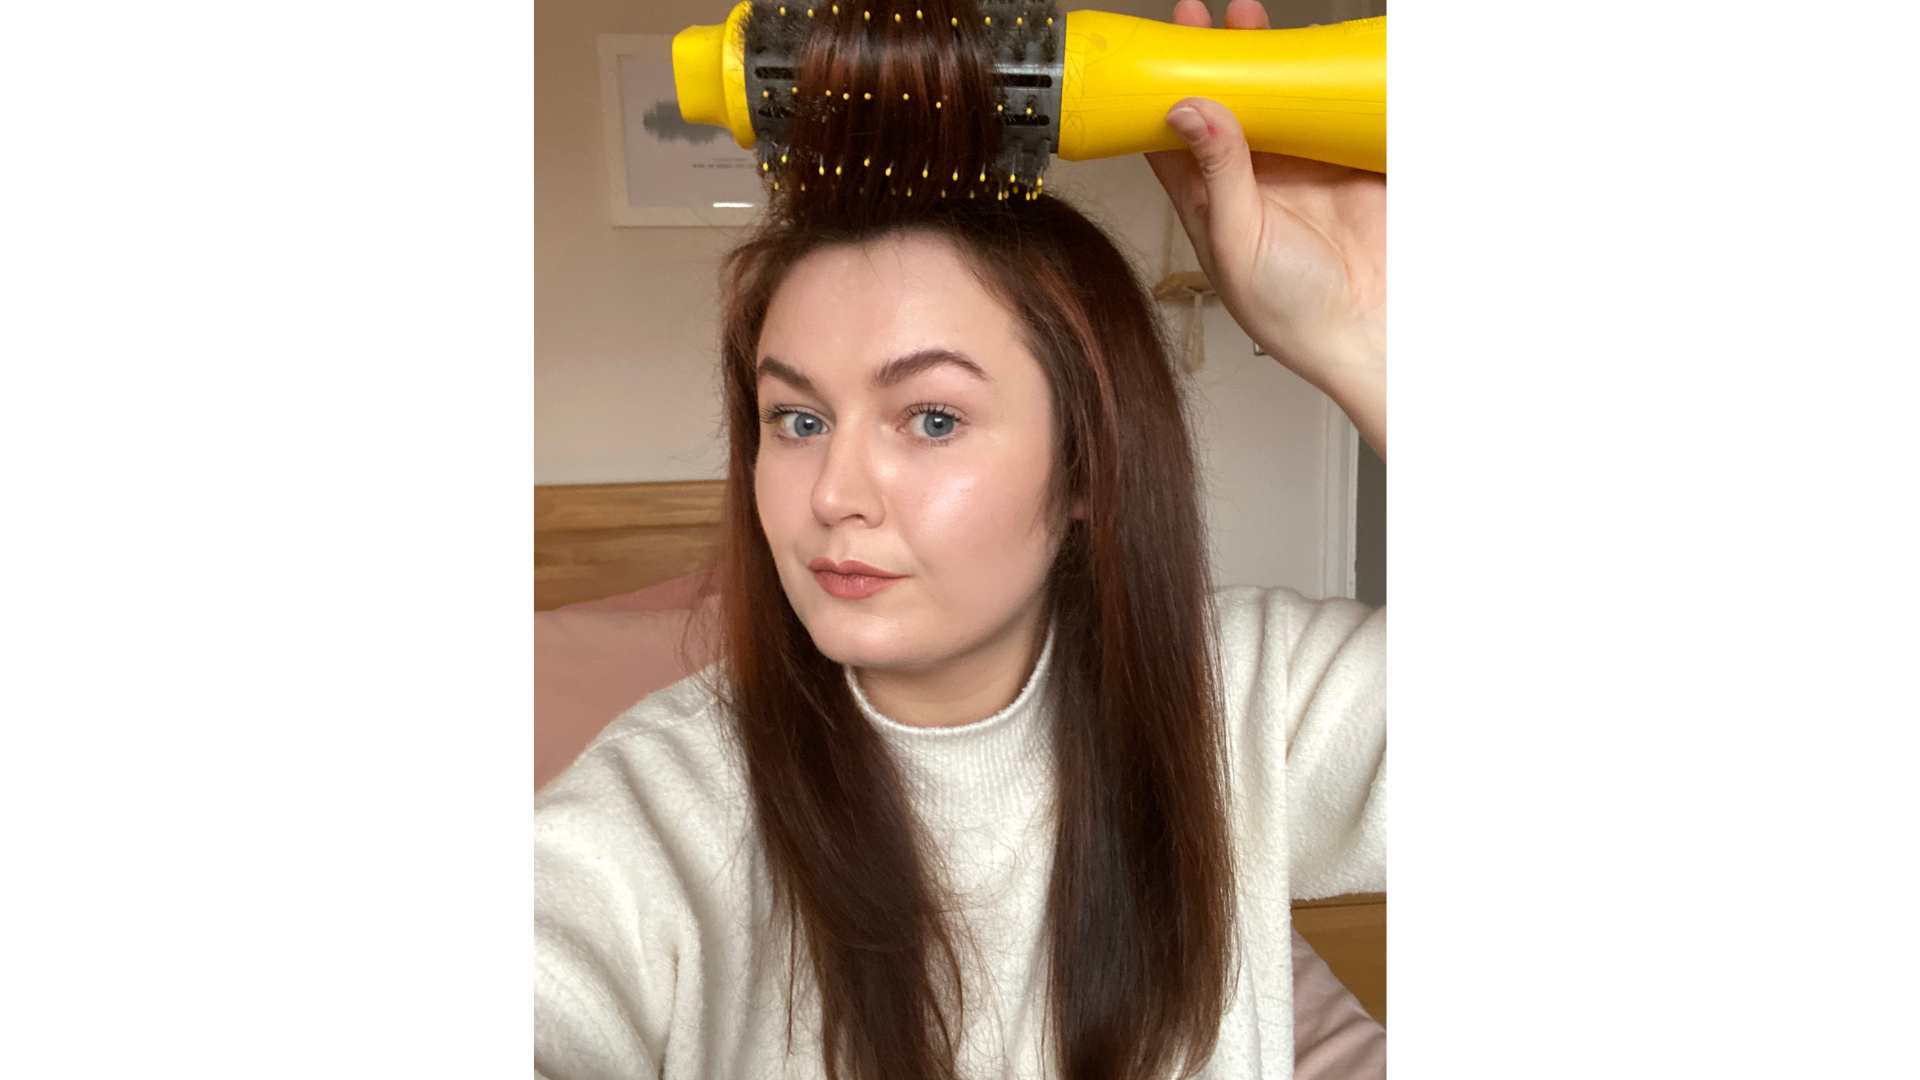
Lucy using Drybar's Double Shot Brush to dry and style her hair
It's now time to start drying! One section at a time, slowly pass the brush through your hair. The more you curve your brush, the more of a curl that section of hair will have to it. Some brushes, like the BaByliss Hydro Fusion or Revlon hair dryer brush, have an auto-rotate feature, but if your brush doesn’t have this feature simply turn the brush while you pull it through your hair to create movement.
Alternatively, if you don’t want your hair to have too much bounce, keep the brush in position and brush downward for a straighter look. Be sure to dry both sides of each section, as this will ensure a sleek finish. As my hair is naturally curly and very frizz-prone, something I personally like to do before slowly moving the brush through a section is to hold the brush taut at the roots for a few seconds, just to ensure they're completely dry and smoothed out.
Lucy demonstrating ow to 'swoop' sections of hair
To style trending curtain bangs or 'swoop' face-framing sections, first use the brush to blow dry both sections together out in front of you, pulling the brush through your hair away from your face. Then, place the brush head behind the same section of hair at the roots – where a roller might sit – and brush upwards, turning the brush head slightly towards you. Once you've gently pulled it through, the section should be successfully 'swooped' – but if it doesn't look quite right, you can use the brush to touch up the sections until they're in the desired position.
6. Set with the cold shot
As with a hair dryer, the number one step to set your style in place is to “Finish with a shot of cold air,” according to Hayes. “This will help to seal the cuticle of the hair shaft, preventing moisture from getting into it and causing unwanted frizz.”
Most blow dryer brushes are equipped with a cool shot function, so once you've finished styling a section and it's completely dry, pass the brush through one last time on the coldest setting, styling in the same direction you did with the hotter air. If practicing the above 'swooping' tip with curtain bangs, switch the dryer to the cool shot while your hair is wrapped up à la a roller for ease.
7. Apply finishing products
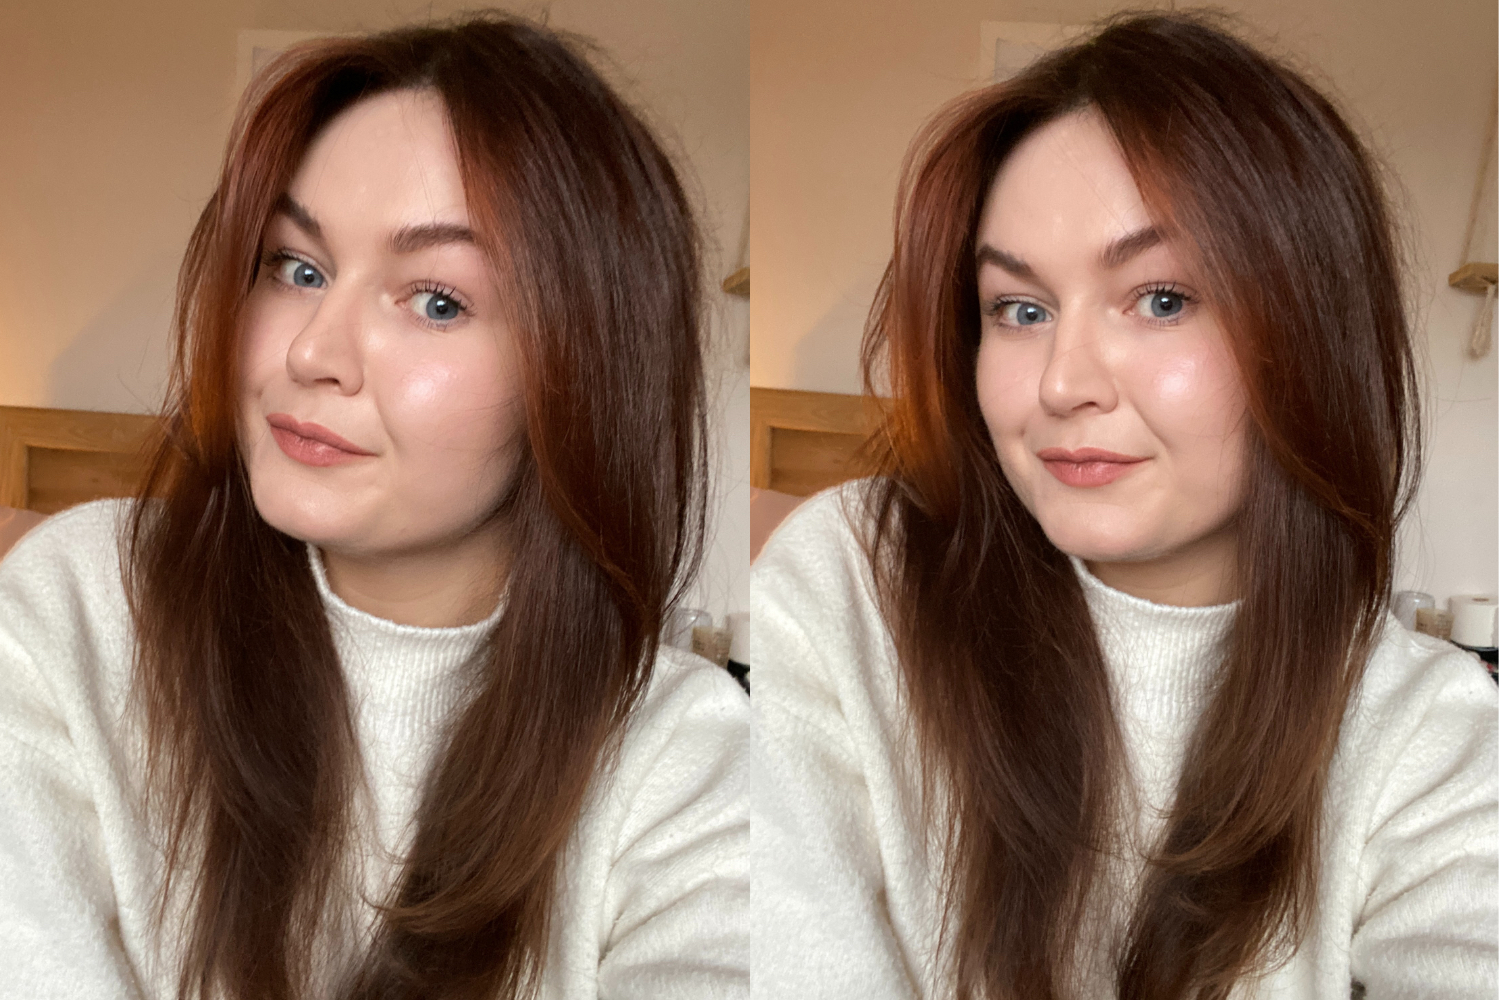
Lucy's hair after using a blow dryer brush
Last but not least, apply any finishing products to your hair once you’re done styling and your hair is cool. “Rub a small amount of finishing cream – try Hair by Sam McKnight's Happy Endings – between your palms before running them down sections of hair to smooth down any flyaways and hydrate your hair,” says Hayes.
Your finishing products of choice will come down to your hair type and personal preference, but remember that the golden rule is that it's easier to add a little bit more than take away because you've applied too much!
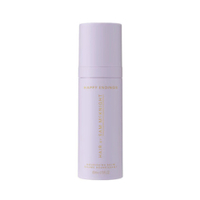
Hair by Sam McKnight Happy Endings Nourishing Balm | RRP: $46/£36
As recommended by Hayes, who loves its “non-greasy formula that still allows you to run your hands through easily, with no stickiness or stiffness.” Sold!
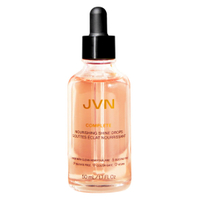
JVN Hair Complete Nourishing Shine Drops | RRP: $24/£21
A very fluid oil that adds shine and smooths frizz for up to 24 hours, all JVN Hair products contain the silicone alternative hemisqualane, which improves hair's health over time.
Lucy is a UK-based beauty journalist who has written for titles including Marie Claire, Glamour and OK!, as well as contributing to woman&home. Her work covers everything from expert skin and haircare advice to beauty trends and reviews of the latest products. During her career she regularly speaks to the industry's leading hairdressers, dermatologists and make-up artists, has covered backstage at London Fashion Week and interviewed many a celeb about their beauty routine.
