6 heatless curls methods that really work, trialled by us
Heatless curls help to keep hair healthy while looking great, these tried-and-tested methods won't let you down
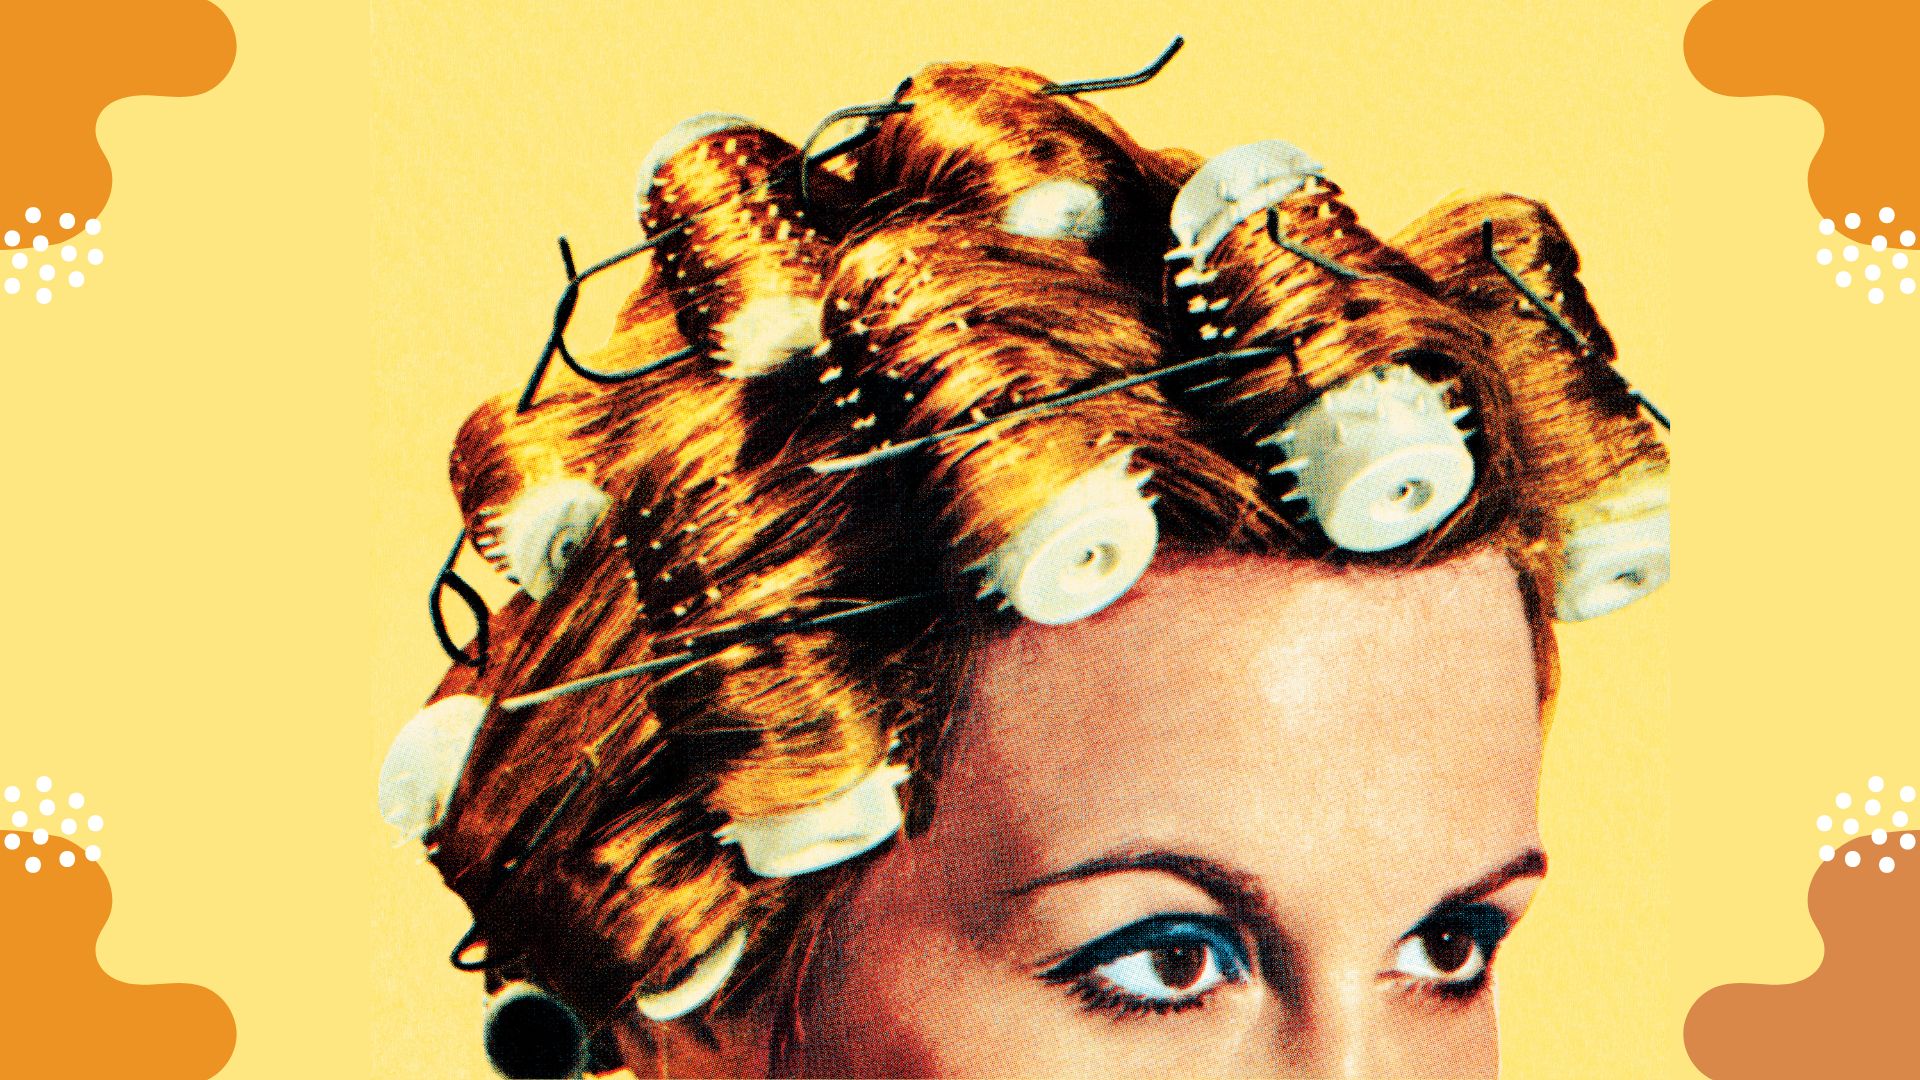

Heatless curls are the latest hair styling trend, providing a fuss-free route to gorgeous curls with minimal damage. If you're experimenting with how to curl your hair without heat, these methods will come in very handy.
If you have dry or damaged hair, you may want to explore how to get the same bouncy look as using your best curling iron, while also keeping your hair healthy. Curling hair without heat is also extremely handy for those who like to keep their beauty routines quick and easy, as most methods can be left alone to work their magic with minimal intervention.
Why go heatless? Even if you have mastered how to curl your hair with a curling iron, "the danger zone is applying heat past the point your hair is already dry," explains Anabel Kingsley, brand president and trichologist at Philip Kingsley. "This dryness leads to brittleness, causing breakage and other culprits such as frizz, tangles, and lack of shine." This is when heatless curls save the day, as you don't need to sacrifice your favorite styles in order to keep your hair looking and feeling its best. But which ones really work? This tried and tested guide has got you covered.
6 heatless curl methods, tried by us
We turned in our curling iron in favor of heatless curls to find out which methods actually work, and we were pleasantly surprised with the results. We tried each of these techniques over various timespans – some overnight, others for a few hours – to see which could help our dry hair to look big and bouncy without any need for heat damage. These six methods are the ones that provided enviable results and took minimal effort, so keep reading to find out how to curl hair without heat.
1. Dressing gown curls
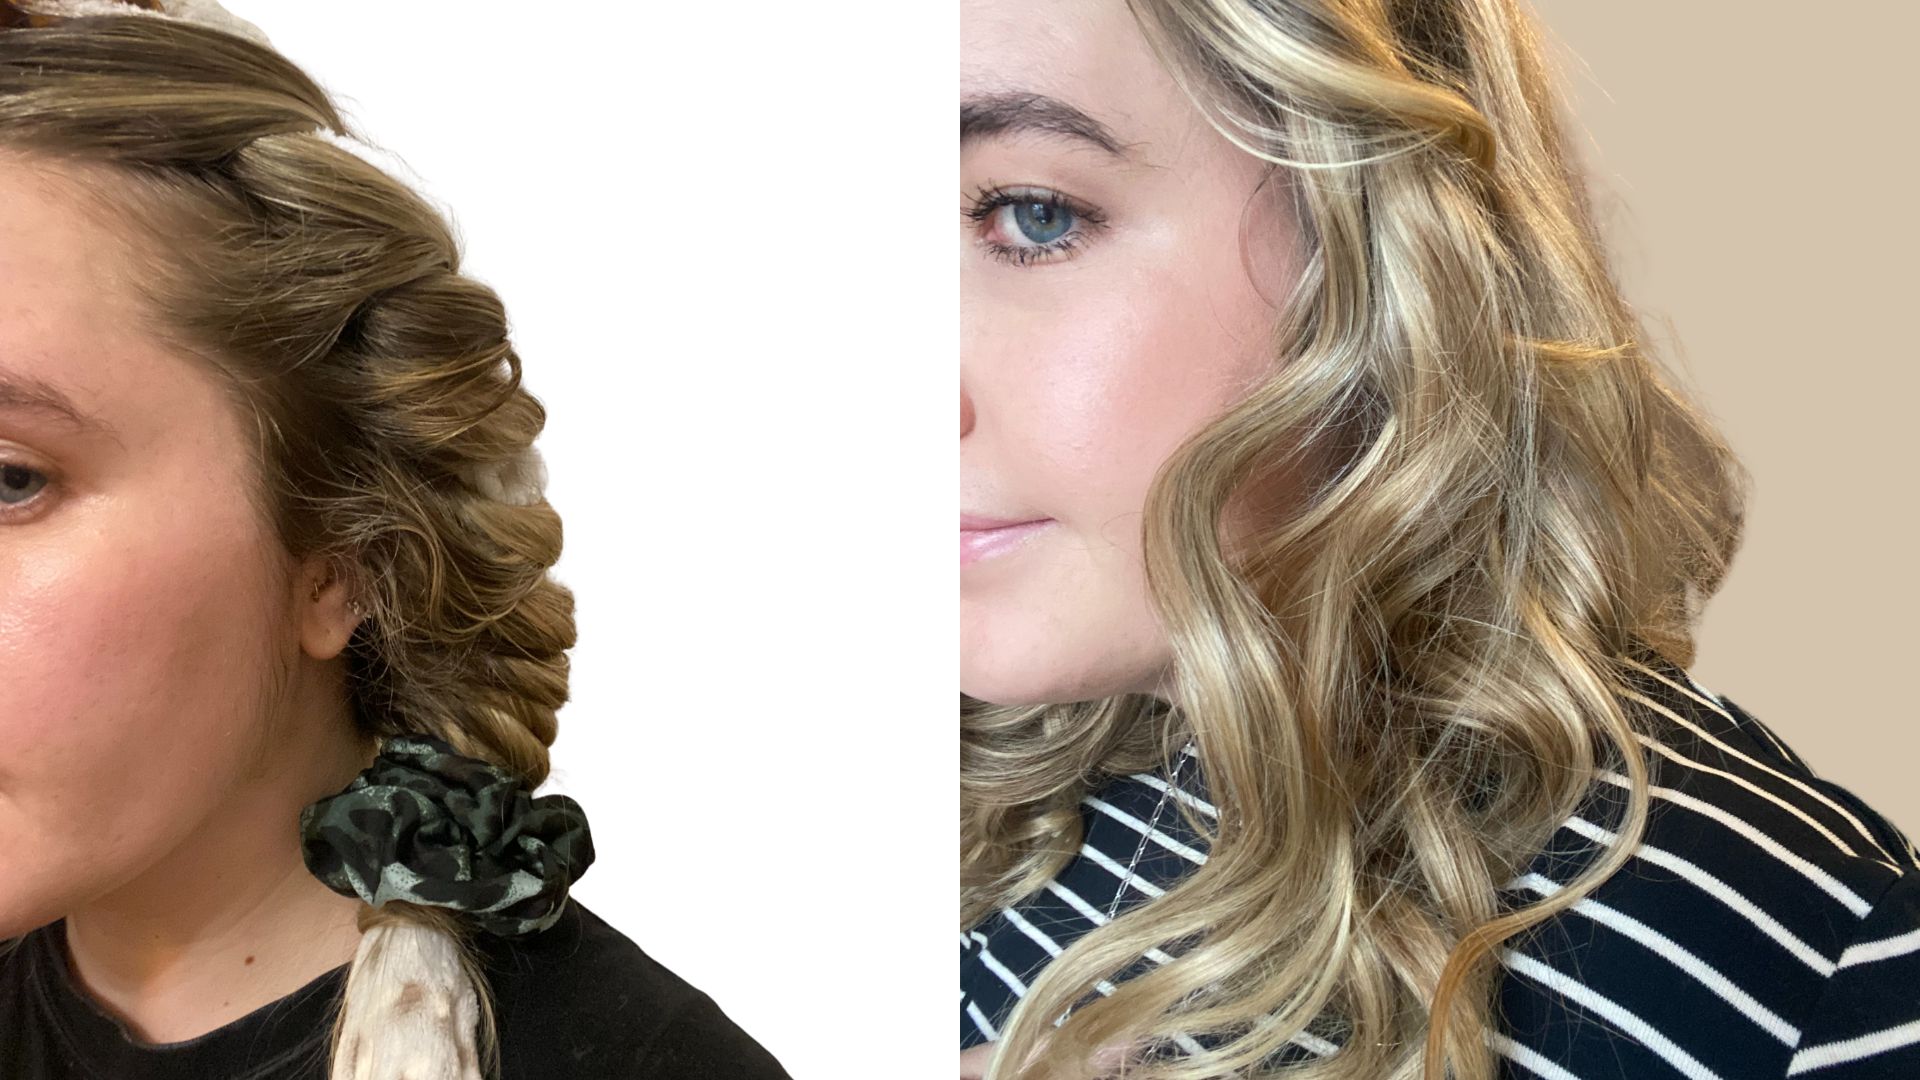
Amelia testing dressing gown curls (l) and the results after several hours (r)
Ease of method: 8/10
Curl results: 10/10
Dressing gown curls are the most popular answer to how to curl your hair without heat. The method that first took off online is using a dressing gown cord or a similarly long and rounded item that can be draped over your head. If you want to create curly hairstyles that have a shiny and natural look, this technique will give you just that. Here's how to do it:
- Start with hair that is 80-90% dry: With most heatless curls, starting with hair that is only very slightly damp will provide the best results. If it is too wet, it won't dry properly and your style will drop out. If it is totally dry, it may not last quite as long.
- Place your dressing gown cord on top of your head: Use a claw clip or similar to secure the cord in place on top of your head. This will make it a lot easier to work with and speed up the process.
- Start on one side of your head: We found that the easiest way is to split the hair into two sections (one on each side of your head) and work on one at a time. Begin on one side, starting at the root. Grab a small section of hair at the front of your head and wrap it around the dressing gown cord to form a curled shape.
- Add more hair: Each time you wrap a section of hair around the cord, grab another small section of hair to add to it. This works similarly to how you would do a French braid, where you gradually add more and more hair until it is all wrapped around.
- Continue to the end and secure: Now, secure with a big hair tie or scrunchie and you're all done! You can sleep with your hair like this, or just keep it in whilst you're getting ready for the day.
Our beauty writer recommends...
Sign up for the woman&home newsletter
Sign up to our free daily email for the latest royal and entertainment news, interesting opinion, expert advice on styling and beauty trends, and no-nonsense guides to the health and wellness questions you want answered.
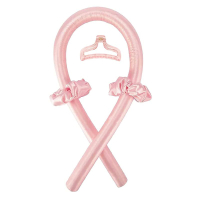
Heatless Curling Rod | RRP: $9.99 / £8.55
If you don't have a cord handy or want something that will give you a more even curl pattern, go for one of these heatless curling sets. It contains everything you need to create perfect waves.
2. Leggings curls
Ease of method: 9/10
Curl results: 9/10
Leggings curls work in a very similar way to dressing gown curls, giving more or less the same results using leggings you already have at home. However, if your hair is on the shorter or finer side, you may find this heatless curls method to work slightly better for you. Due to the thinner texture of the leggings, it is ideal for those working with short hairstyles who need a tighter curl to get great results. We found this the best method for heatless curls that is also comfortable to sleep on.
- Section hair into two and drape leggings over your head: As with dressing gown curls, split your hair and drape the leggings over your head with the legs falling on either side of your head. As the leggings have more surface area you probably won't need to secure them with a clip - ideal for those looking to create easy hairstyles.
- Curl hair around the legs: Use the legs of the leggings as your base and wrap hair around them, one leg at a time. The thickness of the leggings you use will dictate how tight you have your curls.
- Secure at the ends and tuck: What sets leggings curls apart from dressing gown curls is this final step. After tieing the ends with a scrunchie, tuck your two curled 'bunches' inside the crotch of the leggings, forming a sort of hood over your head. This will keep your hair secure and out of your face whilst your heatless curls form.
3. Pin curls
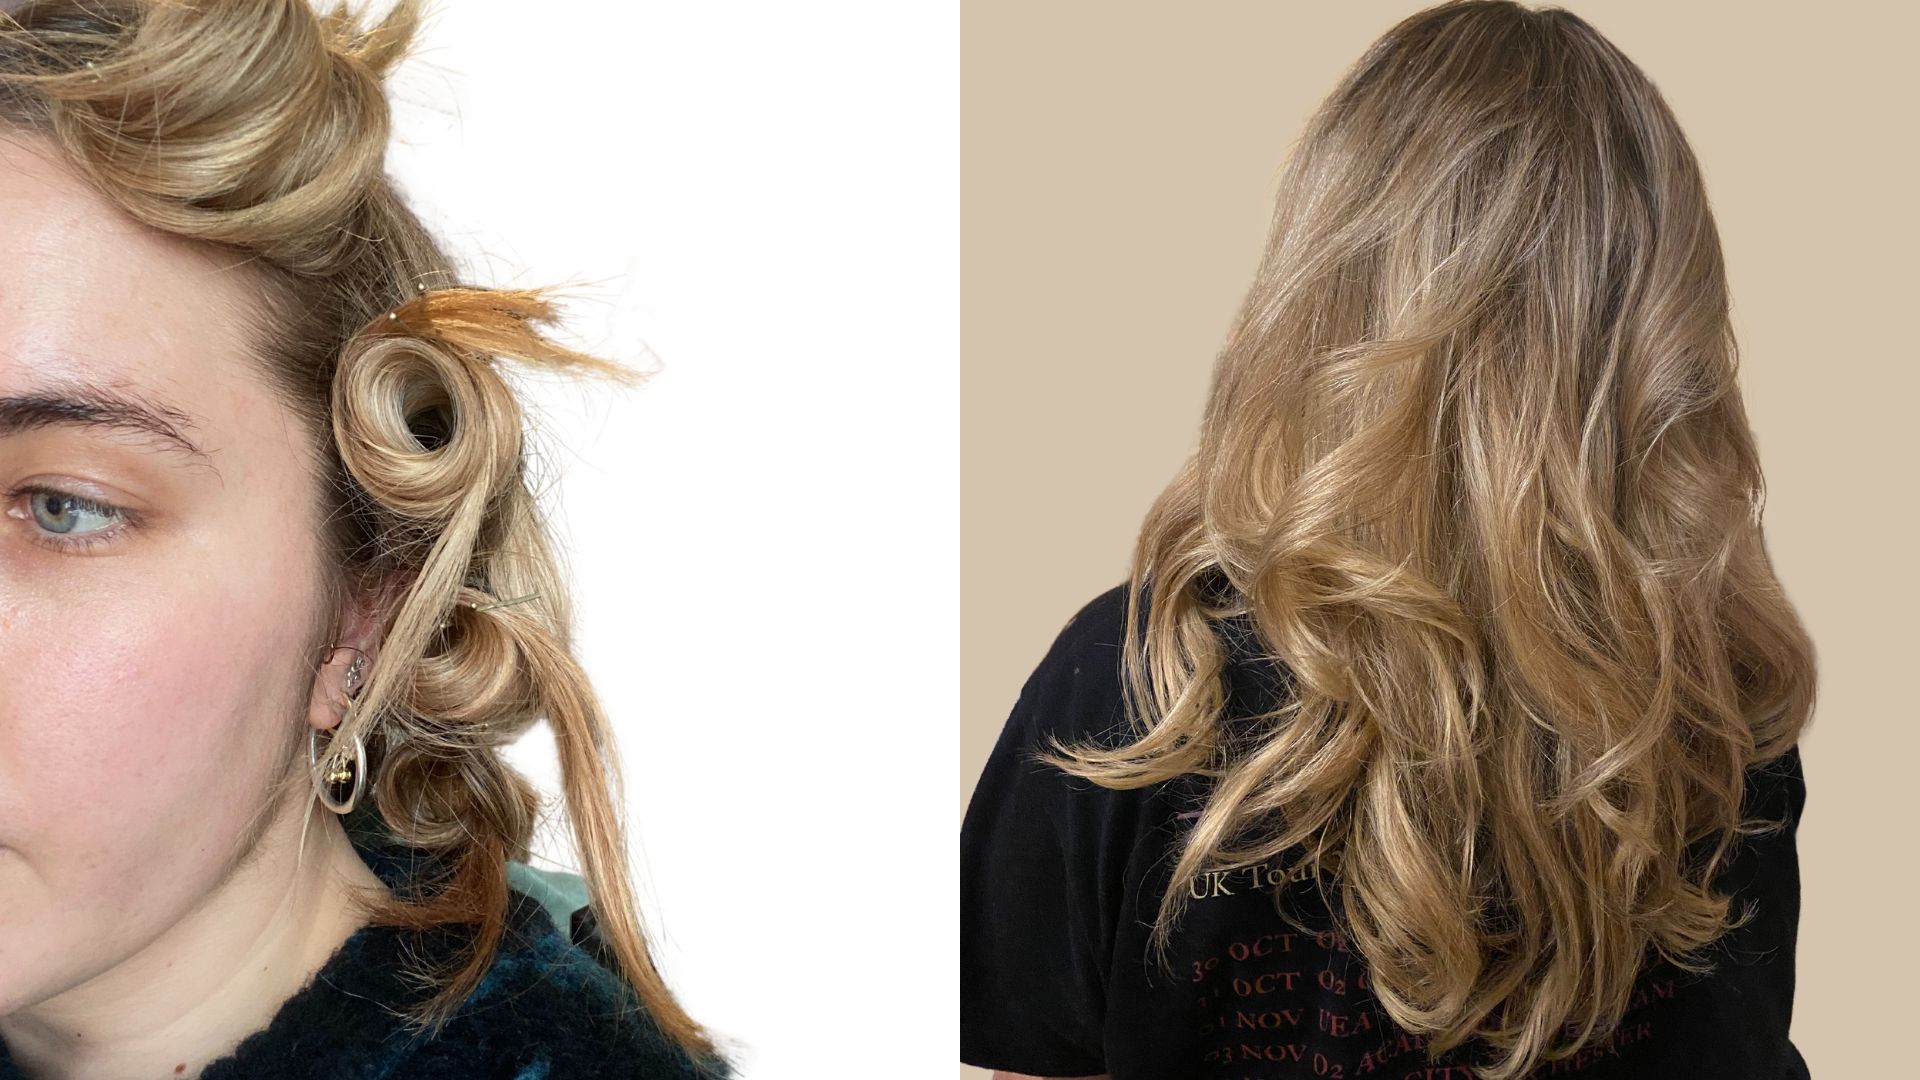
Amelia testing pin curls (l) and the results after several hours (r)
Ease of method: 8/10
Curl results: 9/10
Pin curls are one of the oldest methods of learning how to curl hair overnight, and they still work just as well today. If you like to use the best hair dryer brushes to style your hair, pin curls make a great alternative, or can be put in after drying to enhance the bouncy look. Either way, for a long hairstyle or thicker hair, we found that pin curls gave us a gorgeous loose curl.
- Section hair: This method requires parting the hair into lots of small sections, so it will take slightly longer than others - but the results are worth it. Begin by sectioning hair into pieces around one inch thick, or slightly smaller if you want a tighter curl.
- Wrap hair around fingers: Starting at the root, place two fingers underneath the section of hair and begin wrapping your hair around your fingers. If you have very long hair, experiment with using more fingers to get a wider curl.
- Pin with hair clips: Once you have your curl formed, pin to secure it. We like to use bobby pins, but you can also use mini claw clips or anything you have handy.
- Secure in a bonnet or scarf: This step isn't essential, but we like to wrap our hair in a silk bonnet or scarf to keep it secure while the curls set. Those with natural hairstyles may already have one of these lying around, and it will also help to tame frizz.
4. Scrunch drying curls
Ease of method: 10/10
Curl results: 7/10
If you have tried the curly girl method, you will know how effective scrunch drying can be. Starting with clean, damp hair, all you need to make this method work are your hands. "Hydrogen bonds in the hair are broken when wet and set when dry," explains Kingsley, which is why styling your hair when it is wet can help with ensuring that your curls set well. Although this method works best for those who already have a slight wave to their hair, it can work for any hair type to add some extra texture.
- Wash and rough dry hair: Scrunch drying requires damp hair, so start off by washing hair and removing excess moisture. The best way to do this is with a T-shirt, as they absorb a lot of water without creating frizz. Due to the rough texture of towels, they can cause some damage to wet hair if you are not gentle.
- Apply styling products: This is when you can apply any products you want to your hair. This could be a curl cream, scrunch gel, hair oil, or a leave-in conditioner to promote hair health.
- Flip and scrunch: Now it's time to scrunch. We find the easiest way to do this is to flip your hair upside down and collect hair in your hands before scrunching up to your scalp. For more defined curls, scrunch smaller sections. Once hair is thoroughly scrunched, leave it to air dry and enjoy your curly locks.
Our beauty writer recommends...
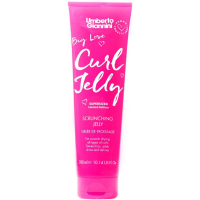
Umberto Giannini Curl Jelly | RRP: $9.99 / £8.25
Designed to give curls extra definition, this scrunching jelly can be added to damp hair to help your curl pattern to look even and healthy. We love adding this to our frizzy hair to keep flyaways at bay.
5. Velcro roller curls
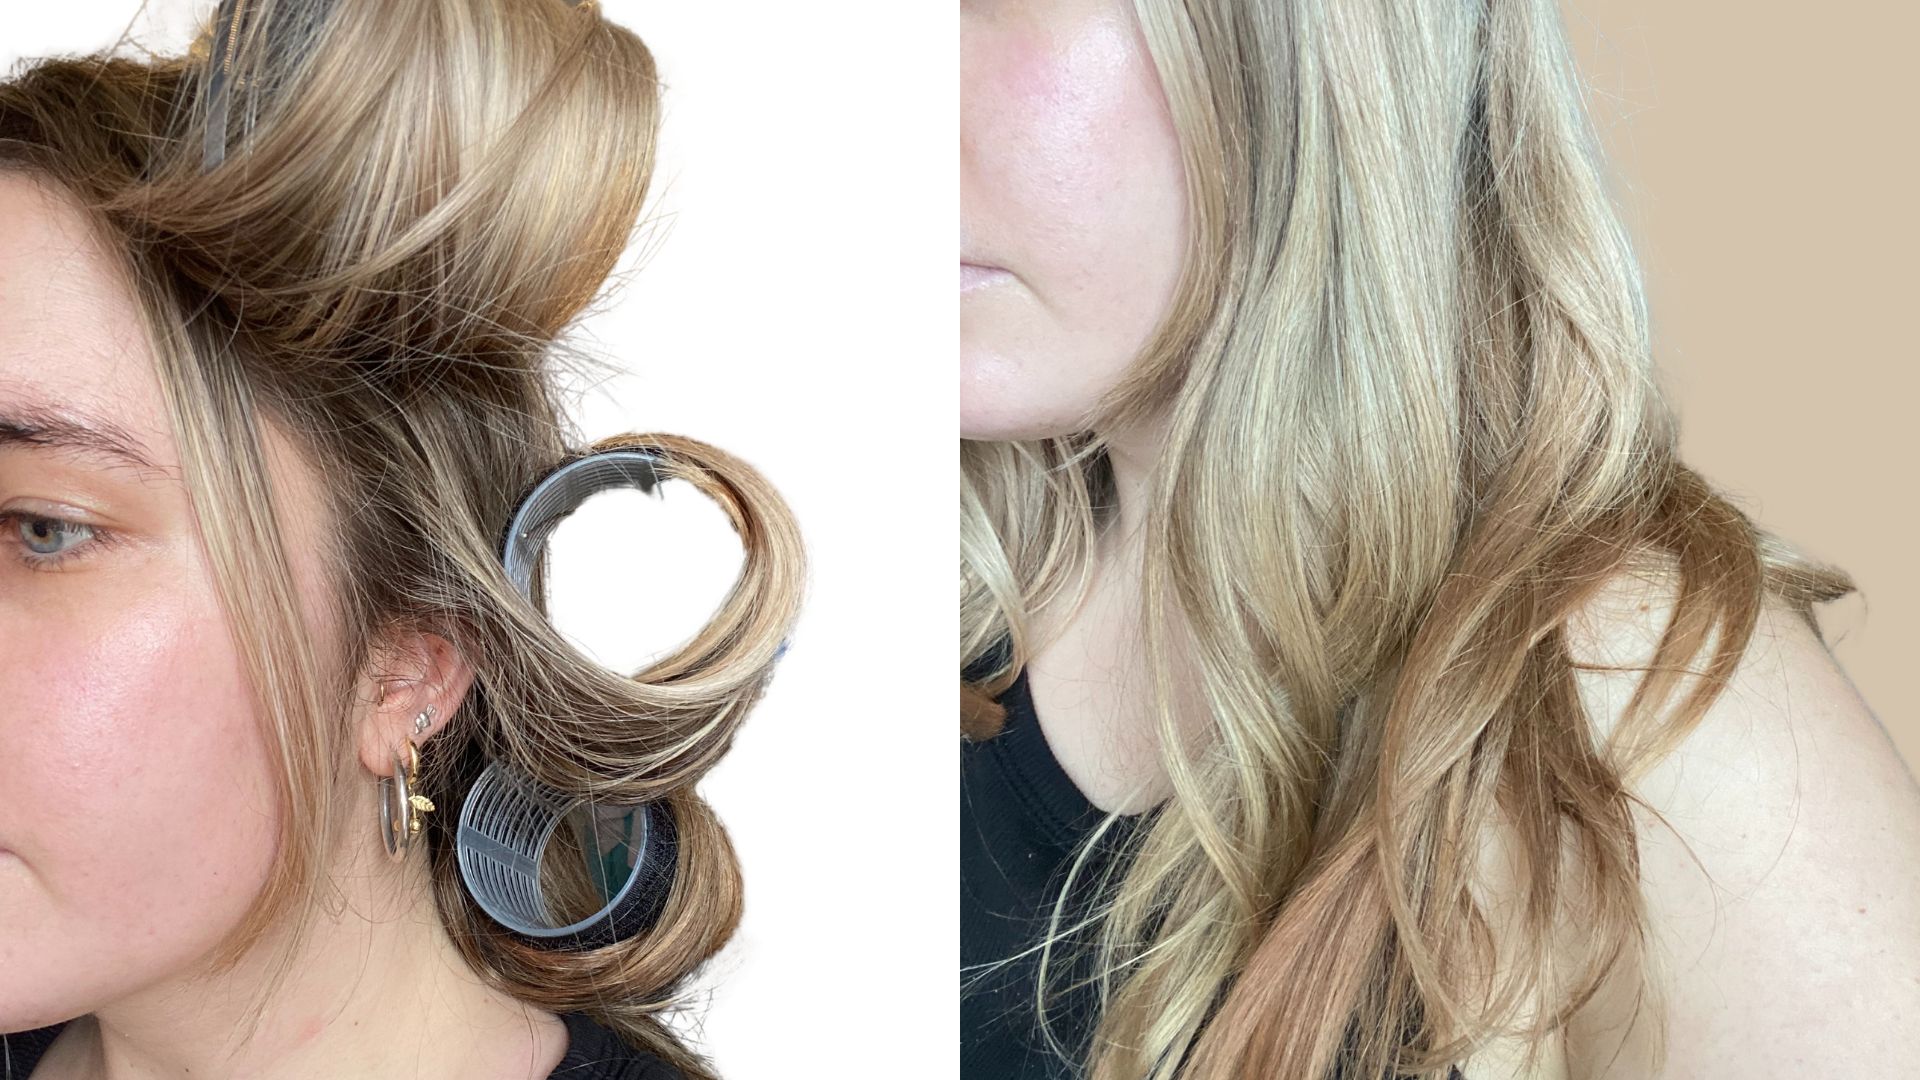
Amelia testing Velcro rollers (l) and the results after several hours (r)
Ease of method: 7/10
Curl results: 8/10
Rollers have really come back into fashion recently and they are a fantastic way to get that bouncy blow-dry look without having to master how to use a blow dryer brush. Though they can be used after heat styling to help curls set, rollers can also be worn alone to add volume to straight hair. This is another style that works best on hair that is 90% dry. "Hair is three times more fragile when wet, therefore it is best to part dry your hair and then set," advises Kingsley, which velcro rollers work perfectly for – although it's worth noting we did find it tricky to get the rollers to stay in place on thicker hair.
- Wash and dry hair: As mentioned, you will want hair to be almost completely dry for this heatless curls trick. However, by keeping a little bit of moisture, your curls will hold better and last longer.
- Select the size of roller you need: The type of curl you get will depend entirely on the size of your rollers, so you'll want to carefully select which type you go for. We prefer to use wide rollers for our long, thick hair, as this catches all of our hair and gives nice loose waves. If you're after tighter curls, opt for smaller rollers – but be aware that you will probably need more to cover your whole head.
- Section and wrap: Depending on the size of your rollers, you will need to section your hair accordingly. Ensure that you have enough rollers for each section of hair, and begin rolling your hair up. We like to start at the ends to get a bouncy, flicky look.
- Set and twist out: Leave the rollers in for as long as you like - the longer the better to get curls that last. When you're ready to remove, twist your hair as you pull the roller out. This will help to keep your curls intact and not brush them out. Enjoy results akin to those from the best hot rollers, but without any damage!
6. T-shirt curls
Ease of method: 8/10
Curl results: 9/10
Another easy DIY style, this is a method that anyone can try. All you need is a soft T-shirt and you're ready to go. For best results, apply your best hair mask after washing to get shiny, silky smooth heatless curls that look just as good as heat-styled locks. If you want to be able to curl your hair without heat overnight, we found this method comfortable to sleep on. Plus, leaving the curls in overnight will ensure you get the best possible curl definition.
- Roll up your T-shirt: Once you've found a suitable T-shirt, roll it up into a sausage shape, being sure to leave the sleeves loose. This is what you will wrap your hair around to get that perfect curl pattern, and the sleeves will be used to secure it in place.
- Flip and prepare: The easiest way to get the T-shirt in place is to flip your hair over and hold the sausage shape to the ends of your hair. If you struggle to do this in one go, you can also section your hair into two or three parts and roll them up one at a time to make things more manageable.
- Work from ends to the roots: Starting at the ends, roll your hair up around the T-shirt until you've reached your root. It is totally up to you which way you roll, but we like to roll on the outside of our hair.
- Secure in place: Once your hair is all rolled up, you can secure it in place using the sleeves. Roll the T-shirt into a circle on the top of your head, like a halo, tying the sleeves in a knot to keep it sturdy. Leave your T-shirt in for as long as you like and enjoy a big bouncy heatless curl look.
Our beauty writer recommends...
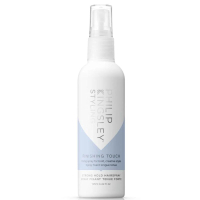
Philip Kingsley Finishing Touch Strong Hold Hairspray | RRP: $30 / £19.50
If your hair doesn't hold curls well, you'll want to use a hairspray or styling product to lock your style in place. Apply before you remove your hair from the t-shirt (or heatless style of your choice) to set it and keep your curls looking good throughout the day.
Who should avoid using heat when styling their hair?
"If your hair is prone to dryness due to being porous (meaning it absorbs but also loses moisture quickly) then you should minimize heat styling," says Kingsley. "If your hair is also particularly dry or damaged from mechanical or chemical processing, such as heat and color, then you should also try to minimize heat styling." Thankfully, with so many easy heatless curls options, this shouldn't be a problem.
Why is heatless styling beneficial?
"Heatless styling is a great alternative [to heat] as you are not zapping moisture content from the hair, therefore your hair should be hydrated and healthy as a result," says Kingsley. If you have noticed your hair getting drier or more brittle, try out some of these techniques for a while and see how your hair texture changes. In combination with proper hair care, this is a great way to improve hair health.
How many hours do heatless curls take?
This will completely depend on your hair type, texture, the method you are using, and the environment you are in (i.e. if it's warm, hair will set quicker). We recommend trying each of these methods for at least an hour to let your curls set, but the longer the better. You won't cause any damage by trying out these techniques, so don't be afraid to leave them in all day long or overnight if you can.

Amelia joined woman&home in 2022 after graduating with an MA in Magazine Journalism from City University and she is now a senior fashion and beauty writer. She began building her career as a lifestyle journalist after completing a fashion journalism course at the Condé Nast College of Fashion & Design in 2019, writing for a variety of titles including OK!, New!, and Notion on topics such as sustainable fashion and entertainment.
-
 Uniqlo's viral crossbody bag is now under £13 – here's why I'm snapping one up before summer begins
Sleek, functional, and surprisingly spacious – this bag is the ultimate travel companion
By Molly Smith Published
-
 Gardening experts reveal how often you should water grass seed for a luscious lawn this summer
Want your lawn to be looking its best by the time summer rolls around? You'll need to make sure you're watering it the perfect amount
By Emily Smith Published
