5 foundation application tips from top makeup artists
Foundation application is simpler than you think to perfect, as these makeup pros show us

Cakiness, a chalky finish or makeup that vanishes before your very eyes by lunchtime, these are just a few of the common gripes that can arise with even the best foundation. As a product that’s ideally invisible once applied, foundation is the trickiest makeup step to master; everything from shade matching to finding the right foundation for your skin type can cause dressing-table drama. But no longer.
Arm yourself (and your makeup arsenal) with the following tips from professional makeup artists for a seamless (tidemark-free) finish.
1. Prep like a boss
The golden rule cited by pretty much every makeup artist? Your foundation is only as smooth as the base it's applied upon. To really reap the rewards of the products you’re using, make ‘be prepared’ your foundation application motto. Celebrity makeup artist Caroline Barnes explains why:
“The skin underneath your makeup is the key aspect to consider before applying foundation – even the most glow-giving formulation can’t transform skin that’s dry or dehydrated.”
2. Timing is everything
It’s pretty simple. “You ideally want to work on a dewy, slightly damp canvas,” explains Caroline. ‘It’s a myth that you need to let your skincare sink in before you apply foundation over the top. If all of your moisturiser has fully absorbed, skin can look flat and papery when you do eventually come to apply your foundation.”
If your skin is still looking a little lacklustre, even after a speedy morning skincare routine, a few quick hacks can help to breathe life into your base.
“Try pressing a light layer of facial oil into the skin before applying foundation to boost radiance,” says Caroline. “Alternatively, if you have very oily skin, sweep a micellar water-soaked pad over your t-zone prior to foundation application to dab away excess grease.”
Sign up for the woman&home newsletter
Sign up to our free daily email for the latest royal and entertainment news, interesting opinion, expert advice on styling and beauty trends, and no-nonsense guides to the health and wellness questions you want answered.
If you’re prepping for a special occasion or big meeting, global makeup artist Ruby Hammer MBE also recommends “taking some time out pre-makeup to apply a face mask and plumping, hydrating eye patches for an even fresher base for foundation”. This relaxing, extra step will help calm you down, too.
3. Nail your shade
Unsurprisingly, we assume that a foundation that perfectly matches your skin tone looks the most natural, but identifying such a specific shade can be a minefield. Caroline advises looking at the bigger picture:
“It’s best not to simply match your foundation shade to your face in isolation; your skin tone varies across your face, neck and body. Experiment with shades in a naturally lit space to find a foundation that ‘connects’ visually, unifying face and body.”
Ruby notes that to find your ideal shade, you may well have to double your investment.
“You might need to blend two shades of foundation together to find your sweet spot. Professional makeup artists typically don’t use a single shade of foundation all over, so you’ll be in good company,” she says.
Finding the exact shade to suit can involve a degree of trial and error, but it’s satisfying once you get there. For an extra helping hand, Ruby and Caroline both particularly rate Il Makiage’s online colour selection process – Caroline describes it as “the best I’ve ever seen”, while Ruby deems it “foolproof”. Praise indeed.
If you’re still struggling to find a shade that works for you, Caroline recommends applying fake tan across your face and body. The aim? To even out skin tone for easy-peasy colour matching.
4. Choose your tools wisely
As much as the formula itself, the tools you use can determine the finish of your foundation.
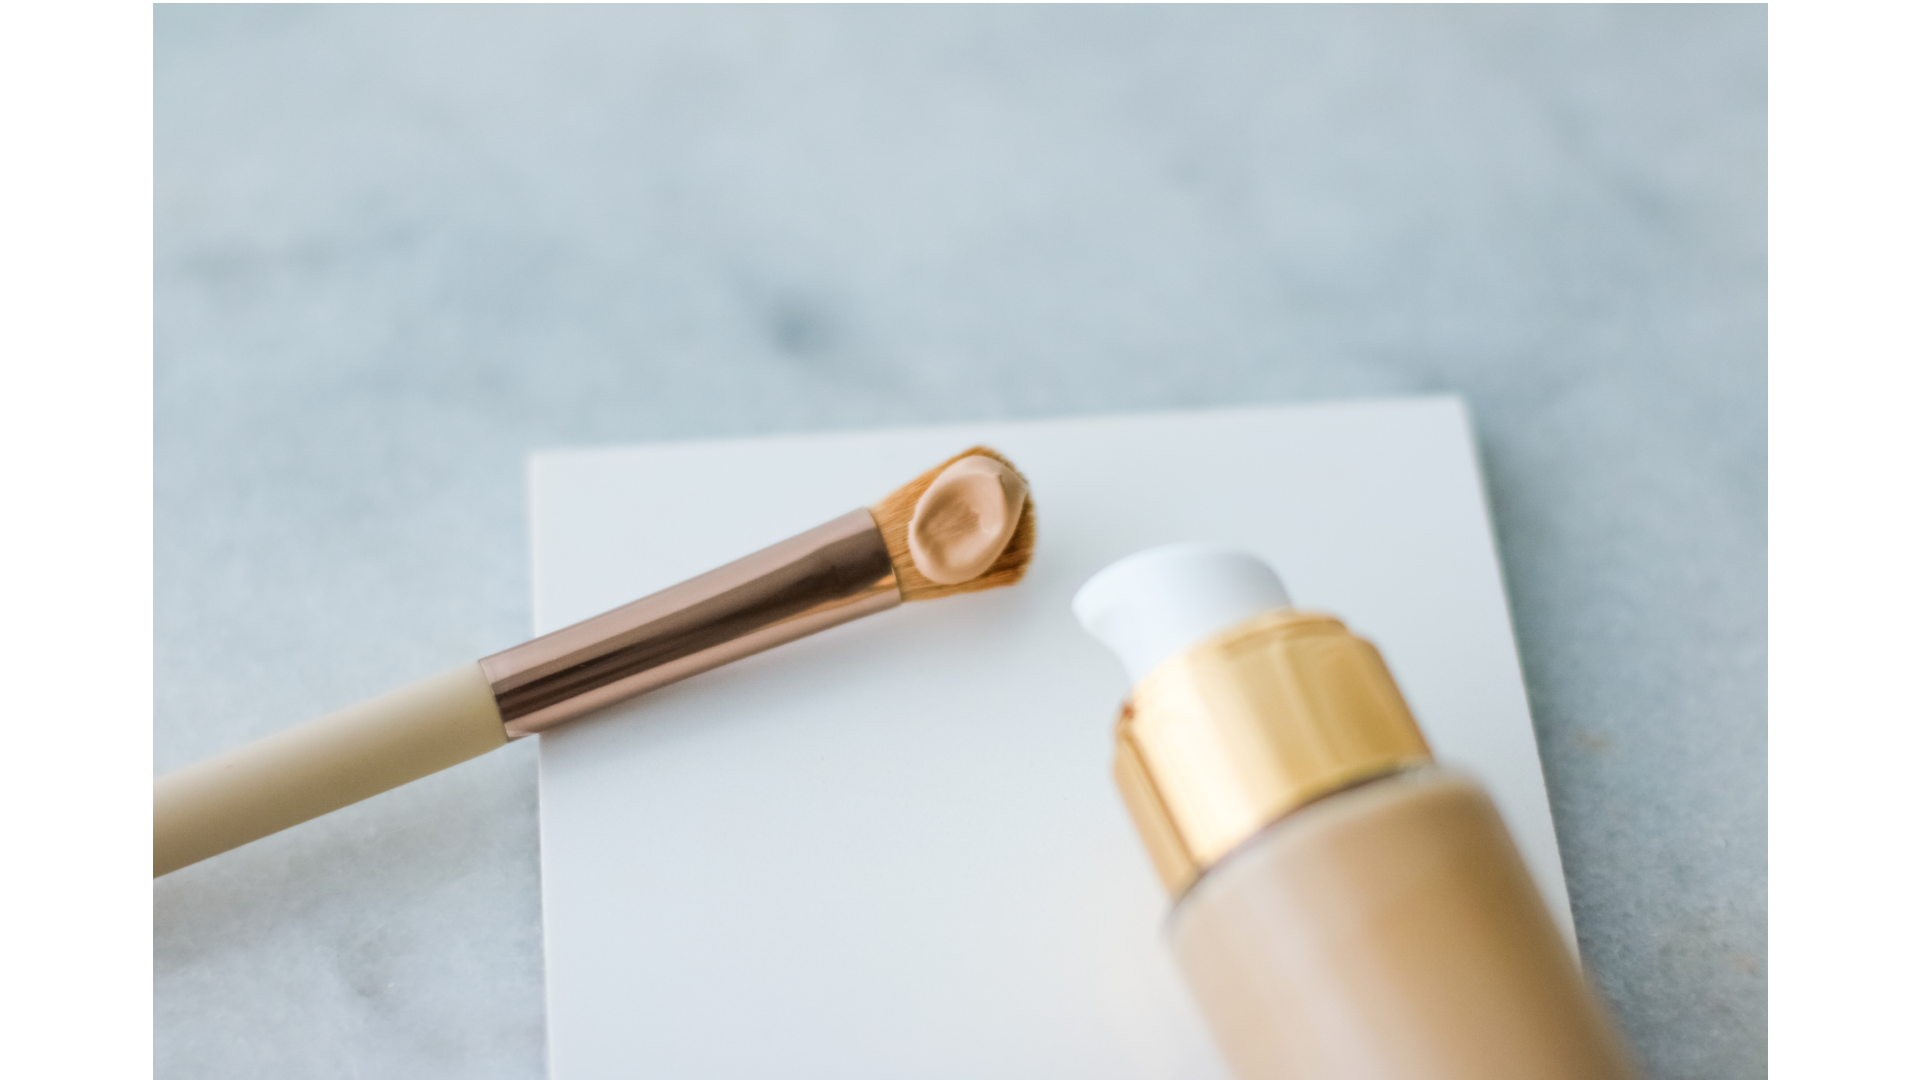
Makeup artist Trish McEvoy breaks it down. “The tools you use to apply your foundation will alter its texture and coverage,” she says. “For a sheer finish, apply foundation using clean, warm fingers. If it’s medium coverage you’re after, use the same amount of product but apply it using a medium density brush. Need full coverage? Opt for a denser brush and stipple foundation onto skin. You’ll achieve a flawless finish without any lingering product build-up.”
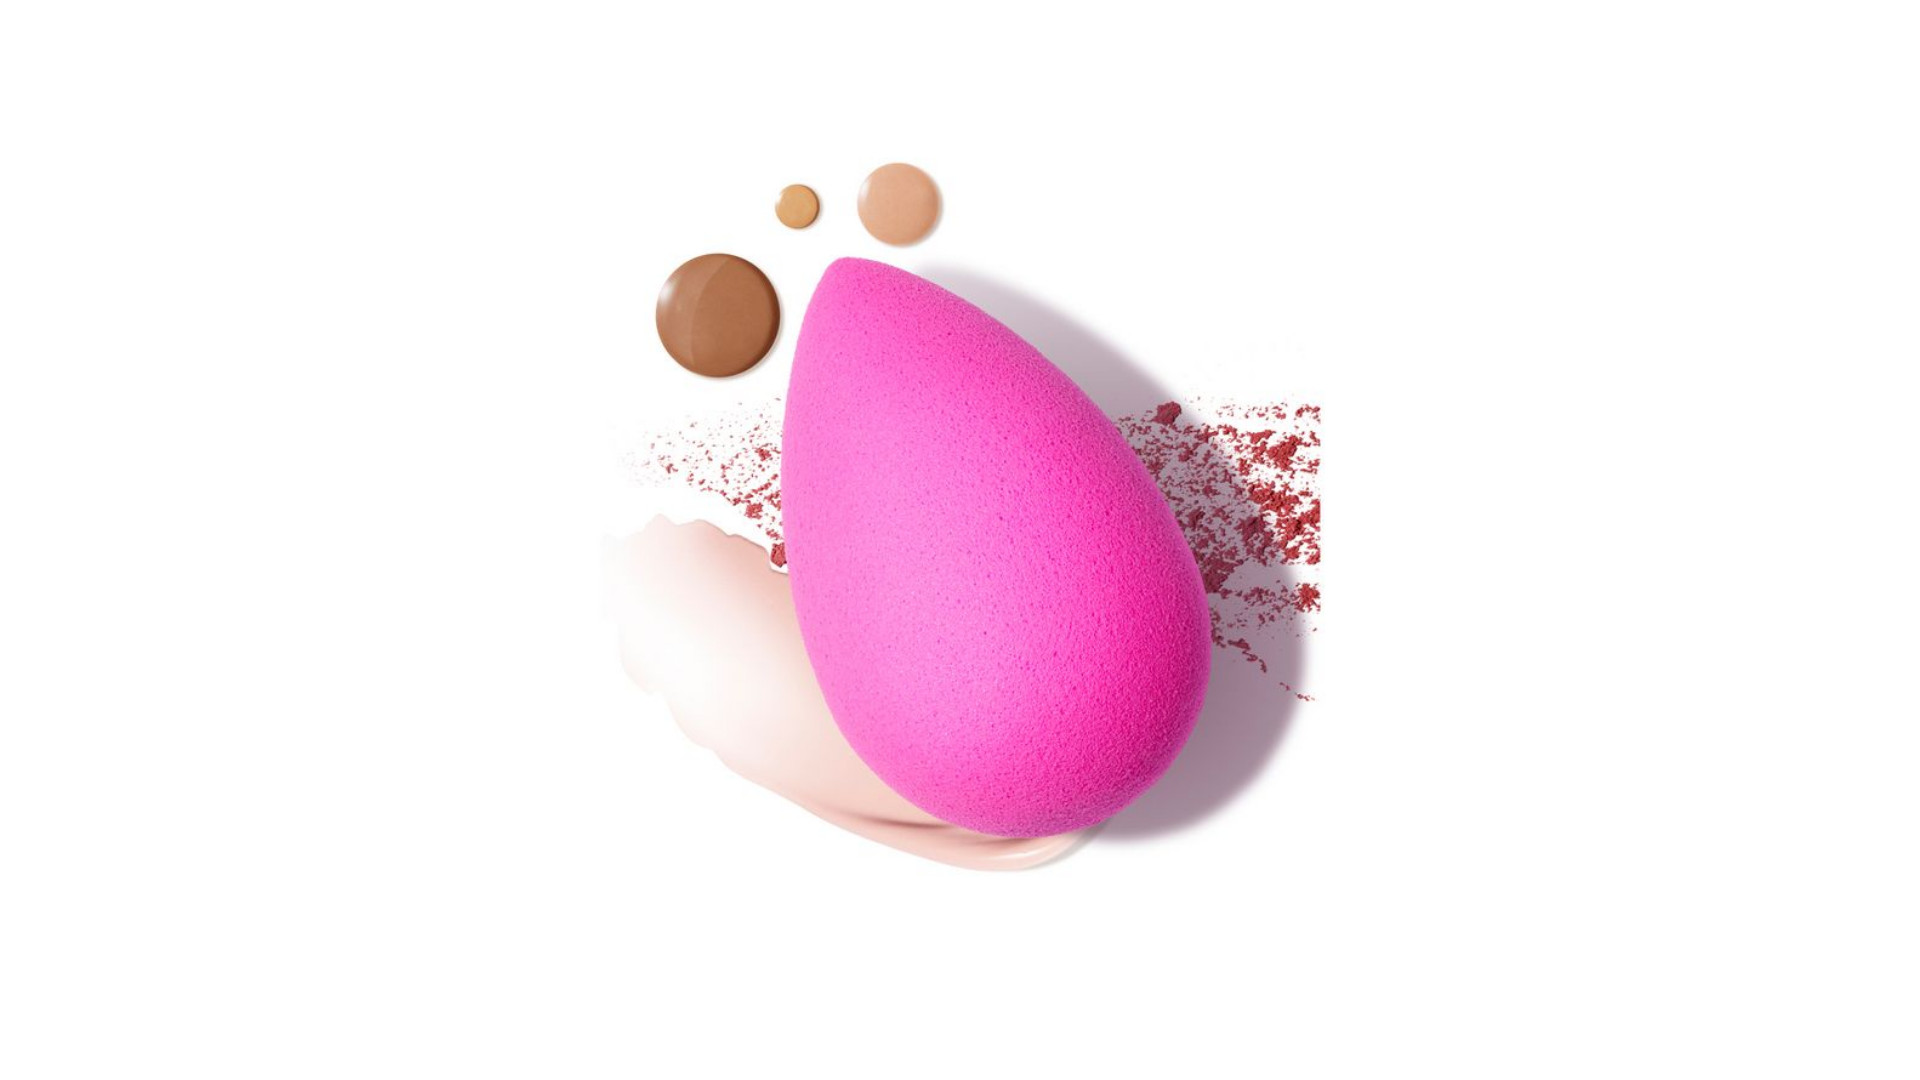
As for finishing touches, Bobbi Brown Pro Artist Aimee Morrison reaches for “a sponge, such as a Beautyblender to buff out excess product around the hairline and perimeter of the face in particular (where those telltale tidelines tend to appear).”

5. Layer (for no cake)
The prep work is complete, you have your tools to hand, but how much foundation should you apply? Aimee prescribes a ‘less is more’ approach.
“Start off with only a very small amount of product and only apply it where you really need it,” she says. “The centre of the face tends to be where we see the most redness, breakouts and pigmentation, so concentrate foundation there. The forehead, on the other hand, is often clearer so you’ll likely only need a very small amount of foundation here, if any.”
The benefit of this go-slow approach is clear. “By applying foundation strategically and in thin layers you’ll avoid cakey looking makeup.”
Finally, take matters into your own hands. Yes, literally into your hands.
“Once you’ve finished applying base makeup, gently cup and press your hands over your face,” explains Aimee. “This will lift off any stubborn patches of foundation and help the makeup to melt into your skin.”
From there it’s just a matter of a dusting of translucent setting powder, or a spritz of setting spray, to keep your base in place all day.
Anna is a multilingual award-winning journalist with over ten years of experience working in the beauty, lifestyle and travel industries.
Her extensive editorial portfolio includes Women’s Health, Woman & Home, The Sunday Times Style, Refinery 29, Cosmopolitan, Elle, Red and Good Housekeeping.
Anna is also well versed in commercial work, having experience in both start-up and corporate environments.
-
 The most decade defining royal moments of the 80s - from Princess Diana fever, royal births and Queen Elizabeth II's historic firsts
A lot happened in the 80s, and we don't just mean leg warmers and the rise of Madonna
By Jack Slater
-
 Celebrities who have spoken openly about menopause - and what they had to say
Celebrities such as Oprah Winfrey and Jennifer Aniston have helped combat the 'taboo' of talking about menopause in the public eye
By Grace Walsh